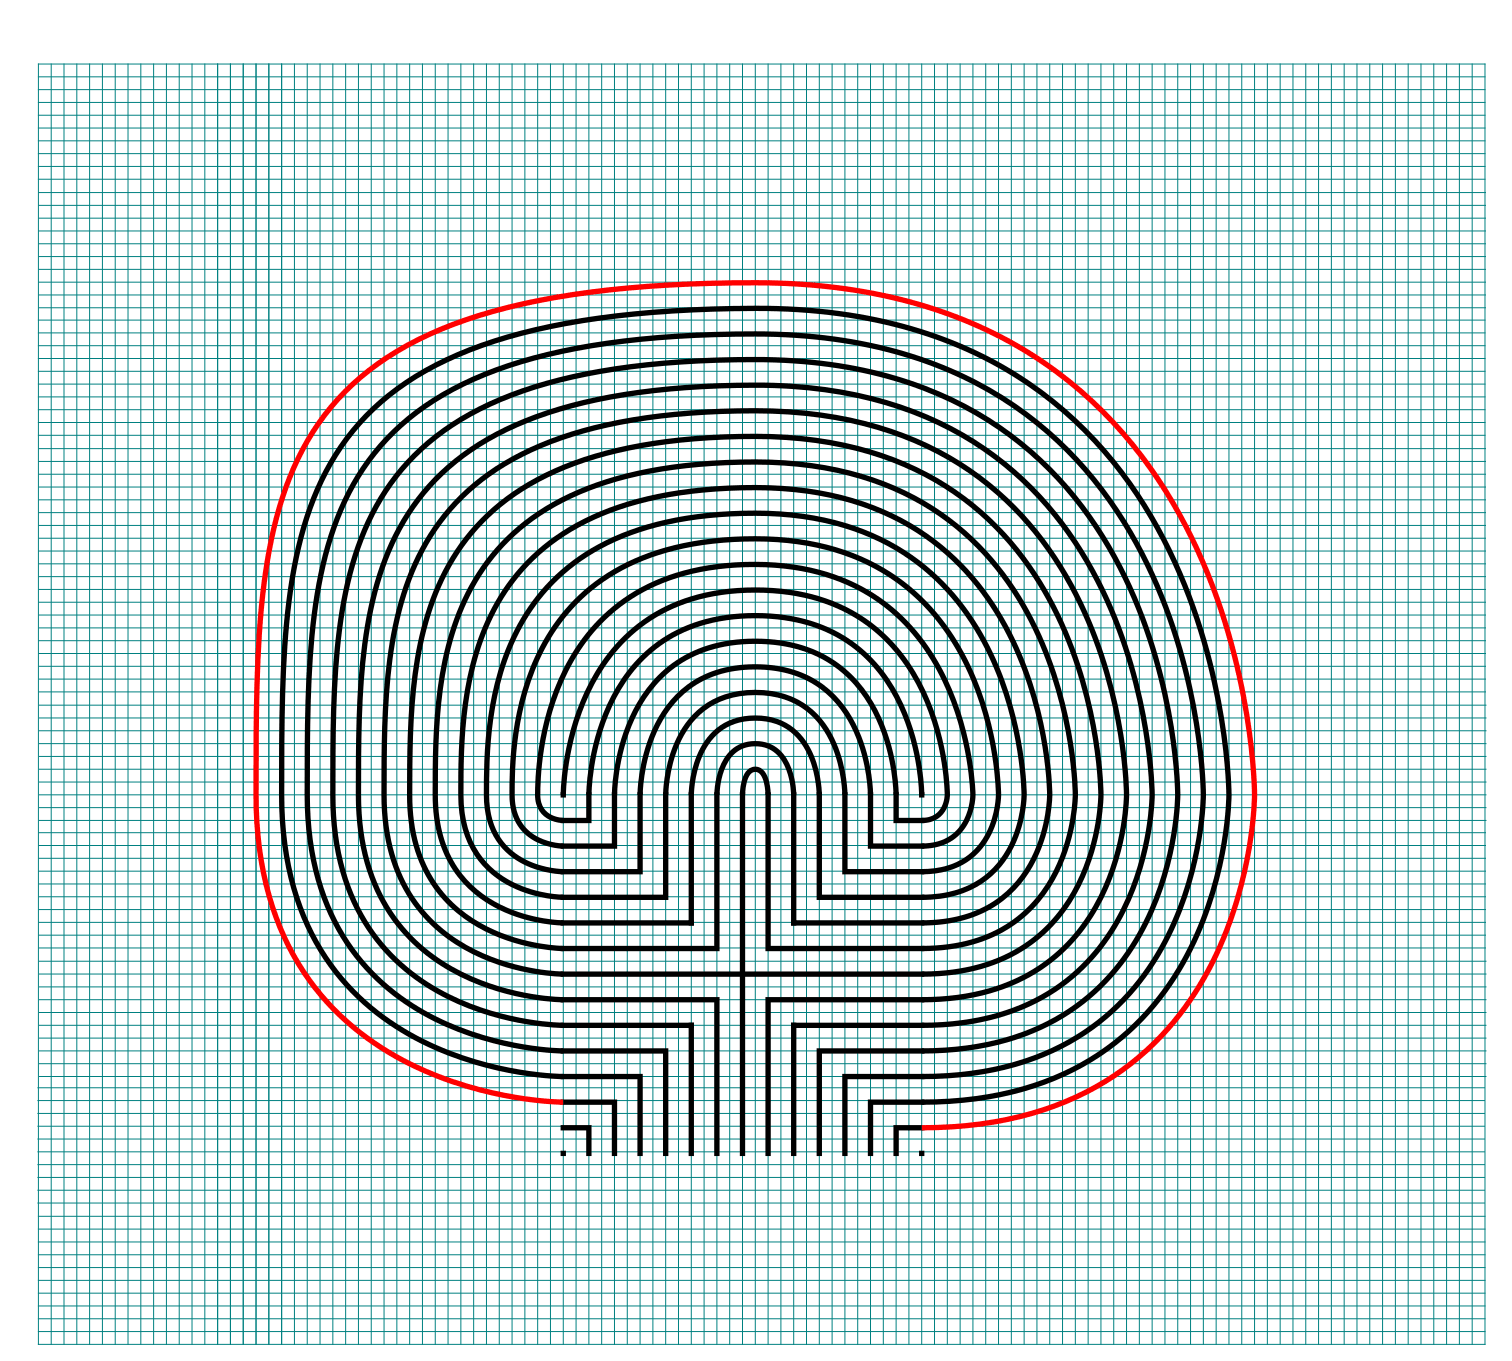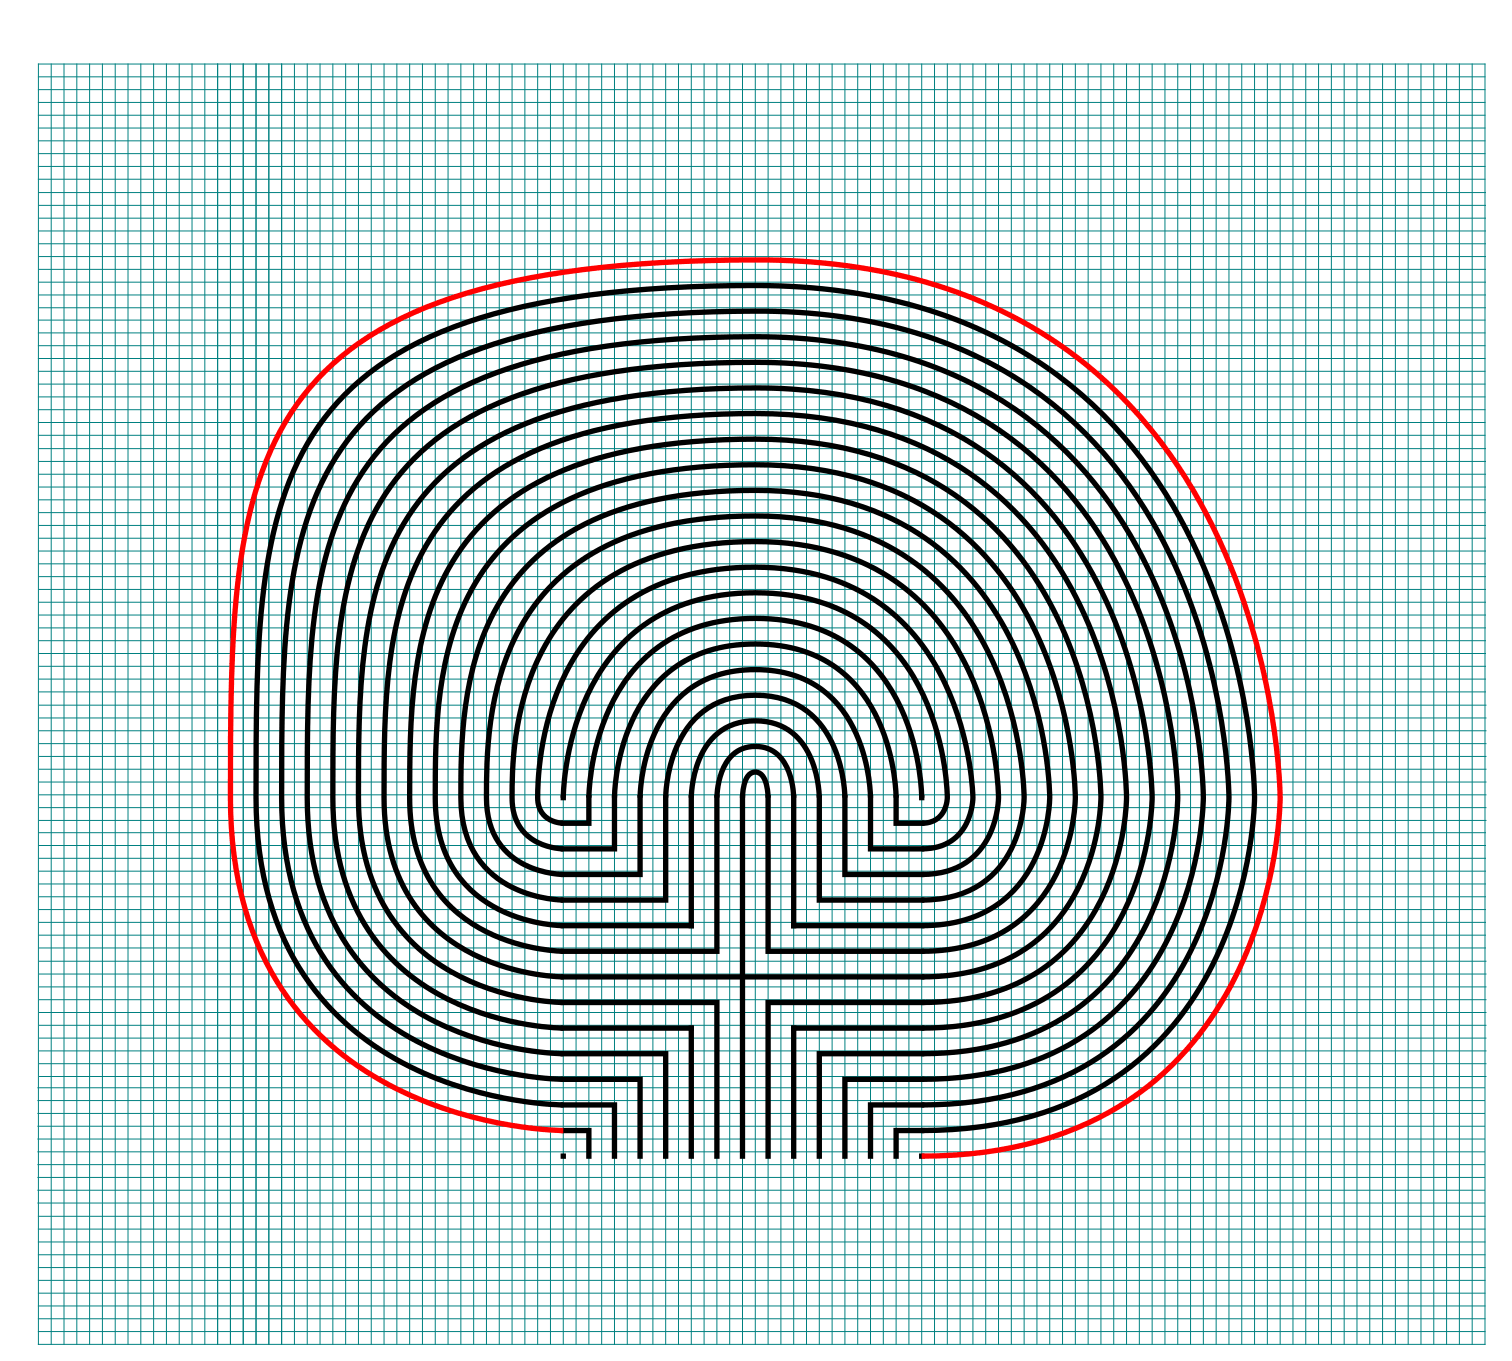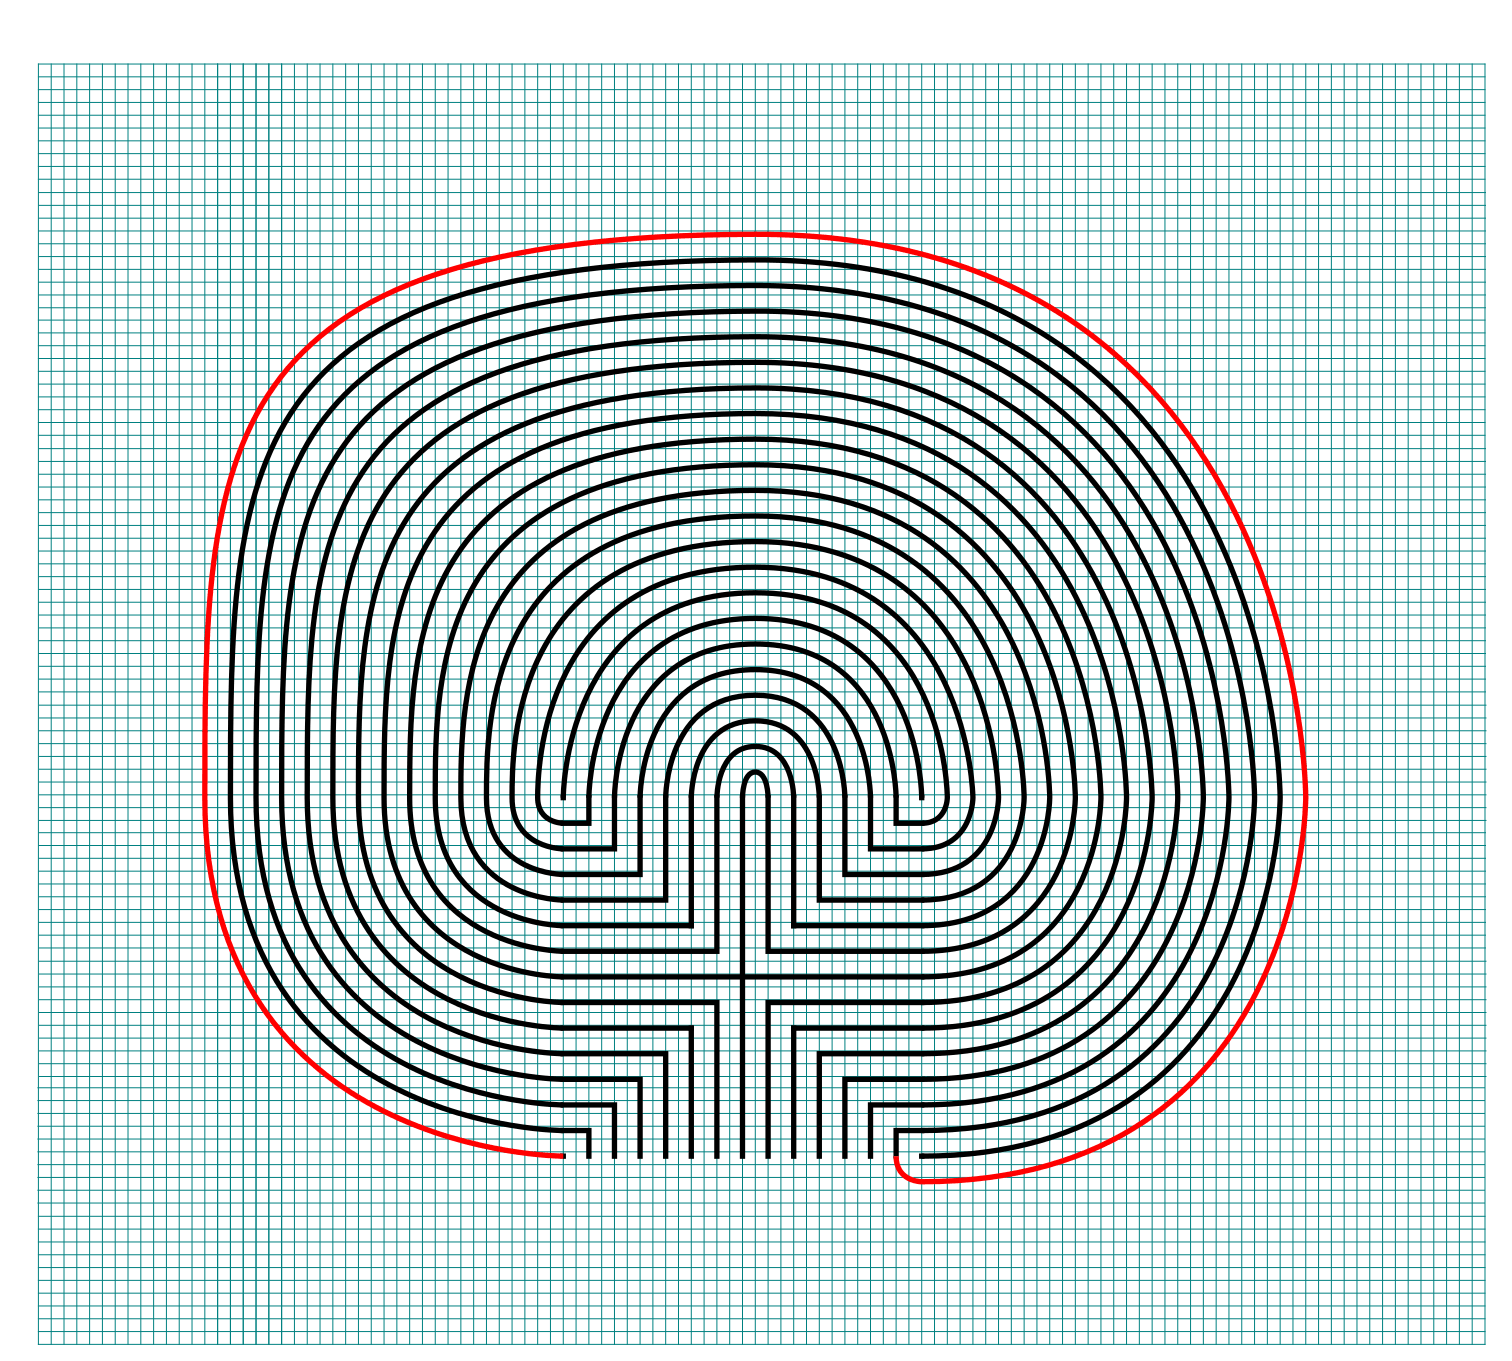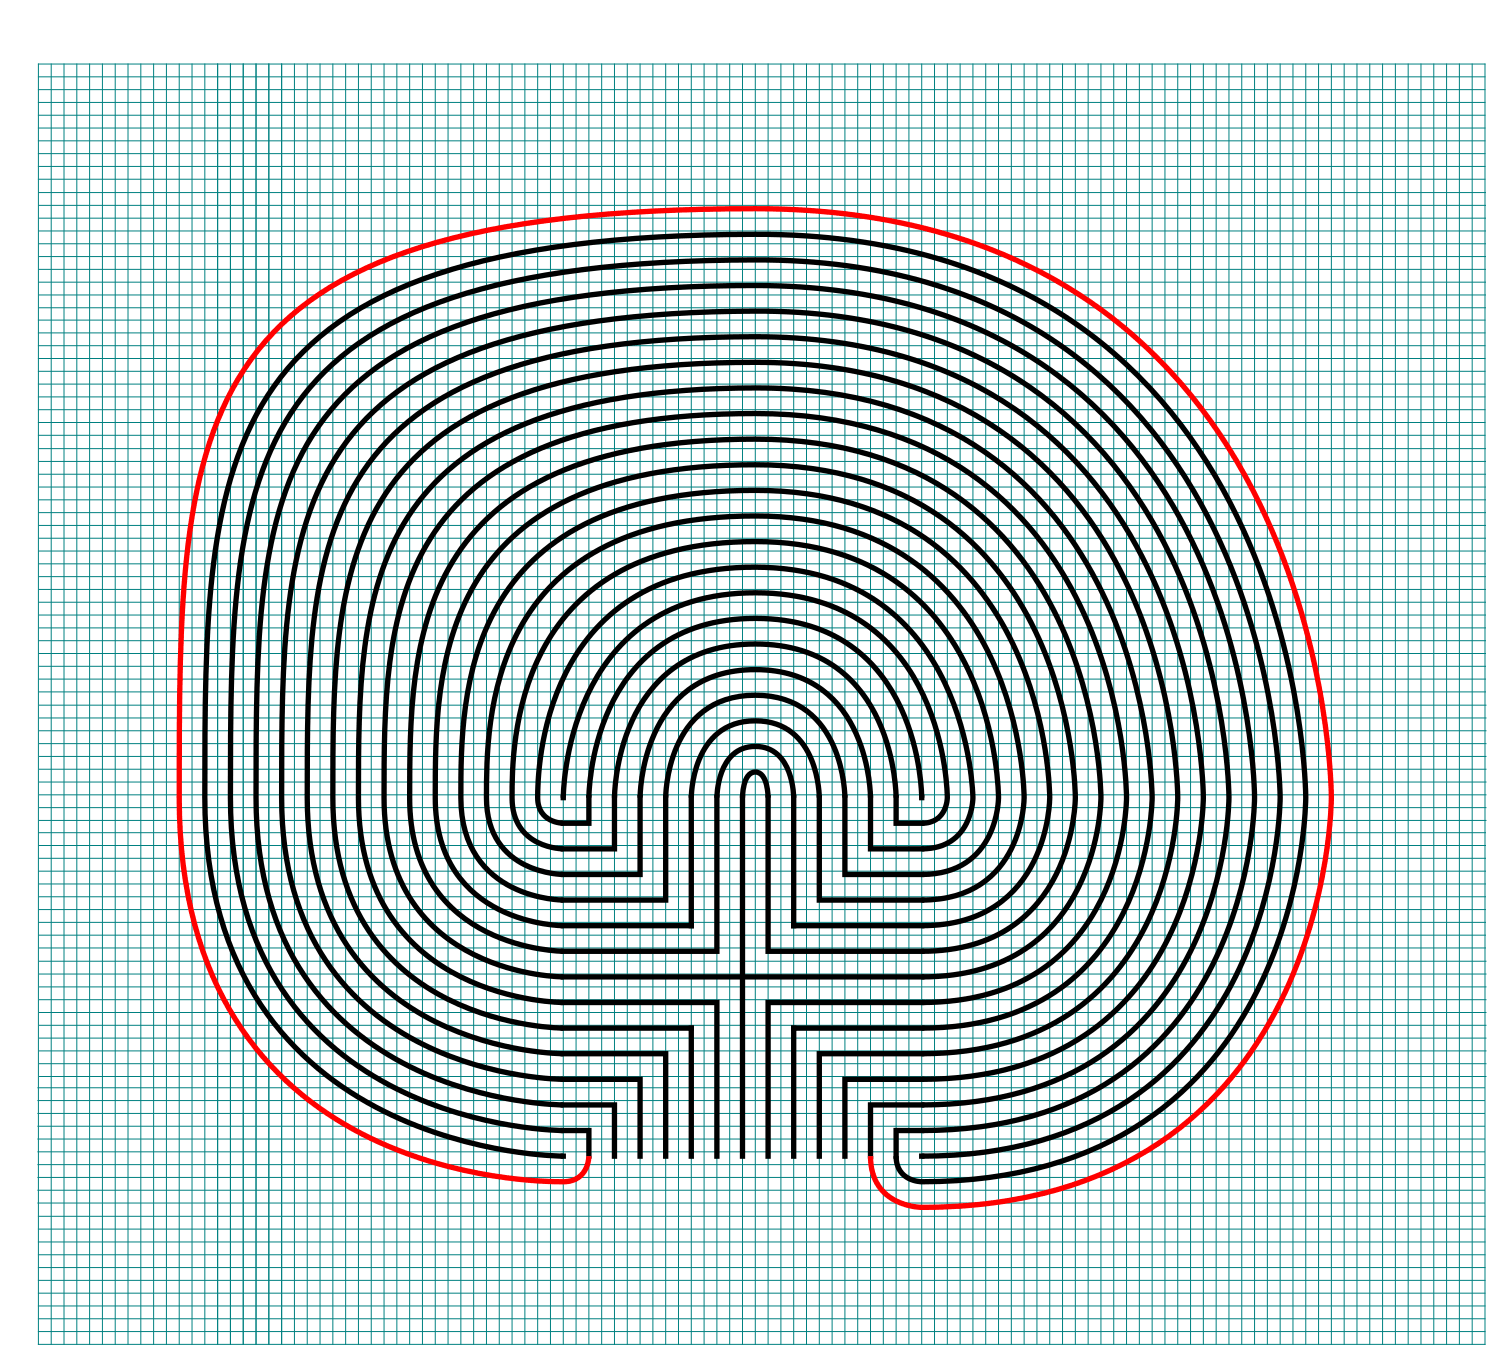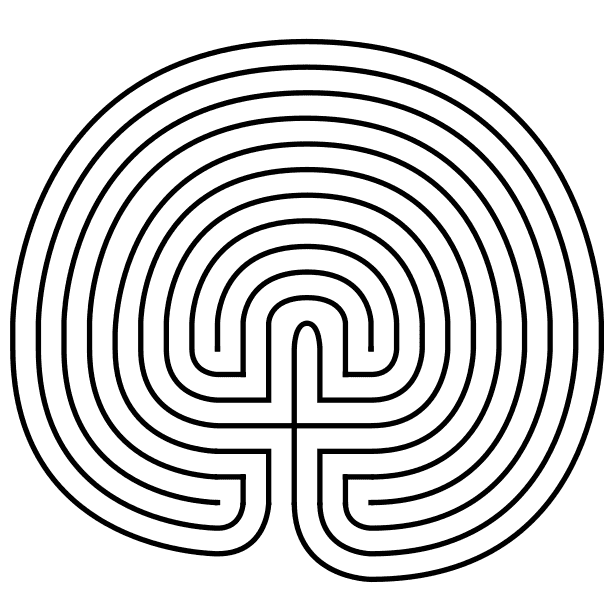
How to Draw a 3 Circuit Square Labyrinth

Drawing a classical 3 circuit square labyrinth is both easy and fun once you learn the starting pattern and the rules of building the pathways. Follow this simple 5 step process and draw your own 3 circuit classical square labyrinth.

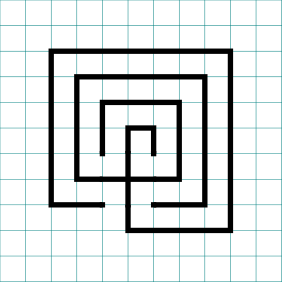
Before we get into the step by step process let’s look at the 2 different square labyrinth versions you can learn in this post. The main difference between the 2 options are the size of the center goal. The walls, pathways and circuits are all basically the same. The small center version also is not a symmetrical square. The 2 labyrinths use different seed patterns. Personally I prefer the right, perfectly square version. We will learn how to make that first in Parts 1/2.
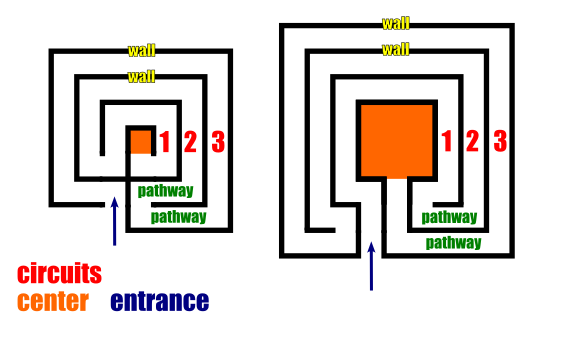
3 Circuit Square Labyrinth comparison with details
 

Here is the structure of blog post:

PART 1: MAKING A SQUARE LABYRINTH (LARGE CENTER VERSION)

PART 2: MAKING A SQUARE LABYRINTH (GRIDS SHOWN)

PART 3: MAKING A SQUARE LABYRINTH (SMALL CENTER VERSION)

PART 4: MAKING AN ALTERNATIVE SQUARE LABYRINTH (GRIDS SHOWN)

PART 5: REAL WORLD LABYRINTH EXAMPLES

PART 1: MAKING A SQUARE LABYRINTH (LARGE CENTER VERSION)

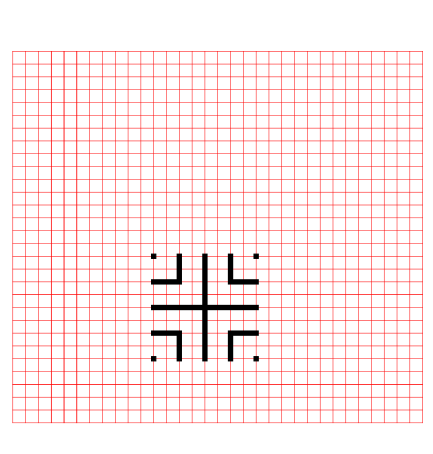
Step 1: Draw the starting seed pattern.

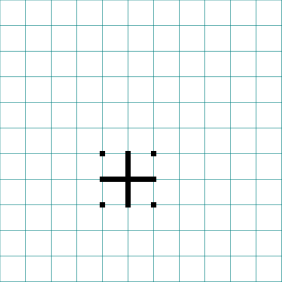
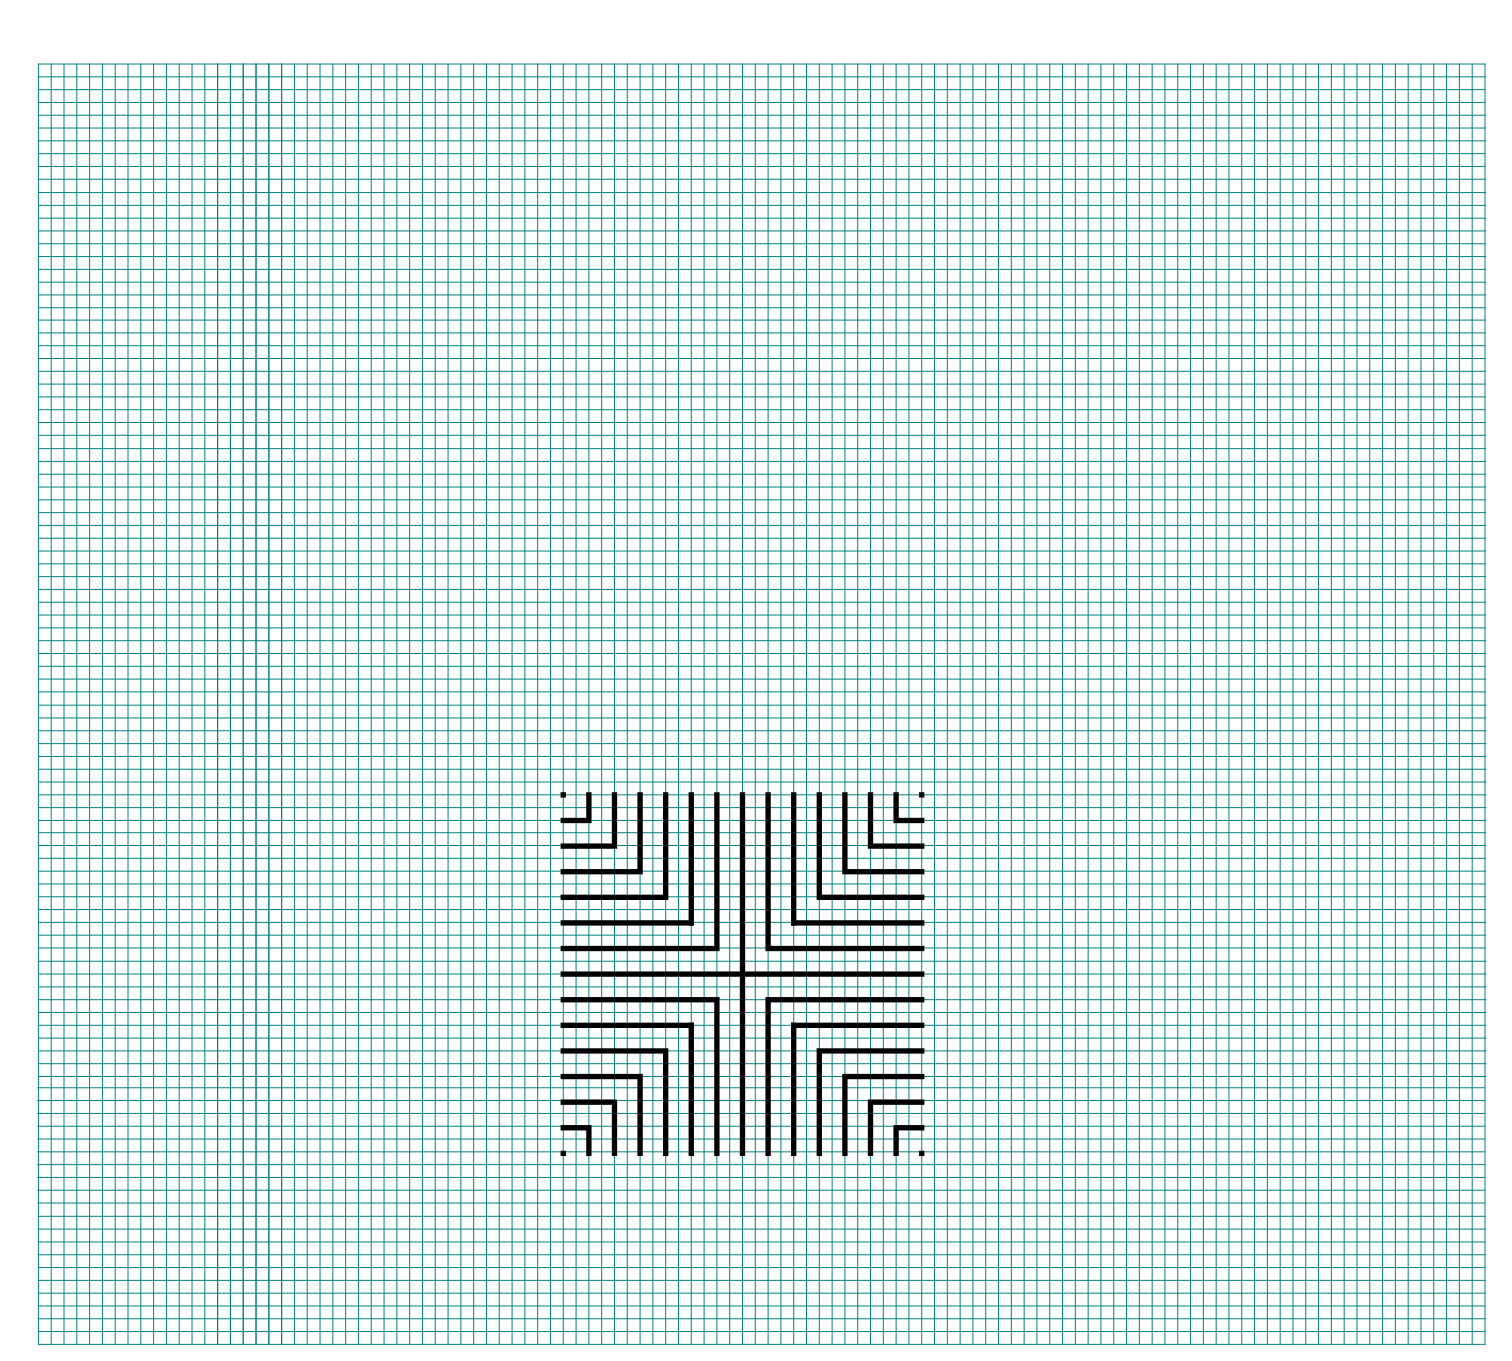
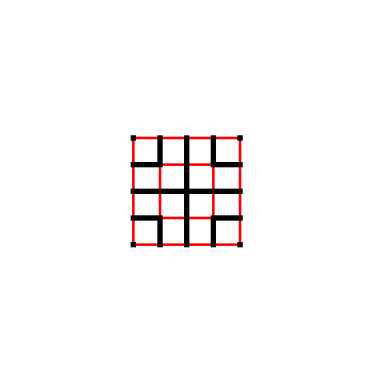
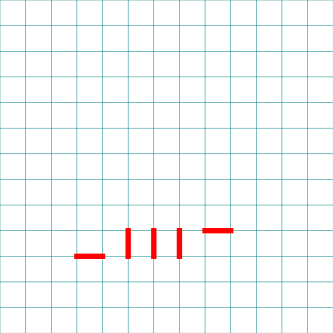
The starting seed pattern for this labyrinth is not the typical plus sign you may be used to. Instead it is 3 vertical lines, with 2 horizontal lines. The horizontal line on the left aligns with the bottom of the 3 vertical lines, while on the right side it aligns with the top of the vertical lines. Each line is the same length. See below:

3 Circuit Labyrinth Square starting seed pattern

3 Circuit Labyrinth Square starting seed pattern

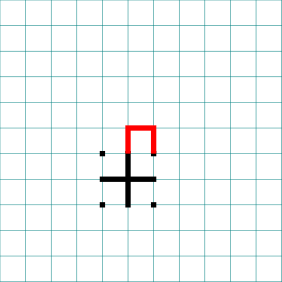
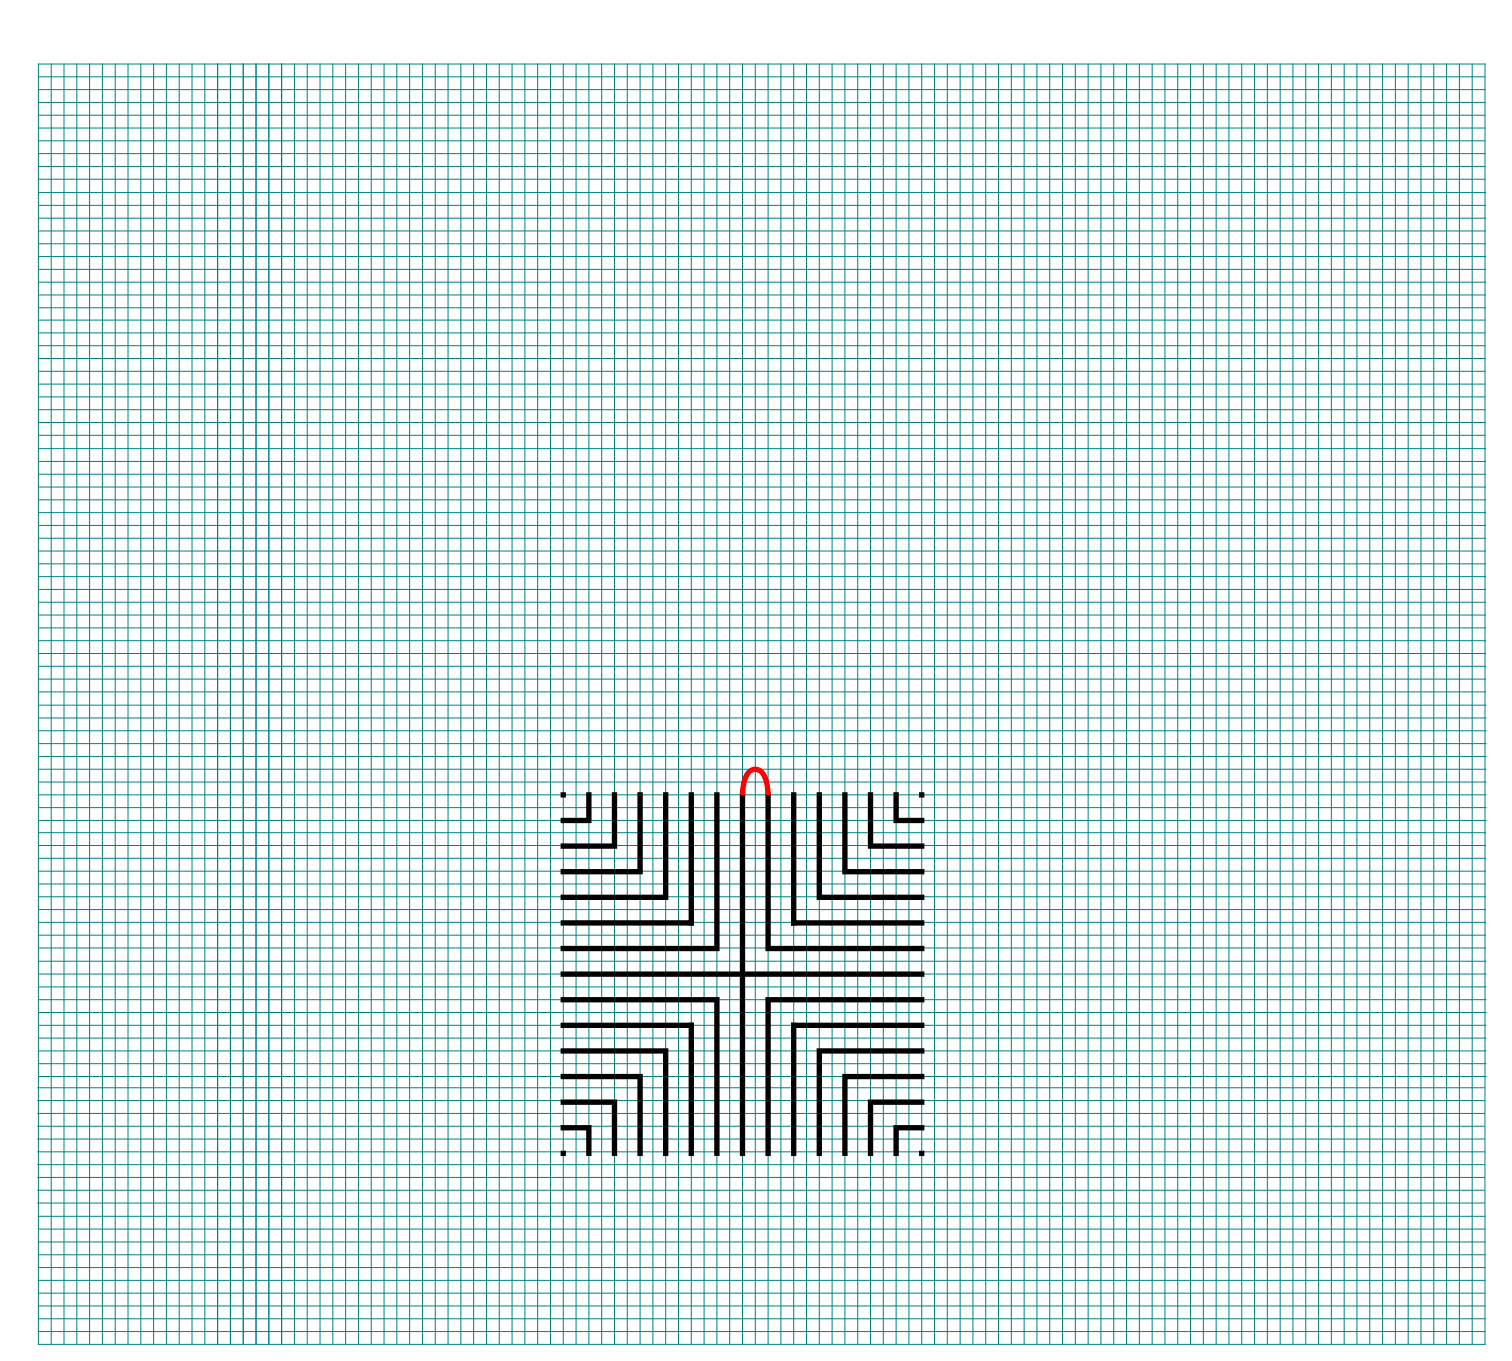
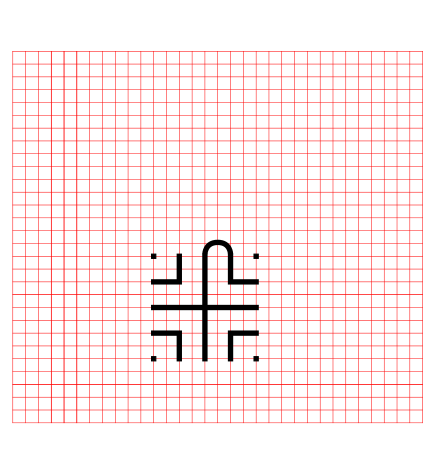
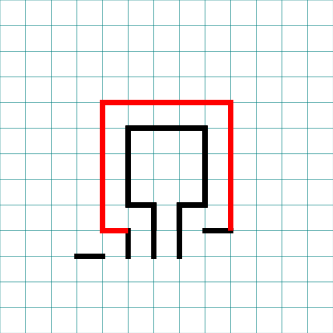
Step 2: Draw the center goal

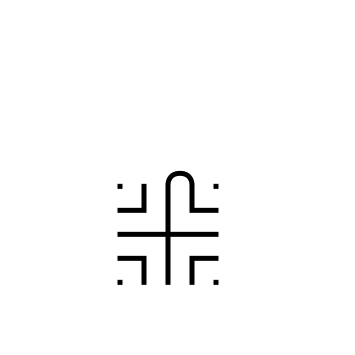
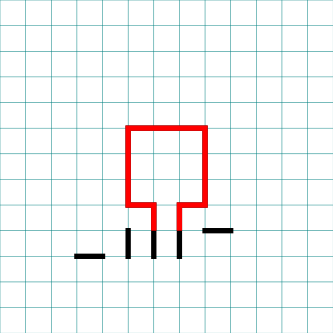
At the 2 rightmost vertical lines draw a line up one grid. This will become the opening to the center goal. Draw a square centered on top of this. Grid-wise this is a 3x3 square.
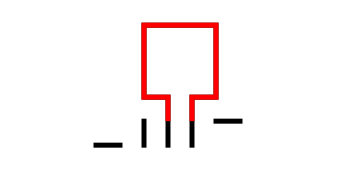
Making a 3 circuit Square Labyrinth step 2

3 Circuit Square Labyrinth - Step 2 - Draw the Goal

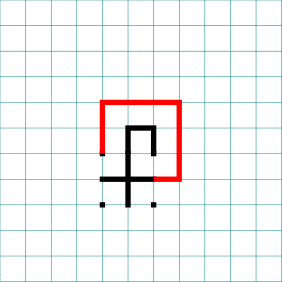
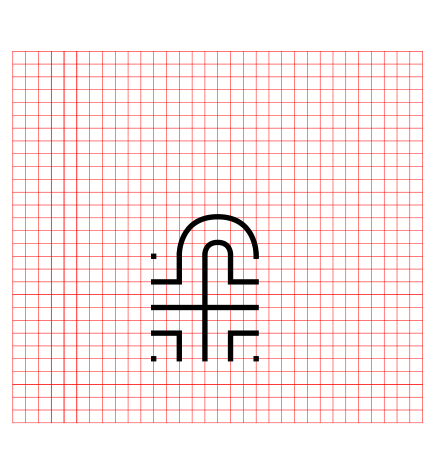
Step 3: Draw the next level

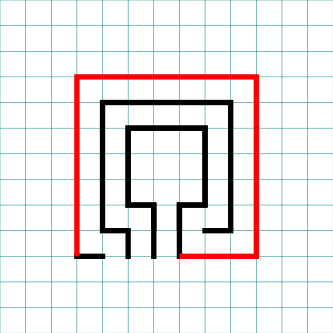
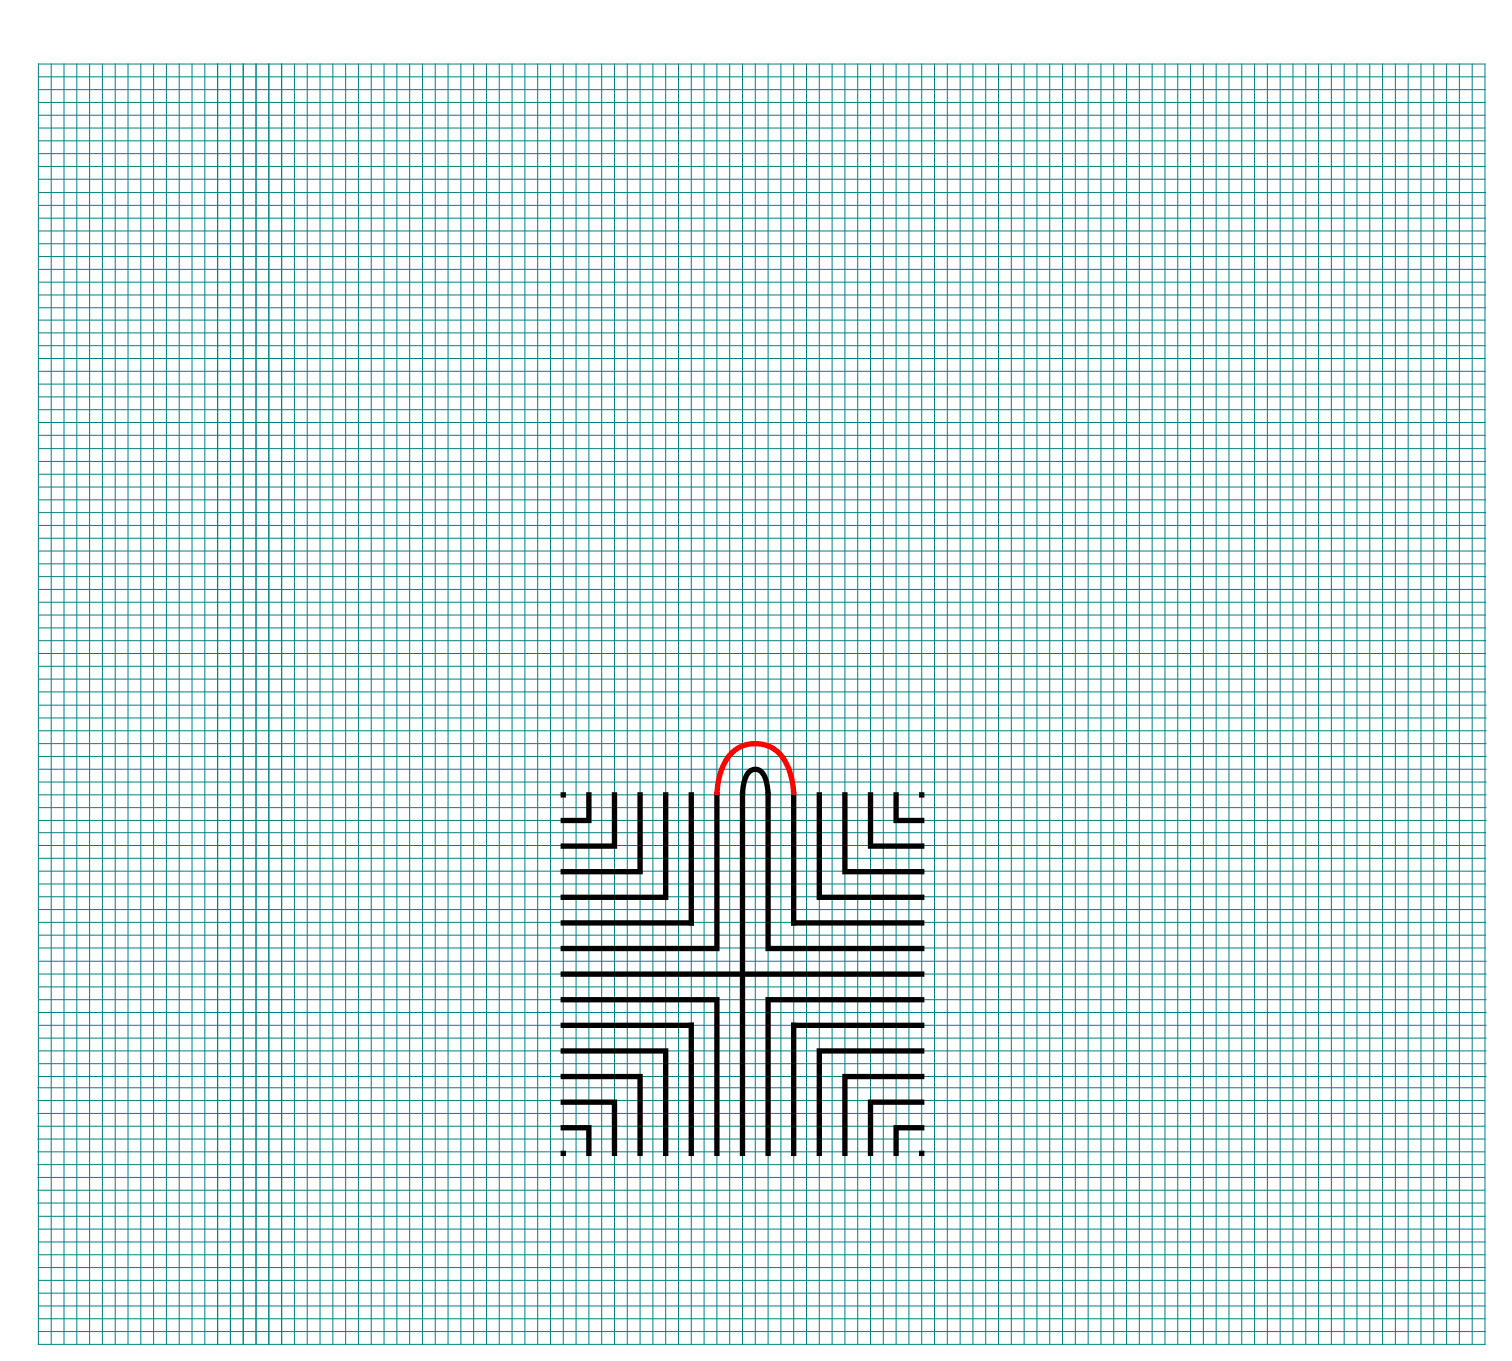
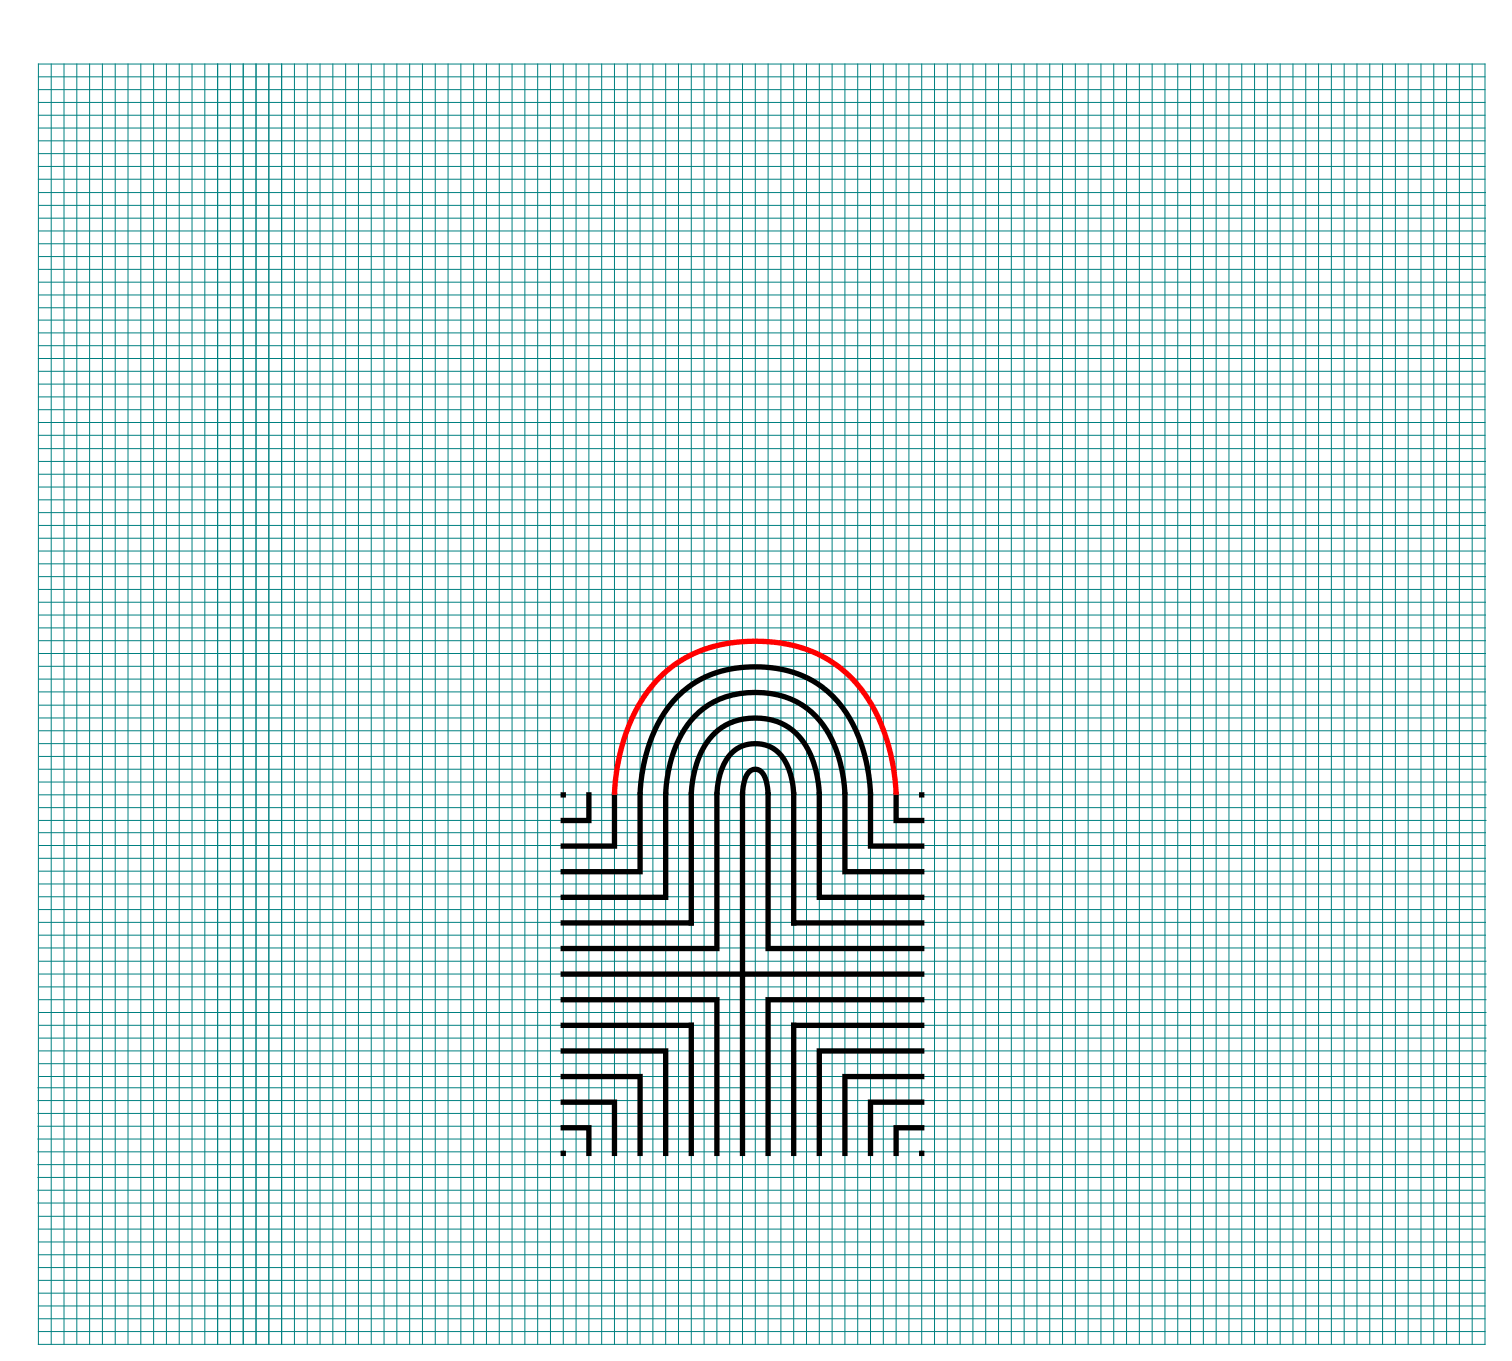
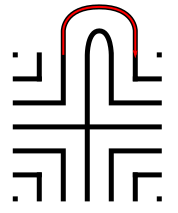
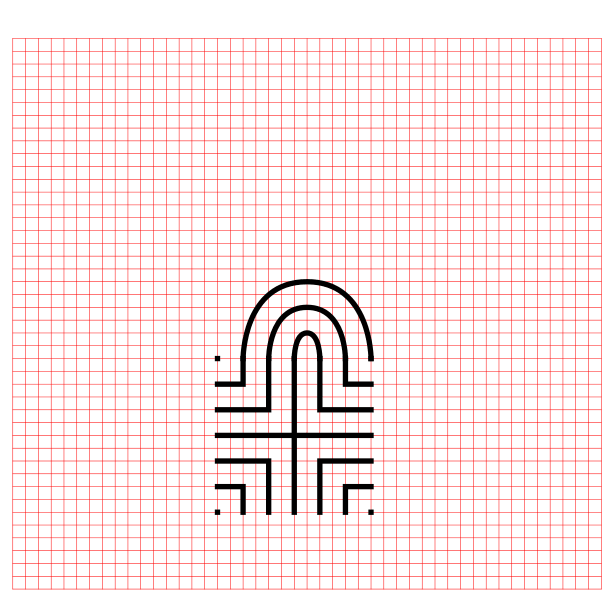
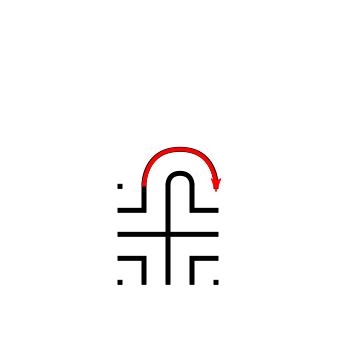
Connect the top of the remaining left vertical line to the far corner of the right horizontal line. It is an upside-down squared U shape started with a small horizontal move on the left side. See below.

Making a 3 circuit Square Labyrinth step 3

3 Circuit Labyrinth - Step 3 - Draw the next arch

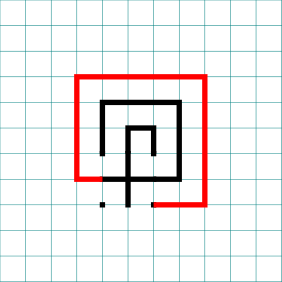
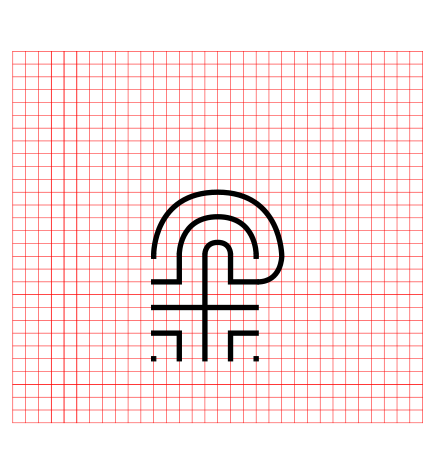
Step 4: Draw the next level

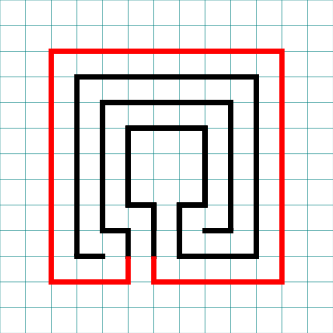
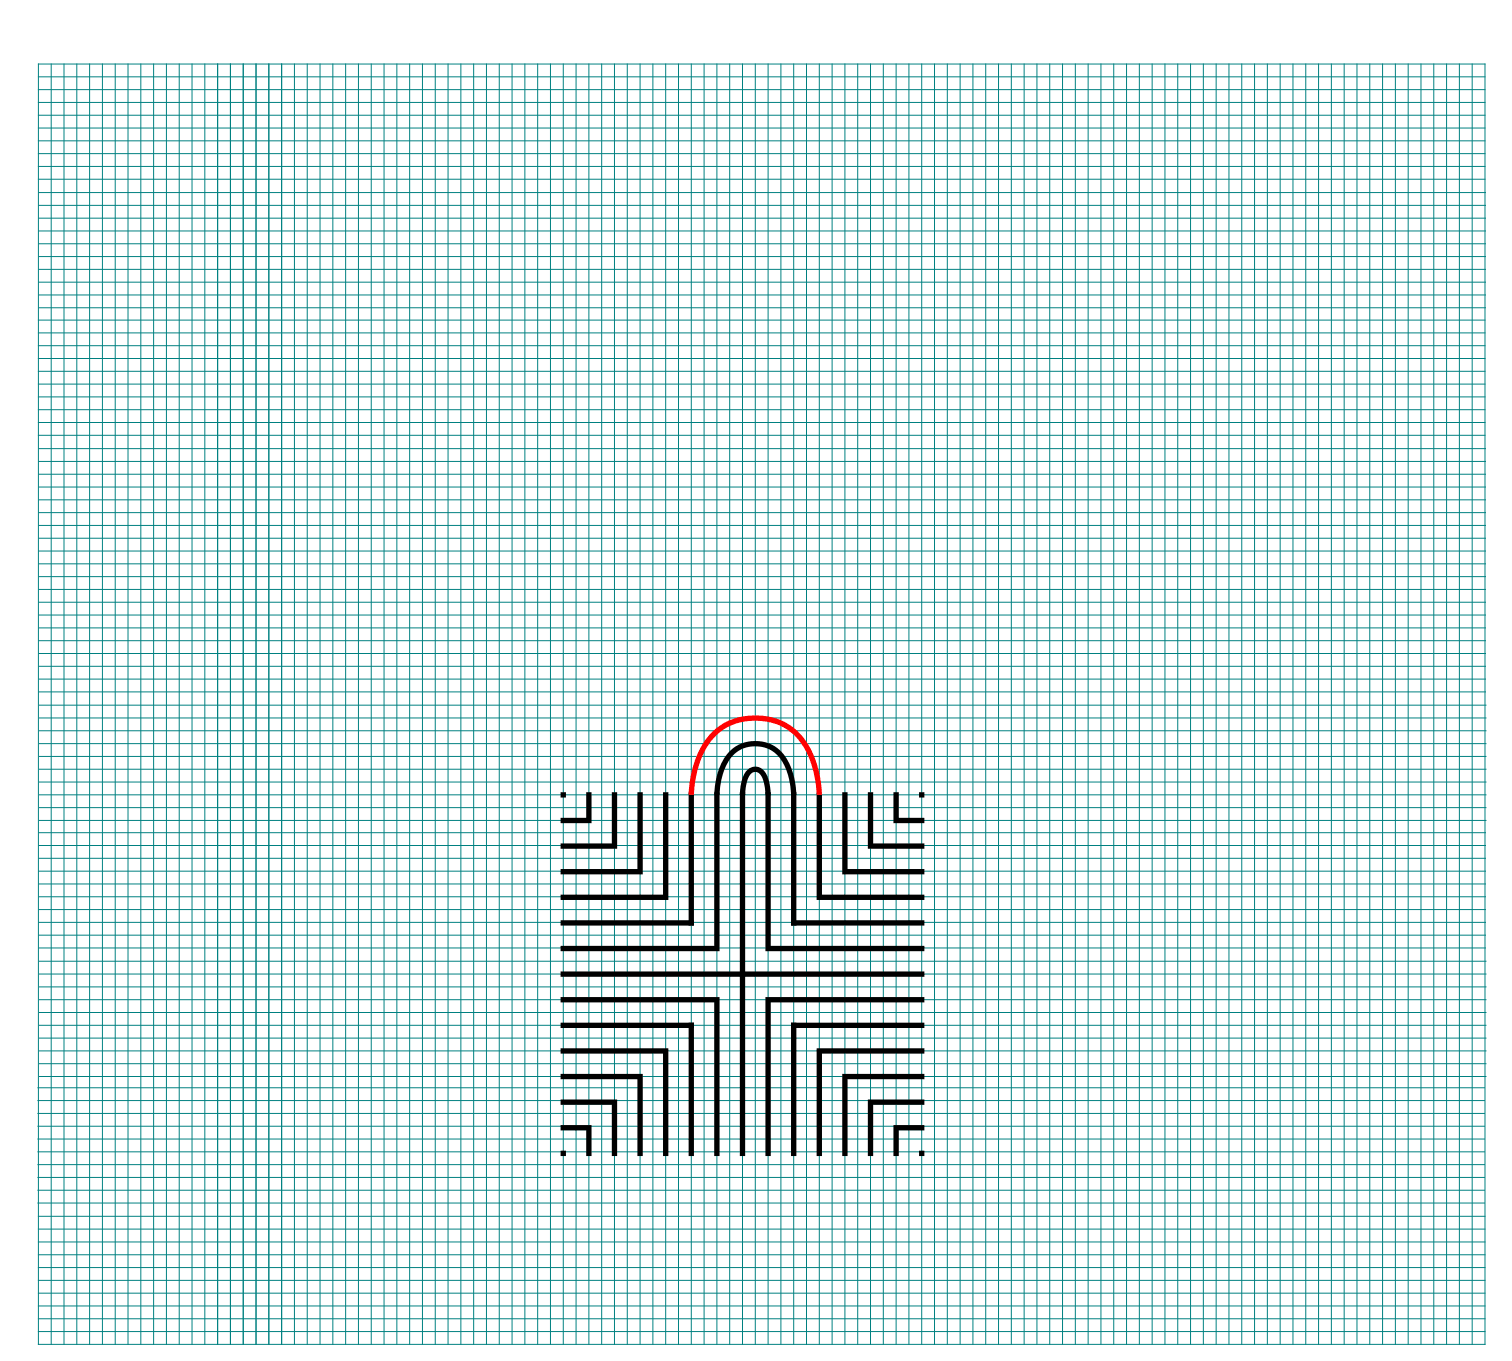
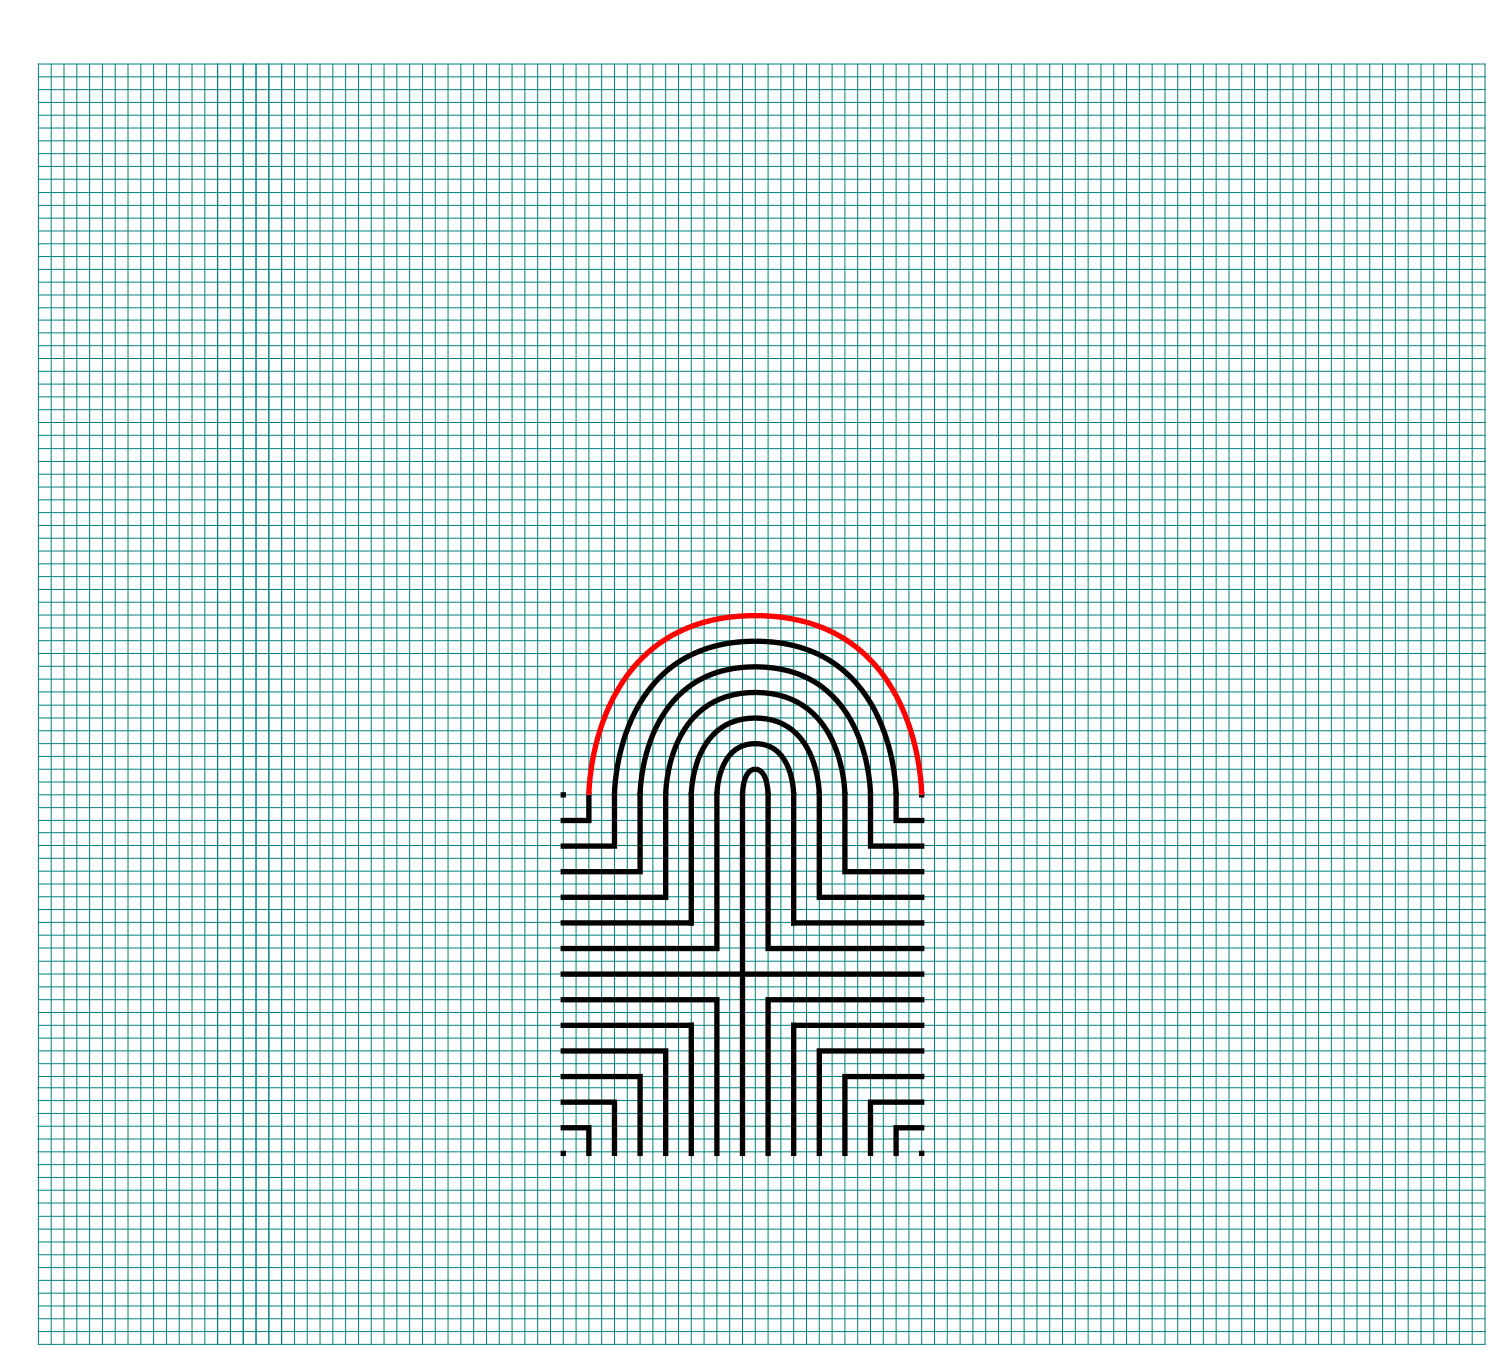
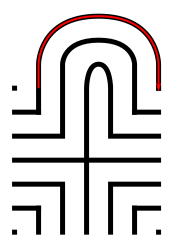
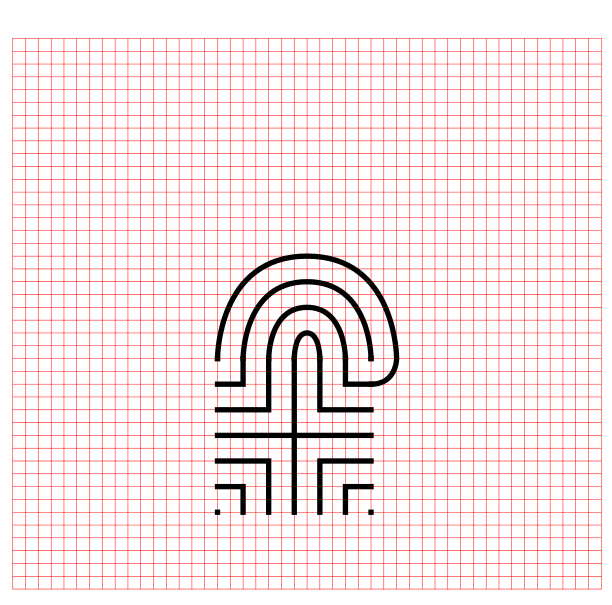
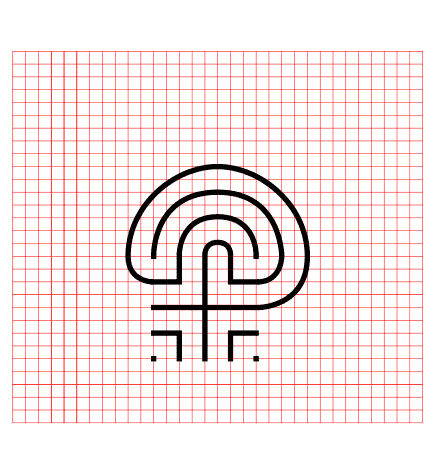
Connect the left side of the horizontal line around the structure clockwise until it reaches the end of the rightmost vertical line. Again this creates an upside-down square U shape plus a horizontal connection in the last section. See below.
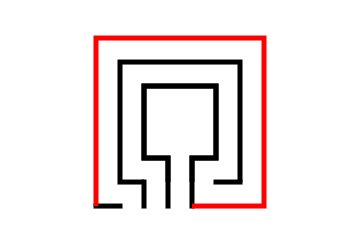
Making a 3 circuit Square Labyrinth step 4

3 Circuit Square Labyrinth - Step 4 - Draw the next arch

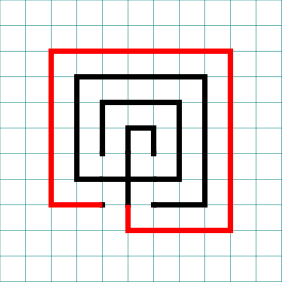
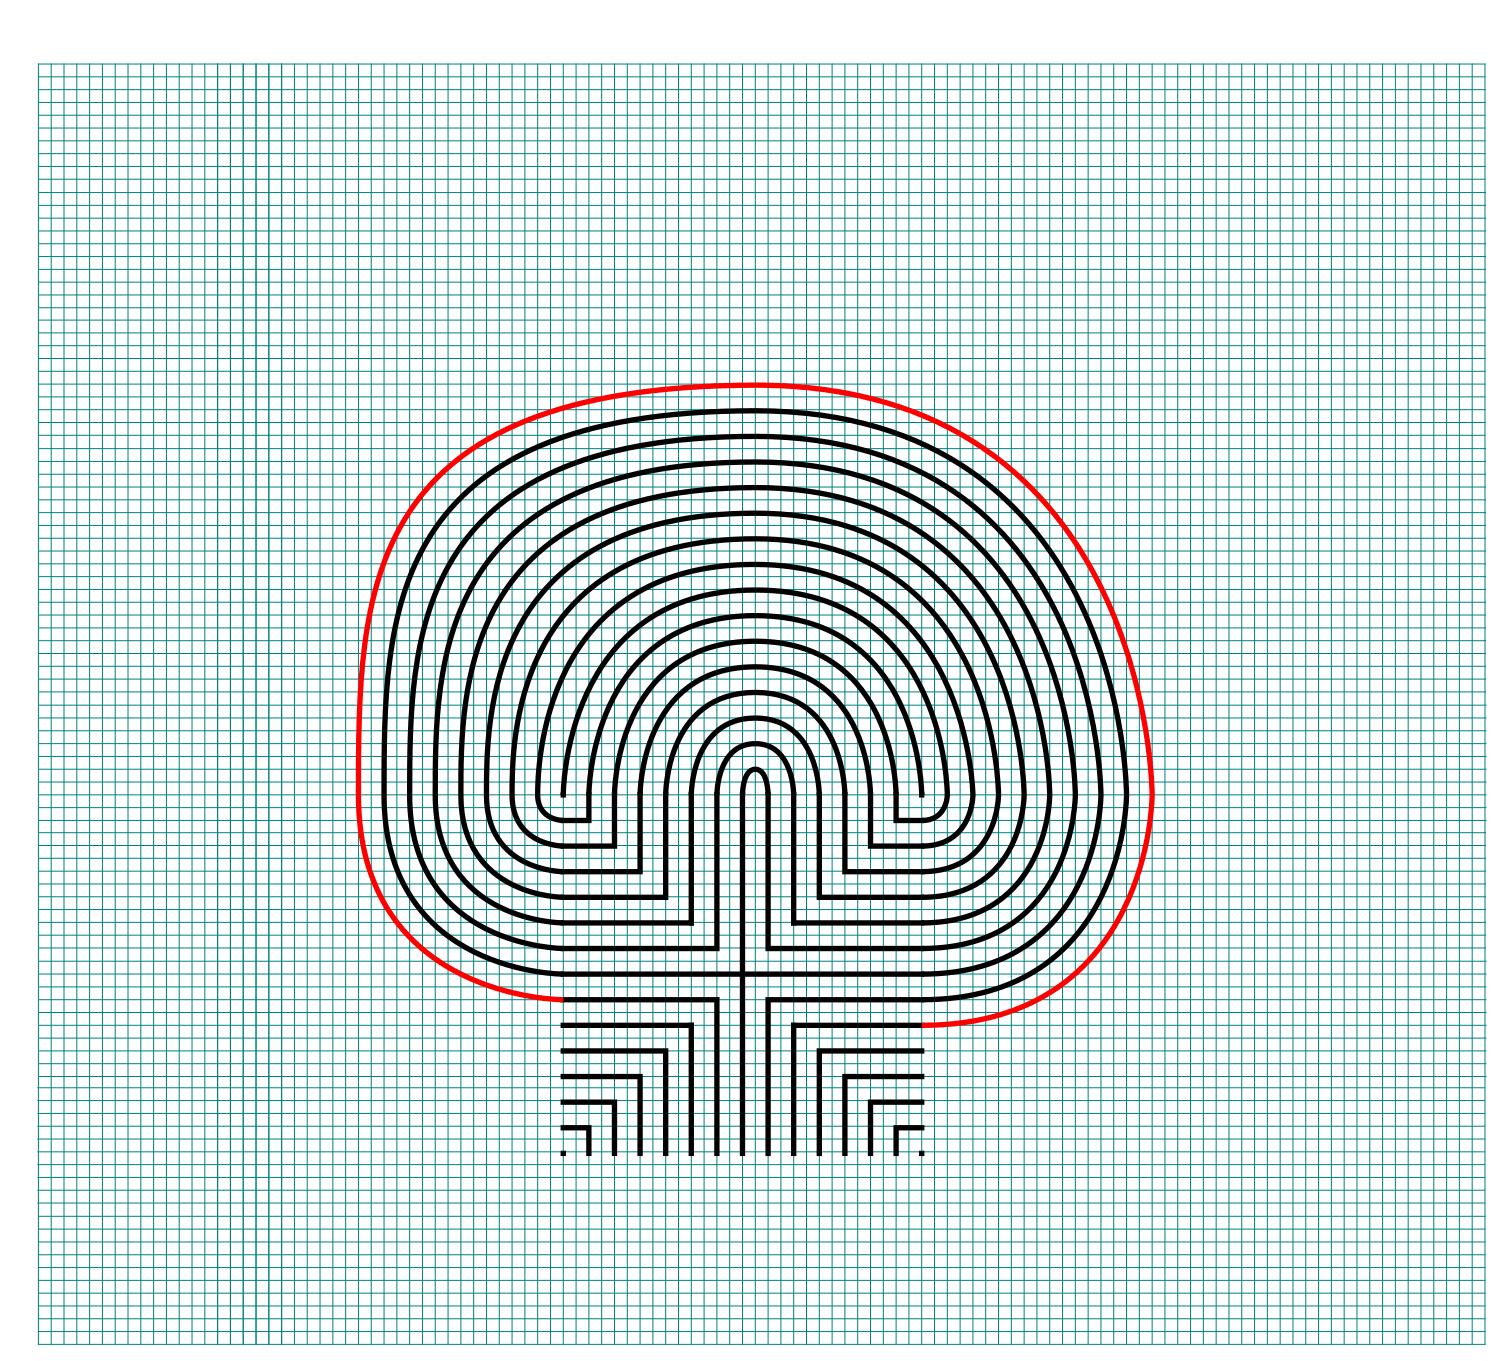
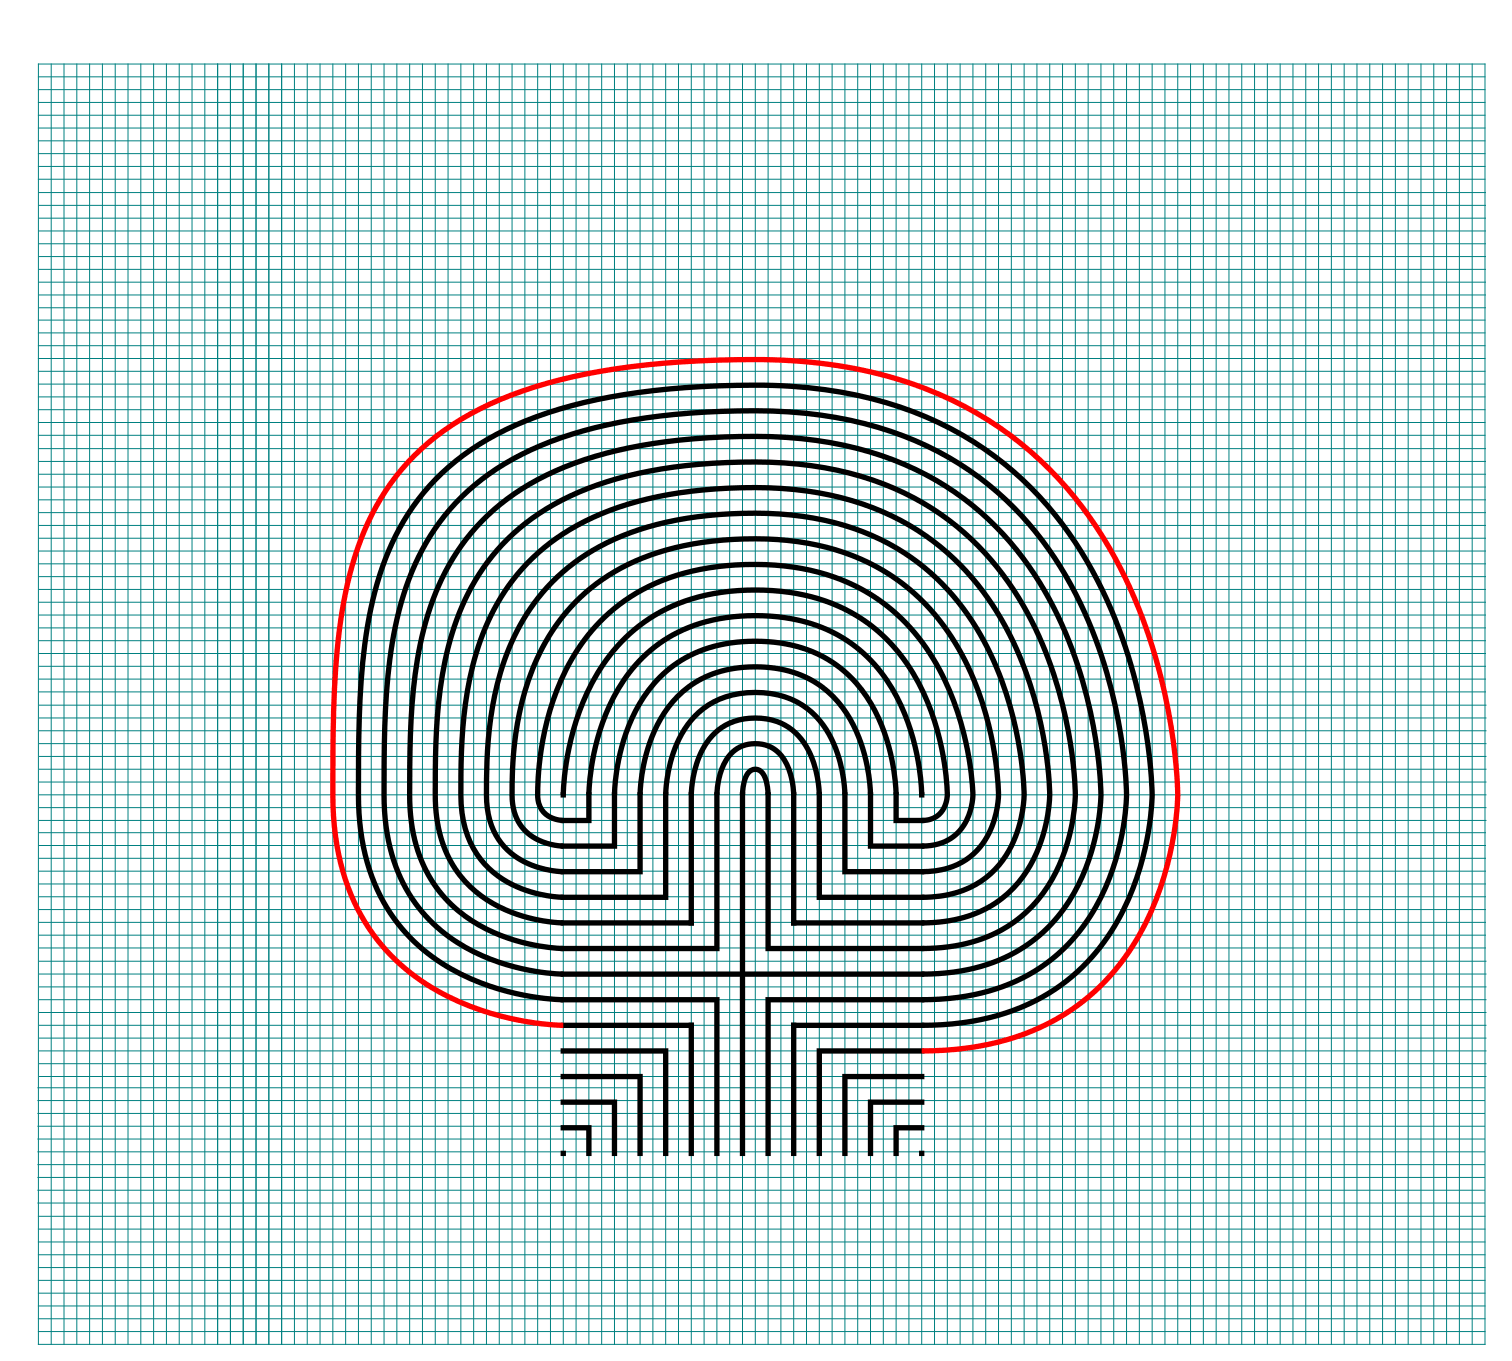
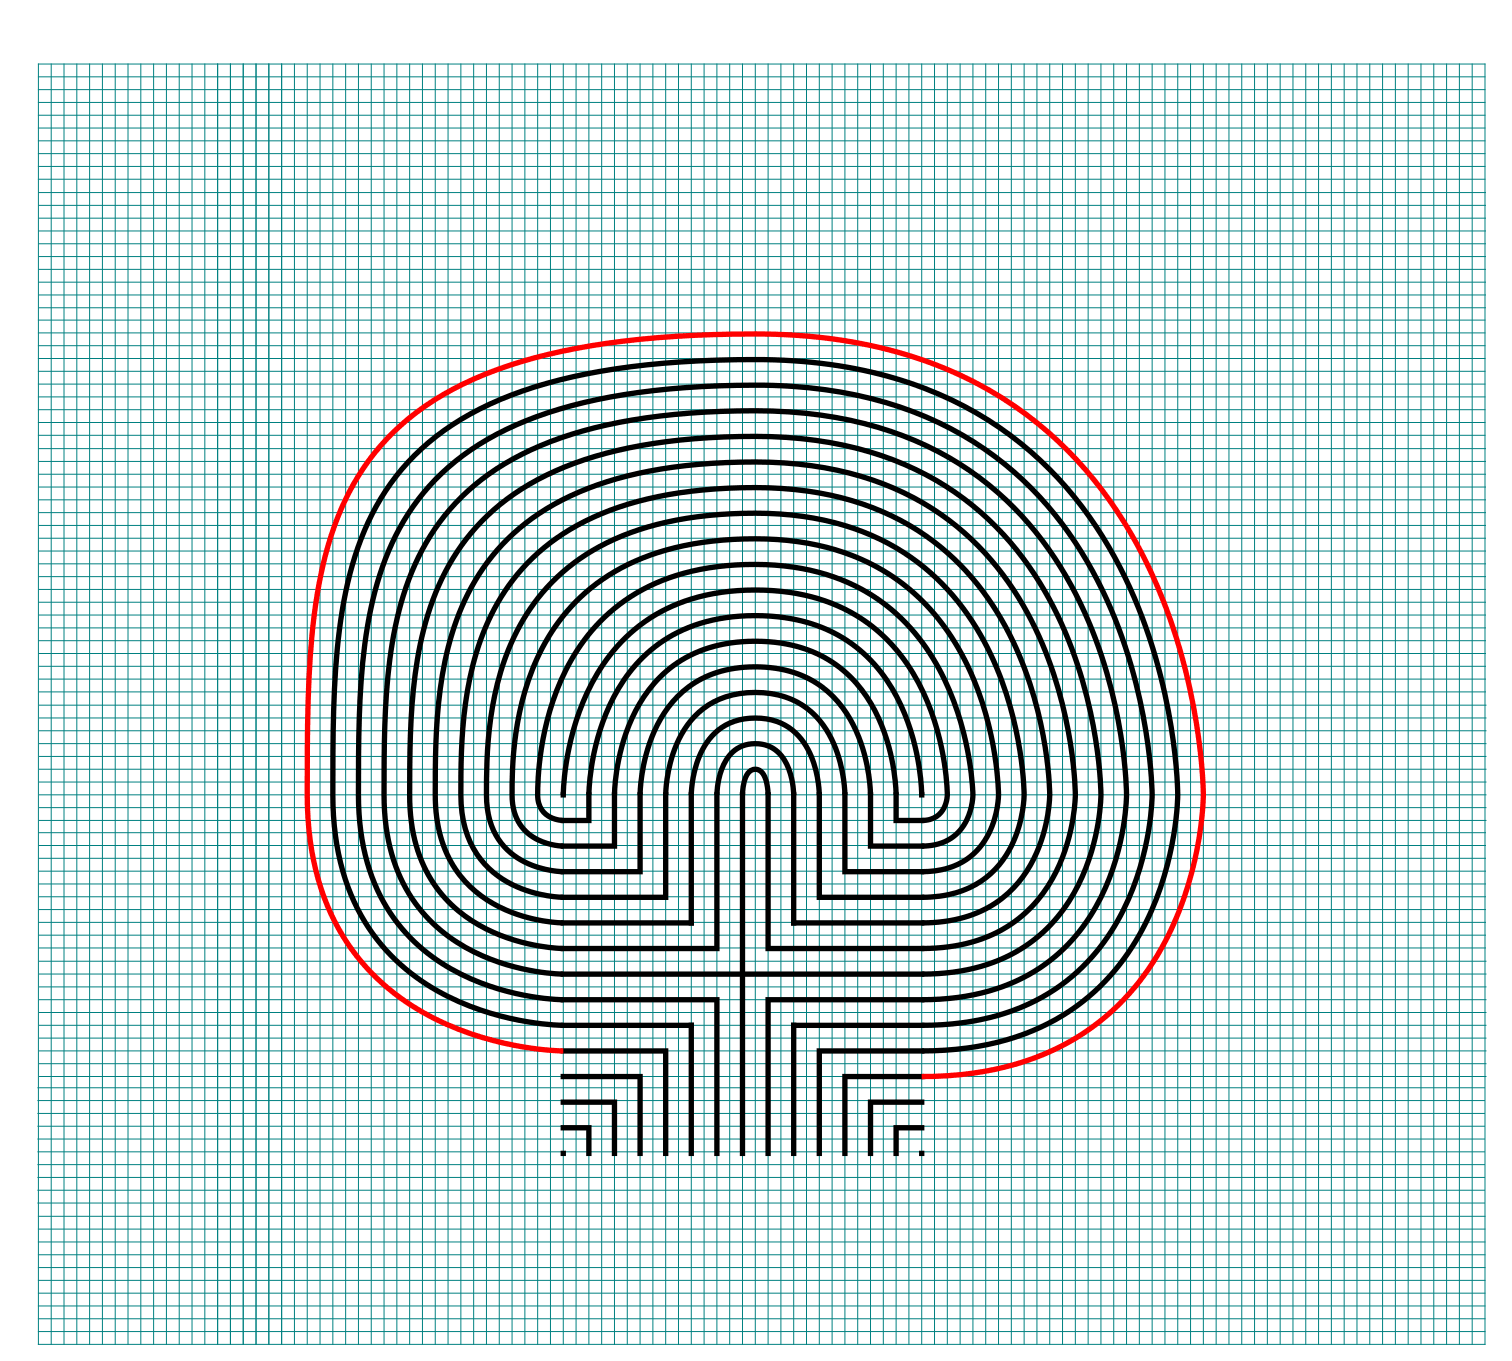
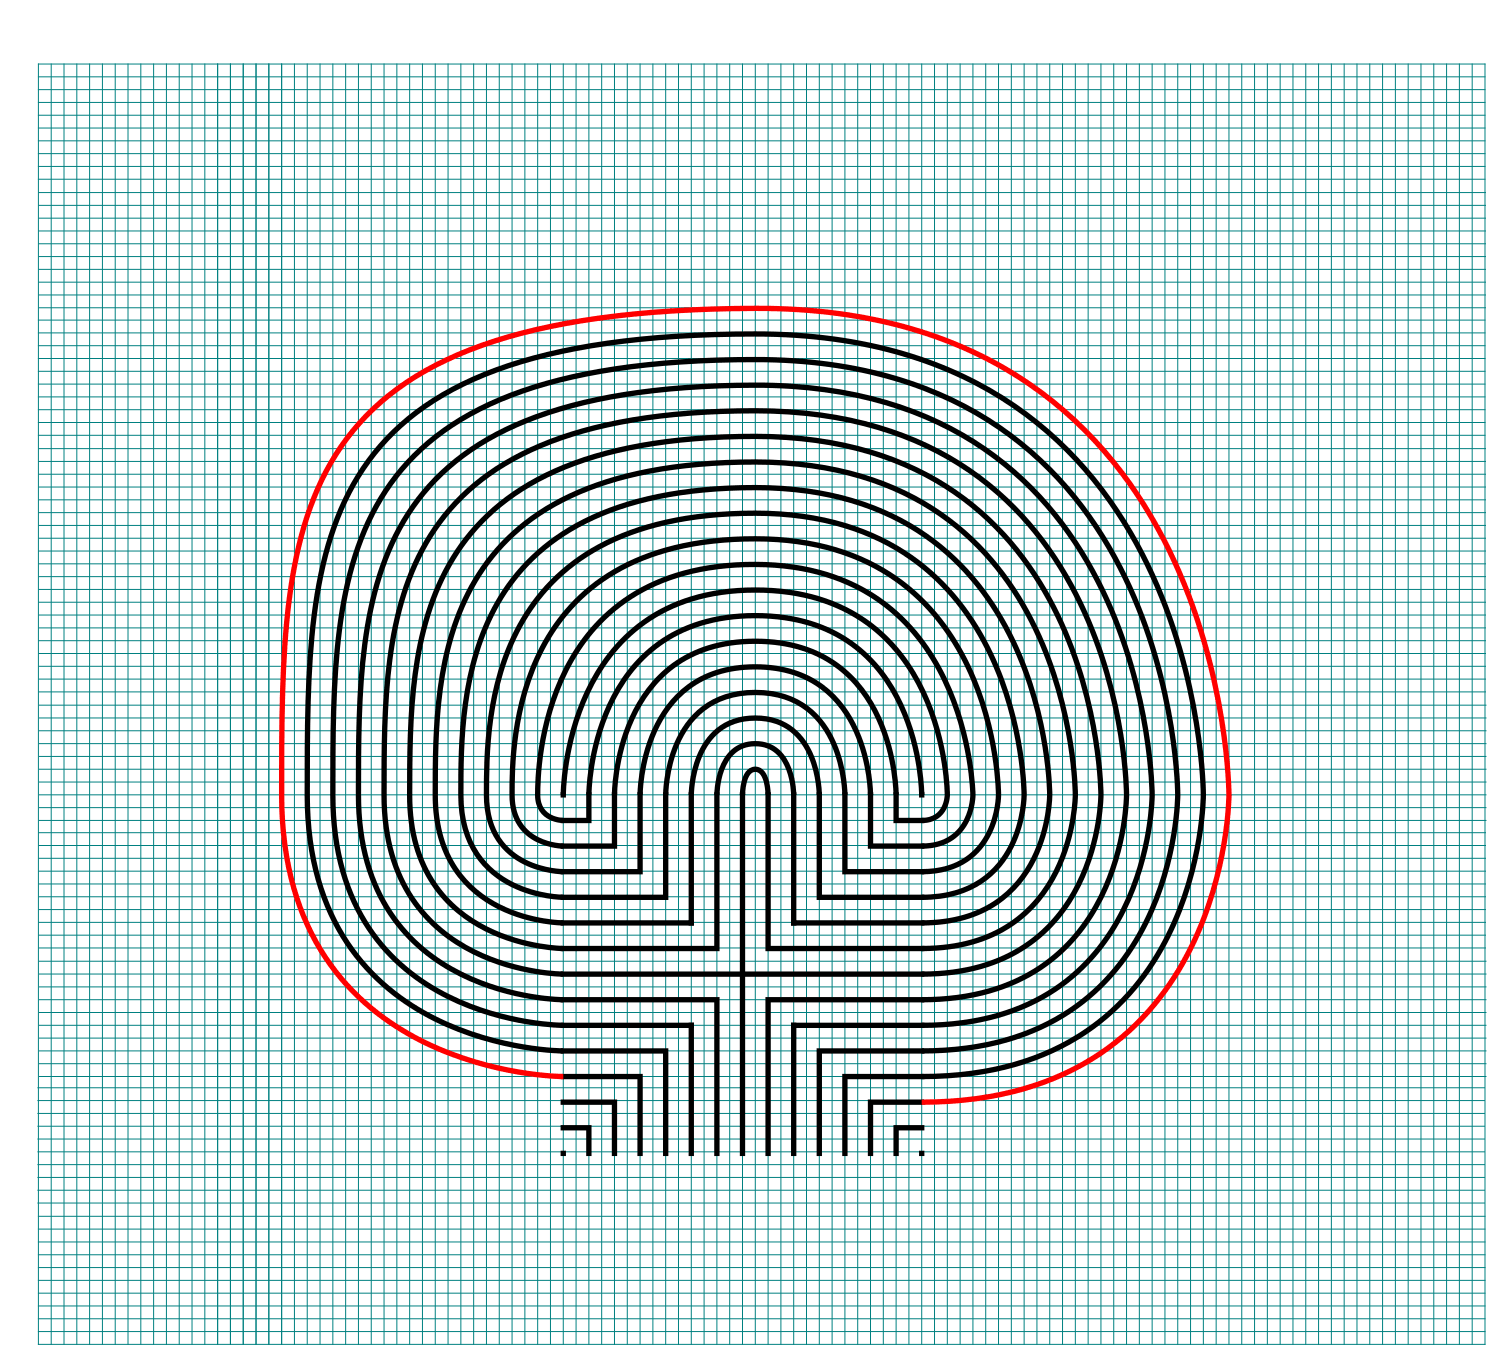
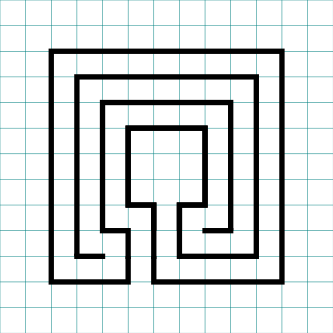
Step 5: Connect the final arch from the left

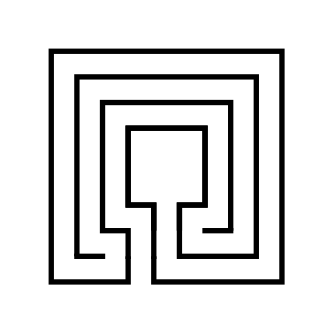
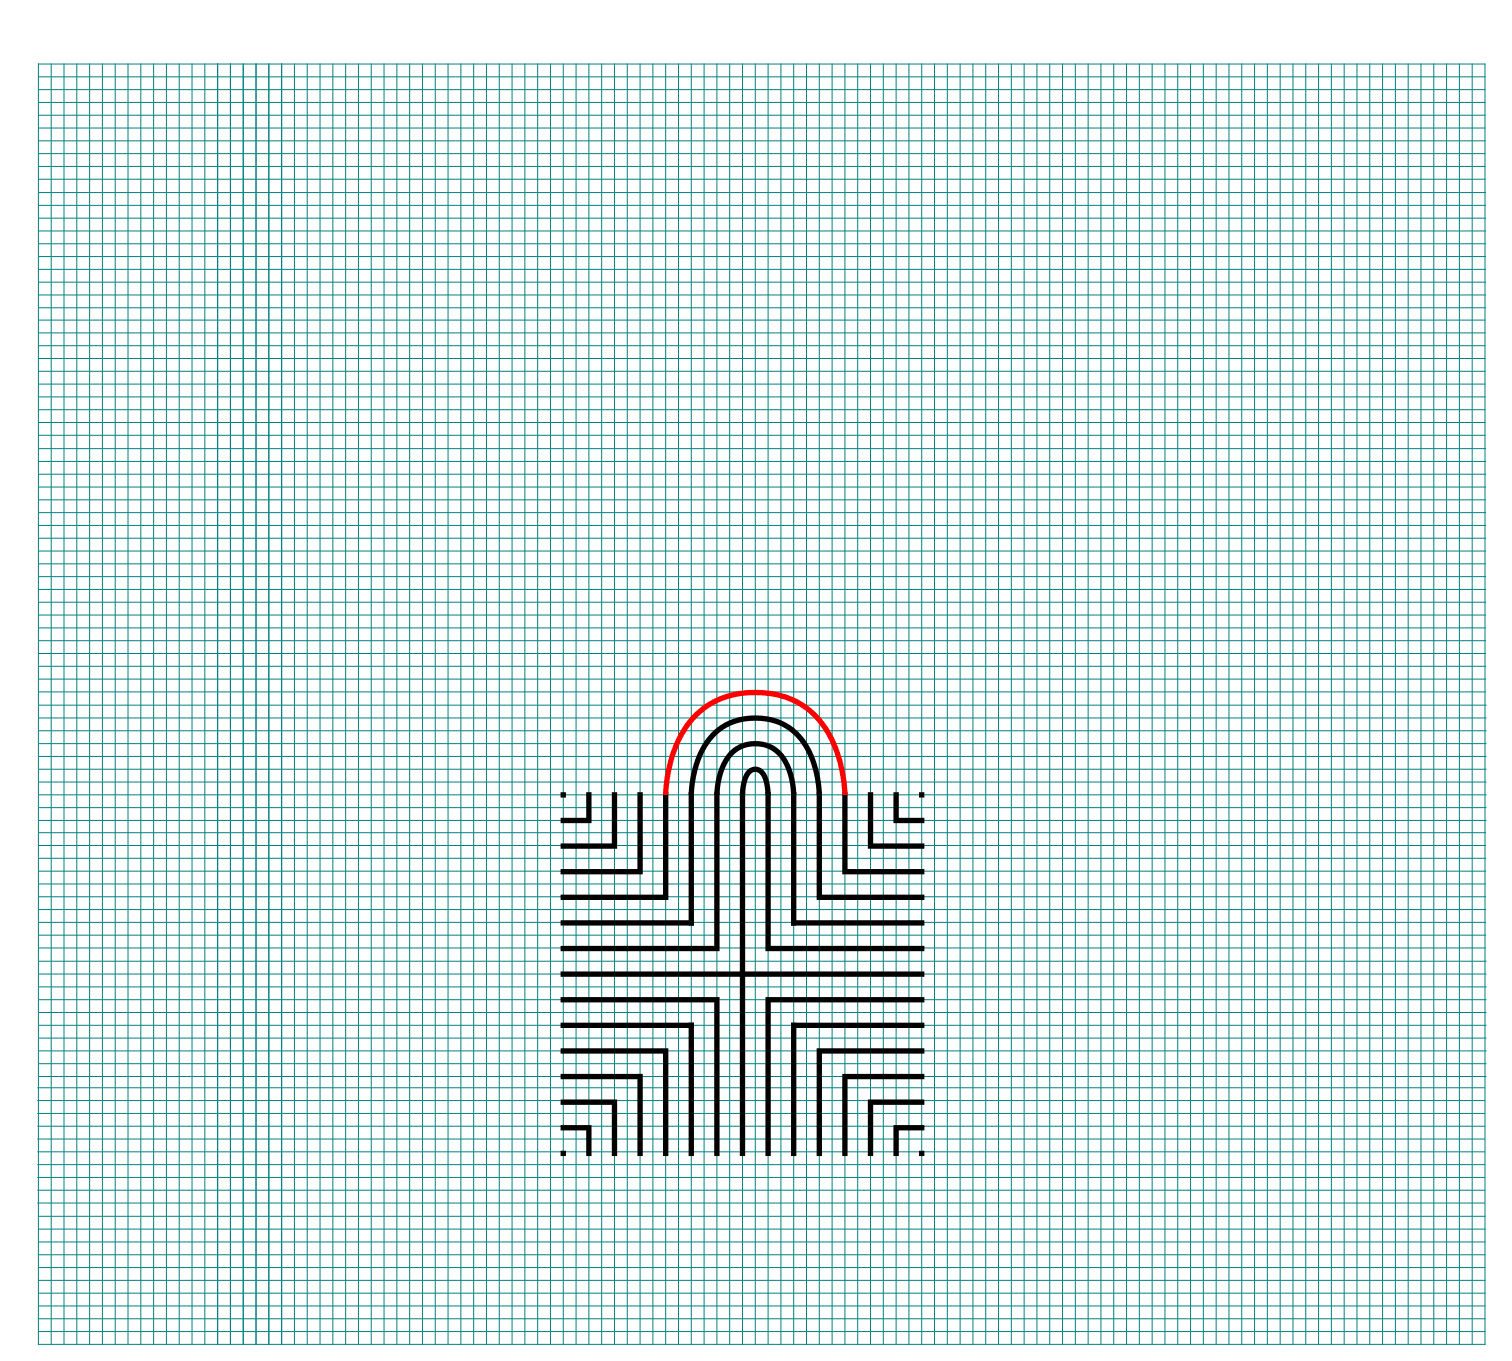
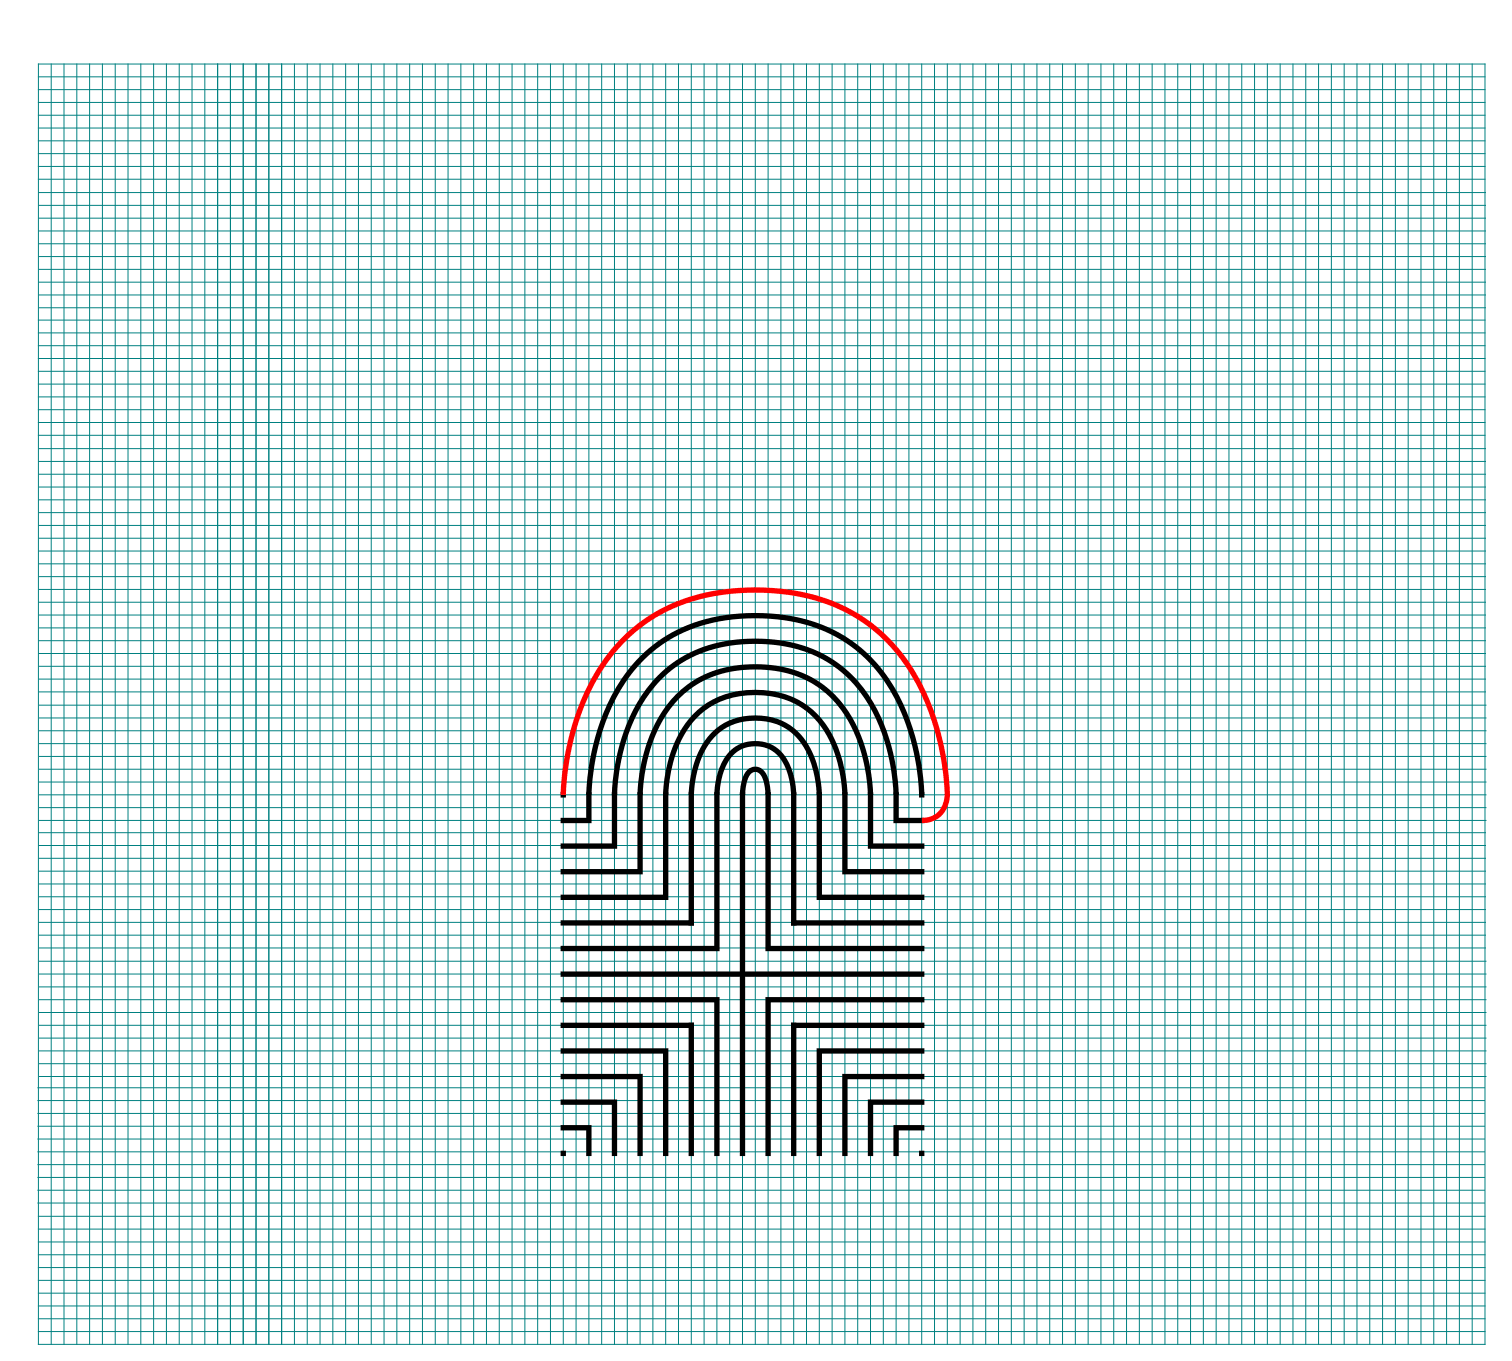
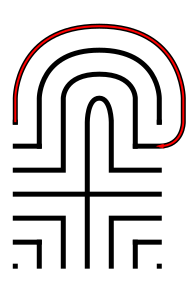
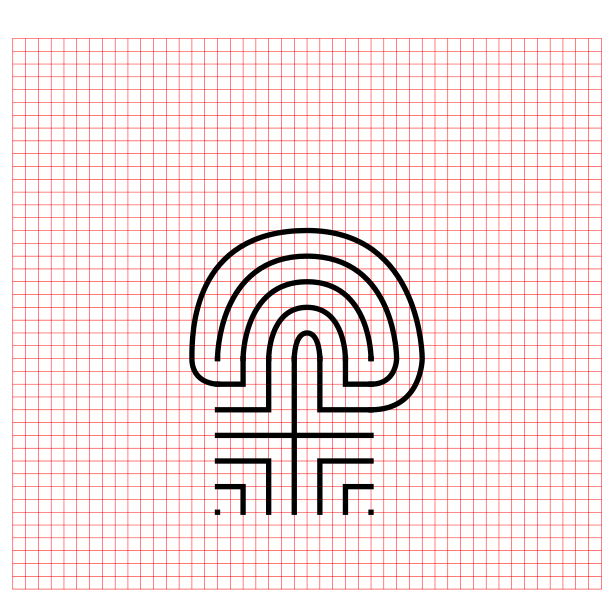
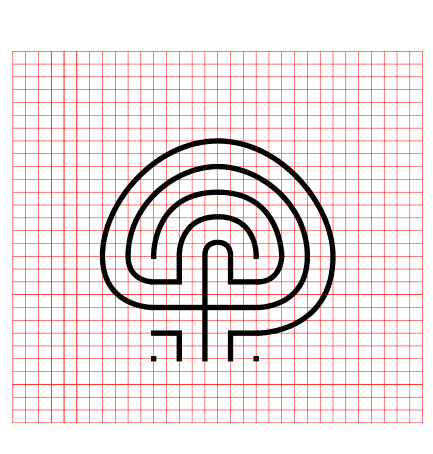
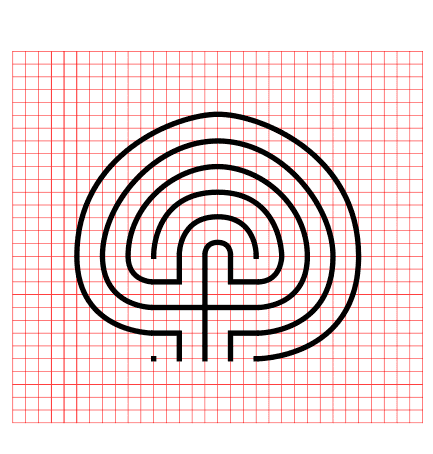
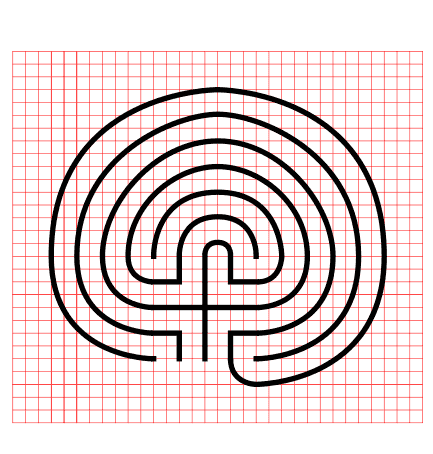
Connect the ends of the bottoms of the final 2 vertical lines around the structure to complete the labyrinth.

Making a 3 circuit Square Labyrinth step 5

3 Circuit Square Labyrinth - Step 5 - Draw the final arch

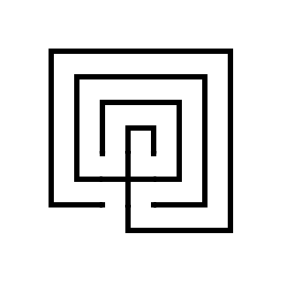
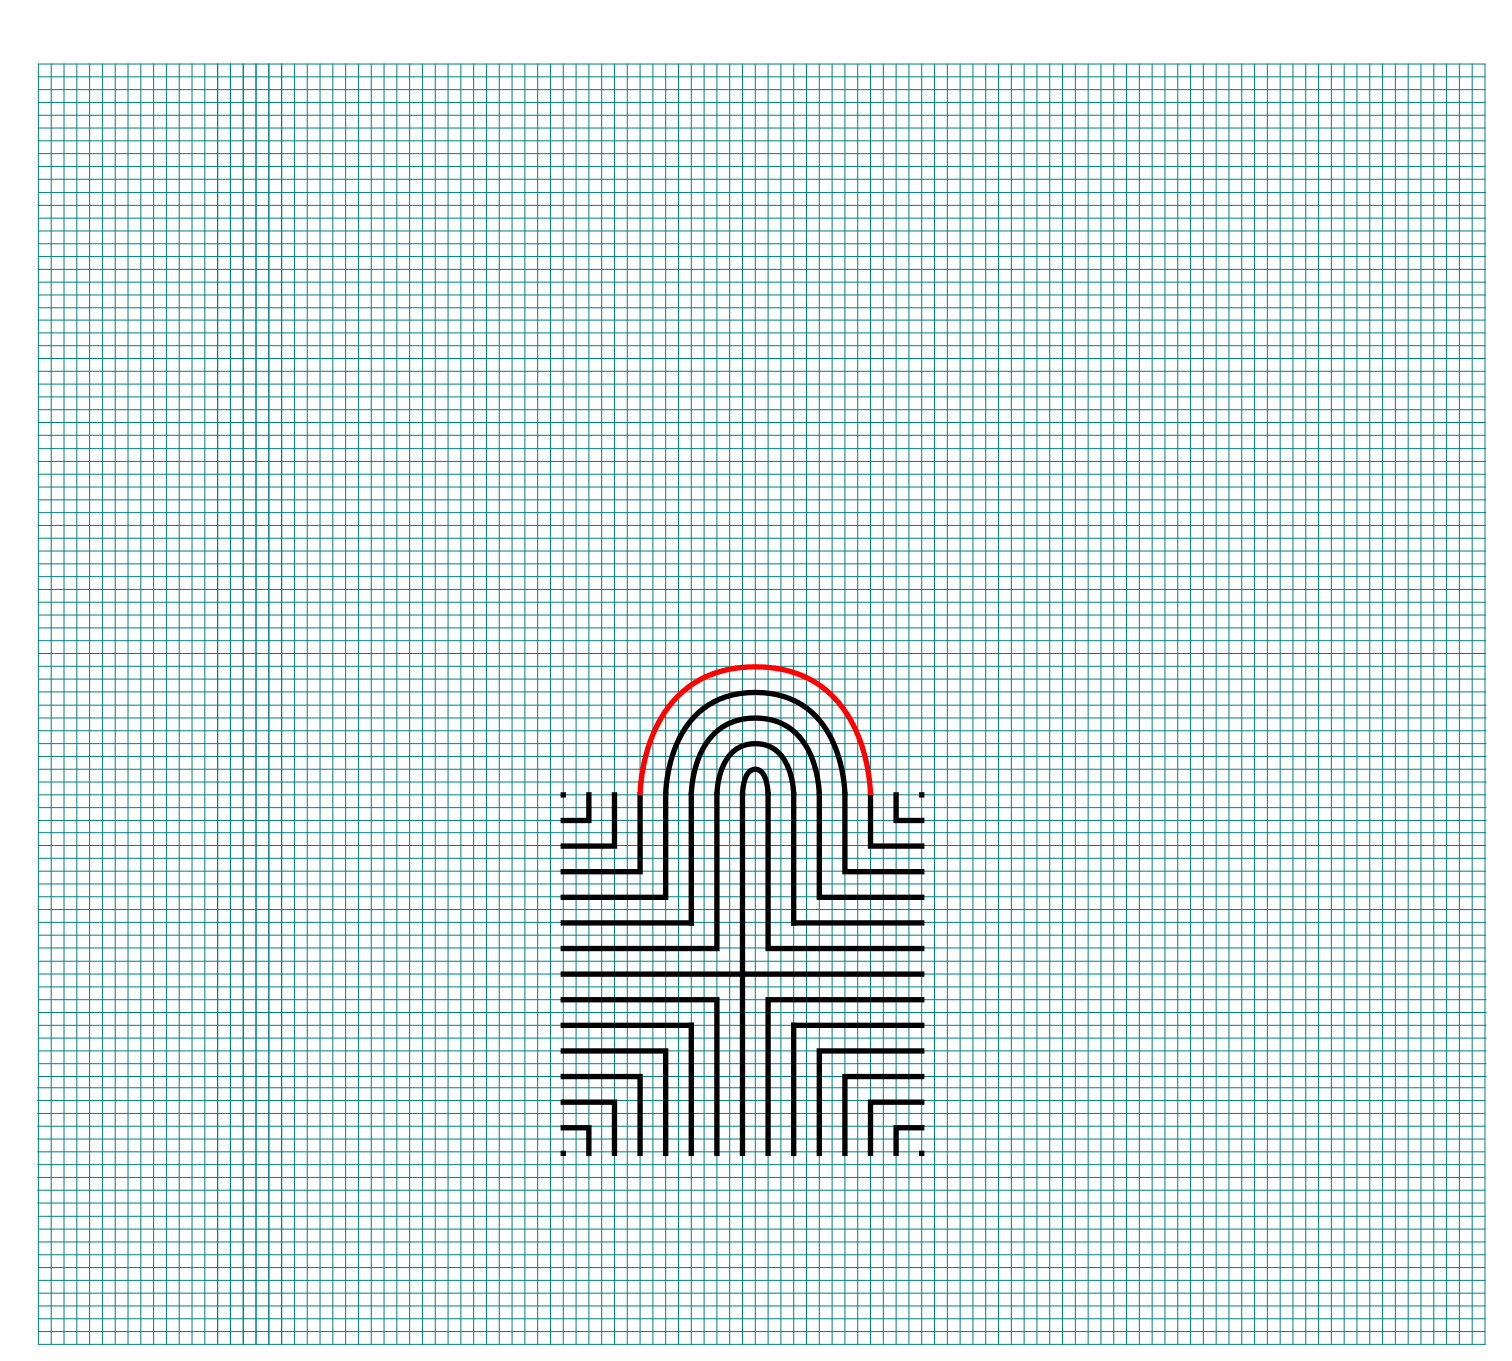
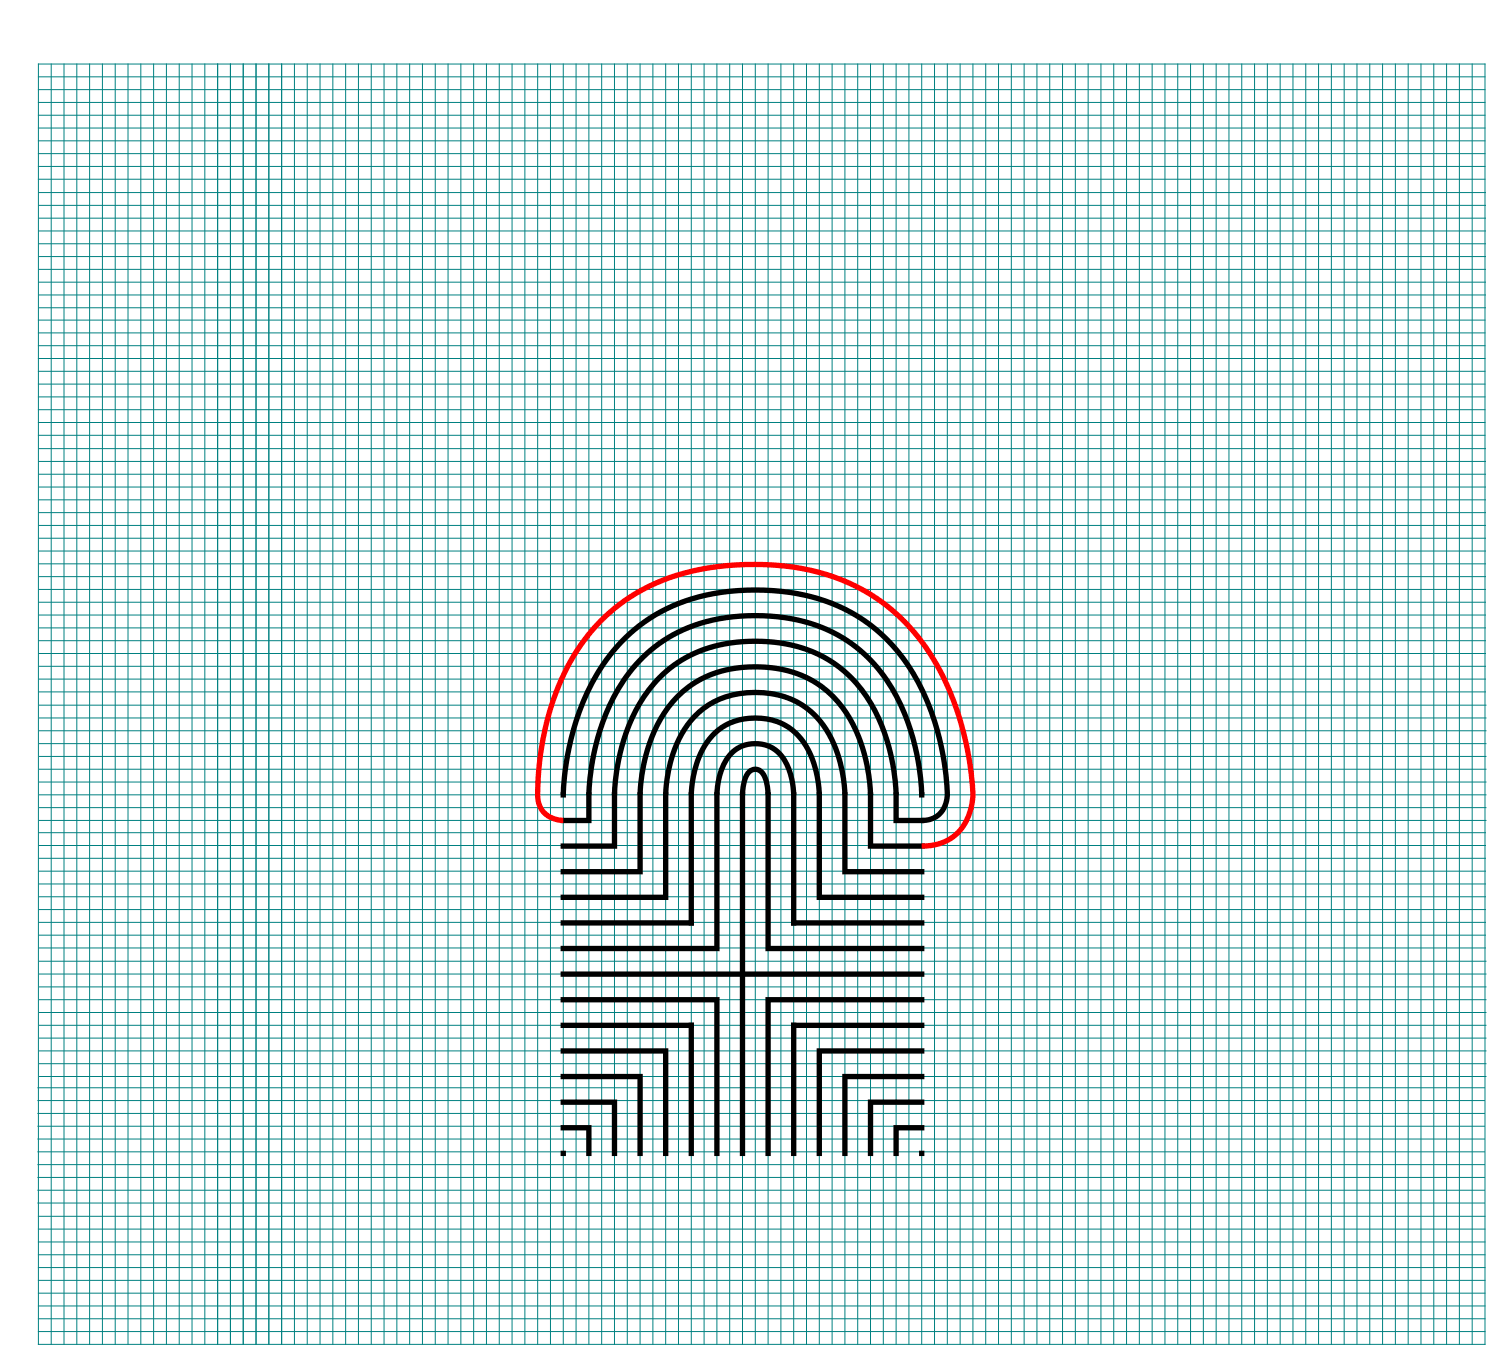
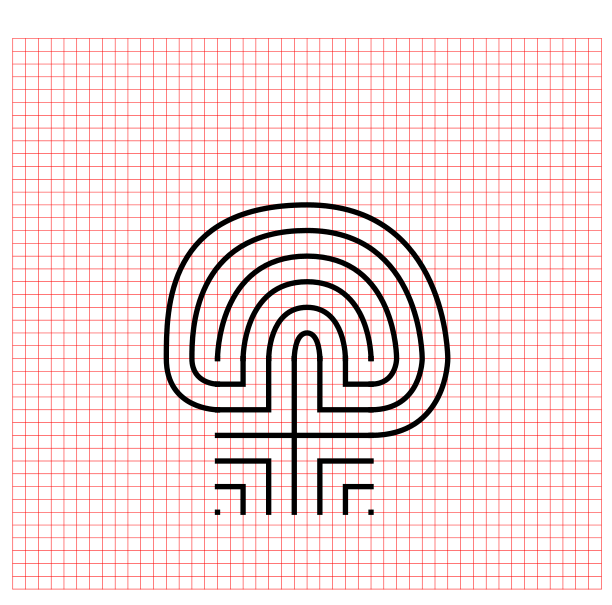
That does it. The final 3 circuit classical square labyrinth after 5 easy steps !!!

3 circuit classical square labyrinth

3 circuit classical square labyrinth


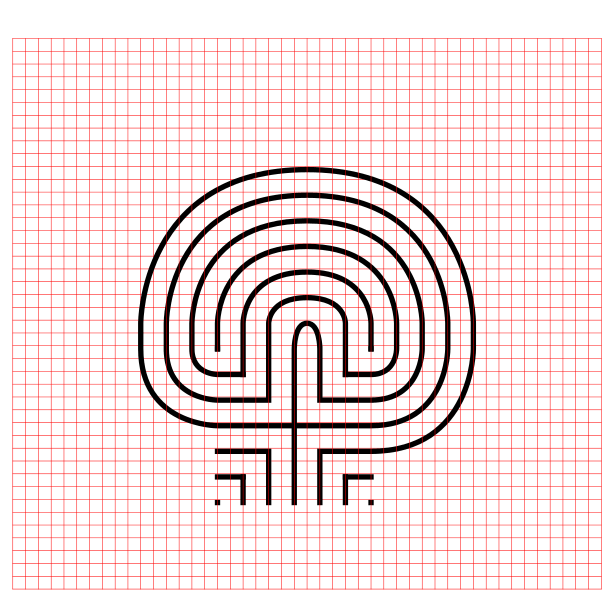
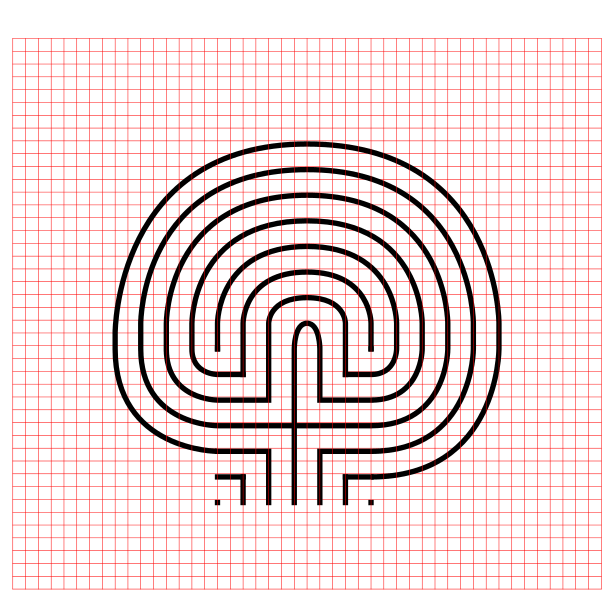
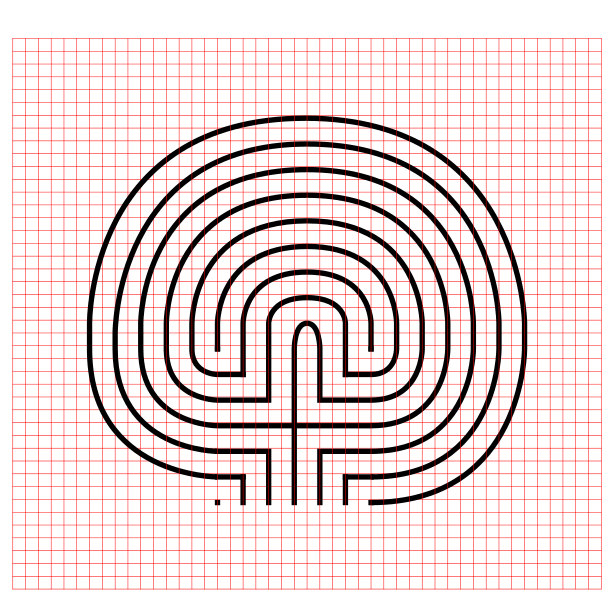
PART 2: MAKING A SQUARE LABYRINTH (GRIDS SHOWN)

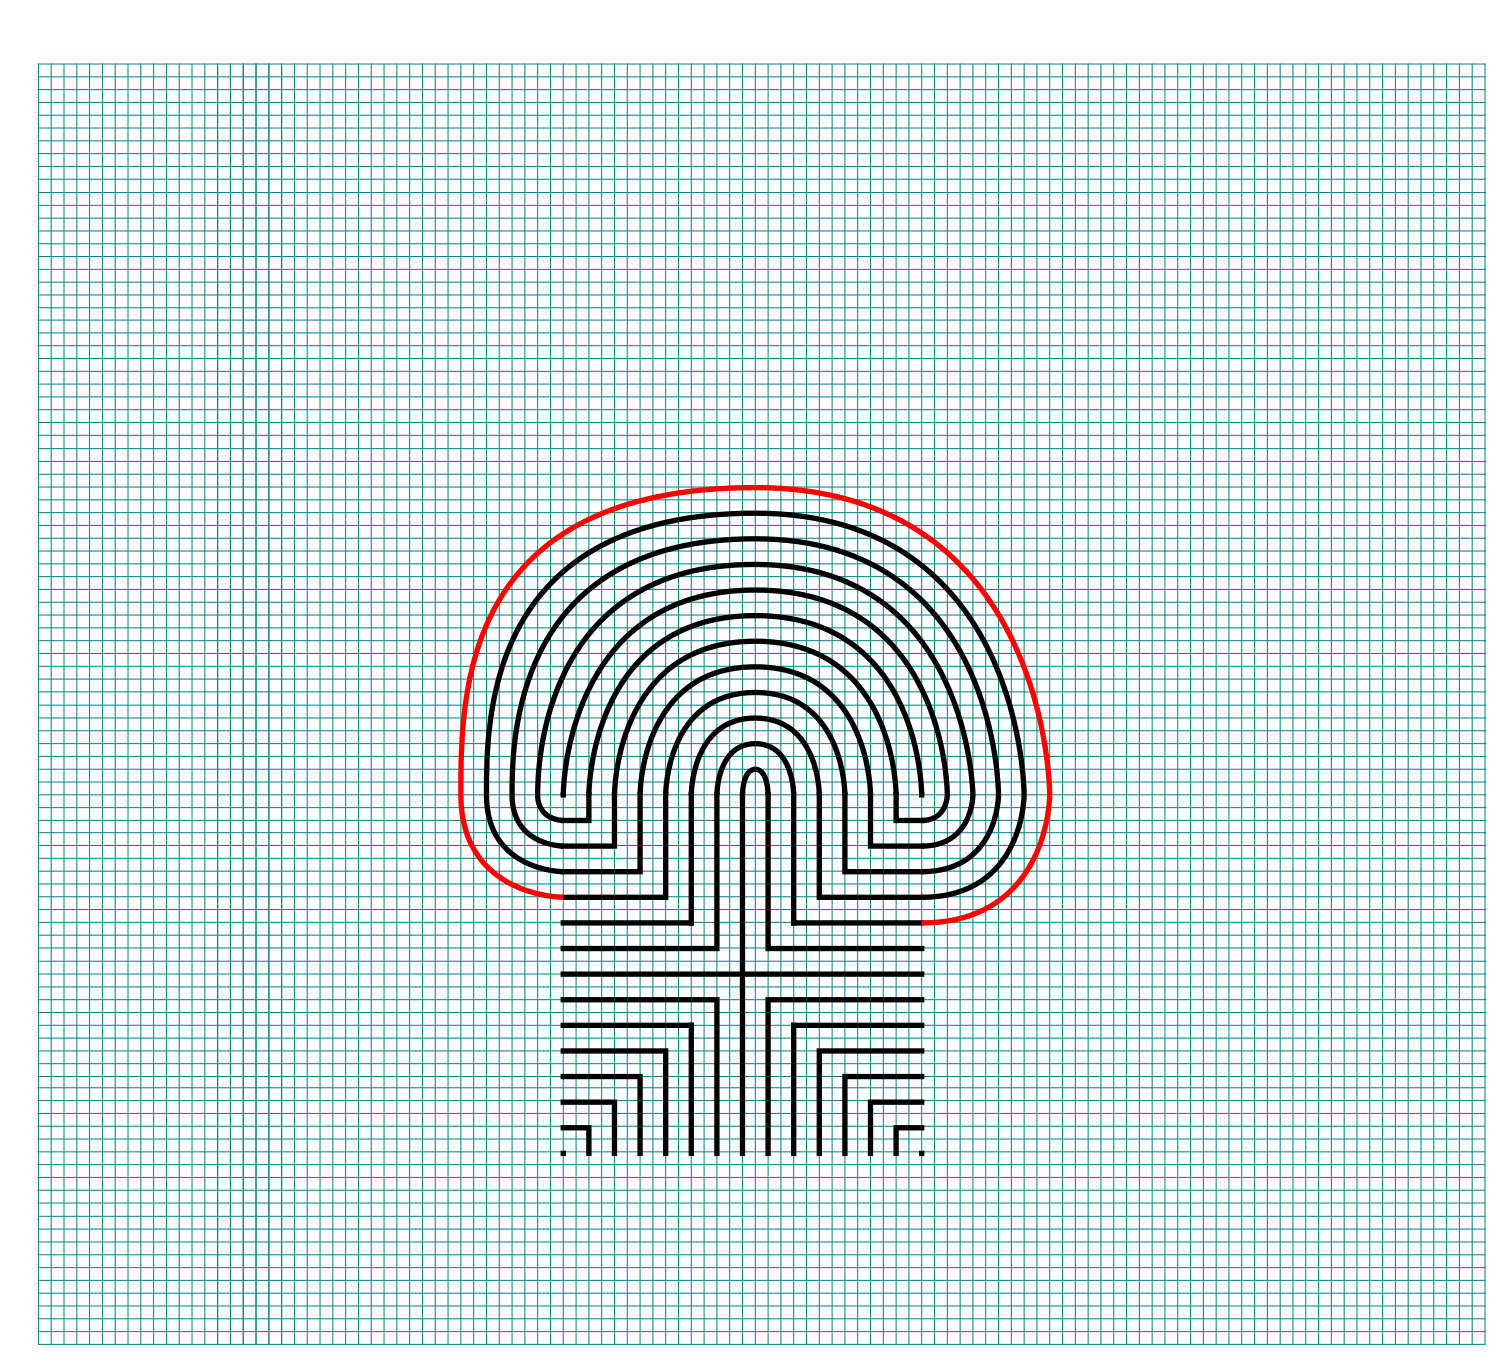
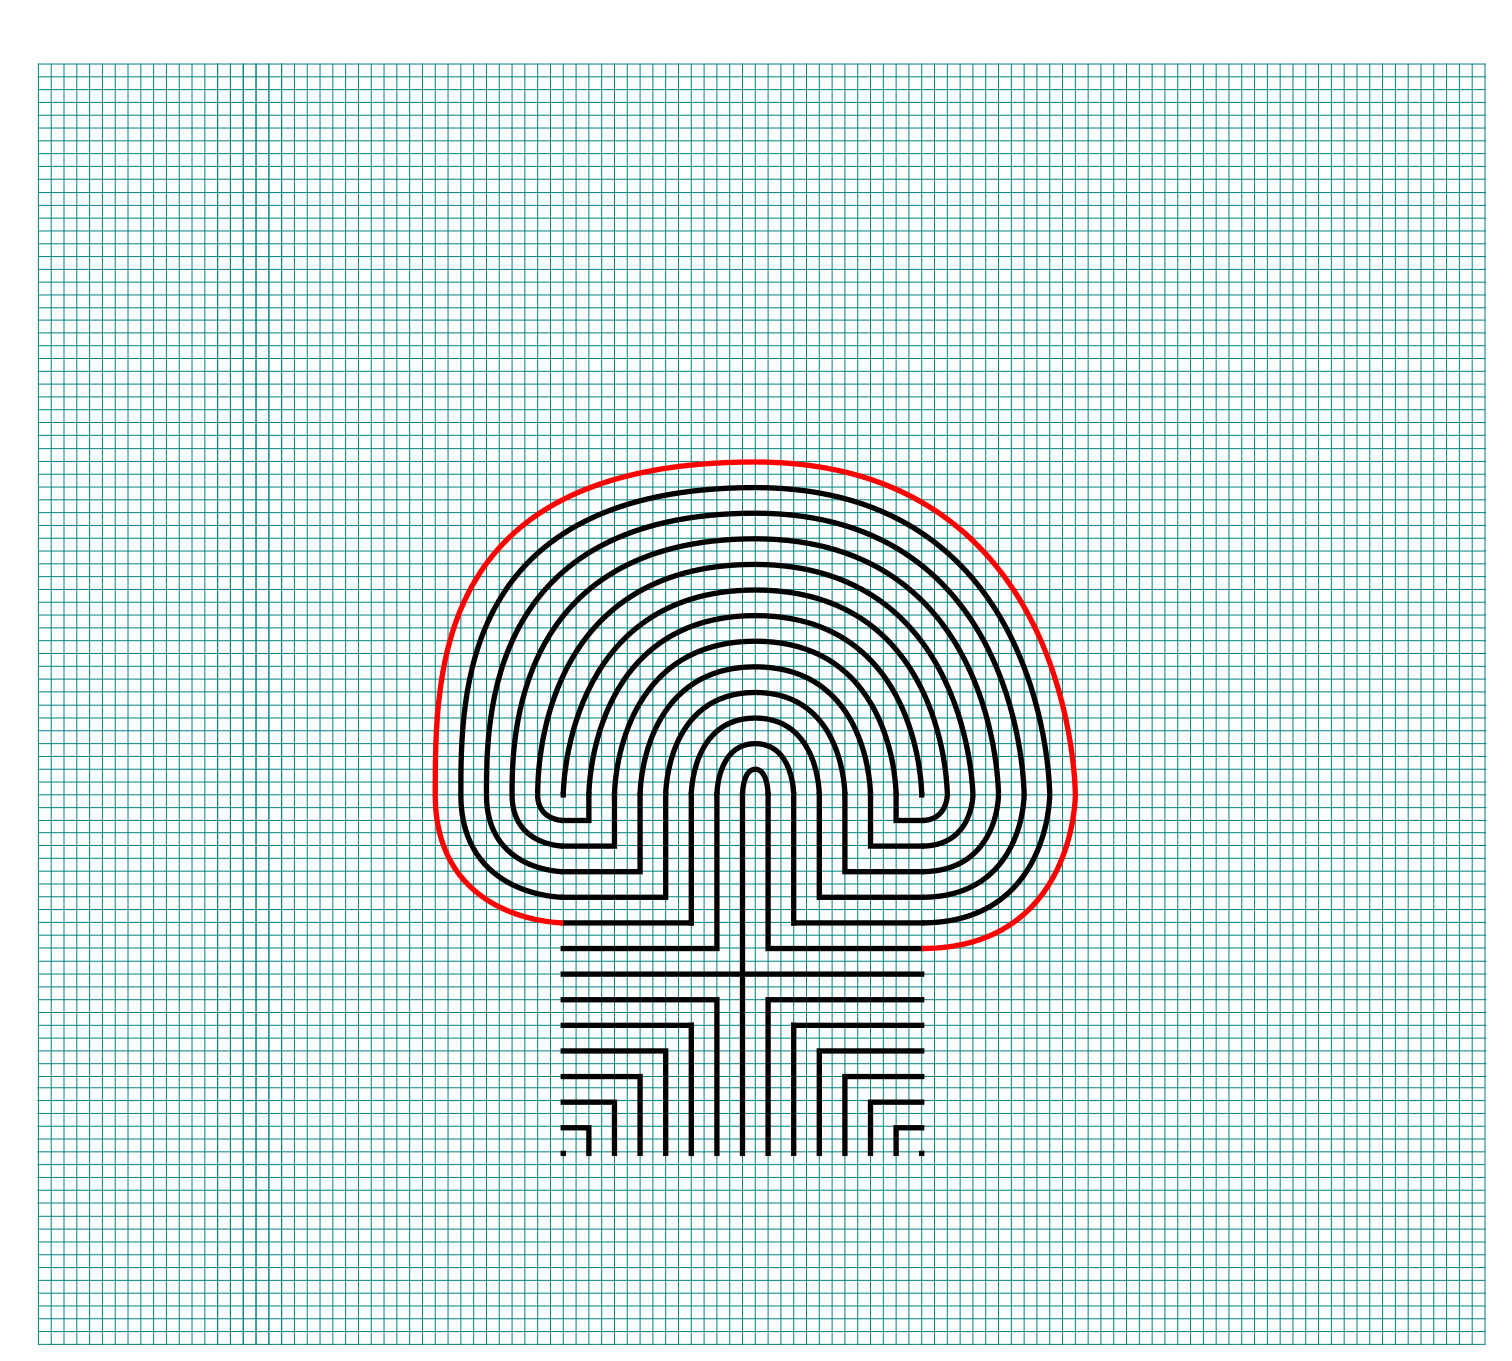
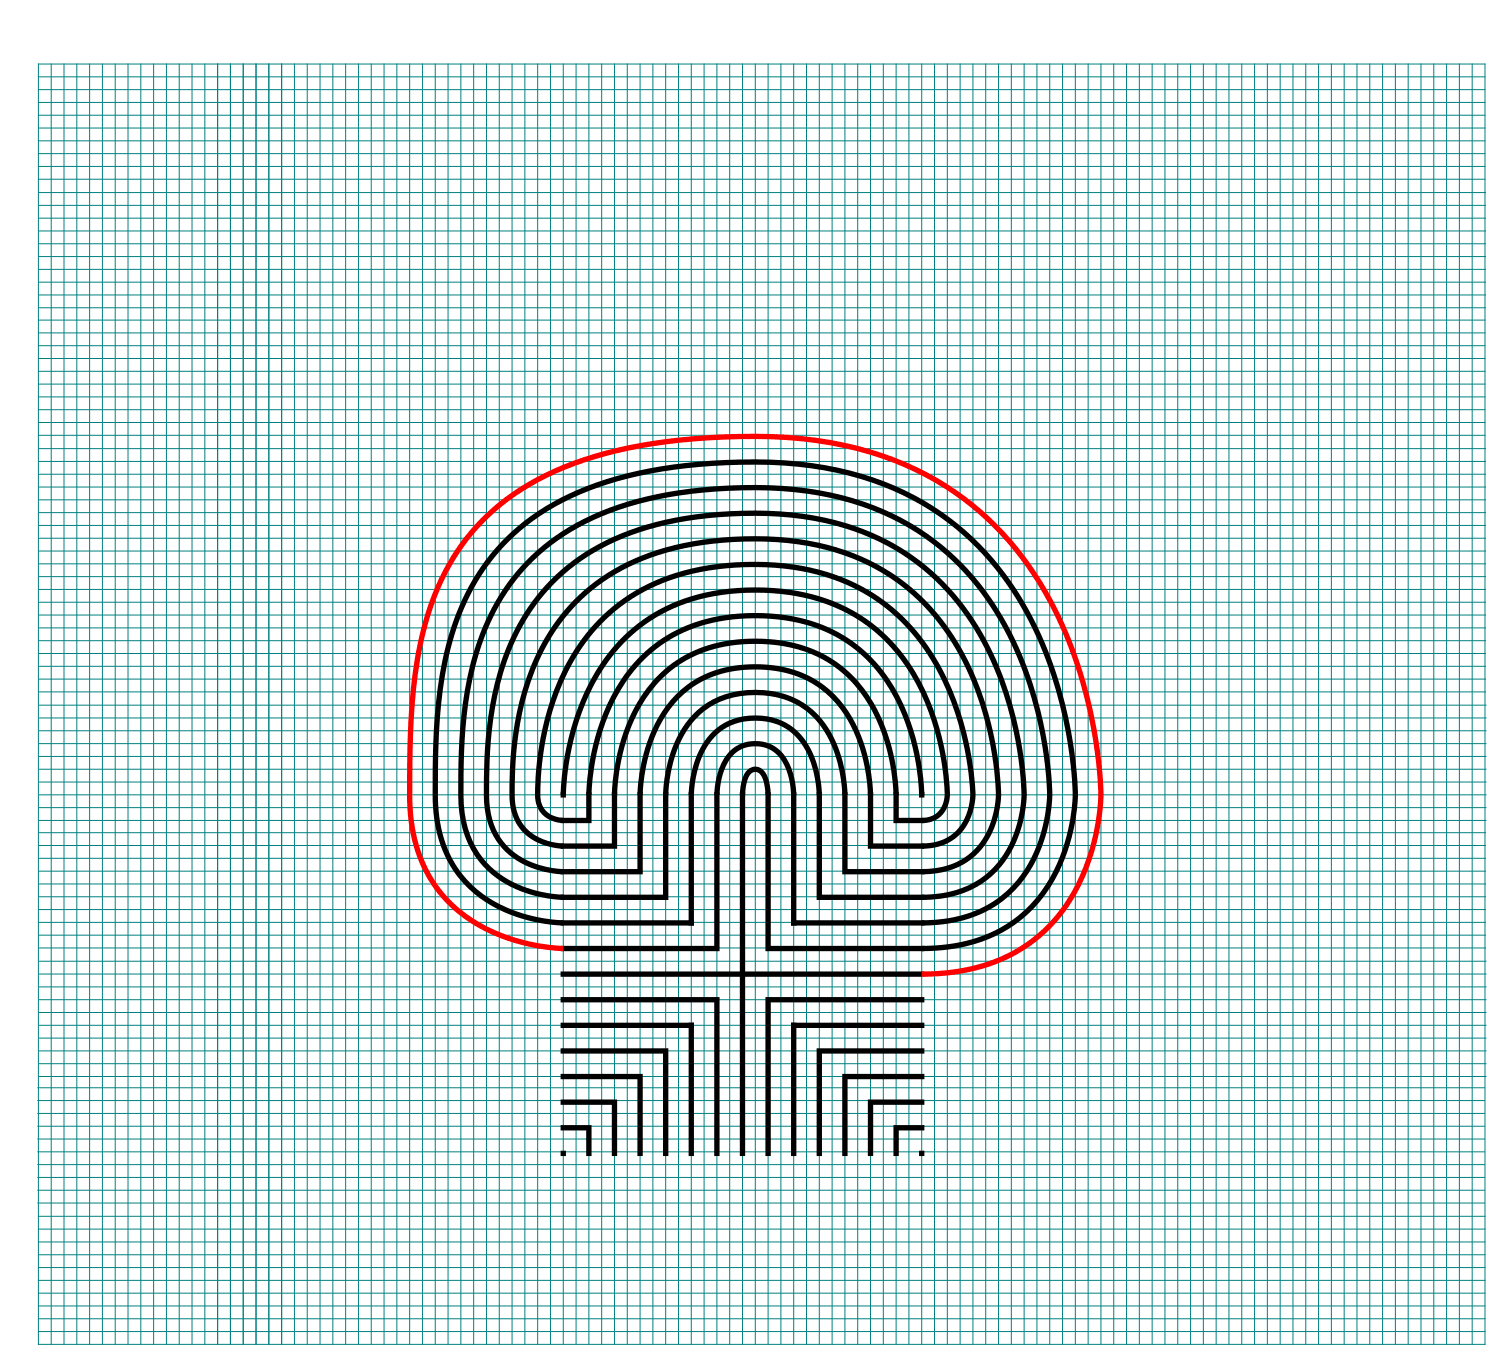
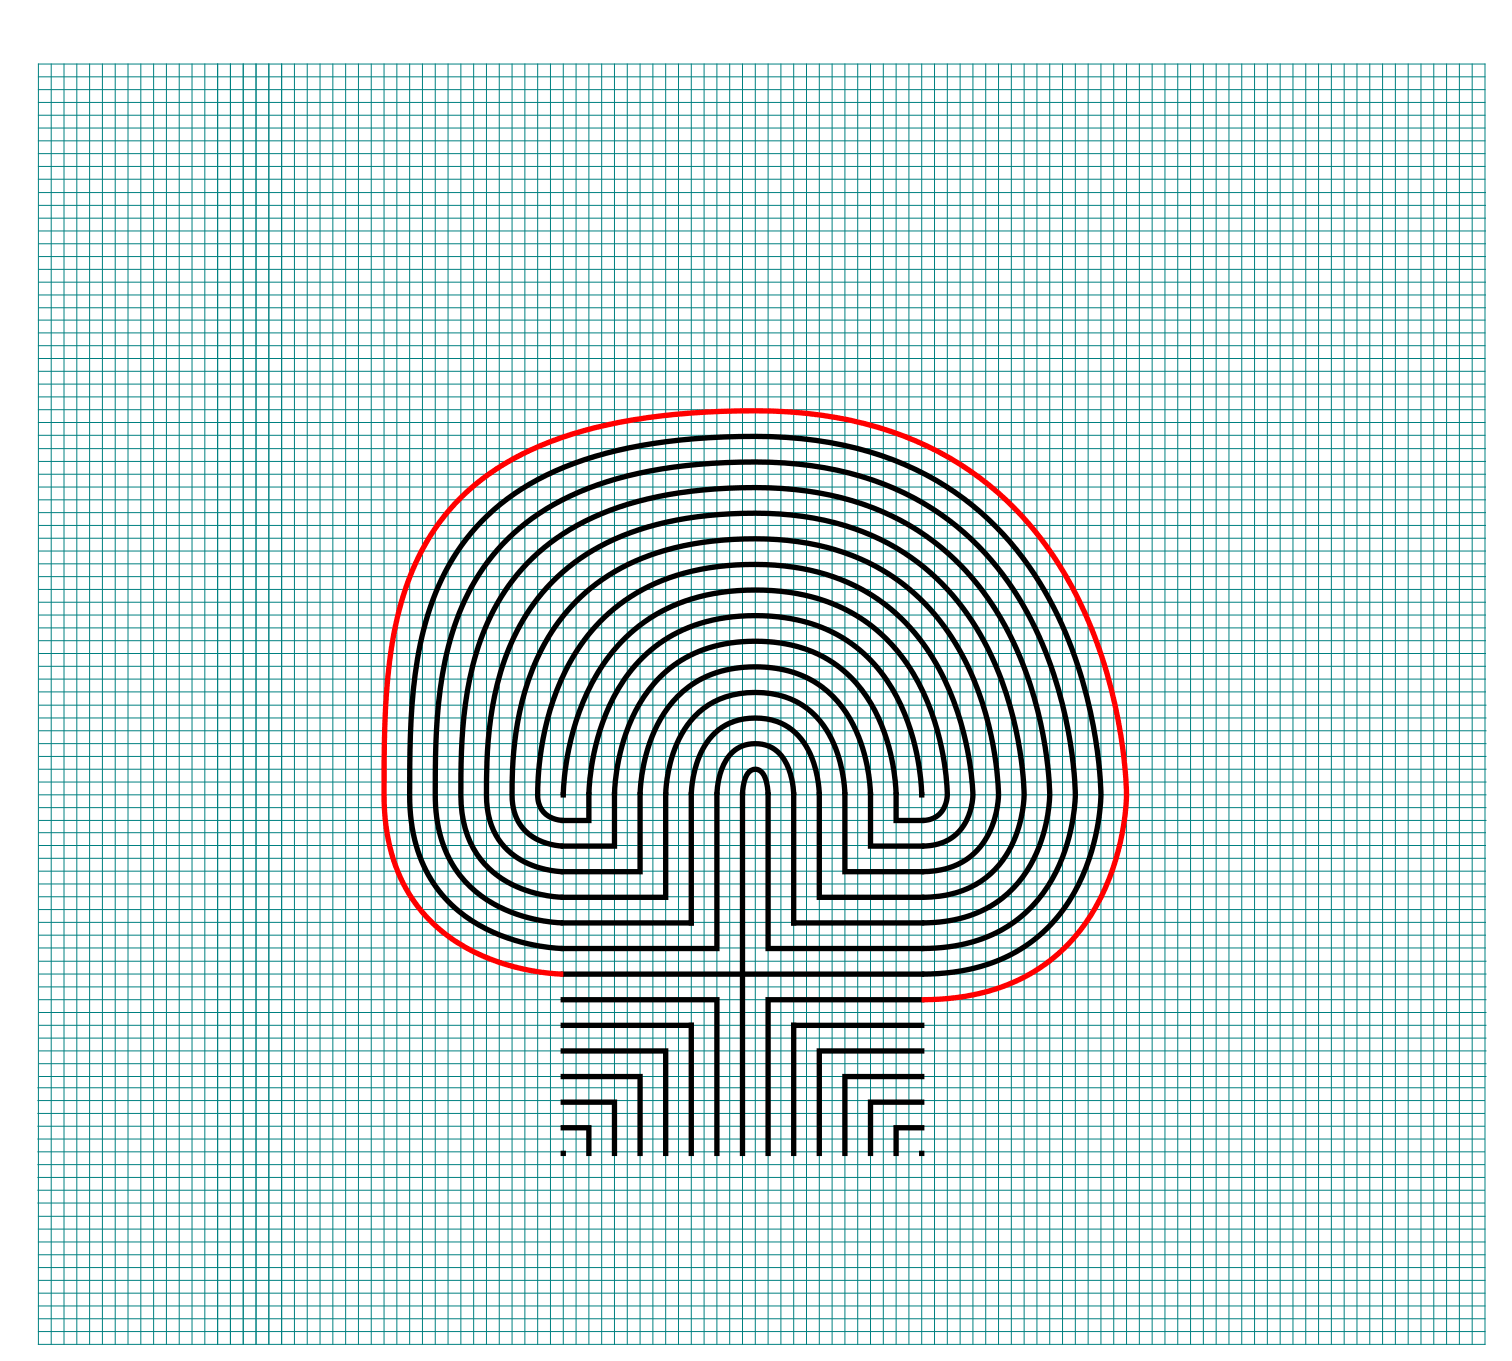
And here is the same labyrinth shown being made with grids so you can understand the shape better. Use the controls to build the labyrinth step by step.
 

PART 3: MAKING A SQUARE LABYRINTH (SMALL CENTER VERSION)

Alternative construction option: You have the option to use the more traditional starting seed pattern to create a 3 circuit square labyrinth, but this is not the most common construction. This version does not have a large square center and ends up not even being a perfect square. Here is the 5 step process to create it.

PRO TIP: this is the same construction and instructions as a 3 circuit classical shaped labyrinth but instead of curving the corners you draw the lines and corners at 90 degree angles !

Step 1: Draw the starting seed pattern.

The starting seed pattern is a plus sign with four dots in each of the four corners in the space apart from the lines to form pattern below.

3 circuit classical square labyrinth alternative seed pattern

Step 2: Connect the first “arch”

Draw an upside -down U shaped line from the top of the plus sign to the dot in the top right corner of the starting pattern. The top of the arch should peak halfway between those two points. This line will form what will become the goal of the labyrinth.

Square 3 circuit Labyrinth Alternative Part 2

Step 3: Connect the next “arch” from the left

Draw an upside down U shaped line from the left corner dot to the end point on the right side of the plus sign. Space the line an equal distance from the wall to the inside. Notice that you have moved one point to the left and connected that to the next point on the right.

Square 3 circuit Labyrinth Alternative Part 3

Step 4: Connect the next “arch” from the left

Draw another clockwise line from the end point of the left side of the plus sign around to the dot on the bottom right side of the pattern (Again, the next on the left to the next on the right). Space the line an equal distance from the wall to the inside as you draw the line. Again this looks like an upside-down U plus the connections to the appropriate ends.

Square 3 circuit Labyrinth Alternative Part 4

Step 5: Connect the next “arch” from the left

Same process as before but this time you connect the bottom left dot from the seed to the bottom of the plus sign.

Square 3 circuit Labyrinth Alternative Part 5

That completes the process for this alternative version.

3 circuit classical square labyrinth with small center
 

PART 4: MAKING AN ALTERNATIVE SQUARE LABYRINTH (GRIDS SHOWN)

And here is the same labyrinth shown being made with grids so you can understand the shape better. Use the controls to build the labyrinth step by step.
 

PART 5: REAL WORLD LABYRINTH EXAMPLES

Here are some examples of some 3 circuit square labyrinths you can find in the US:

Other posts you may like:

The 8 best books about mazes, labyrinths and their history

10 of the Most Frequently asked Questions about Labyrinths, with Answers

The Rock n Roll Hall of Fame Maze

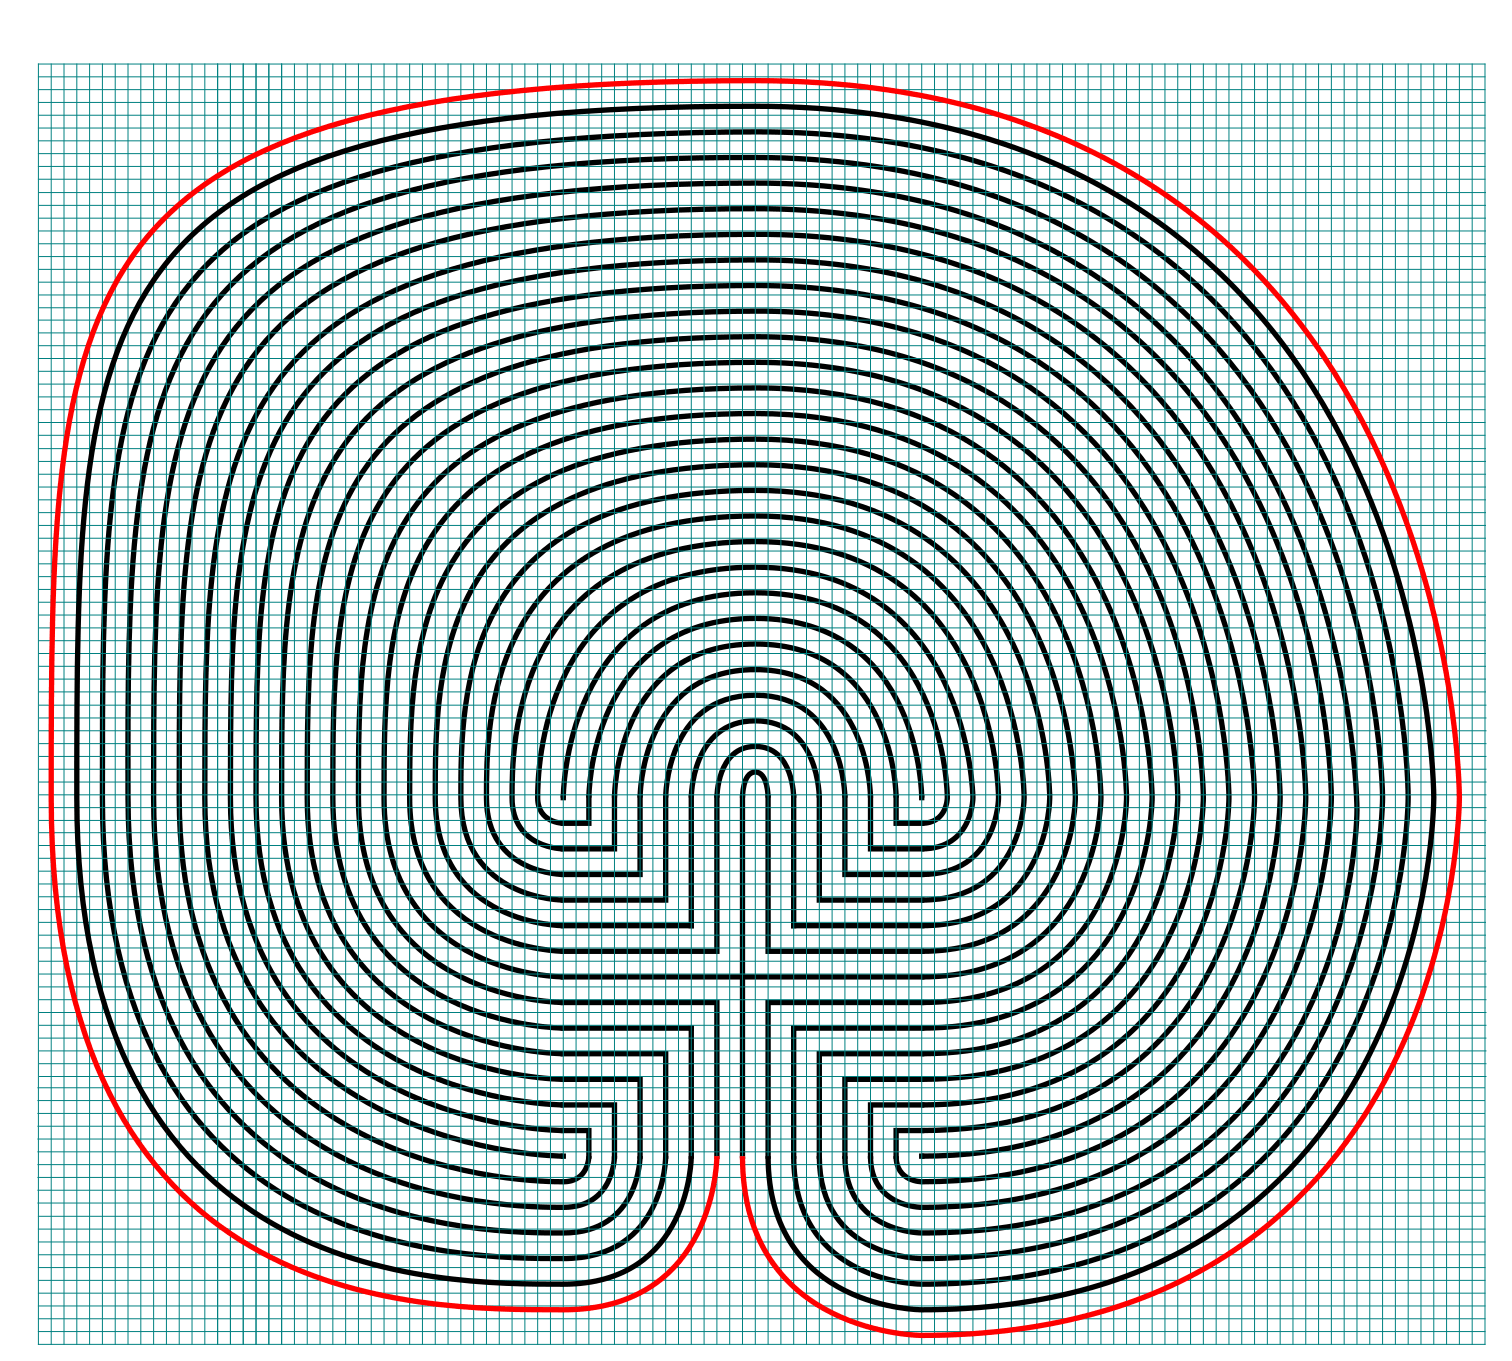
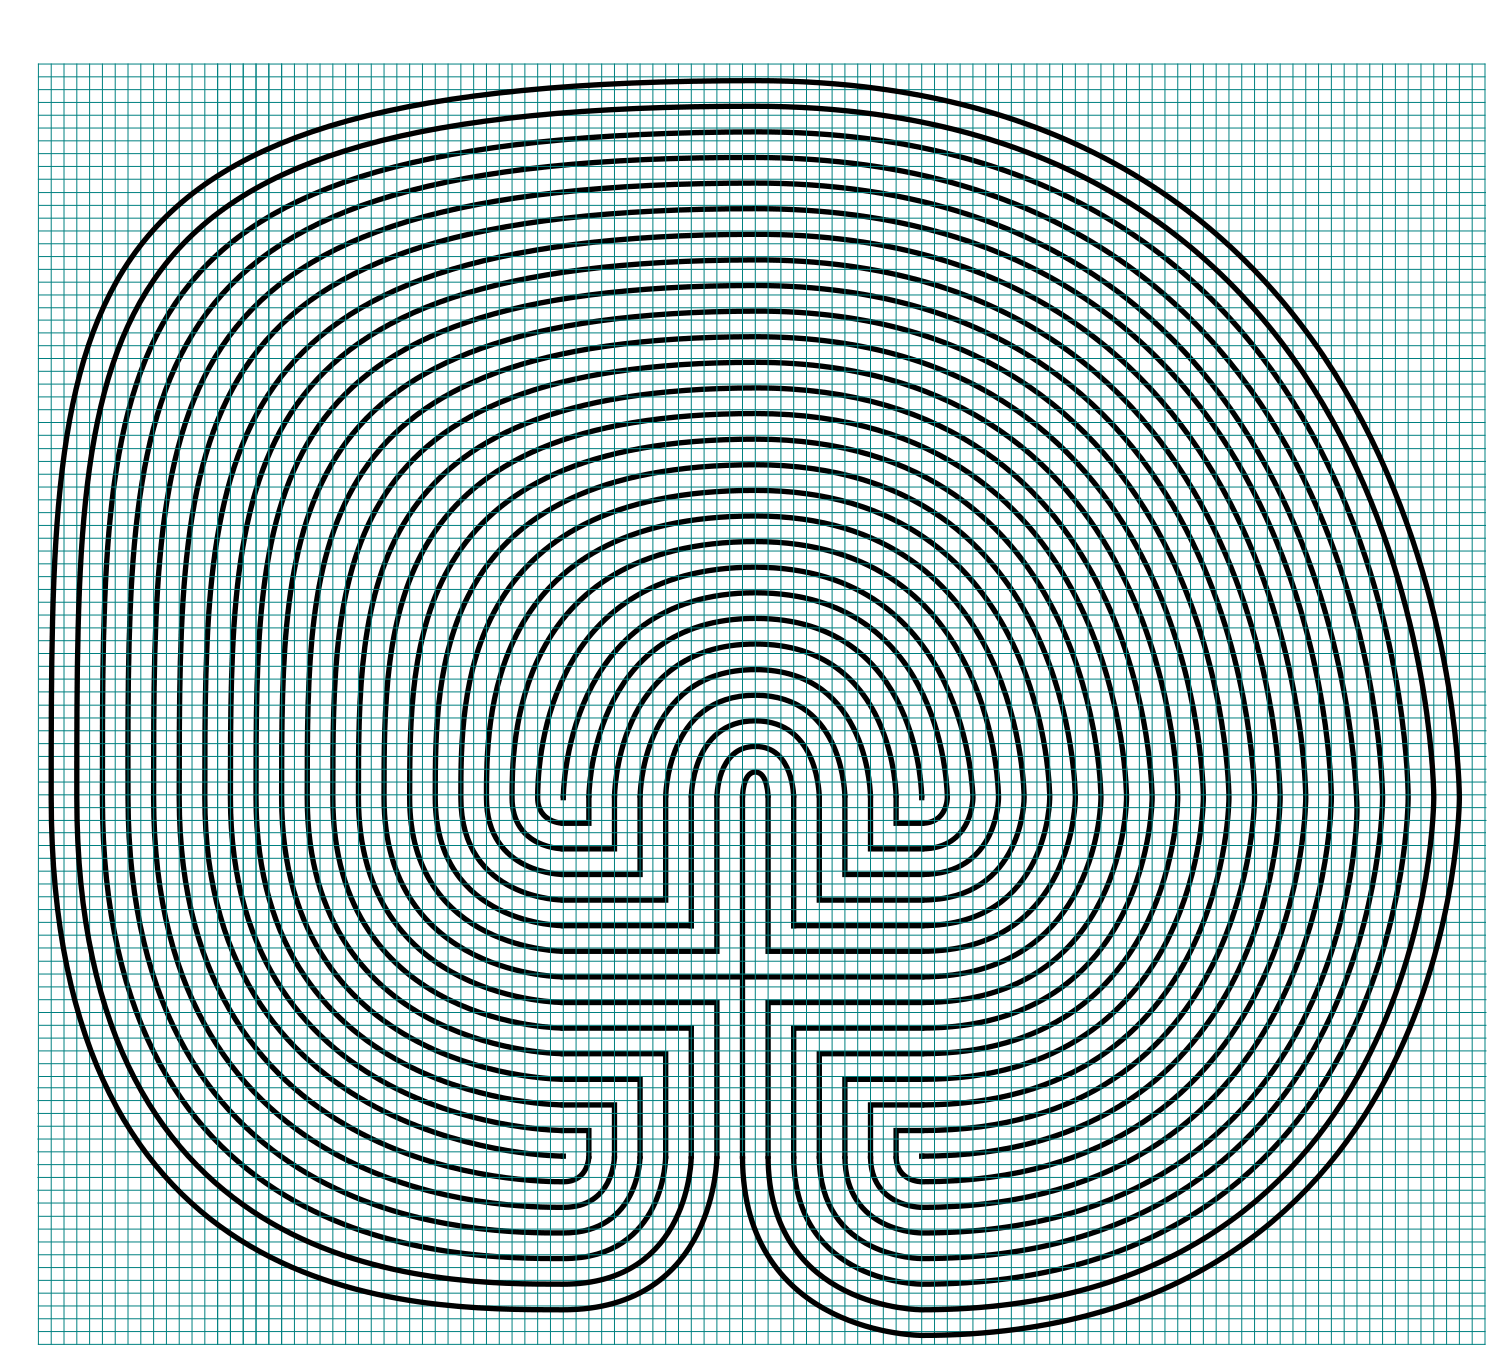
How to Draw a Massive 27 Circuit Labyrinth

Drawing a massive 27 circuit classical labyrinth feels like running a marathon. I have never run a marathon. That might be a lie. To draw it step by step it takes a 29 step process. Writing that out and going step by step is laborious, so instead I am going to give you the cheat codes. It saves me time. If you decide to create this it probably won’t save you any. The truth hurts. Let’s get on with it.

The truth about this labyrinth is not how many circuits it has - but that once you understand how seeding and drawing arches works, you can make any size classical labyrinth. I did extensive research on the over 4,000 labyrinths in the US, and the most circuits I found was 15 (and there are only 3 of them). So you will not be finding this labyrinth anywhere but drawn on paper or your digital screen.

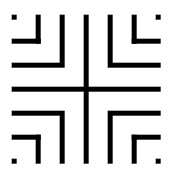
Step 1: Draw the starting seed pattern

The starting seed pattern based on an imaginary 14 x 14 box grid. Start with a centered is a plus sign. Add L shapes one grid away from the plus sign in all 4 quadrants. Repeat until you have 6 L per quadrant. Finally add a dot to each of the four corners. Basically, copy the seed the pattern you see here:

27 circuit labyrinth seed pattern -how to draw an 11 circuit labyrinth part 1

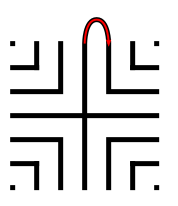
Step 2: Connect the first arch to create the goal

Draw a curved line from the top of the plus sign to the L directly to the right using an arch that extends 1 grid high. The top of the arch should peak halfway between those two points. This line will form what will become the goal of the labyrinth.

how to draw a 27 circuit labyrinth step 2

Steps 3 - 29: Connect the next endpoint to the left to the next endpoint on the right

Every step from now on will be basically the same. Move one point to your left (moving counterclockwise) and connect that to the next point on the right (moving clockwise).On the right find the listing of connection points. We already connected points 1 to 1. TIP: the top of all the arches will all align above the same point.

How to Draw an 27 Circuit Labyrinth - endpoint explanation

TIP: Now that you see the seed pattern numbered and paired you can see that there is a method to convert your seed to a # of circuits. It is the # of pairs minus 1.

If you get into any trouble refer to the directions for the Classical 7 Circuit Labyrinth. This is essentially the same, but many more steps. That completes the drawing of an 27 circuit labyrinth.

27 circuit classical labyrinth
 

MAKING THE LABYRINTH - STEP BY STEP WITH GRIDS

If you want to see the labyrinth being made with grids, here is a gallery where you can build the labyrinth step by step. Click on the first image and build away !
Some data from my labyrinth research:

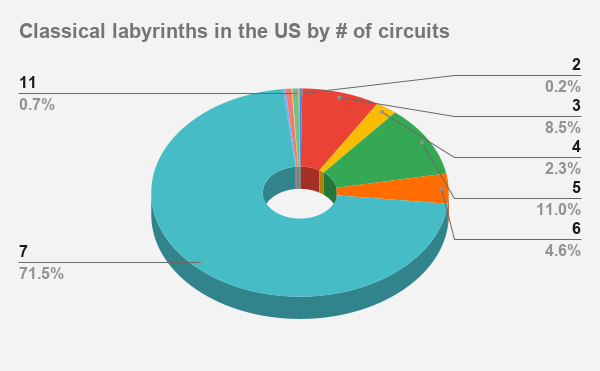
So 40% of labyrinths in the US have 7 circuits with the next most popular size being 11 circuits at 26%. It would make sense that physical labyrinths do not have many circuits, since each additional layer will add time to a meditative walk. Labyrinth walks are meant to be spiritual and not grueling ! Mazes are a whole different story.

Labyrinths in the US by # of circuits


I have over 20 different blog posts with step by step labyrinth making instructions.

How to Draw an 11 Circuit Classical Labyrinth

Drawing an 11 circuit labyrinth is fun once you learn the starting seed pattern and the rules of building the pathways. Follow this 13 step process and draw your own 11 circuit labyrinth. At the end of the post I have a made a quick 2 minute video showing the drawing of the labyrinth if you are a more visual learner ! The best way to both practice and create this is on a grid to help guide you on the correct spacing. Let’s get started.

PART 1: STEP BY STEP LABYRINTH MAKING INSTRUCTIONS (WITH TIPS)

PART 2: VISUAL STEPS WITH GRIDDING SHOWN

PART 3: VIDEO SHOWING THE LABYRINTH BEING MADE

PART 4: LABYRINTH DATA AND FACTS

PART 1: STEP BY STEP LABYRINTH MAKING INSTRUCTIONS

Centering a drawn labyrinth on the page (Pro Tip #1)

If you are hand drawing a labyrinth and would like the completed drawing to be centered on the page there is a quick trick to help you do it. The seed you draw will end up being in the bottom half of the page slightly off center to the left. Check out the example below that compares the starting seed pattern center (in red) to the center of the finished drawn labyrinth (blue). The center of the labyrinth ends up being just above the arch of the labyrinth goal you will draw in Step 2.

Making an 11 Circuit Labyrinth tip to align to the center of the page

11 Circuit Labyrinth making tip to align to the center of the page

Step 1: Draw the starting seed pattern

The starting seed pattern based on an imaginary 6x6 box grid. Start with a centered is a plus sign. Add L shapes one grid away from the plus sign in all 4 quadrants. Now add another L shape in all four quadrants one grid away from the previous L’s. Finally add a dot to each of the four corners. Basically, copy the seed the pattern you see here:

11 circuit labyrinth seed pattern

Step 2: Connect the first arch to create the goal

Draw a curved line from the top of the plus sign to the L directly to the right using an arch that extends 1 grid high. The top of the arch should peak halfway between those two points. This line will form what will become the goal of the labyrinth. As a reminder the center of the completed labyrinth will be just above this point.

How to Draw an 11 Circuit Labyrinth, step 2

Additional information to help with your drawing (Pro Tip #2)

Let’s further explain the arching pathways you will be drawing in more detail, because from now on each path you draw will require this information. Each side of the labyrinth has different alignments that create the peak arch point for each pathway. All northern pathways (shown below in red) align above the midpoint of the goal. All eastern pathways (shown in blue) align with the original top right dot in the seeding pattern. Western pathways (shown in green) align to the top left seeding pattern dot. The southern part of the labyrinth also aligns to the corner dots, one for each side (shown as purple and orange). Keep these points in mind as you create your arches/pathways.

Making an 11 Circuit Labyrinth - Showing how peaks align correctly

11 Circuit Labyrinth making tip to align the peaks

Step 3: Connect the next endpoint to the left to the next endpoint on the right

Every step from now on will be basically the same. Move one point to your left (moving counterclockwise) and connect that to the next point on the right (moving clockwise). In this case the large backwards L on the top left of the seed pattern to the small L on the top right of the seed. The arch should peak at the same point as the goal below it in the pattern.

How to Draw an 11 Circuit Labyrinth - Part 3

Step 4: Connect the next endpoint to the left to the next endpoint on the right

The small backwards L in the top left to the dot in the top right corner. The arch should peak at the same point as the goal below it in the pattern.

How to Draw an 11 Circuit Labyrinth - Part 4

Step 5: Connect the next endpoint to the left to the next endpoint on the right

The dot in the top right corner to the end of the small L in the top right corner. The arch should peak at the same point as the goal below it in the pattern.

How to Draw an 11 Circuit Labyrinth - Part 5

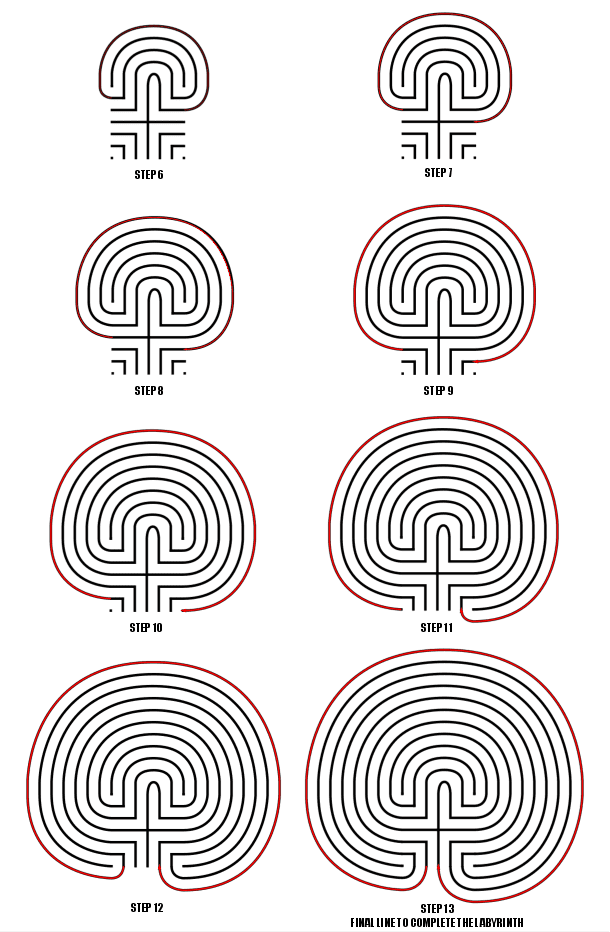
Steps 6-13: Connect the next endpoint to the left to the next endpoint on the right

I assume you have the pattern down to complete making the labyrinth with only pictures with nice red lines. Follow the graphic below to complete steps 6 - 13.

How to Draw an 11 Circuit Labyrinth - Steps 6-13

Steps 6-13

11 Circuit Classical Labyrinth

11 Circuit Classical Labyrinth

That completes the drawing of an 11 circuit classical labyrinth. It happens to be the “left handed” version of the labyrinth. If you want to make the right handed version every step above would be the same but moving to the right instead of left. The direction is determined by the way you turn first when you enter the labyrinth. Just imagine following the directions while looking in a mirror. The majority of labyrinths you see will be right handed. The right handed versions look odd to many people:

Right Handed 11 Circuit Classical Labyrinth

Left handed 11 circuit labyrinth


PART 2: VISUAL STEPS WITH GRIDDING SHOWN

Use the controls to build the labyrinth. As discussed above, notice where the initial seed is placed on the page. The grids are twice as dense only because of the peak on the northern side of the labyrinth. You could make it half as dense except for that point where you make the goal and subsequent arches.


PART 3: VIDEO SHOWING THE LABYRINTH BEING MADE

How To Draw an 11 Circuit Classical Labyrinth Video:

Here is a quick 2 minute video to see this in action from my YouTube channel ! Notice how the grids help with the construction !

A video showing How to Digitally Draw an 11 Circuit Classical Labyrinth


PART 4: LABYRINTH DATA AND FACTS

The majority of classical labyrinths in the US have 7 circuits at 71.5%. 11 circuits do exist, making up 26% off all labyrinths in the US, but they are typically Medieval style. You just learned how to make a rare US labyrinth, at 1% of the total.

Here is an example of one of those rare labyrinths you can visit:


Other posts that may interest you:

Interested in learning how to make or draw other digital labyrinths ? You can find many different step by step instructions HERE.

Including:

How to draw a 5 Circuit Circular Labyrinth

A Comparison of 3 different types of 11 Circuit Labyrinths

How to Draw a Classical 7 Circuit Labyrinth


How to Draw a Classical 7 Circuit Labyrinth

Drawing a classical labyrinth can be easy and fun once you learn the starting pattern and the rules of building the pathways. Follow the simple 9 step process below and draw your own 7 circuit classical labyrinth. I have broken the post into 4 parts depending on how you prefer to learn.

PART 1: STEP BY STEP LABYRINTH MAKING INSTRUCTIONS

PART 2: VISUAL STEPS WITH GRIDDING SHOWN

PART 3: VIDEO SHOWING THE LABYRINTH BEING MADE

PART 4: LABYRINTH DATA AND FACTS

PART 1: STEP BY STEP LABYRINTH MAKING INSTRUCTIONS

Step 1: Draw the starting seed pattern.

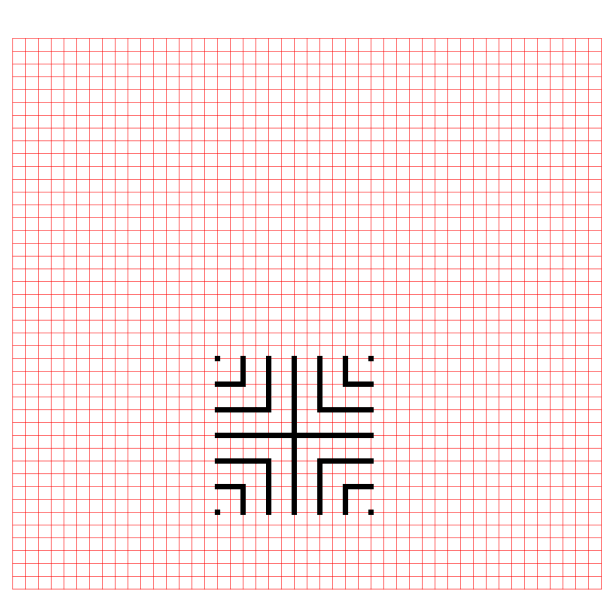
It can be seen by some people as originating from a 4x4, 16 box grid. There is a plus sign centered and dots in each of the four corners, with 4 “L” shapes between the + and the corners. See below how the starting pattern (in black) relates to the red 16 grid 4x4 box:

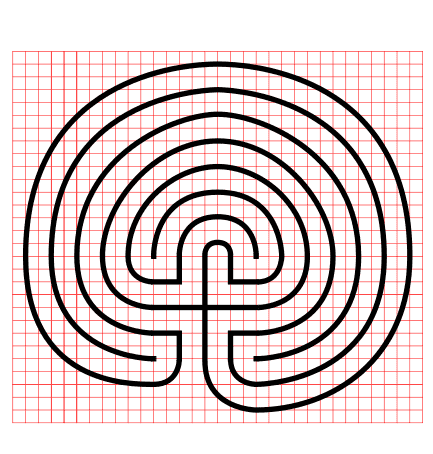
Labyrinth seed pattern on a grid

And how the seeding pattern looks without any guidelines:

Classical 7 Circuit Labyrinth Seed Pattern

Classical 7 Circuit Labyrinth Seed Pattern

Pro tip: Do not center the initial pattern on the page or in the space you are using to build your classic labyrinth. Start it 1/3rd of the way from the bottom as the majority of the building will take place above the initial pattern. If you care about left/right centering also move slightly to the left on the page. Centering will come with practice so consider yourself lucky if you get it right the first time !! Below is a labyrinth showing the center of the initial seed pattern compared to the center of the final labyrinth.

Classical 7 Circuit Labyrinth center alignment explanation

Step 2: Create the goal of the labyrinth

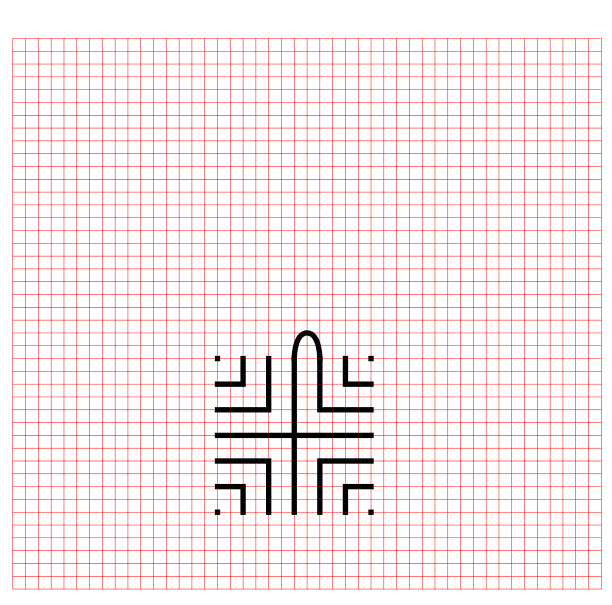
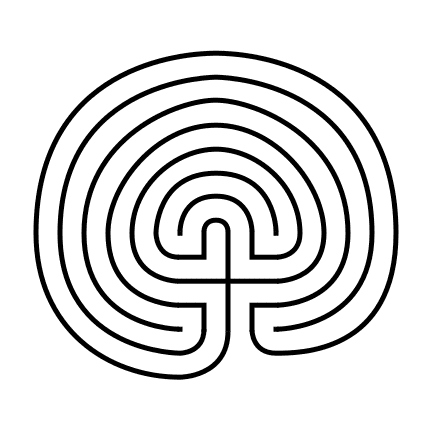
Connect the top of the plus sign to the first point directly to the right using an arching pattern. This first connection will create the goal of the labyrinth. Notice that the goal of this classical labyrinth is small compared to other constructions. If you were creating this pattern for a physical labyrinth this would mean a small central gathering place.

Making a classical 7 Circuit Labyrinth Step 2

Arching connection - creating the goal

Classical 7 Circuit Labyrinth -  Step 2 - Create the Goal

Classical 7 Circuit Labyrinth - Step 2 - Create the Goal

Step 3: Connect the first pathway arch

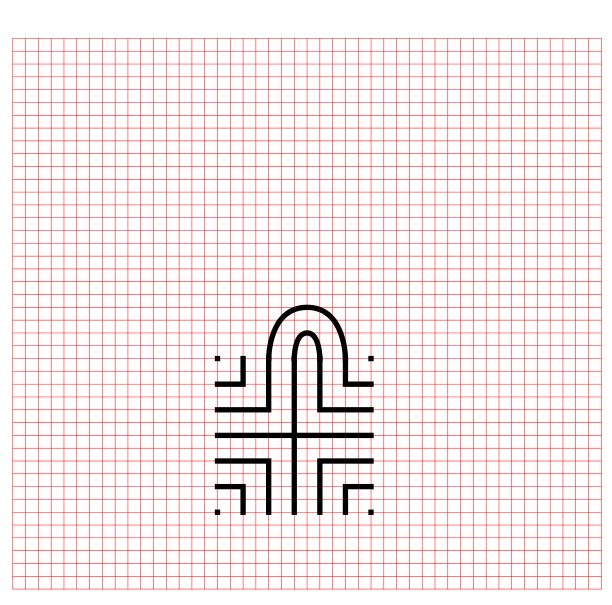
Moving to the next point to the left, the top of the backwards “L” in this case, connect it to the next point to the right, or the dot in the far right corner, again using an arching pattern. The peak of this line will align with the peak from the goal you drew in Step 2. It also should create a pathway the same width as your seed pattern. Notice that we have moved one spot to the left and connected it to the next spot on the right. This pattern will continue for this labyrinth and most that you create ! Each new arch you draw will peak above the previous peak at the top of the labyrinth.

Making a Classical 7 Circuit Labyrinth Step 3

Drawing Arch #2

Let’s fast forward a bit to further explain the arches with more detail. Each side of the labyrinth has different alignments that create the peak arch point for each pathway. All northern pathways (shown below in red) align above the midpoint of the goal. All eastern pathways (shown in blue) align with the original top right dot in the seeding pattern. Western pathways (shown in green) align to the top left seeding pattern dot. The southern part of the labyrinth also aligns to the corner dots, one for each side (shown as purple and orange).

Peak points for each drawn pathway by side

Steps 4 - 9: Connect the next arch, moving from the left

For each step continue to move to the next point left, connecting each subsequent point to the next point on the right in an arching pattern. Step 9 will connect the final points and complete your classical labyrinth ! As you connect each point ensure you create pathways that are equal sizes (or alternatively create walls an equal distance apart from the previous wall).

Making a Classical 7 Circuit Labyrinth Steps 4 - 9

Steps 4 - 9

And that does it. You’ve drawn a classic 7 circuit labyrinth ! You get better each time you make one ! Hopefully this helped make this drawing easy and fun !!

The RIGHt Handed 7 Circuit labyrinth

Now we have just made a left handed version of a classic labyrinth (Did you know it was right handed ?) . What you might not know is there is a right handed version of the same labyrinth. Take everything you just learned in the steps above and reverse them as if you are looking into a mirror. The seeding pattern stays the same but the first arch moves to the left followed by arches drawn to the left in each additional step. What determines the handedness ? The way you turn after you first enter the labyrinth !

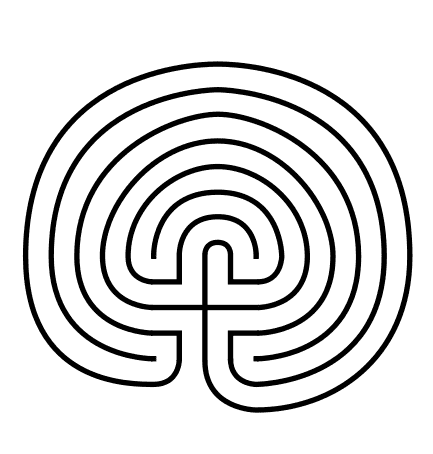
Right handed 7 circuit classical labyrinth

Right handed 7 circuit labyrinth


PART 2: VISUAL STEPS WITH GRIDDING SHOWN

The grid is twice as dense so you can use the peak alignment points on the North side of the labyrinth. Notice that the labyrinth seed is not centered on the grid as discussed above. Click on an image to see a larger version in new window you can “build” using the next control.


PART 3: VIDEO SHOWING THE LABYRINTH BEING MADE

If you are more visual here is a quick video review of what we did from my YouTube channel (where I show how to make mazes/labyrinths and also show the making of maze art):


PART 4: LABYRINTH DATA AND FACTS:

The 7 circuit classic labyrinth is said to represent the journey of life. The path is the journey that we all take, and the center is the goal that we are all trying to reach. The 7 circuits represent the 7 stages of life: birth, childhood, youth, adulthood, middle age, old age, and death. When found in the real world (as opposed to drawn on paper), the labyrinth can be used as a tool for meditation by walking the path slowly and mindfully. As you walk, you can focus on your breath and your thoughts. You can also use the labyrinth to reflect on your life and to set goals for the future.

I did a large research product on the labyrinths of the USA and this is what I found:

  • 71.5% of all of the Classical labyrinths in the US have 7 circuits like you just learned. (see chart)

  • 29.5% of the labyrinths in the US are classified as classical.

Classical labyrinths in the US by # of circuits

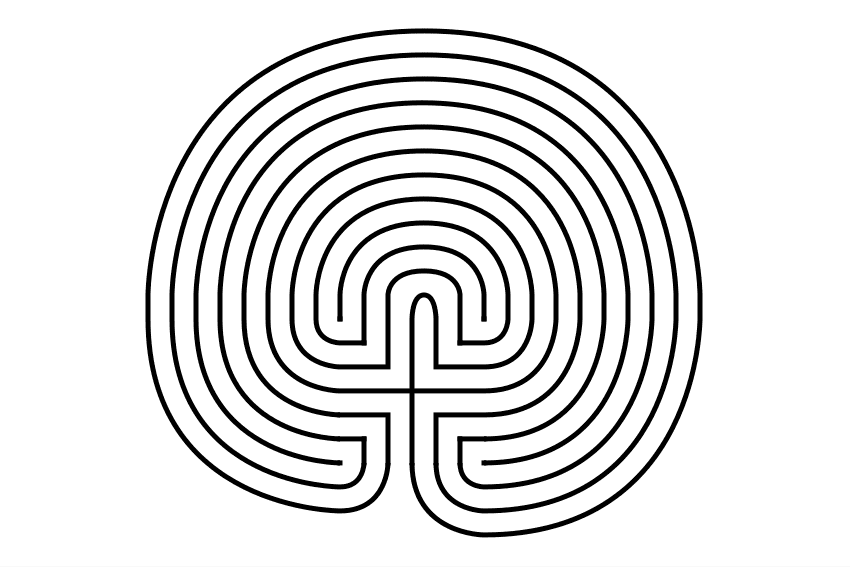
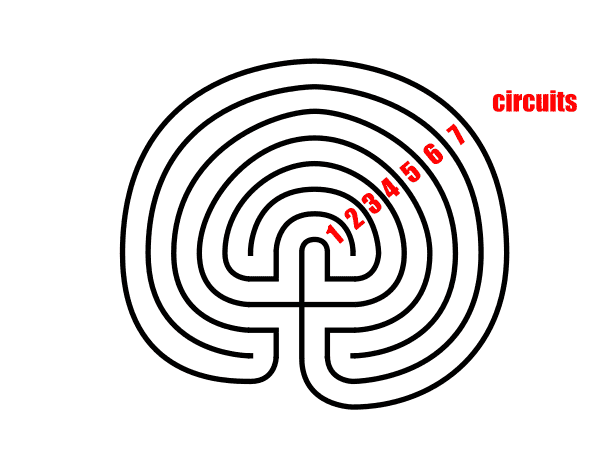
I probably should have mentioned this before just in case you were not familiar. If it isn’t for you, here is an illustrated explanation of circuit counting for labyrinths. I also teach how to make 3, 11 and 27 circuit classical labyrinths which are all variations of this core labyrinth.

7 Circuit Classical Labyrinth - circuit counting

Here are some locations you can see in real life:

These are just 3 of the over 800 7 circuit classical labyrinths in the US. To find one near you, check out the website labyrinth locator or my review suggestions of labyrinths to visit by state which include the best labyrinths of any type.

Additional posts you might like:

Interested in learning how to make or draw other digital labyrinths ? You can find many different step by step instructions HERE.

10 of the Most Frequently asked Questions about Labyrinths, with Answers
The 8 best books about mazes, labyrinths and their history