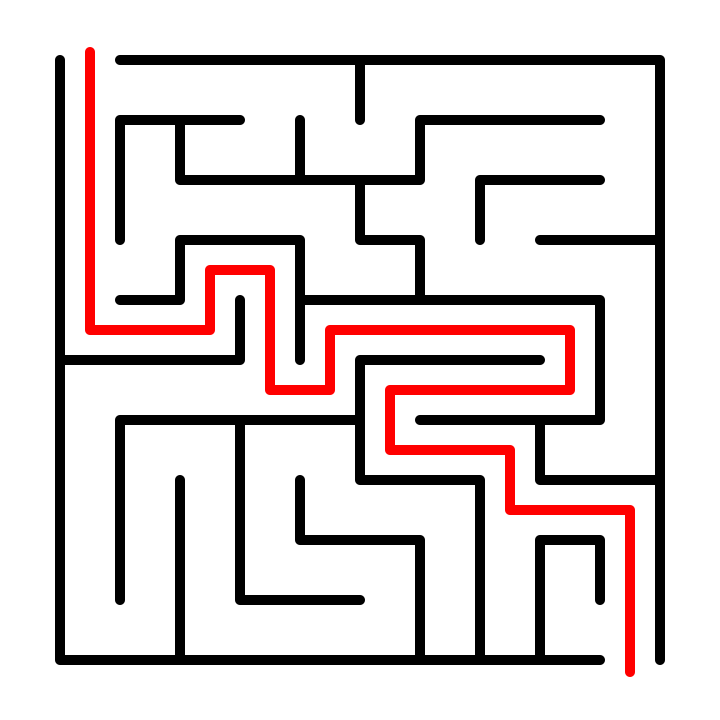
How to Make a Maze with Standard Equal Maze Paths

In a series of posts I will show you how to make a maze in a wide variety of design constructions. The second example we’ll look at is a construction variation of the standard maze construction. I call it a Standard Equal Maze Path design. Let’s define what I mean, then get into the example. Every how-to will use a simple square so you can compare the differences between each maze construction type. I will also show a consolidated secondary how-to using an irregular shape (the state of Ohio). If you want to see this type of maze made in video form, that is added at the end of the post.

Here is an outline for this blog post with jump links if you want to skip ahead to a section:

STANDARD EQUAL MAZE DEFINITION

THE 5 RULES OF MAZE DESIGN

HOW TO MAKE A MAZE WITH STANDARD EQUAL PATHS

HOW TO MAKE A MAZE WITH STANDARD EQUAL PATHS (OHIO VERSION)

COMPARION OF 2 STANDARD MAZE TYPES

3 ADDITIONAL EXAMPLES OF STANDARD EQUAL MAZES

FREE STANDARD MAZES TO SOLVE

RELATED MAZE CONSTRUCTIONS

MAKING A STANDARD EQUAL MAZE VIDEO

STANDARD EQUAL MAZE DEFINITION

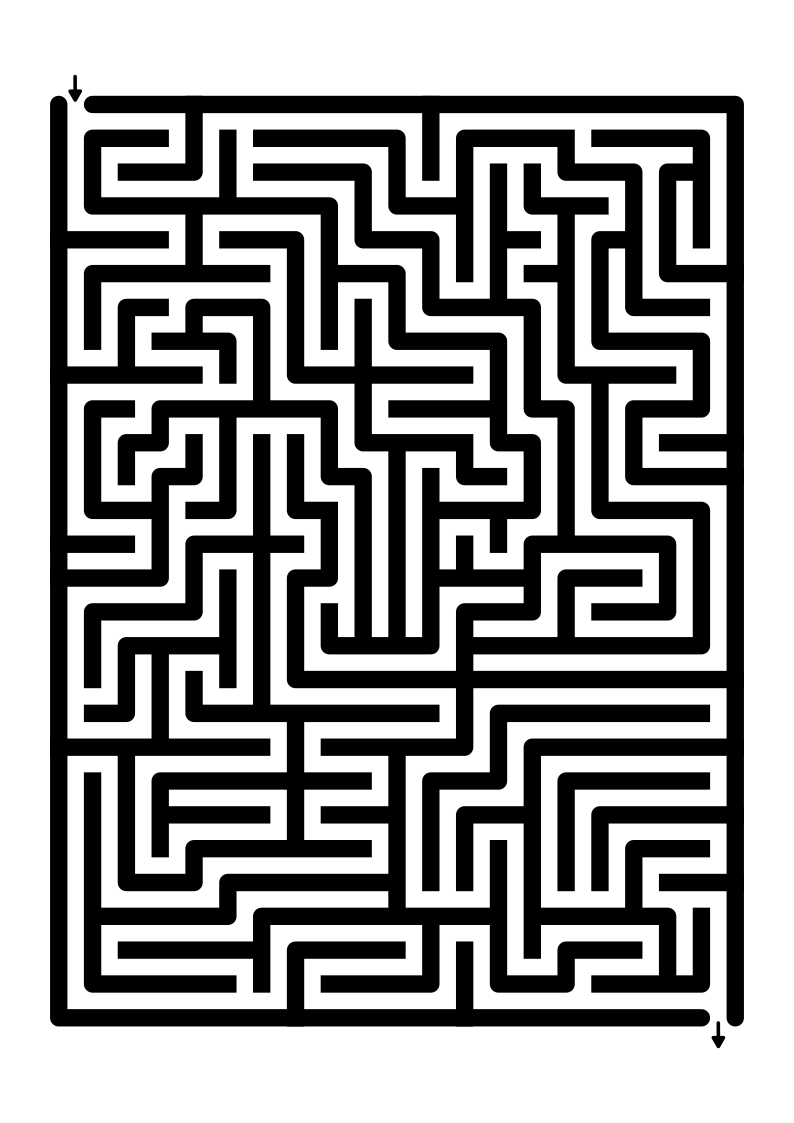
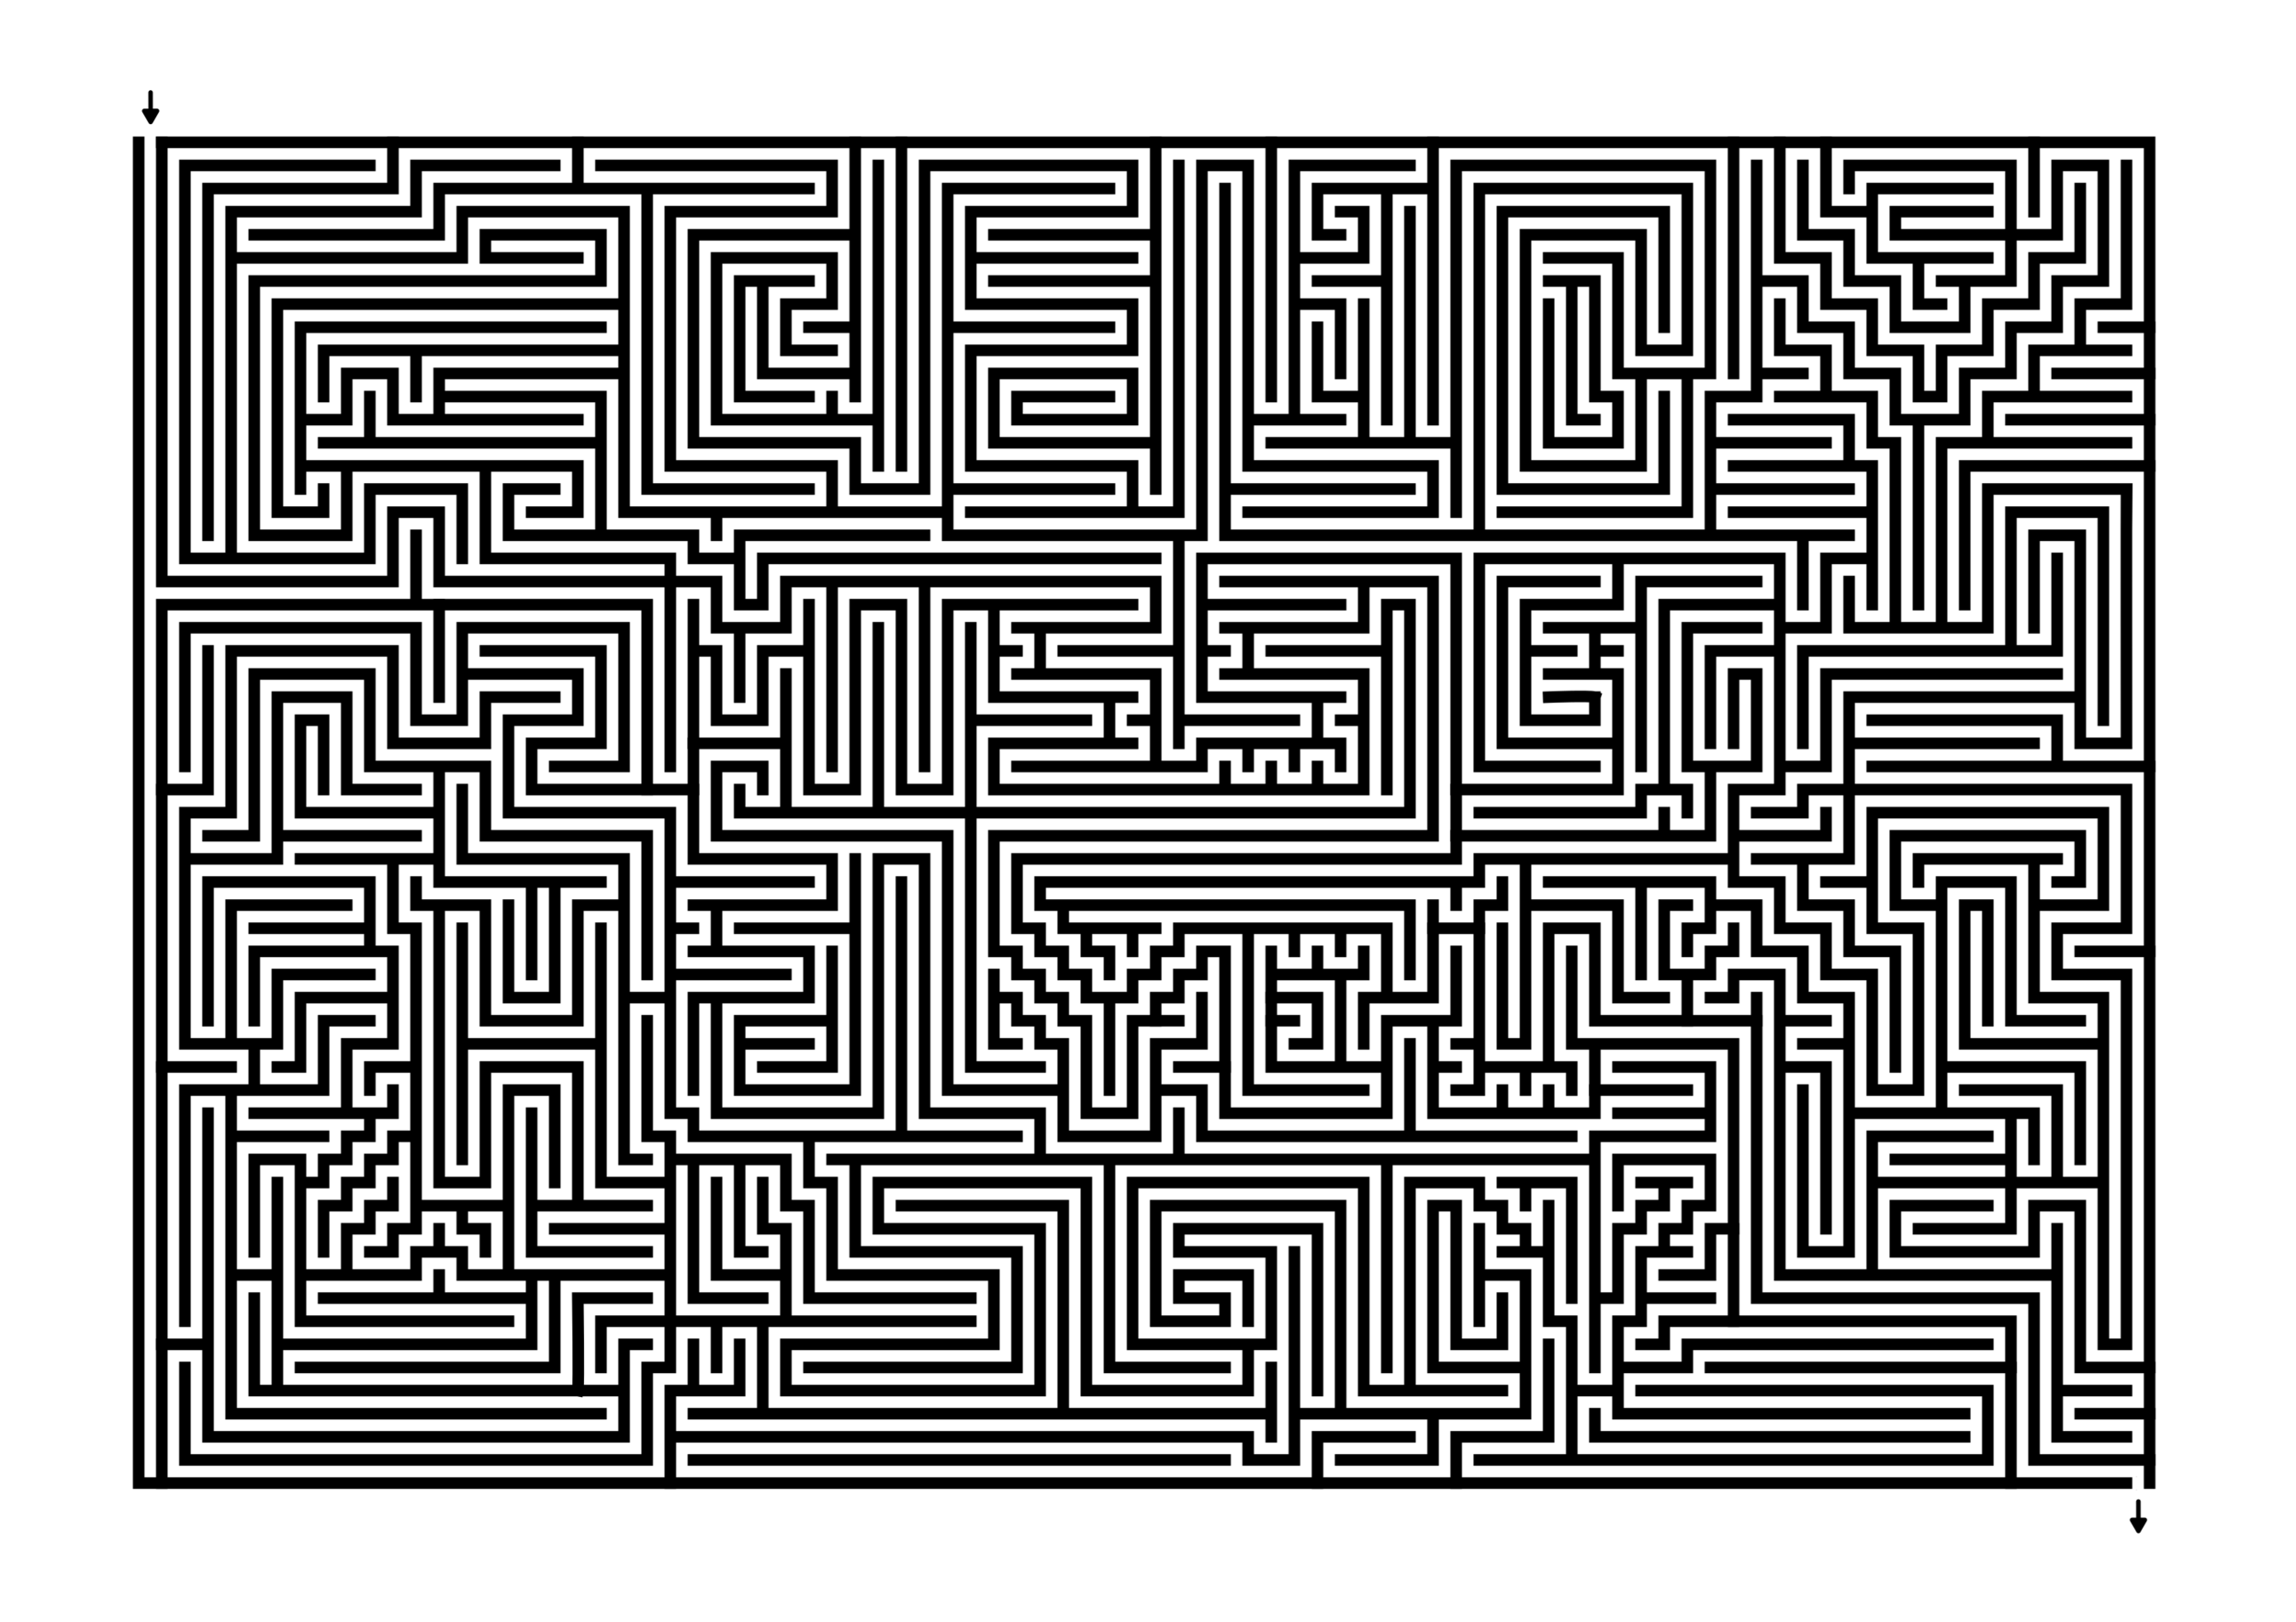
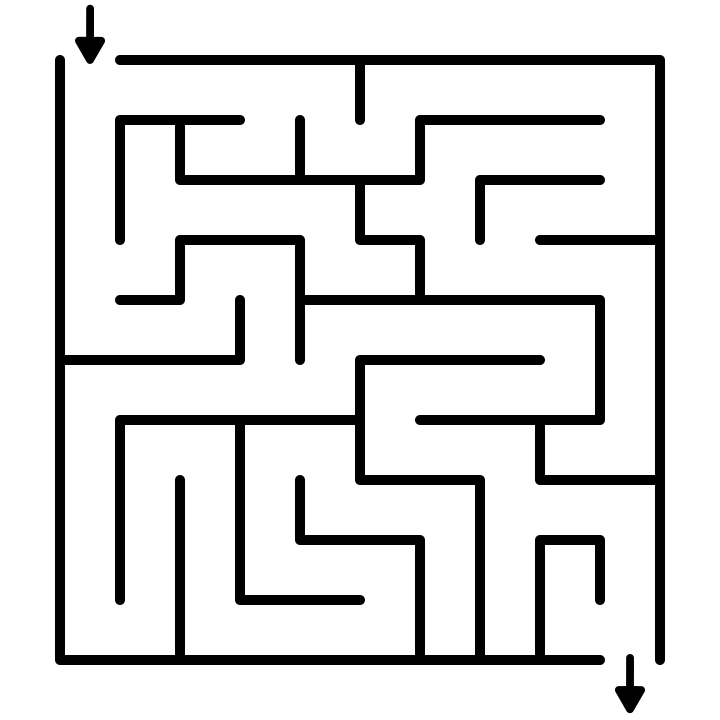
Standard Equal Maze Paths - the construction concept is the same with making a standard maze except the pathways and walls are of equal width. TO achieve this in practice the wall width should equal half the grid used (i.e. a 6x6 grid with wall widths of 3) This gives the maze a different look as everything becomes compacted.

These also tend to be longer and more difficult mazes to solve because of the additional pathways it creates. While a Standard Maze looks white, the Standard Equal Maze looks much more black from the thicker lines.

THE 5 RULES OF MAZE DESIGN:

These 5 rules apply to any maze you make so we start with them !

1. Always keep an open pathway for the solution

While drawing a maze you will need to juggle multiple open pathways each of which could become the solution. One of them will become the solution. Keep track of it. This is especially important if you are designing pathways in both directions (from the start and from the goal).

2. Clearly mark the start and goal, or the objective of the maze

A maze should have a start and a goal that you can assess just by glancing at it. There are many ways to start and end a maze I review in this blog post: Options for Starting and Ending a Maze

3. Ensure the difficulty matches the intended audience

Most people want to solve a puzzle/maze that is just slightly below or slightly above their skill level. Many things help determine the difficulty of a maze. Size, number of branches, the length of dead ends, the number of choices, the complexity of the rules (if the maze has them).

4. Ensure your maze has a solution

When your maze is complete, solve it to determine the difficulty level and to ensure it is a real, solvable maze. Depending on the complexity of the maze you may want to do this right away or wait so you can properly assess the difficulty.

5. Explain anything that needs explaining

Some mazes have rules or conditions. Explain them with directions. If it isn't obvious, make it so.

How to Make a Maze with Standard Equal Maze Paths

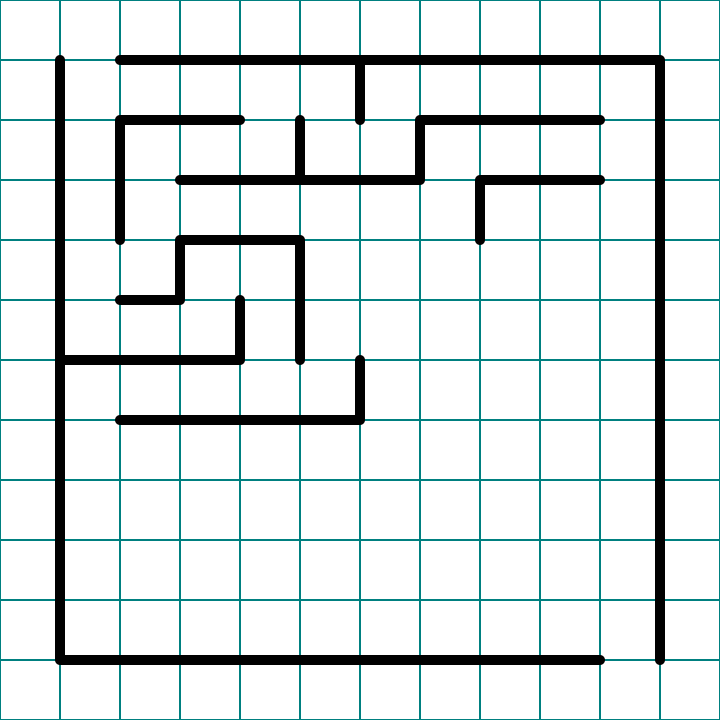
Step 1 - Draw the Outline

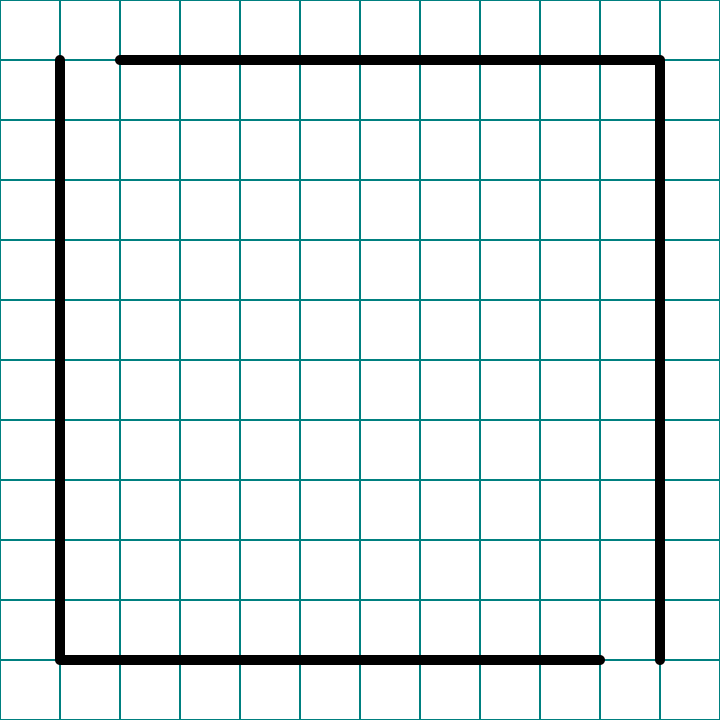
The outline of the maze makes the outer wall of the maze. It can be anything from a simple shape like a square, to a complex picture. The outline should be thicker than the internal lines to give the maze definition. In the example below I show the grids and I made a 20 x 20 grid square..

Step 1.5 - Choose the Start and Goal

For the below example I left gaps in 2 corners for the start and the goal. If drawing a maze digitally you could choose this later, but for a hand drawn maze the maze outline will need to have gaps for the start and goal.
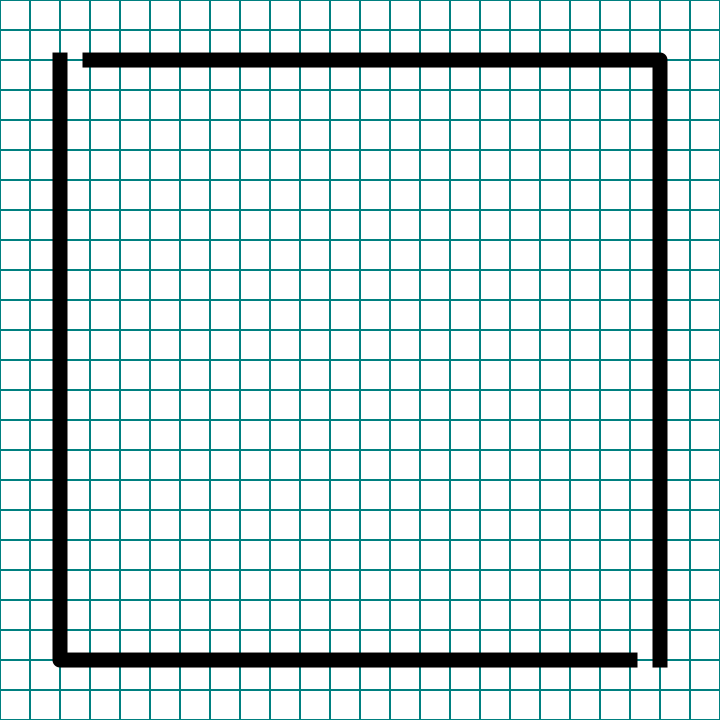
How to make a standard equal maze step 1

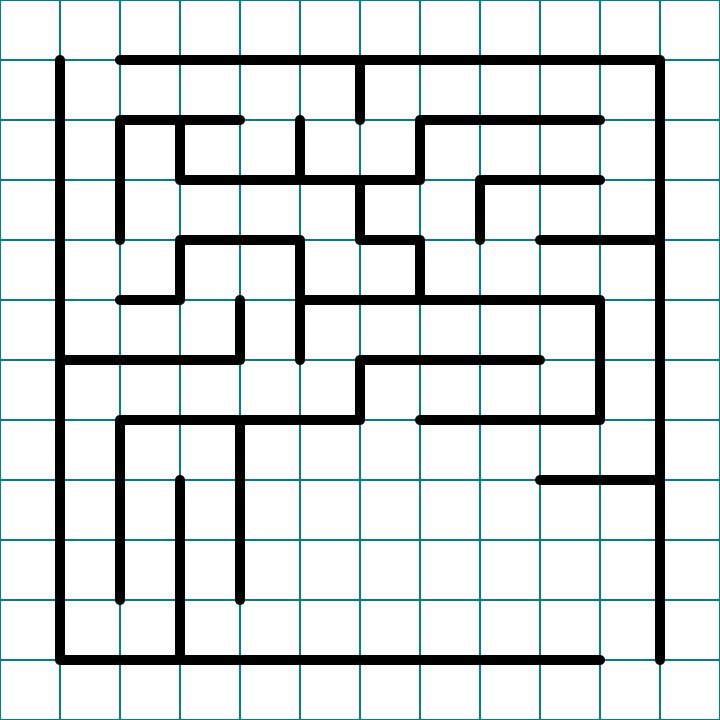
Step 2 - Start Drawing the Walls

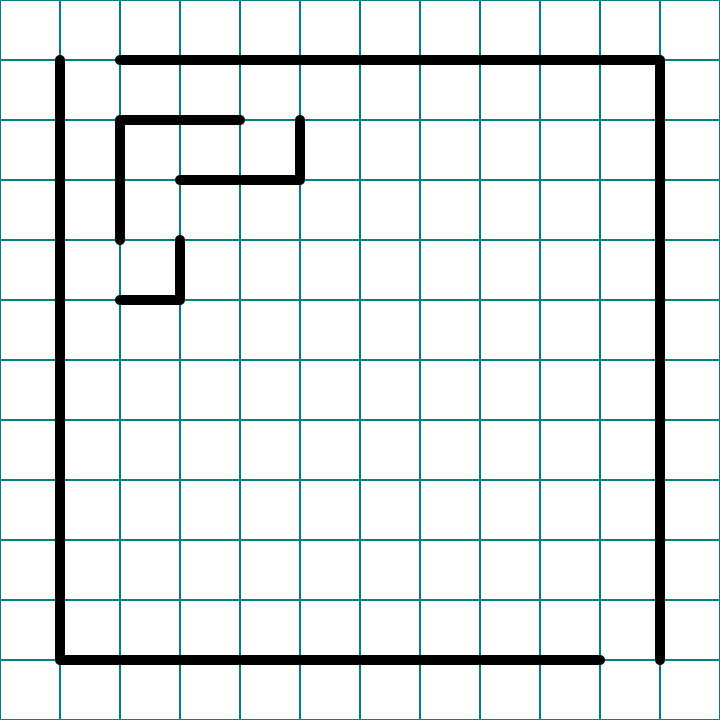
Using a grid pattern, begin drawing the maze walls starting at the entrance of the maze. For a Standard Equal Maze the maze walls should be drawn to be equal width to the pathways in between them. When creating a standard equal maze - the wall width must be equal to half the grid size used. While drawing your walls make sure to never break the cardinal rule of maze design - never close all open paths so the maze can be solved. As you make the maze decide how difficult you want to make it. A low amount of path choices, and short dead end paths will make an easy maze. Longer dead ends and lots of path choices make a more difficult maze. The below example is starting off at an easy / medium difficulty.
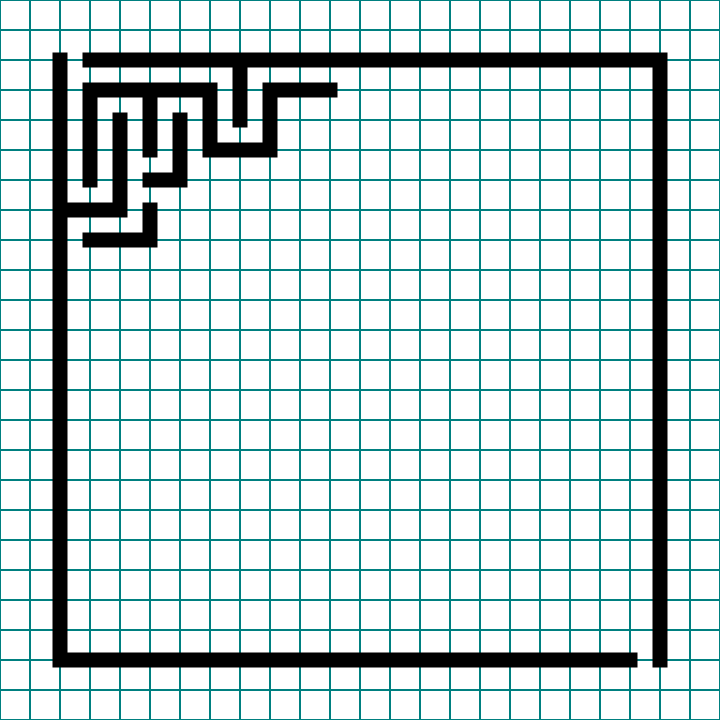
How to make a standard equal maze step 2

Step 3 - Keep Drawing the Maze Walls

Like most mazes the middle part of design is a lot of keep doing what you are doing and draw more walls. There is nothing too complicated in the below example. The dead ends are long in this maze and there are many choices to make, increasing the difficulty. At this point I also have 4 open pathways which could be used as solutions.
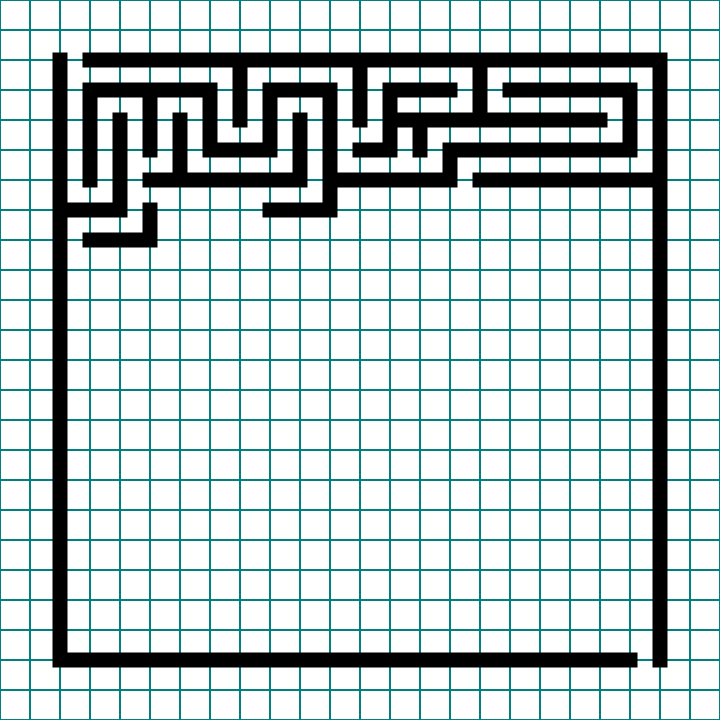
How to make a standard equal maze step 3

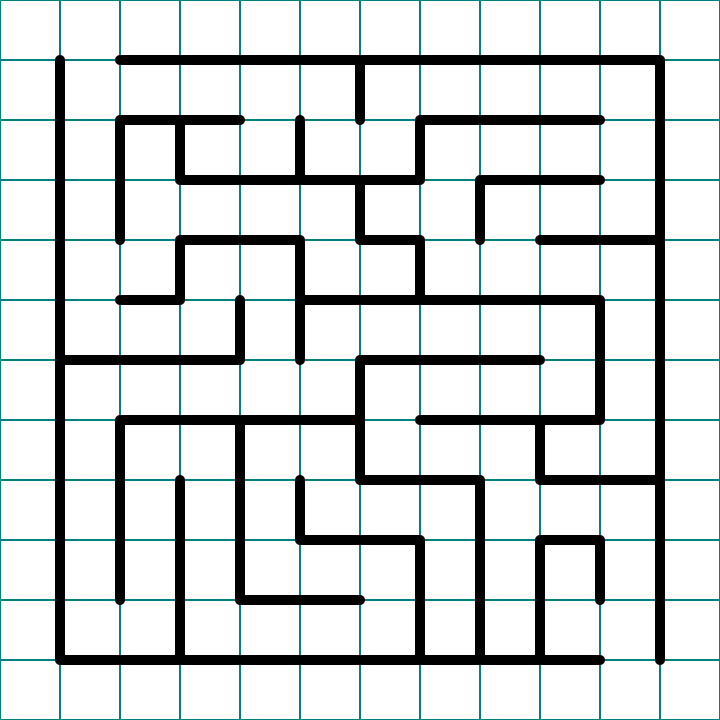
Still drawing…

How to make a standard equal maze step 3.5

Step 4 - Complete the Maze

Draw the final walls and draw the exit. You have completed the drawing of a standard equal maze !
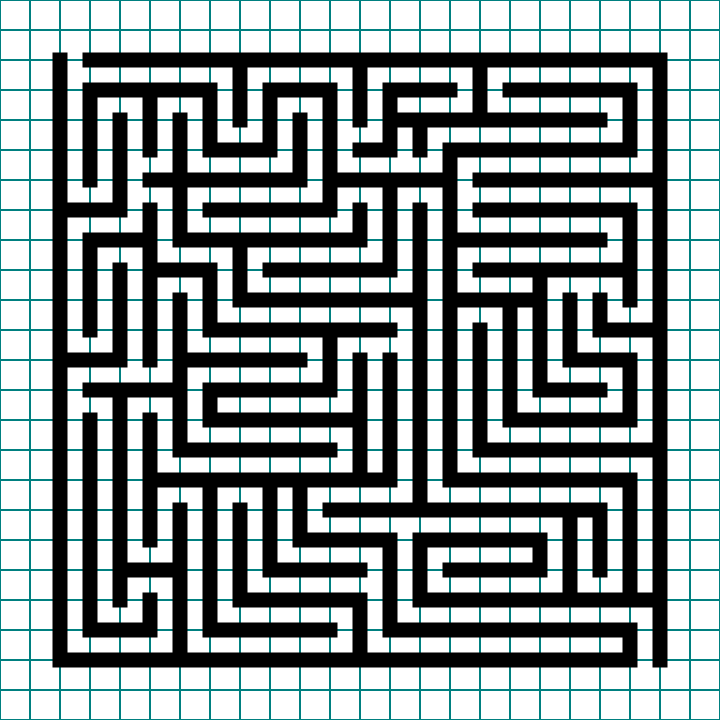
How to make a standard equal maze step 4

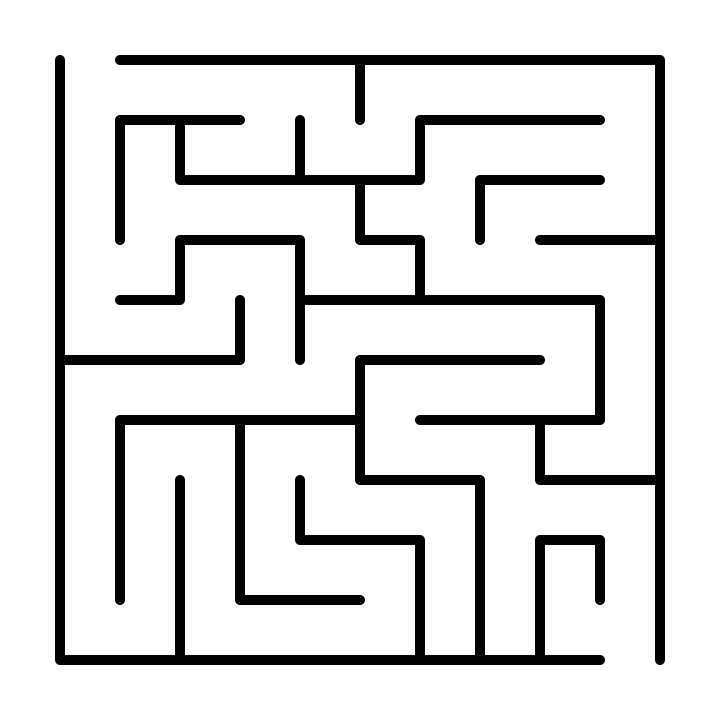
And I removed the grid.

How to make a standard equal maze - GRID REMOVED

Step 5 (Optional) - Draw the Solution

You have two options here - Option 1 - While the correct pathway is fresh in your mind, draw the solution to the maze. This is especially important with more complex mazes. It can also be a check to make sure your maze has a solution. This example maze is easy. Option 2 - Let the maze sit for a few days and try solving it yourself. Was it the difficulty you thought as you were designing it ? Did you enjoy it or did it frustrate you in any way ? Using option 2 means you are more likely to go back and make adjustments to improve the maze. Think of it as proofreading for mazes.
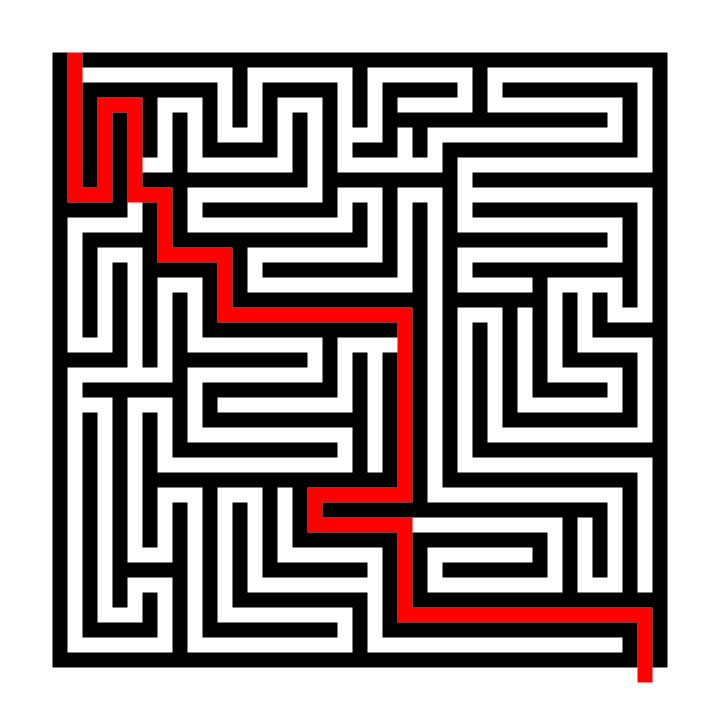
How to make a standard equal maze step 5

HOW TO MAKE A MAZE WITH STANDARD MAZE PATHS - abbreviated writing & using a different shape

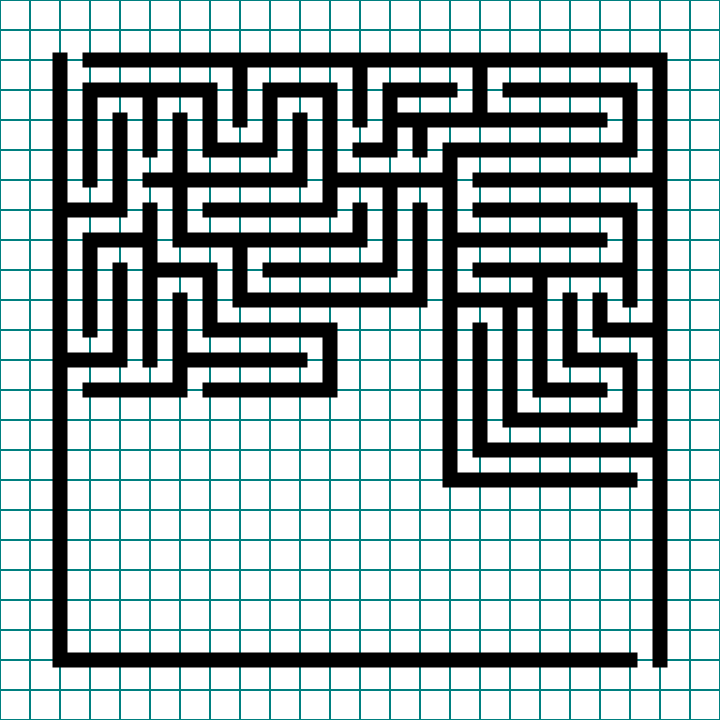
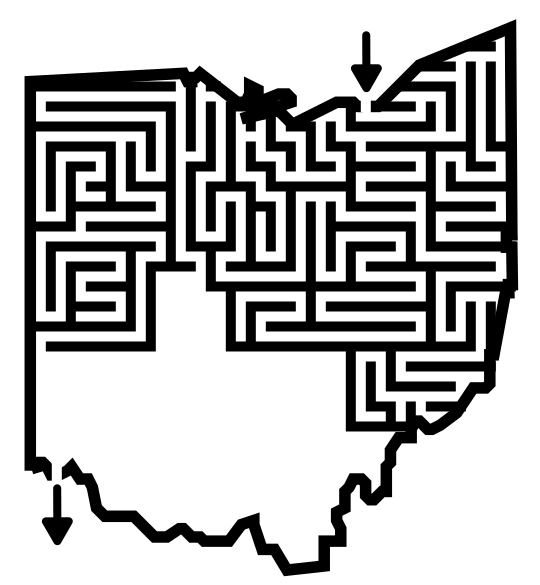
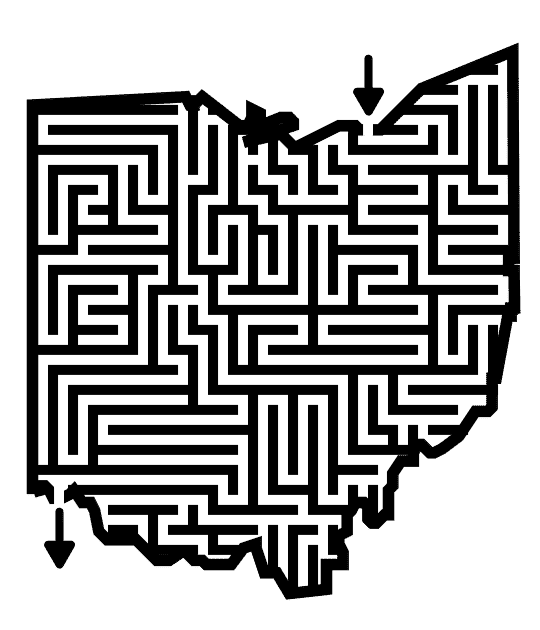
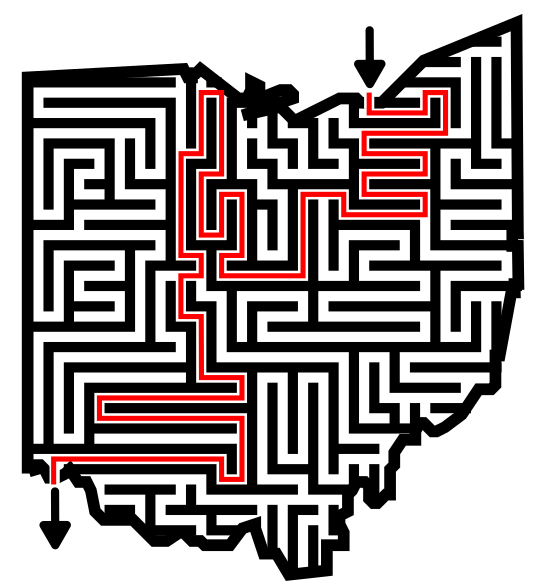
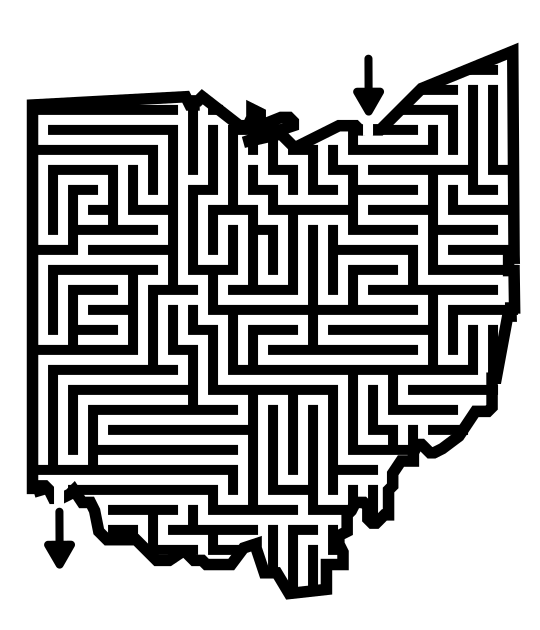
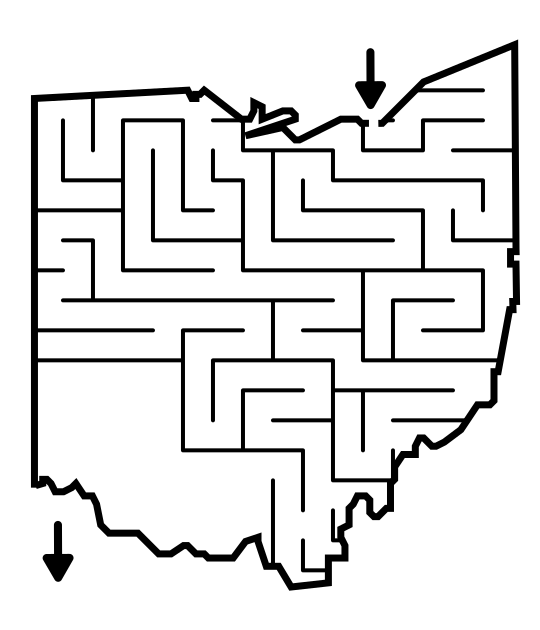
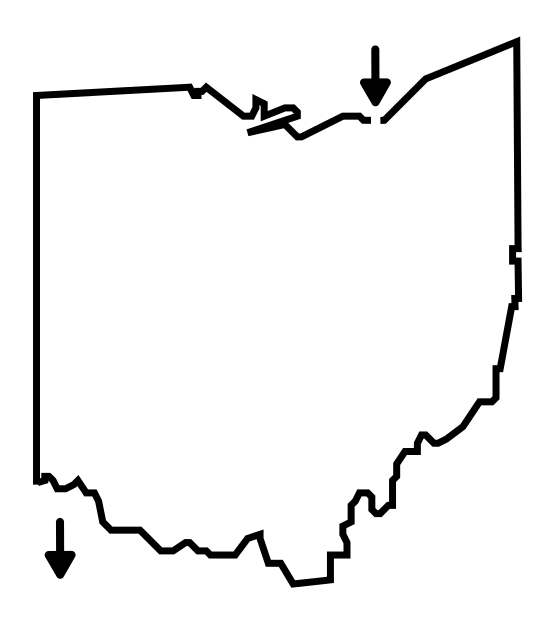
Here is the original step by step maze done in the shape of Ohio. Use the next controls to watch the maze get made, then see the solution.

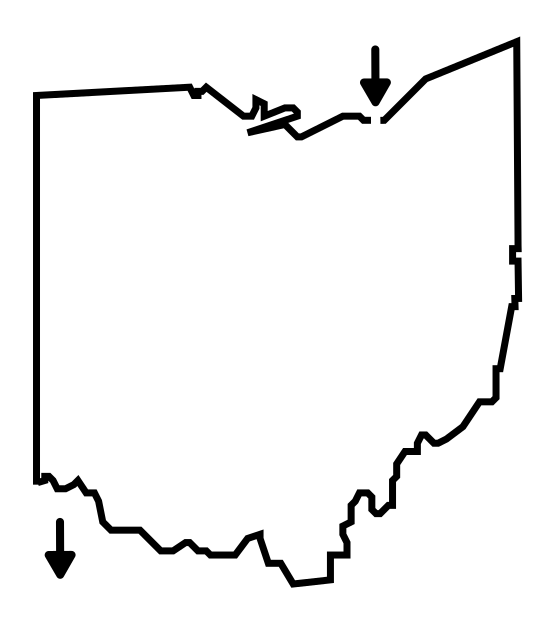
Step 1 - Draw the Outline - I drew Ohio and added a start at Cleveland. I put an Arrow near Cincinnati but did not officially make that the goal until I draw the maze.

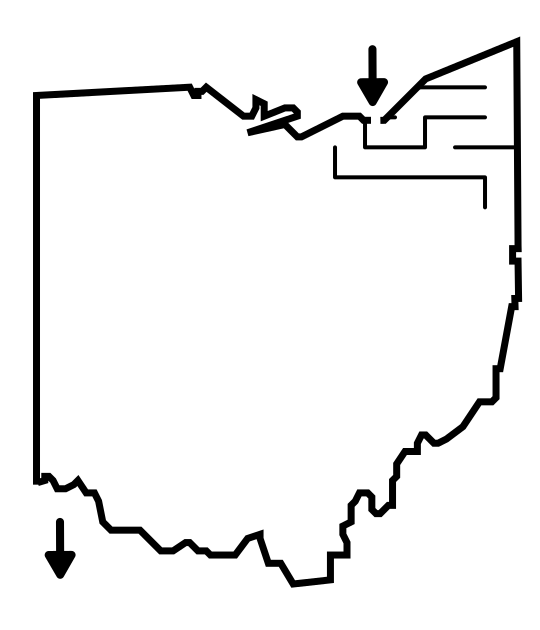
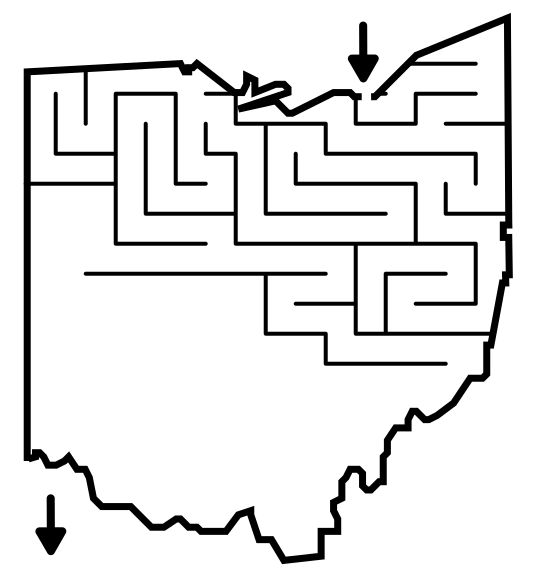
Steps 2&3 - Drawing the Maze - Nothing too special. I drew in the maze from start to finish.

Step 4 - Complete the Maze - The maze determined where the goal would be placed and I finished the maze.

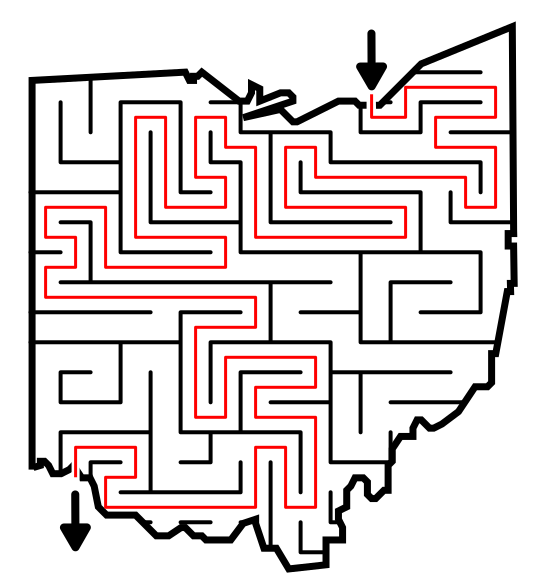
Step 5 - Draw the Solution - I added a solution, ensuring I made no mistakes in my design.
 

COMPARION OF 2 STANDARD MAZE TYPES:

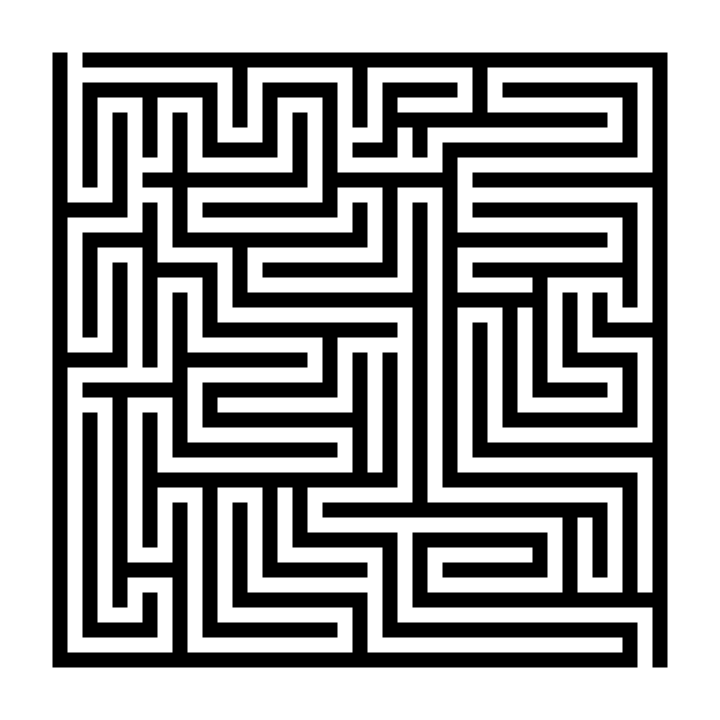
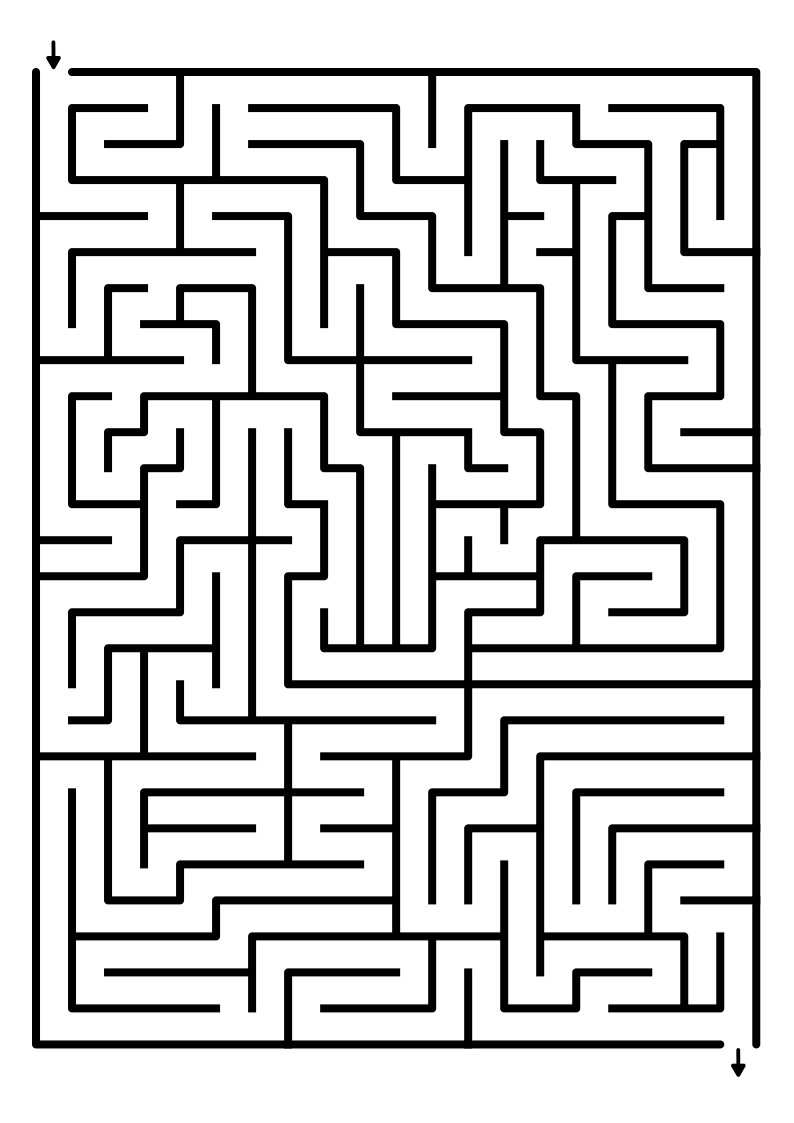
Visually the Standard Equal Maze Paths design construction makes for a darker maze, and a more complex maze than the standard path maze. Although I did not measure the pathways, you can intuitively see that standard equal maze has much more pathway length.

Standard Equal Path maze

Standard Equal Path maze

Standard Path Maze

Standard Path Maze

And here is the same exact maze, one standard and one standard equal:

3 ADDITIONAL EXAMPLES OF STANDARD EQUAL MAZES

Below is an example of another standard equal paths maze of the state of New York. I wanted to show this example to mention that the outline is not the same width as the internal paths/walls. There is also a prominent Spiral maze pattern in the center of the state, although I would not consider this a spiral maze construction.

New York State Maze Map

Our 2nd example shows what happens when we add some color to both standard maze variations, with the Rubber Ducky maze. While the background colors of yellow and orange are the same in each maze, the standard equal construction has a much darker look, with the thicker black walls holding back the colors underneath. The standard maze is bright and much easier to solve. Notice that because of the spacing of the orange beak compared to the wall spacing I decided not to maze the beak on the standard maze. Doing so would have only added a few meaningless lines on the beak.

Rubber Ducky Maze
Rubber Ducky Maze for Kids

For my 3rd example I want to show you a time when this construction can be used to make a completely different type of maze, the Hidden Message maze. A hidden message maze is a maze where the correct solve of the maze creates a message for the solver. I use this to make greeting cards with hidden messages. Here is an example. If the below maze was made with a standard construction it would need to be a much tighter ratio of grid/wall so the message remains hidden at a glance.

Can you figure out what it says from looking at it ? Scroll down for the answer.

hidden message maze example
scroll down for answer
Hidden Message Maze Solution - MISS YOU

“Miss you”. If this were made with a much wider standard construction the pencil/pen/writing utensil used would not fill the pathways as well, making the message much harder to read (in addition to being easier to find). Want to learn how to make a hidden message maze ?

FREE STANDARD MAZES TO SOLVE

If you want to solve some of this type of maze, check out the Regular Maze Section that features 40 different mazes available for free download ! They are all rectangular but are divided into sections by difficulty level. They are standard mazes which are a different ratio, but this relative is a good proxy.

RELATED MAZE CONSTRUCTIONS

There are 3 constructions that are very similar to a standard equal maze construction. The standard has a different ratio of pathways to walls, while the horizontal and vertical maze constructions are the same as above but exaggerate the maze design in a particular direction (so the maze looks horizontal or vertical).

MAKING A STANDARD EQUAL MAZE VIDEO

Here is a quick 3:31 minute video of the making of a simple Standard Equal Maze.

Interested in learning how to make or draw other types of digital mazes ? I have step by step instructions on how to make over 40 different maze types HERE.

If you prefer making labyrinths, you can find step by step instructions HERE.

How to Make a Maze with Standard Maze Paths

In a series of posts I will show you how to make a maze in a wide variety of maze design constructions. The best place to start this topic is with the standard maze construction. Let’s define what I mean, then get into the example. Every how-to will use a simple square so you can compare the differences between each maze construction type. I will also show a consolidated secondary how-to using an irregular shape (the state of Ohio).

Here is an outline for this blog post with jump links if you want to skip ahead to a section:

STANDARD MAZE DEFINITION

THE 5 RULES OF MAZE DESIGN

HOW TO MAKE A MAZE WITH STANDARD MAZE PATHS

HOW TO MAKE A MAZE WITH STANDARD MAZE PATHS (OHIO VERSION)

4 ADDITIONAL EXAMPLES OF STANDARD MAZES

START AND GOAL OPTIONS

FREE STANDARD MAZES TO SOLVE

STANDARD MAZE TEMPLATES

RELATED MAZE CONSTRUCTIONS

STANDARD MAZE DEFINITION

Standard Maze Paths - By standard I mean a maze made with paths based off of a grid framework. The wall width is smaller than the pathway width. This includes wall widths that are less than half the width of the pathways.

THE 5 RULES OF MAZE DESIGN:

These 5 rules apply to any maze you make so we start with them !

1. Always keep an open pathway for the solution

While drawing a maze you will need to juggle multiple open pathways each of which could become the solution. One of them will become the solution. Keep track of it. This is especially important if you are designing pathways in both directions (from the start and from the goal).

2. Clearly mark the start and goal, or the objective of the maze

A maze should have a start and a goal that you can assess just by glancing at it. There are many ways to start and end a maze I review in this blog post: Options for Starting and Ending a Maze

3. Ensure the difficulty matches the intended audience

Most people want to solve a puzzle/maze that is just slightly below or slightly above their skill level. Many things help determine the difficulty of a maze. Size, number of branches, the length of dead ends, the number of choices, the complexity of the rules (if the maze has them).

4. Ensure your maze has a solution

When your maze is complete, solve it to determine the difficulty level and to ensure it is a real, solvable maze. Depending on the complexity of the maze you may want to do this right away or wait so you can properly assess the difficulty.

5. Explain anything that needs explaining

Some mazes have rules or conditions. Explain them with directions. If it isn't obvious, make it so.

HOW TO MAKE A MAZE WITH STANDARD MAZE PATHS

  • Step 1 - Draw the Outline

The outline of the maze makes the outer wall of the maze. It can be anything from a simple shape like a square, to a complex picture. The outline should be thicker than the internal lines to give the maze definition. In the example below I show the grids and I made a 10 x 10 grid square.

  • Step 1.5 - Choose the Start and Goal

For the below example I left gaps in 2 corners for the start and the goal. If drawing a maze digitally you could choose this later, but for a hand drawn maze the maze outline will need to have gaps for the start and goal.

How to make a standard maze step 1
  • Step 2 - Start Drawing the Maze Walls

Using a grid pattern, begin drawing the maze walls starting at the entrance of the maze. The smaller the size of the grid you use, the more difficult the maze can become. This is because a small grid will need more pathways to fill the space you are mazing. As you make the maze decide how difficult you want to make it based on your preference or your intended audience. A low amount of path choices, and short dead end paths will make an easy maze. Longer dead ends and lots of path choices make a more difficult maze. The below example is starting off as an easy maze.

How to make a standard maze step 2
  • Step 3 - Keep Drawing the Maze Walls

Like most mazes the middle part of design is a lot of keep doing what you are doing and draw more walls. There is nothing too complicated in the below example. The solution is not difficult to follow so far as there are still multiple possible solves still available to use. When I design a maze of any type I like to have multiple options open for most of the design process. When I get near the goal of the maze, that is where I decide which path works better. Take a quick moment to solve these mazes using your eyes. Notice the length of the dead ends and how quickly you find the wrong turns. The more novice the target audience for the maze, the shorter the dead ends should be.

How to make a standard maze step 3
How to make a standard maze step 3.5
  • Step 4 - Complete the Maze

Draw the final walls and draw the exit (if you are making your maze digitally). You have completed the drawing of a standard maze ! As I mentioned above, I reviewed the possible pathways as I was reaching the goal and chose the one that best fit what I wanted to achieve (in terms of difficulty). Just a quick note if you were hand drawing your maze the goal was already drawn in step 1.5. In this case you have the option to complete your maze by drawing from your exit goal to the mostly completed maze. Below I took an extra step to delete the background grid.

How to make a standard maze step 4
How to make a standard maze step 4.5
  • Step 5 (Optional) - Draw the Solution

You have two options here - Option 1 - While the correct pathway is fresh in your mind, draw the solution to the maze. This is especially important with more complex mazes. It can also be a check to make sure your maze has a solution. This example maze is easy. Option 2 - Let the maze sit for a few days and try solving it yourself. Was it the difficulty you thought as you were designing it ? Did you enjoy it or did it frustrate you in any way ? Using option 2 means you are more likely to go back and make adjustments to improve the maze. Think of it as proofreading for mazes.

How to make a standard maze step 5

HOW TO MAKE A MAZE WITH STANDARD MAZE PATHS - abbreviated writing & using a different shape

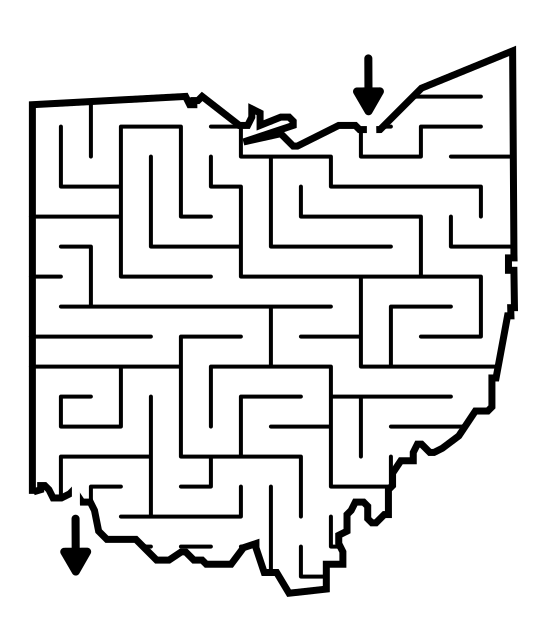
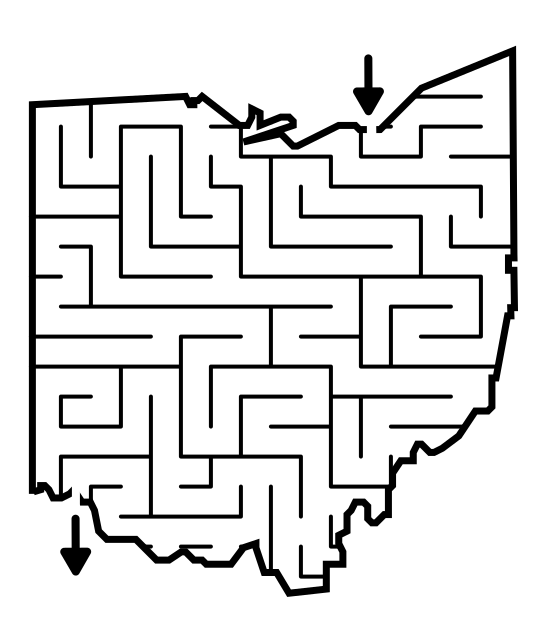
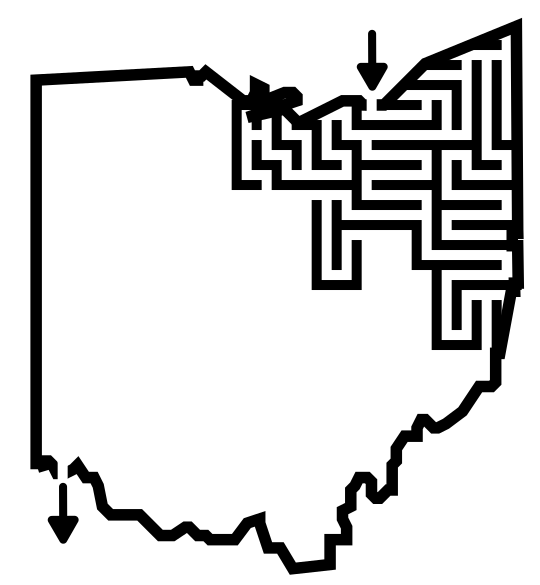
Here is the original step by step maze done in the shape of Ohio. Use the next controls to watch the maze get made, then see the solution.

Step 1 - Draw the Outline - I drew Ohio and added a start at Cleveland. I put an Arrow near Cincinnati but did not officially make that the goal until I draw the maze.

Steps 2&3 - Drawing the Maze - Nothing too special. I drew in the maze from start to finish.

Step 4 - Complete the Maze - The maze determined where the goal would be placed and I finished the maze.

Step 5 - Draw the Solution - I added a solution, ensuring I made no mistakes in my design.
4 ADDITIONAL EXAMPLES OF STANDARD MAZES

The Cheeseburger maze happens to be in full color and uses a smaller scale (the grid is 10x10 with walls at a 1.5 width) but it is a standard maze. Difficulty is medium because the pathways that are false tend to be longer then normal, so if you take a wrong turn early there may be a delay until you realize it with a longer backtrack to get on the correct path.

Cheeseburger Maze in color

The standard maze is the default for most maze makers because it works well with just about any subject you are making a maze of. Like this full-color Pug maze. A medium difficulty maze. Was made on 16x16 grid with wall widths of 2.5

Pug maze

In the first two examples you can see how this maze construction works with irregular shapes. Now let’s look at how it works on more structured shapes like rectangles. The Zipper maze below, and there are not many zipper mazes out there, has a very rectangular structure that naturally fits with the grid pattern. Yes there are some rounded corners but they are easy to navigate as a designer ! I think you can tell by the scale this is a 4x4 grid with walls of 1.2.

Zipper Maze in color

Next we have another maze a natural fit for a standard maze because of it’s shape, the Barn maze. The entire lower portion fits perfectly with the grid. It was made on a 4x4 grid with walls of 1. I think this maze is medium hard, and definitely not for kids. One of the main reasons I included this maze was because of a specific detail I like. Do you know what it is ? It is the rooster on the roof. I like adding little details, even if they do not effect the solve of the maze.

Barn Maze in color

START AND GOAL OPTIONS

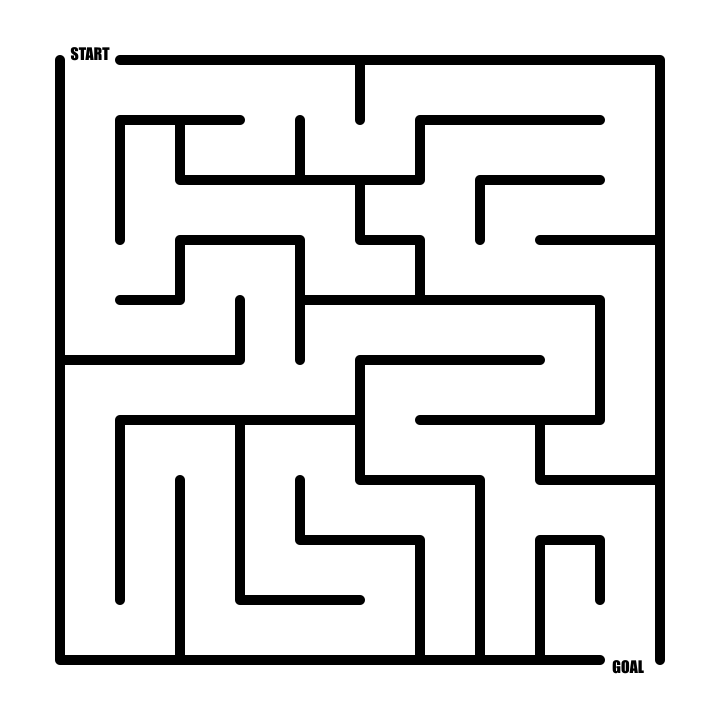
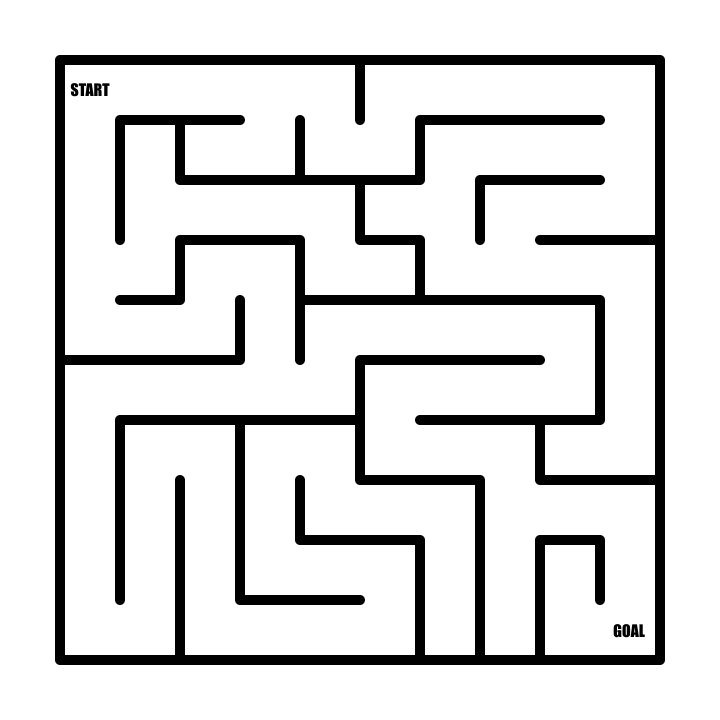
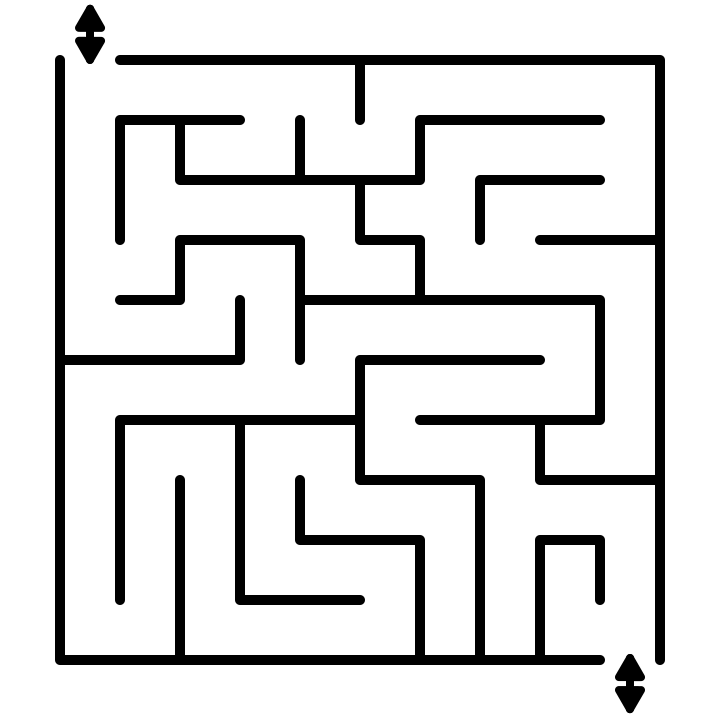
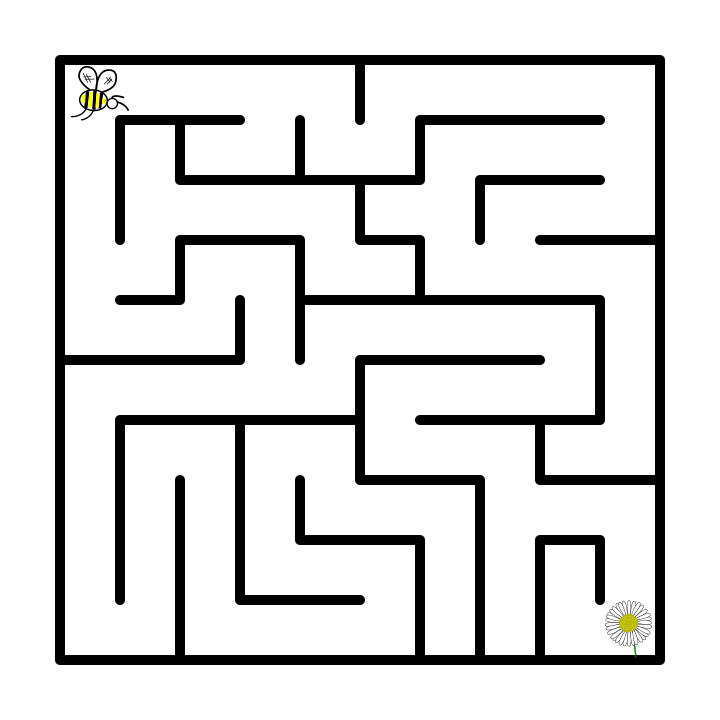
I want to take the time to show you some of the many options you have for starting and ending the maze. I did not use any labels above, but arrows are pretty standard. You have other options as I outline in Options for Starting and Ending a Maze. Here is the above maze but using 5 different choices to for the start and goal. You have options !
FREE STANDARD MAZES TO SOLVE

If you want to solve some of this type of maze, check out the Regular Maze Section that features 40 different mazes available for free download ! They are all rectangular but are divided into sections by difficulty level.

STANDARD MAZE TEMPLATES

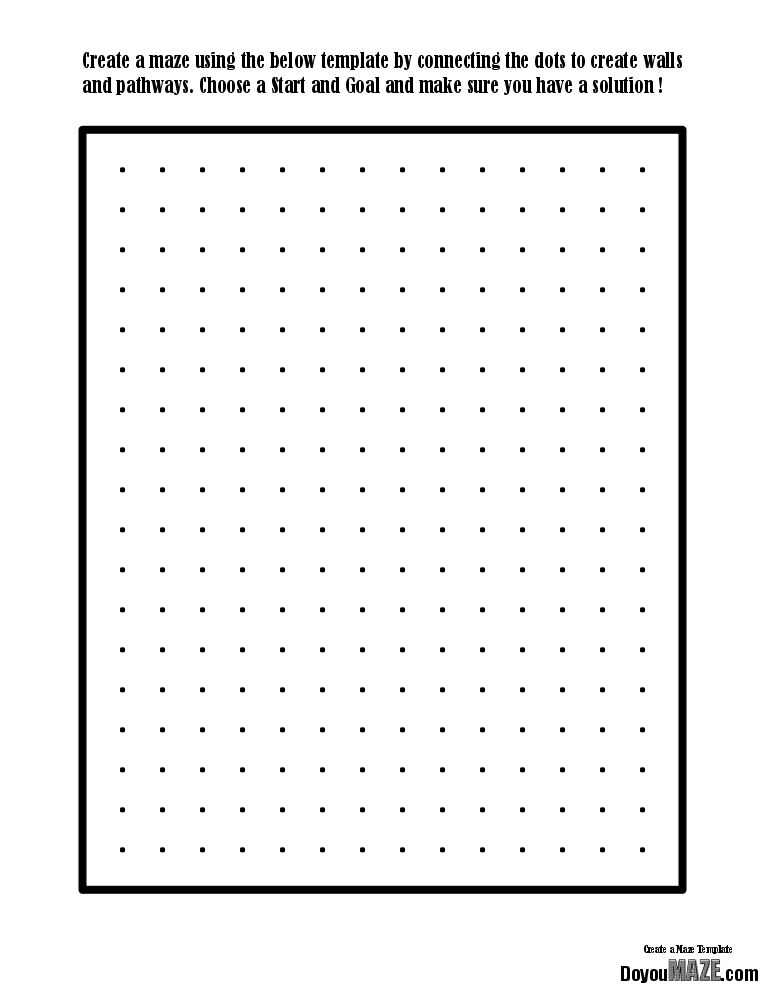
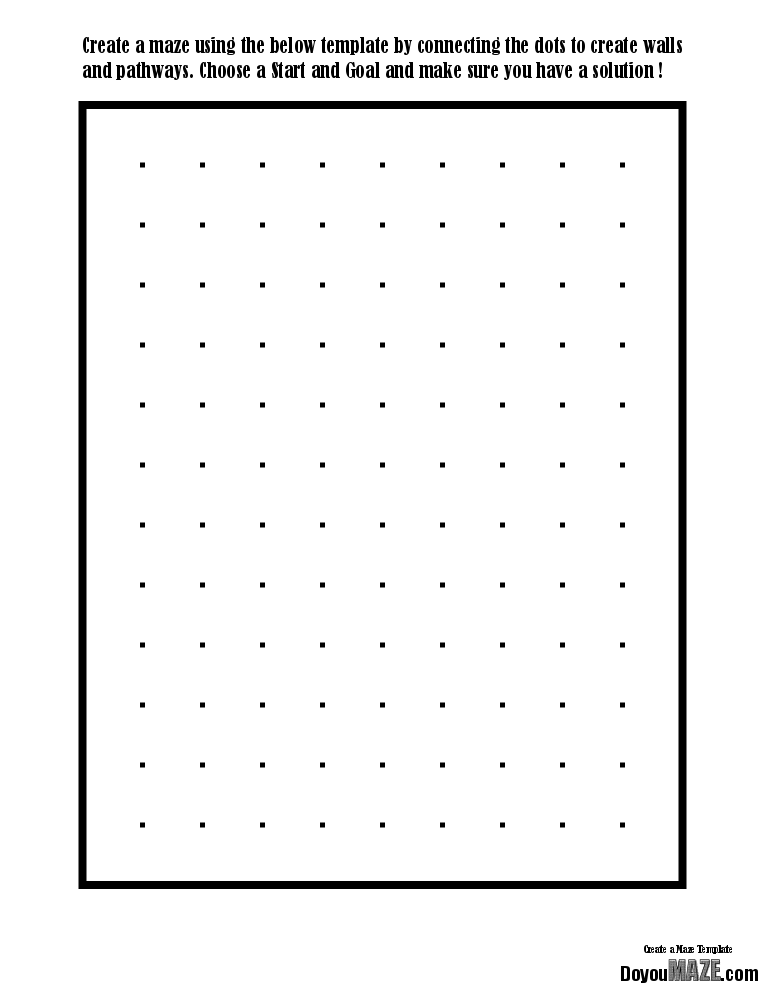
If you want to try making a standard maze with a bit of help, try one of these downloadable templates. Just add lines between dots to create the maze walls !

RELATED MAZE CONSTRUCTIONS

There are 3 constructions that are very similar to a standard maze construction. The standard equal has thicker pathways, while the horizontal and vertical maze constructions are the same as above but exaggerate the maze design in a particular direction (so the maze looks horizontal or vertical).

Interested in learning how to make or draw other types of digital mazes ? I have step by step instructions on how to make over 40 different maze types HERE.

If you prefer making labyrinths, you can find step by step instructions HERE.

Using color for Maze pathways - A Case Study

Today I will explore the use of colored pathways as a choice when creating a maze and show how that decision will impact the look of the maze. Previously I looked at 12 different pathway options with #11 being using colored pathways. As an example I used the red wine maze. As you can see the burgundy pathways define the wine resting in the wine glass. Easy to understand for the viewer/solver.

Red Wine Maze

But that maze is the end product, a result of a construction decision that I think was the correct one. Let’s look at a different maze that could be created with or without colored pathways and see what happens as we make different selections.

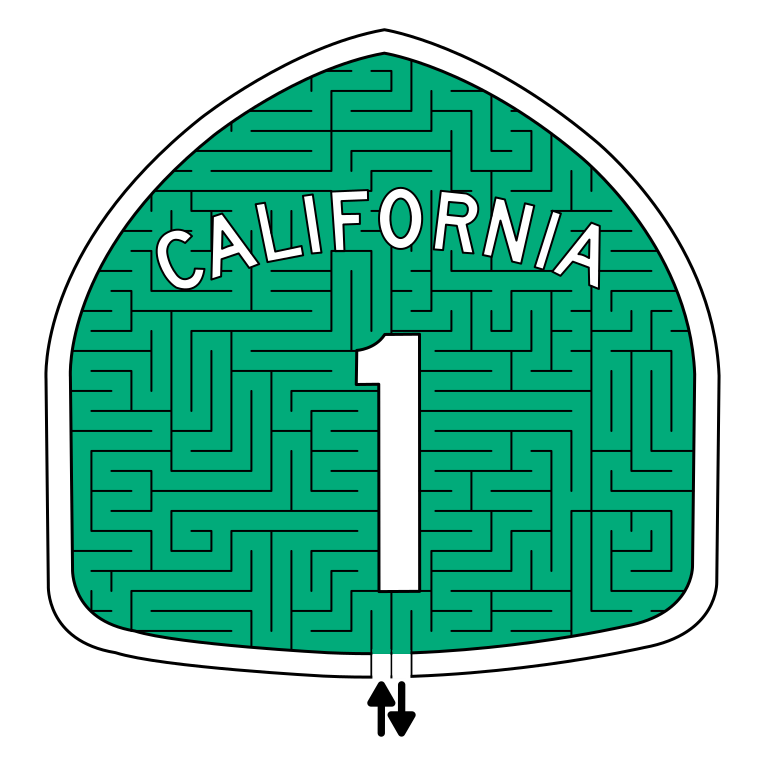
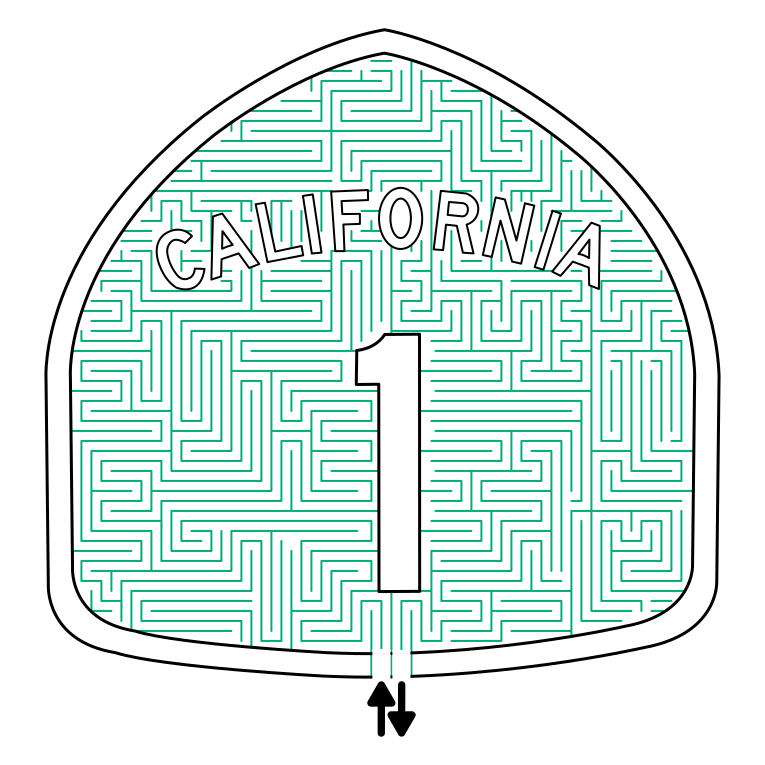
For our example we will be doing the famous Route 1 road sign from California, also known as the Pacific Coast Highway or simply the Coast Highway.

Maze Design 1 - Colored background used

Looks like the sign you might see on the side of the road (mazed!)

California Highway 1 Maze

Route 1 Sign Maze

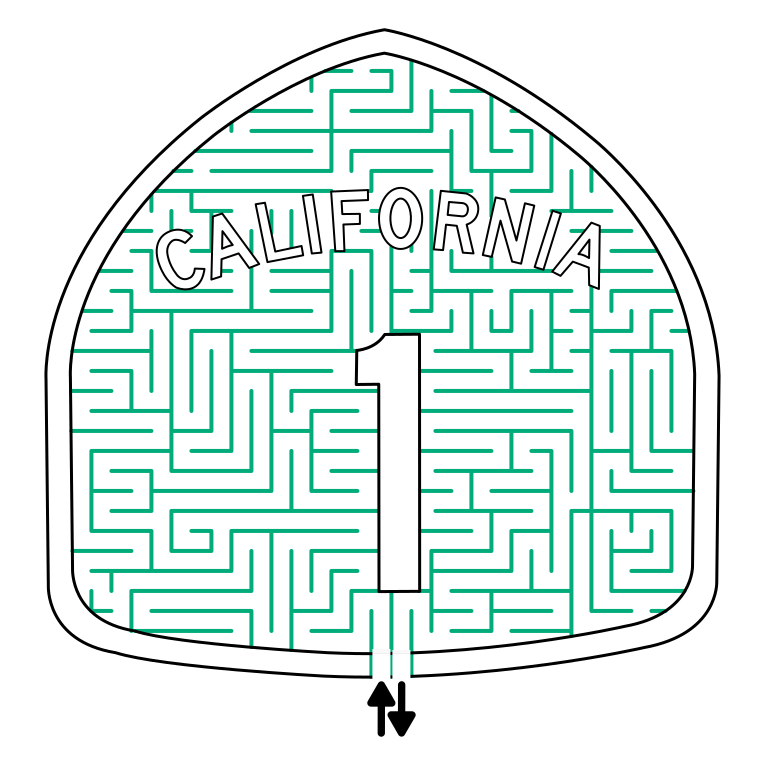
Maze Design 2 - Pathways colored as is

For our second example we simply lose the background color and change the pathway color to the former background color. The maze sign is recognizable, but the color is very subtle but visible. For some designers this would be an acceptable solution. In this instance I would want this maze to have a bit more color….so

California Highway 1 Maze skinny walls

Maze Design 3 - Pathways colored, but twice as thick

So I took the maze above and doubled the thickness of the lines to increase the appearance of the color in the background. It definitely works to achieve more color. And, depending on how you feel about the maze you have designed this might be a great solution. But there are 2 more options, best these options should be decided on before you have started mazing.

California Highway 1 Maze - medium thickness walls

Maze Design 4 - Twice the pathways, original thickness

This option will make for a maze that is twice as long (or at least has twice as many pathways). For the example I cut the original maze in half (not recommended) to quickly construct it. The result is a darker background, a more difficult maze, and a longer design and drawing process. This is a nice option if you want to increase difficulty. There is certainly enough space to make this complicated ! We do have 1 more option to look at…

California Highway 1 Maze - many  pathways

Maze Design 5 - Twice the pathways, double thickness

To bring the options full circle I took Maze design 4 and doubled the thickness of the pathways as I had before in Maze Design 3. The width almost switches this maze from a standard maze construction to a standard equal maze construction. Lots of color in this one.

California Highway 1 Maze - many thick pathways

So those are 4 possible designs for the same maze, with 4 different colored pathway options. I wanted to illustrate that the use of color is about more than color you assign the path, but also about their spacing and their thickness. Any could be used depending on how you want the final maze to look and the difficulty you want to give the solver. Here is a comparison of all 4 colored pathway examples together so you can more easily compare them. Which do you prefer ?

Example of how wall thickness changes how a maze looks

Let’s look at some additional maze art I have made where I used non-black lines and talk about why. These are more about keeping the integrity of the illustration than coloring it, but it is a similar story.

First we have my Mount Rushmore Maze. I really enjoyed making this one. The president’s are carved into the side of the mountain and using black made them to defined IMO. The grey lines look more natural, as if the carvings are part of the structure (which they are!).
Mount Rushmore Maze
 

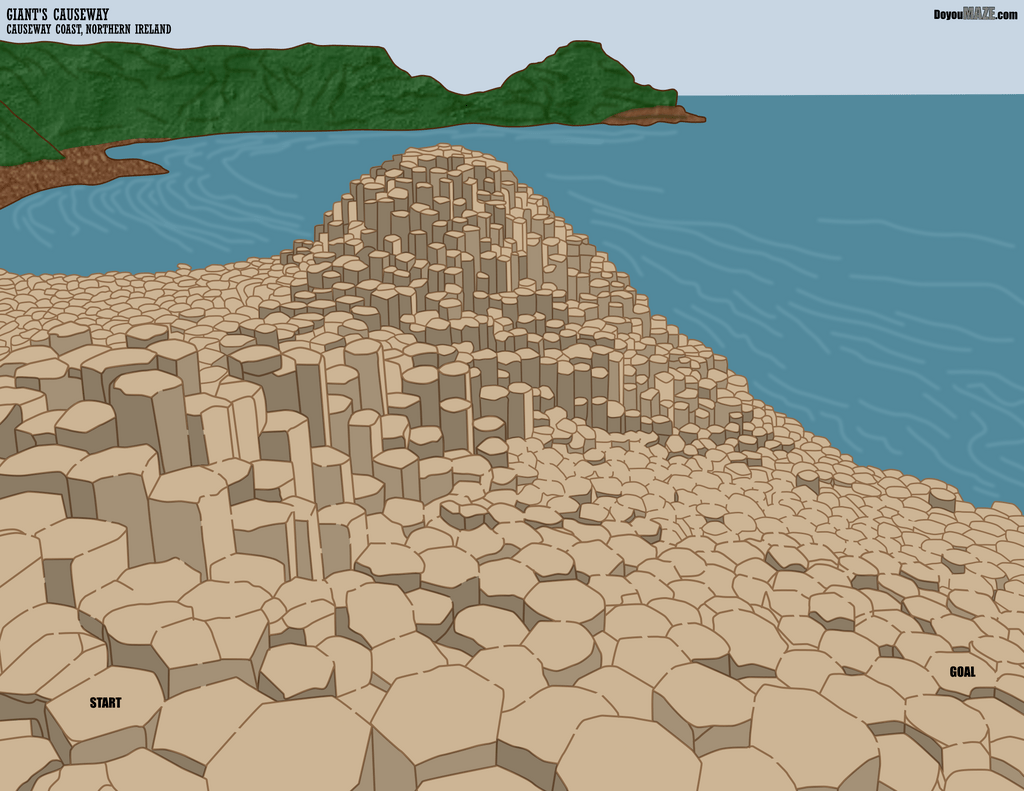
My second example is the Giant Causeway Maze. Maybe we have a theme, because once again I used the color brown to draw the basalt columns, as black contrasted too much with the illustration. So in these first 2 examples I wanted the nature scenes to look natural. Using black in either would make them look too bold/unnatural.
Giant Causeway Maze
 

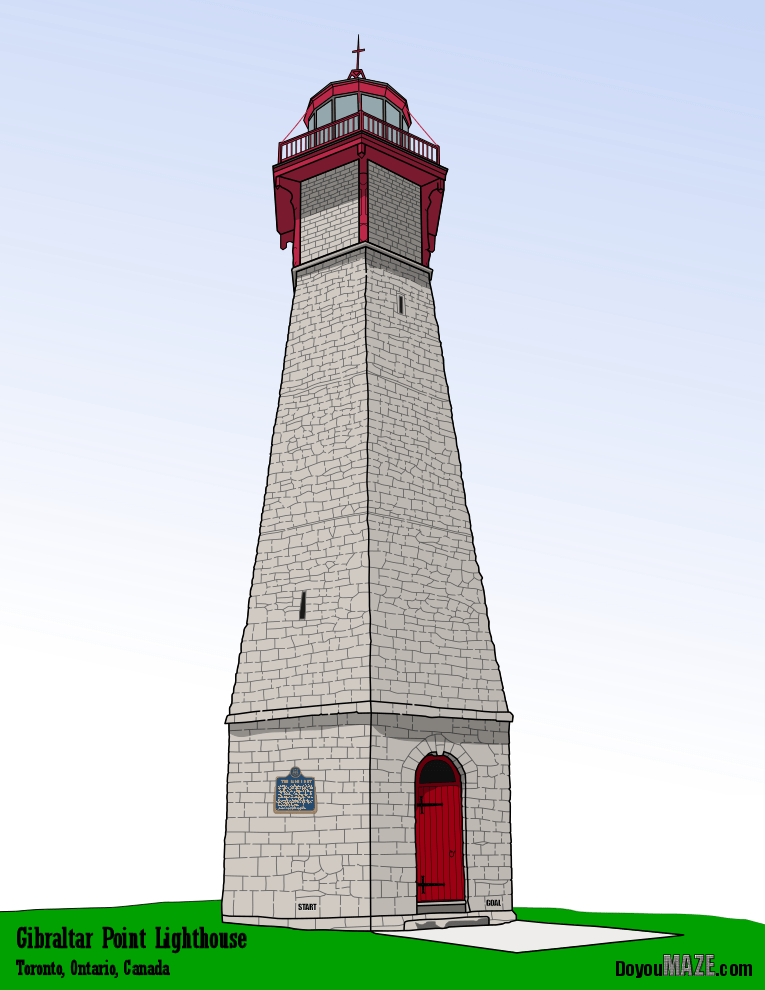
My third example comes from my maze of the Gibraltar Lighthouse. Same idea, but a bit different. The lighthouse is made of stones. I used black for the outer walls, but all internal walls or mortar was a more natural grey.


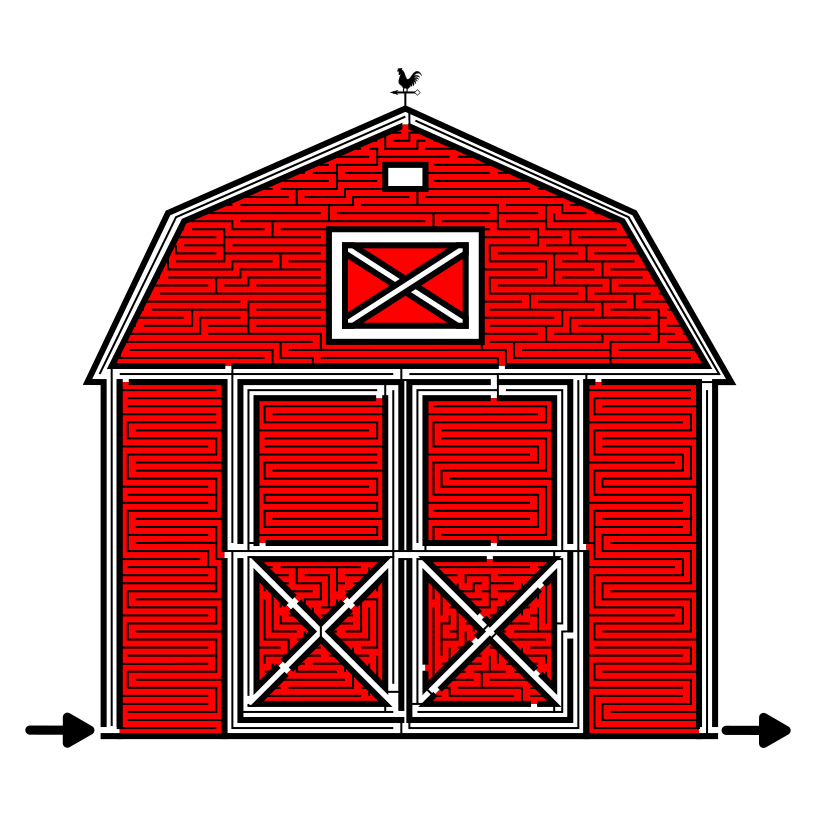
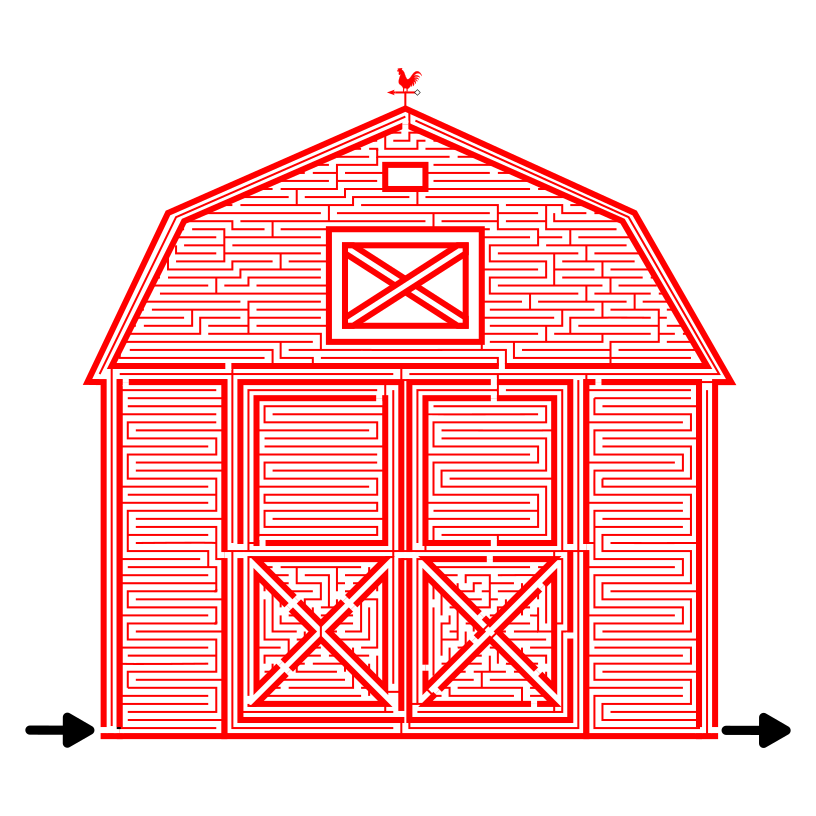
My last example is more in line with the California street sign above. I made a red barn maze in 2 different variations. I prefer the colored red vs the red lines, but you may disagree. For some applications you may want one over the other. You have the option.

Types of Maze Intersections and Junctions

Want to know what types of intersections will you find in drawn mazes ? Are you an artist or a maze solver ? Below is a partial list with examples of the types of pathways and junctions that can be made to create a drawn maze using mostly a grid-like pattern. Slight variations of these would exist for non-grid maze creations also, like hand drawn, triangular, hexagonal, etc. Lets’ start with the most simple part of the drawn maze.

I break maze intersections and junctions into 6 categories:

  1. No Choice Pathways

  2. Intersections

  3. Spirals

  4. Loops and Branches

  5. Dead Ends

  6. Special Pathways

Let’s look at each of these categories with details, and examples.

No Choice Pathways:

  • The Main Path or Main Passageway

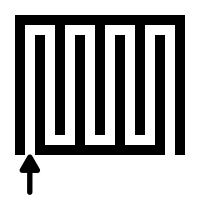
Looks like a standard straight line. There are no choices to make other than to continue forward on the path you are on. Not a junction or an intersection really, but what you are on before you get to one and so a great place to begin.
Main maze pathway
  • The Left or Right Turn

No choice is available, but the main path turns to the left or right to change the direction of the solver. Not a junction or intersection, just a new direction for the main pathway. Happens countless times in a maze !

Left and right turn maze pathways
  • The Back and Forth

This stands in for all possibilities of patterns with no choices - and there is an infinite amount ! If you break it down it is just a pathway with many turns and because there are no choices it is in some ways filler. I would define this one as a series of pathways and turns that move the solver back and forth on the pathway without any choice of direction as in a labyrinth. A very common pathway configuration.

Back and Forth maze pathway

Intersections:

  • The Standard Intersection -

Looks like a plus sign to the solver. At an intersection the solver must decide between turning left, right or continuing to go straight on the current pathway. A standard intersection has 3 choices (4 if you think returning the way you came is a good idea).

Standard Maze Intersection pathway
  • The T - intersection -

The main path comes to a junction where the maze solver has two choices and needs to go either left or right. Looks like a T (but can also be a T on its side if you are traveling on the same pathway). The main pathway in this junction ends, so continuing the way you came is not an option. A choice must be made.

T Intersection maze pathway
  • The Take or Continue intersection -

The standard and most common choice you will have to make many times in a maze. Looks like a T on it’s side, and can go in any direction as long as the main pathway continues on (this is what sets this intersection apart from the T - intersection above). A decision needs to be made to continue on your path or turn onto another path. Below are versions to turn left or right vs. continuing on the main path.

  • The Y - intersection -

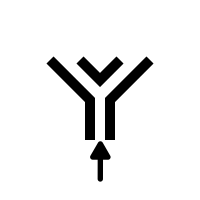
An angled version of the T intersection that looks like the letter Y. The maze solver must make a similar choice as in the T intersection. Continuing on the main path is not an option.

Y intersection maze pathway
  • The Multi-choice intersection-

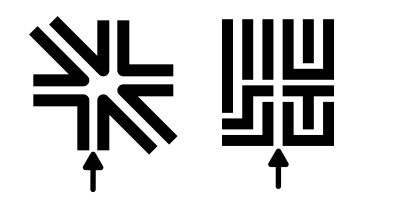
A maze solver comes to a section where the main pathway splits off into many different directions from the main passageway. Different from a standard intersection in that it can have more than 3 new options. This also has the most different options on how it can look. A maze with Multi-choice options will typically be more difficult to solve. Also, the pathway options may be spaced over a larger area. The example on the right has 7 possible paths close together that can chosen.

Multi Choice maze intersection
  • The Fork intersection -

A specific type of multi-choice intersection - a pathway that comes to a decision intersection that breaks into 3 - 5 possible choices, all typically pointing in an onward direction, looking similar to a fork.

Fork maze intersection example

Spirals:

  • The Spiral or vortex -

A pathway that spirals into itself and then spirals to exit thru a series of continual left or right turns. Basic spirals do not have any intersections or junctions for the solver to choose. Often used to create a particular look for the maze.

Spiral maze pathway intersection
  • The Multi Spiral Path -

This is a particular type of spiral path that includes additional branches inside the spiral that may be chosen by the solver. Those new pathways eventually lead to dead ends inside the spiral with only one pathway spiraling out (although the 1 spiral out is not a strict rule).

The multi spiral maze pathway
  • The Spiral Dead End -

A pathway that uses a spiral to trick the solver into a dead end. Instead of a path spiraling in and then spiraling out, you only spiral in to a dead end.

Maze Spiral Dead end example

Loops and Branches:

  • The Return Path or Looping Path -

A pathway that when taken, unknown to the maze solver will return them to the same spot by looping back around, essentially wasting the time of the solver. The pathway might take many turns, but the long term destination loops back around. In the example below the choice of leaving the main path leads to a looping path. Can be used to reduce the difficulty of the maze by replacing some dead ends with looping paths. It will make the maze longer, but more enjoyable when incorrect paths are taken. Instead of reaching a dead end the solver loops !

Looping Path maze pathway example
  • The Side Branch -

A pathway taken off the main pathway that returns to the same main pathway further on in the maze. By taking the side branch the solver continues towards solving but has not taken the simplest path to reach the same point. Different from a looping path in that you do move closer to solving the maze when you take a side branch. Will never look exactly like the example below, but will have the same general structure.

Side Branch maze pathway example
  • The Optional Side Branch -

Similar to a side branch but involves an obvious choice for the solver. Very common in a Find Items Maze and an Avoid Items Maze where you may need to strategically take the optional side pathway to fulfill a condition of solving the maze (example: maze instructions are to find all the balls and then exit the maze - and a ball is on the optional side branch). While the side branch above is taken unknowingly, this is taken with strategic intention (often because it is obvious).

Side branch option maze pathway

Dead Ends:

  • The Dead End -

A pathway that can no longer be traveled on because it has ended. The solver loses and the maze maker wins…I would be surprised if the dead ends you encounter are ever as easy as the example below to see before you reach the end.

Maze dead end pathway example
  • The Filler Dead End -

This is a particular type of dead end that is made by a maze maker with the only purpose of filling up space. Often it is unintentional in the greater design of the maze and no maze solver would ever take these mini paths. They truly are filler. A dead end path that no human would ever take (a computer program would check it out though).

Filler maze pathway dead end example

Special Pathways:

  • The Weaving Pathway -

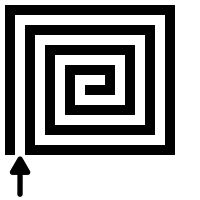
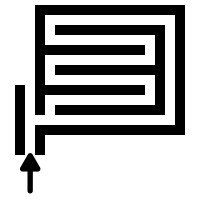
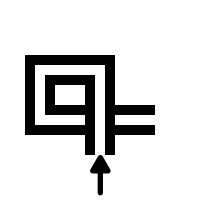
Used in Weaving Path Mazes and Pipe Mazes, this path does not dead end when a wall is encountered if the pathway you are on continues directly on the other side of the pathway that it crosses. It is a way of making 3D movement part of a maze that is drawn on a 2D dimension like a piece of paper or computer screen. To help some solvers they can optionally be shown with arrows to indicate movement across pathways (example on the right). These are fun pathways to include in a maze but can be difficult to design without some practice. In fact if you like games where you need to observe mistakes, I wrote a post where you need to find my weaving design mistakes !

Weaving Pathway Maze
Weaving Maze Pathway with arrows
  • The Trail Path -

Used in Hidden Message mazes, Letter mazes and Number mazes. In this pathway movement along the pathway “captures” letters or numbers as you go over them in the pathway. So the solver is not avoiding the letters, but rather collecting them. In the example below from the start the different possible movements create different words, going clockwise: Straight : “THEN” ; Straight, right “THERE” ; Right “THY”; Left, Down “THATS”; Left “THANK YO”. Intersections exist, but they are not important to the solving.

Trail path maze example
  • Random Shaped Intersections & Pathways -

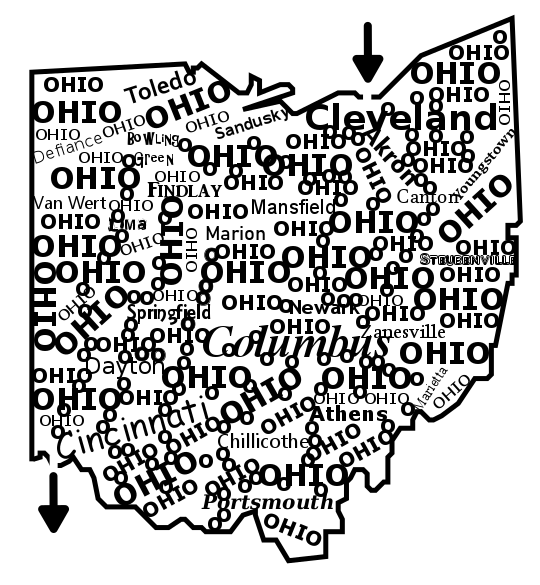
    Most commonly found in mazes that are drawn by hand or that use objects as the walls of the maze. Pathways meander more than normal and have irregular shapes depending on what object is used to make the walls. In the example below how would you define the pathways and intersections ?

Maze of Ohio filled with words as walls
  • Moving Intersections & Pathways -

    I was unsure what to call these but they are a late addition to the list. I was inspired by a video game and a video showing a maze puzzle. Here is a video of the classic retro arcade game Ladybug: Make sure to watch until the ladybug approaches a green wall.

I am interested in using this rotating wall in a drawn maze, but was struggling how to actually make it friendly for the solver. I should also mention that if you draw these doors, you could make them only open/swing in one direction ! Maybe a door with a handle on only one side….

  • Conditional Intersections - which are created by conditional walls/pathways essentially

A puzzle designer created a conditional maze that uses colored doors ! Very nice concept. You can find the maze download, and other puzzles on his puzzle page. The use of color means that intersections change depending on the rules set.

I hope to make some new mazes based on these conditional intersections. When I do, I will add some links here.

I did a 3 part blog series on maze constructions if you want to design your own type of maze. Part 2 speaks about pathway options including weaving pathways !

Part 1 - Starting and Ending a Maze - Speaks to the 9 most popular ways to start and stop a maze

Part 2 - Maze Path options - Explores the 12 different pathway options for a maze

Part 3 - Conditional Path options - Speaks to 11 different conditional options to add to a maze to make it more enjoyable