Case Study #11 - Making Mazes with Shadows

If you are interested in maze design you have come to the right place. I have a series of case studies where I take mazes and try to improve them. Today I want to focus on a specific aspect that I think is rare for maze makers to use but seems to really improve how a maze looks, Shadows.

This topic has been seen in previous case studies (#1,#8,#9,#10) because once I started using shadows in my mazes, I found it hard to not use them because I think they make mazes look so much more realistic. In fact, when I look at mazes from a few years ago, I want to improve most of them. That is the advantage of being a digital maze artist - I can be like George Lucas with Star Wars and just keep tweaking things I don’t like from the past.


Why Shadows Make Mazes Better

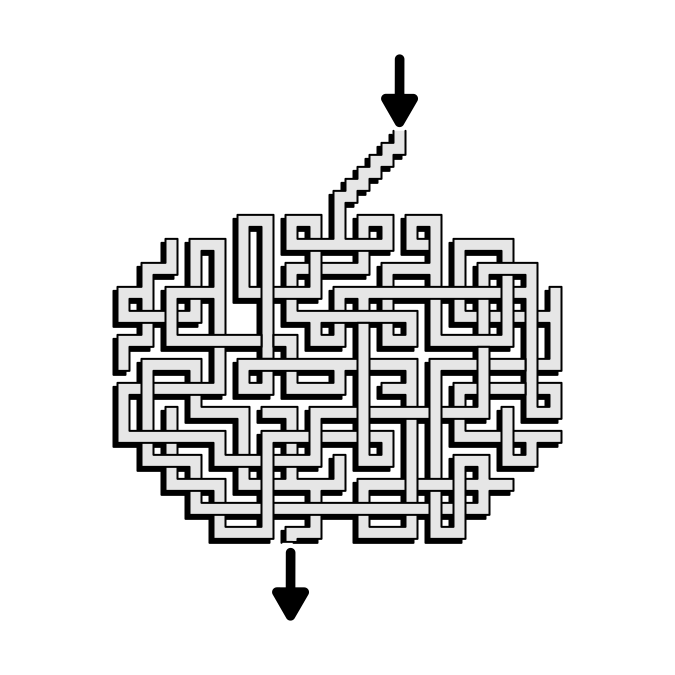
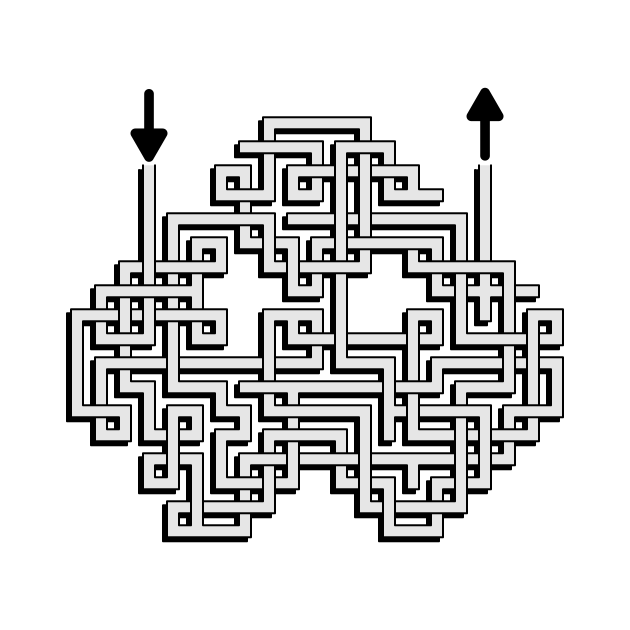
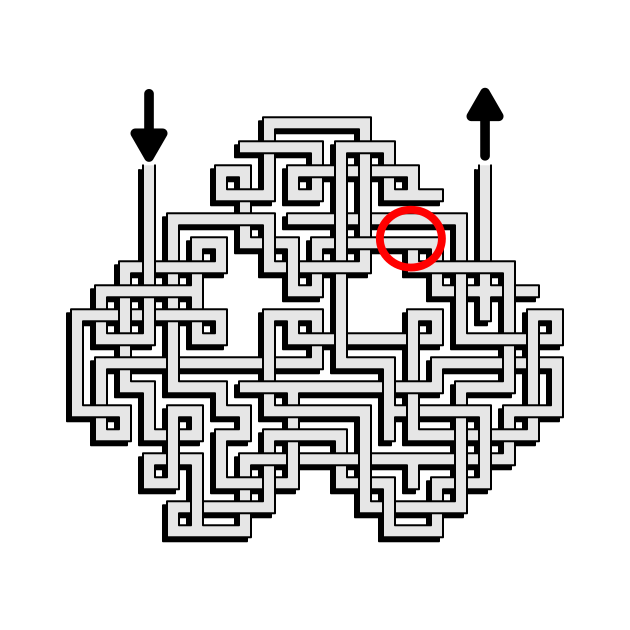
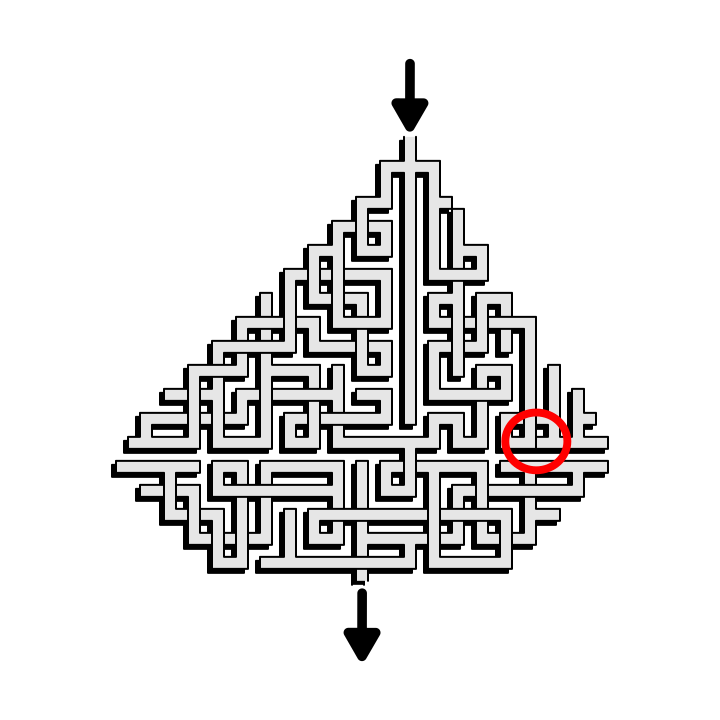
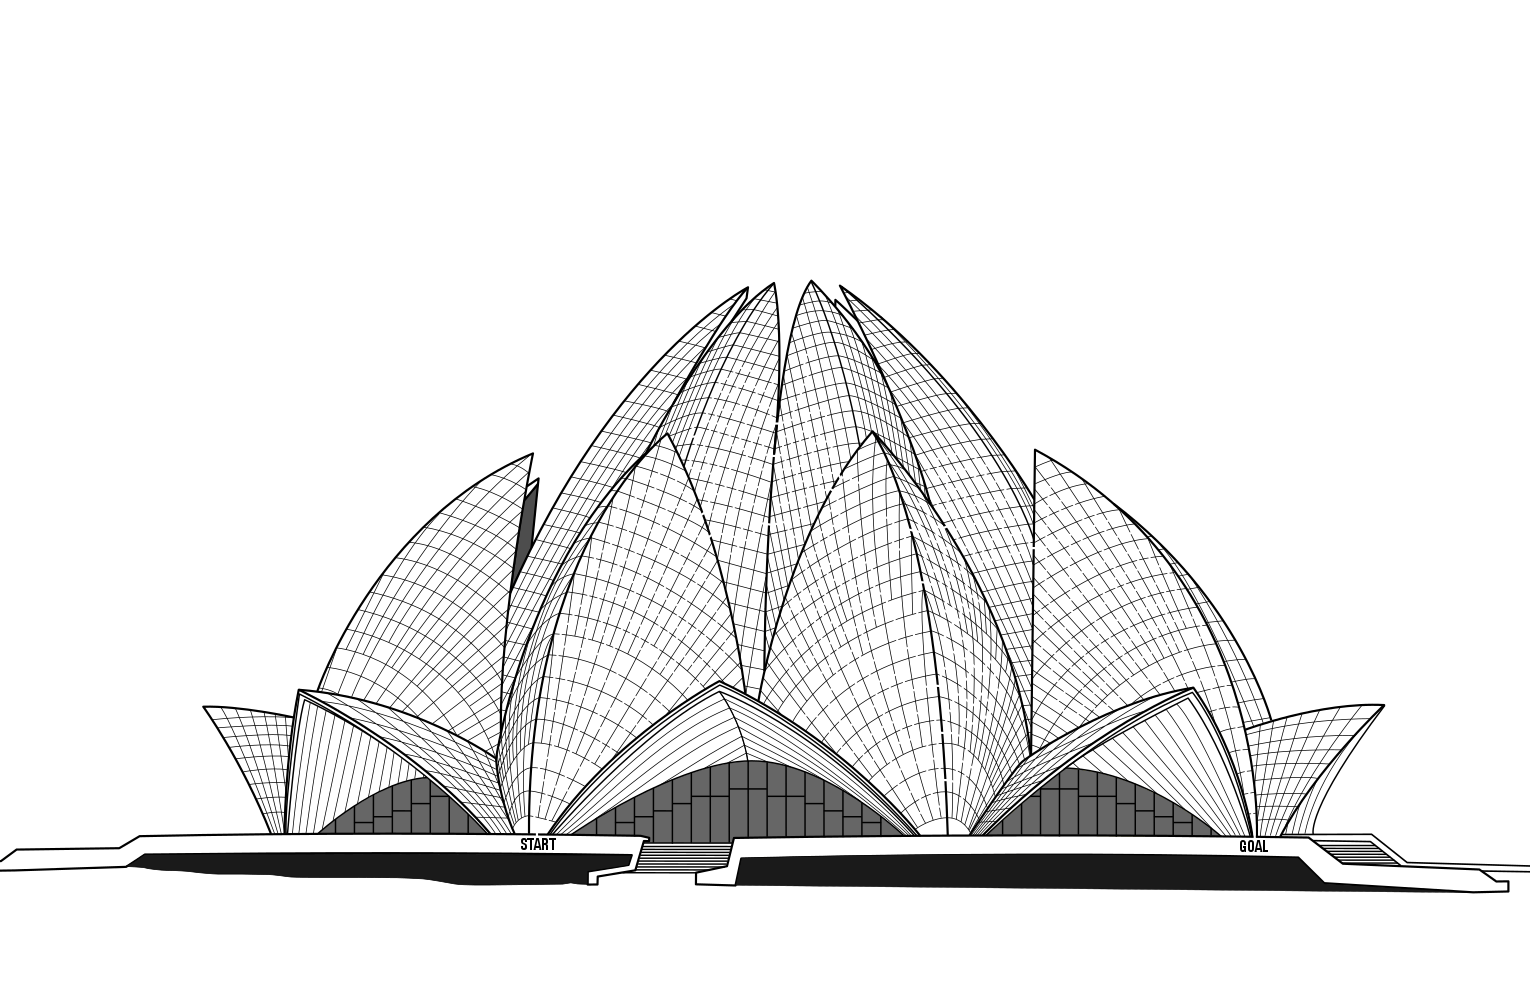
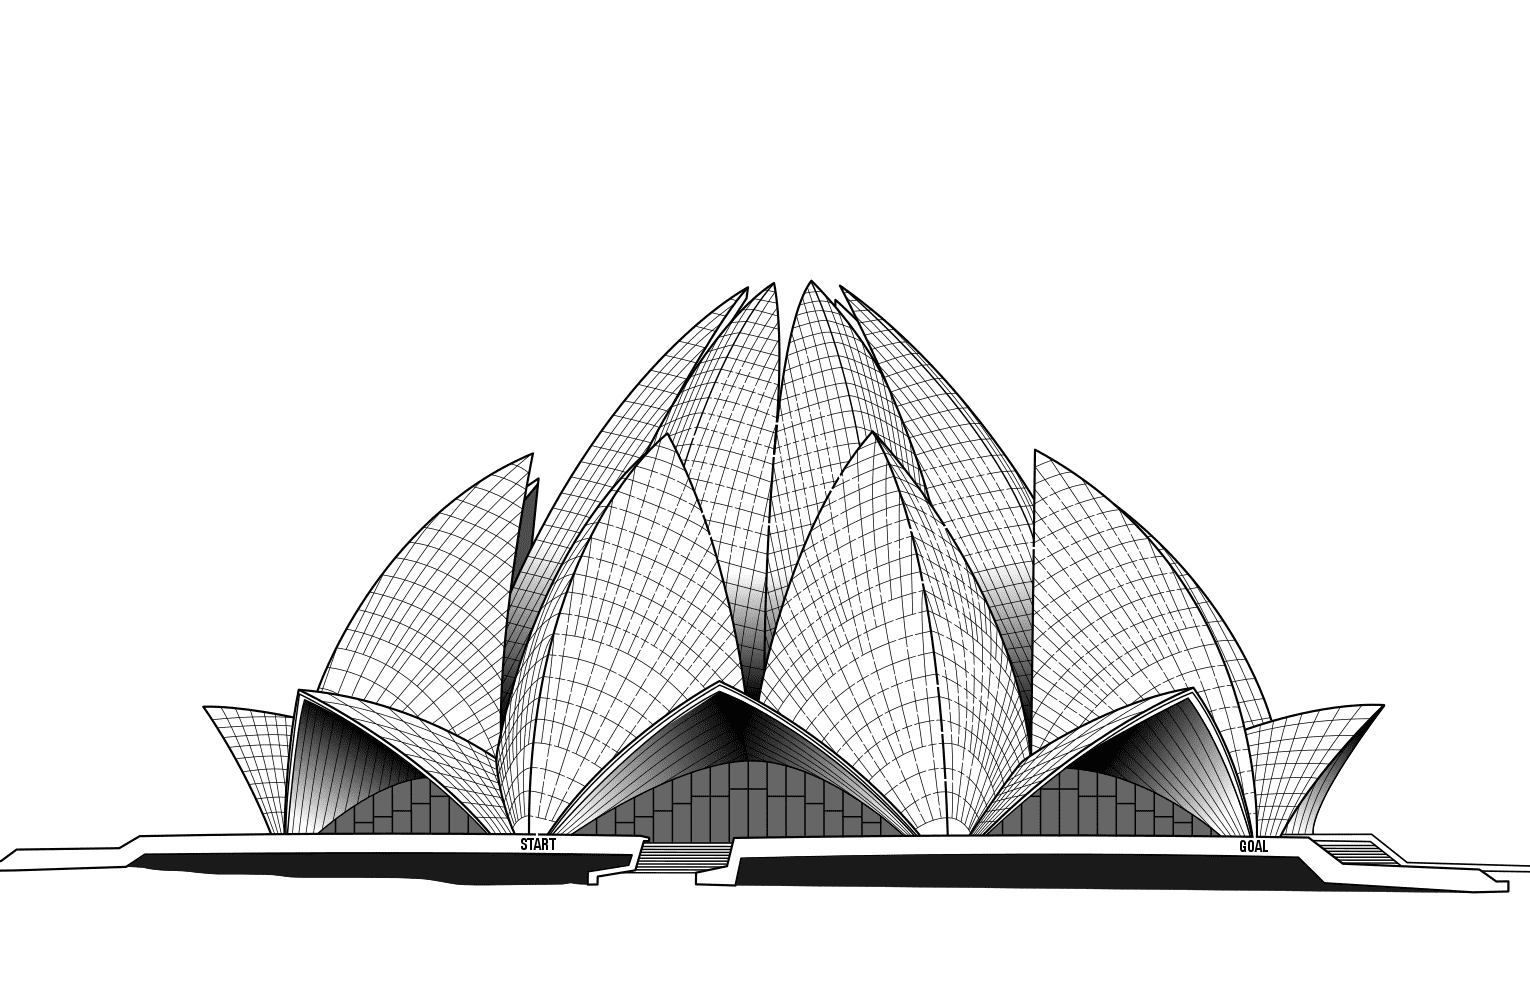
I will be showing 2 options for a variety of my favorite mazes, one without shadows and one with shadows. In every case the shadows make the illustration/maze more interesting, typically by giving it more perceived depth on the page. I have set-up the galleries to transition between the 2 options for easy comparison !

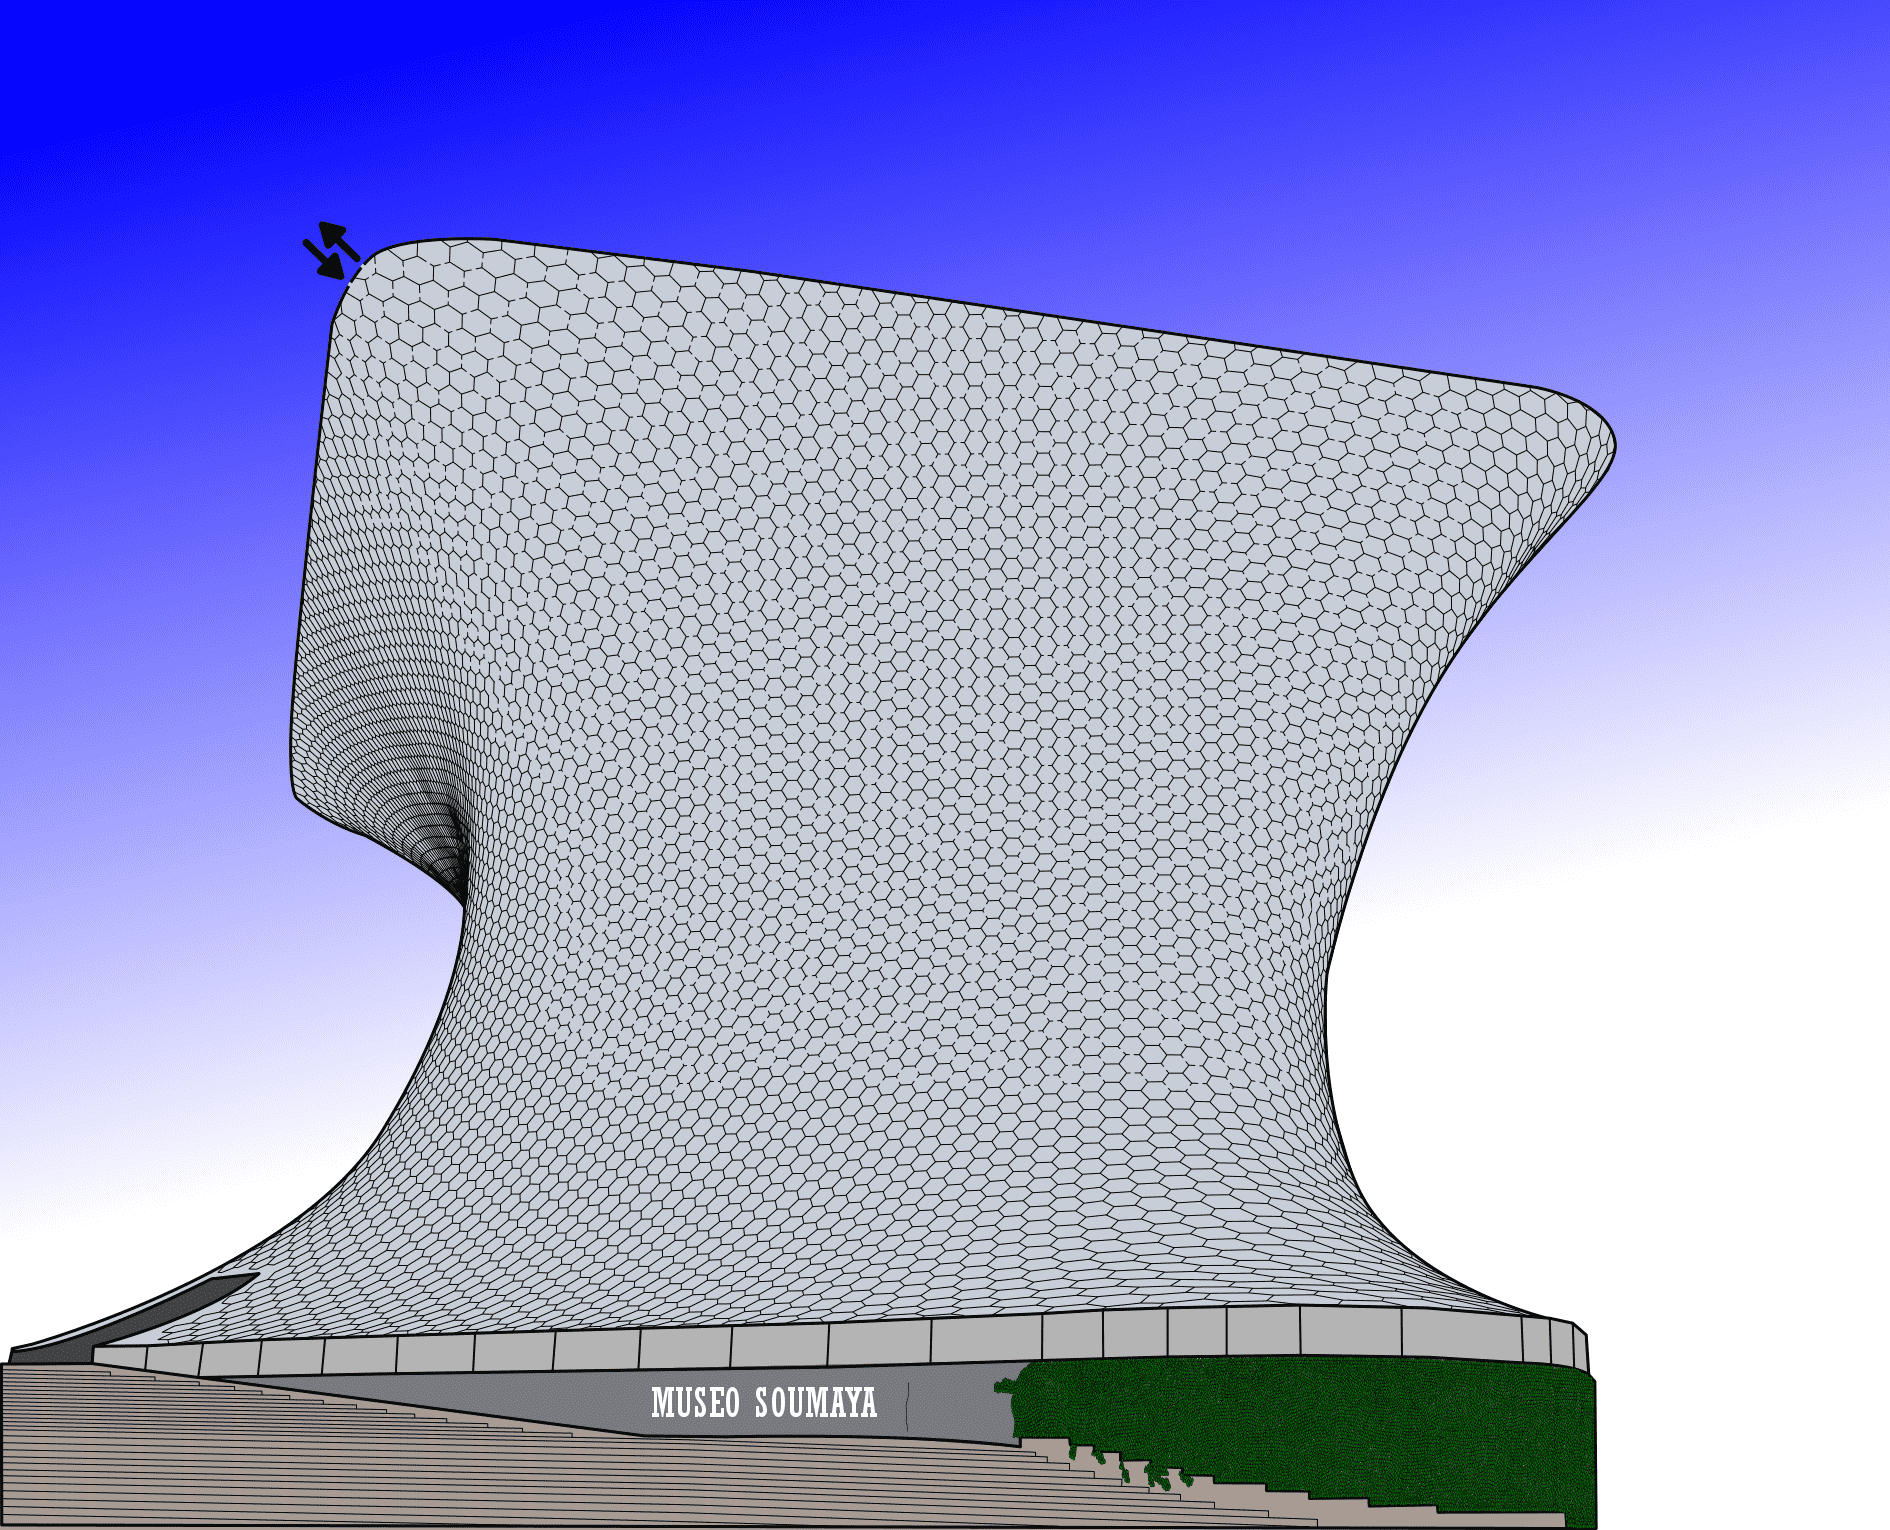
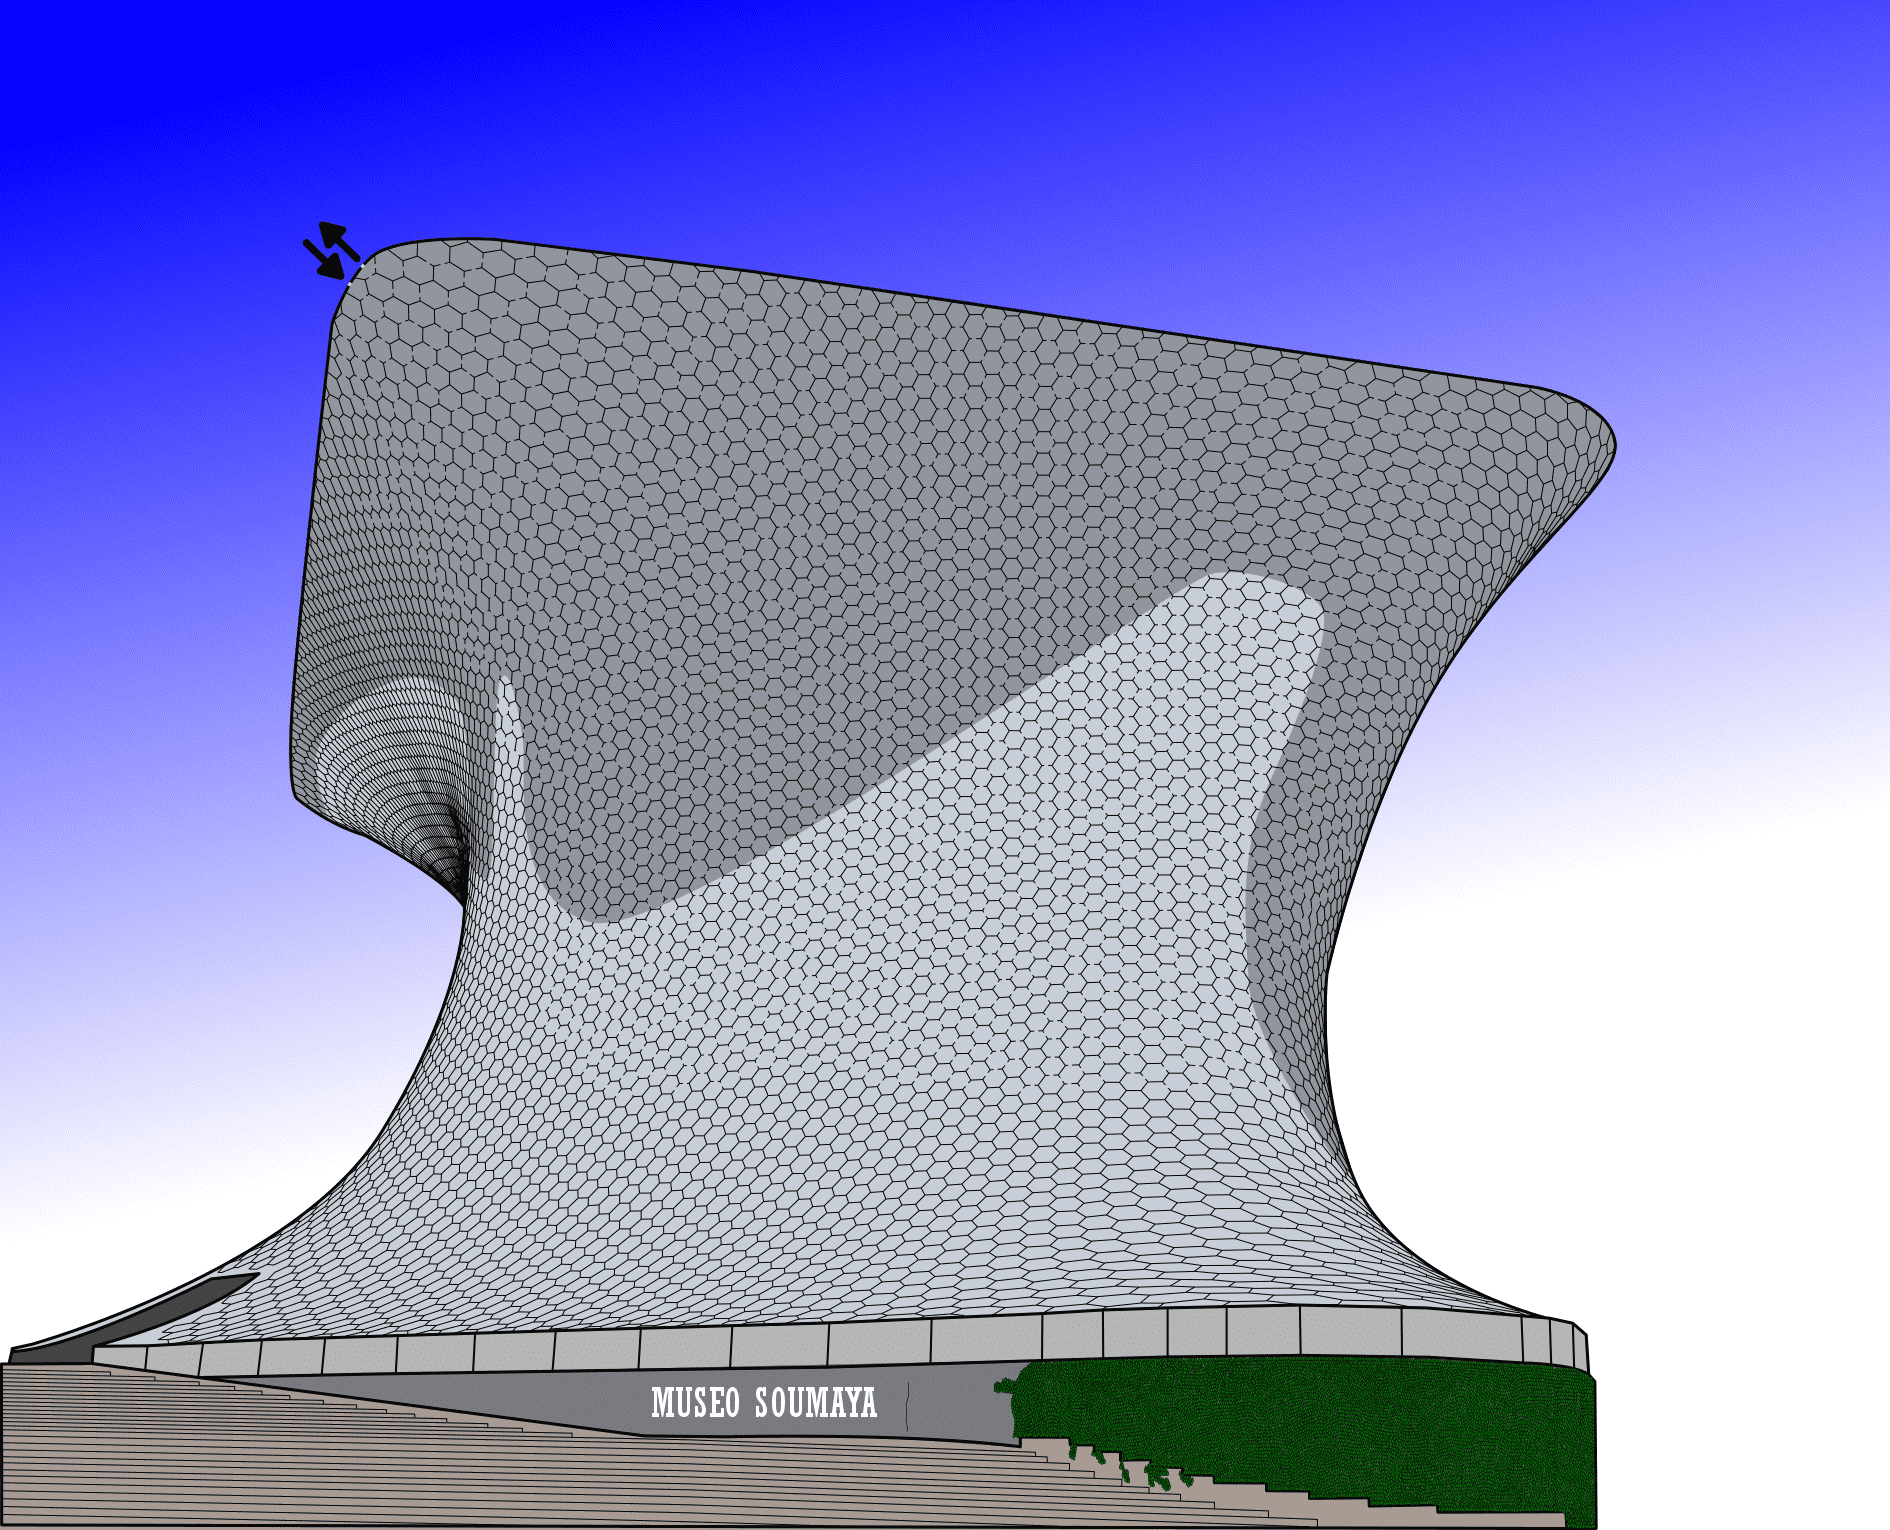
Maze #1 - Museo Soumaya Maze

For this example I had to create a new version previously unseen, in color, but no shadows. The shadows give the building more shape !

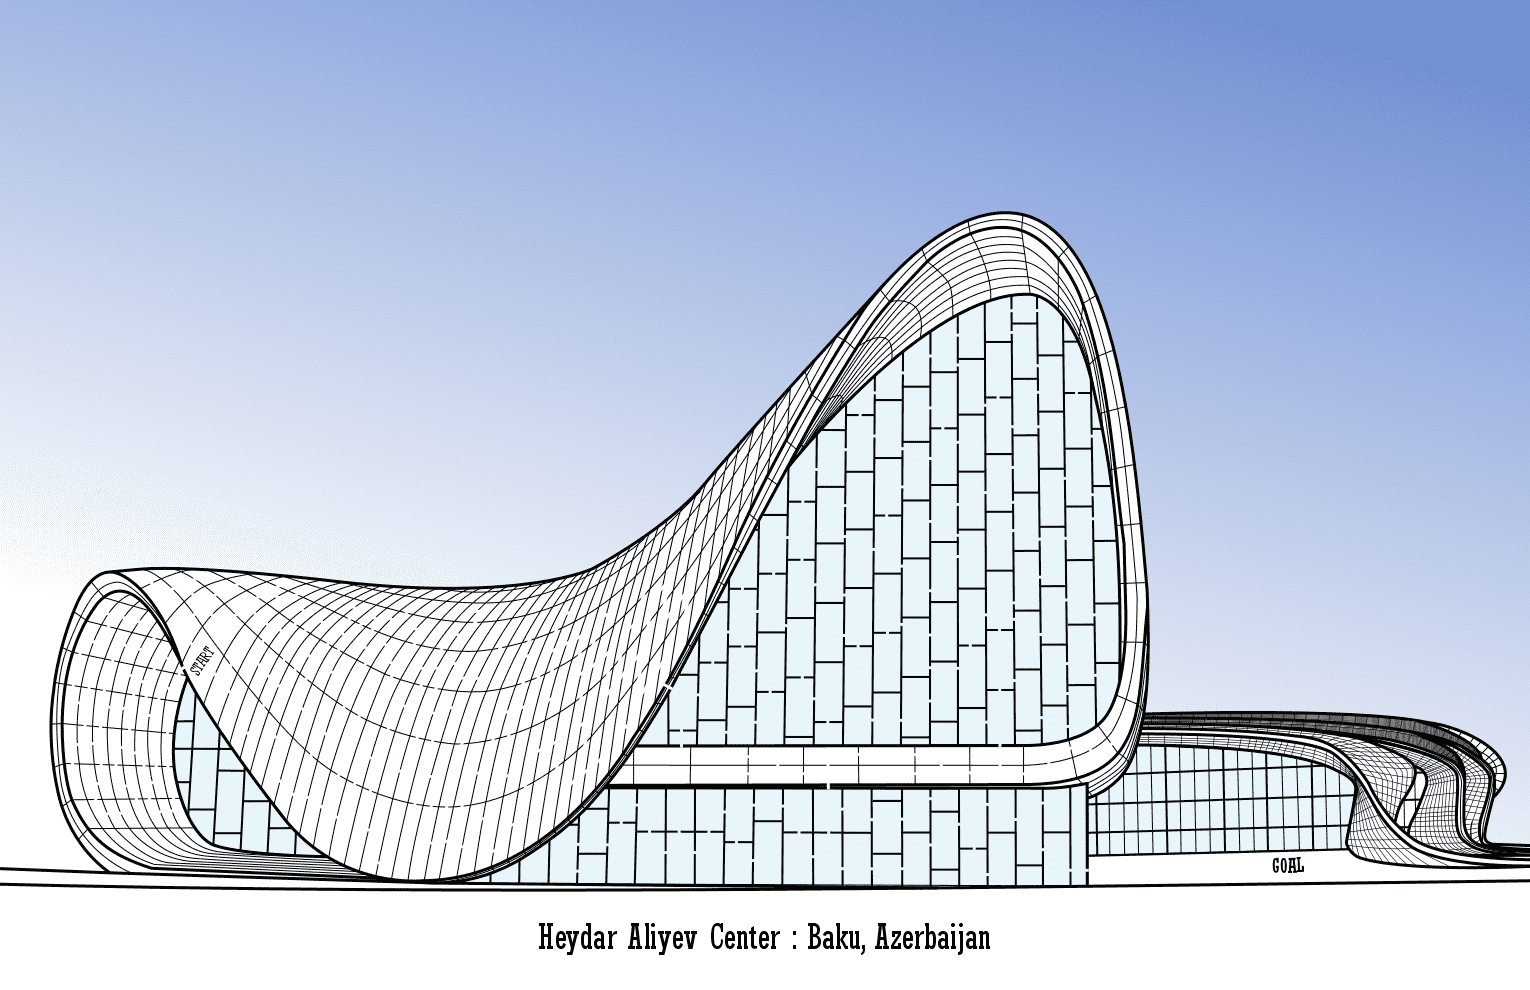
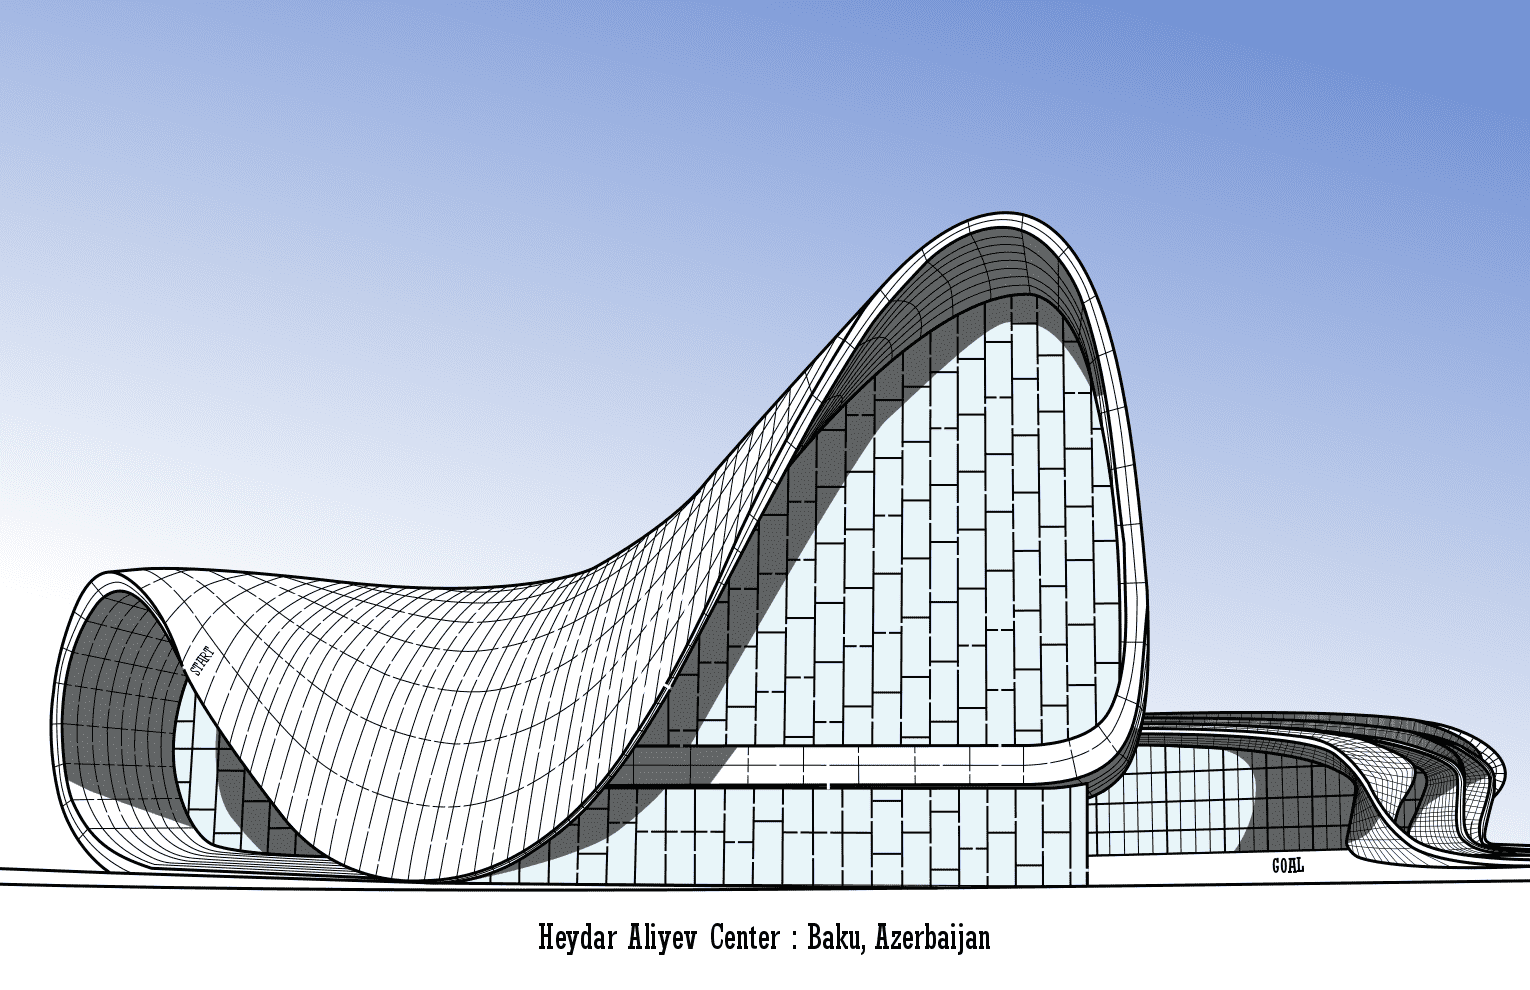
Maze #2 - Heydar Aliyev Center
With such an interesting shape, this is much better with shadows !

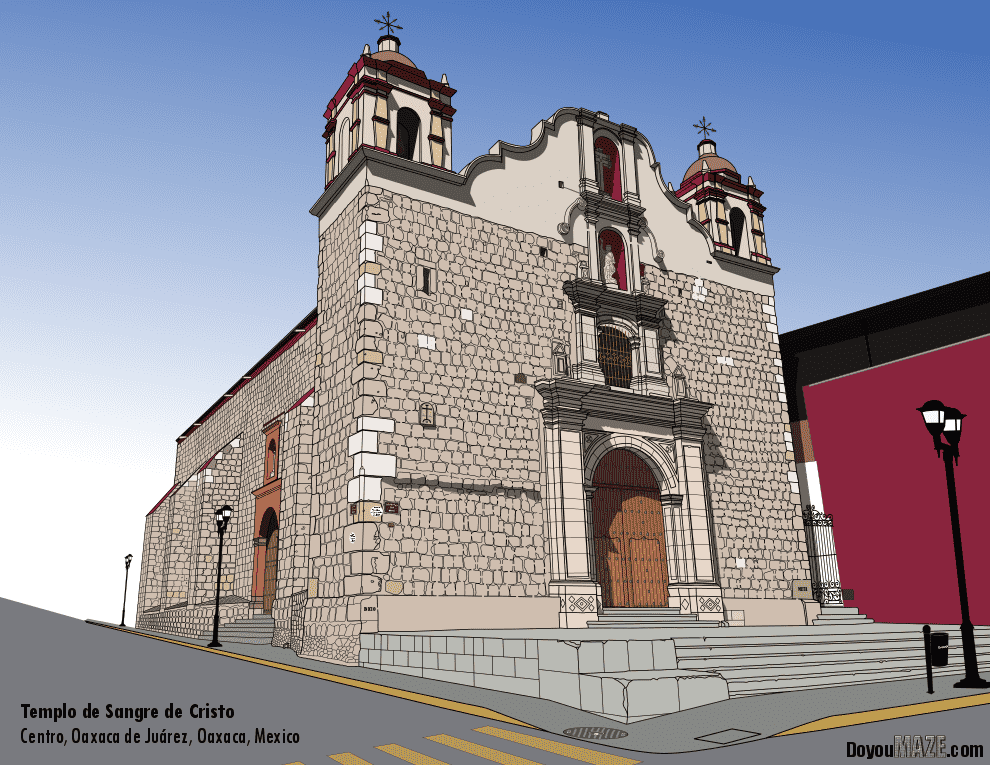
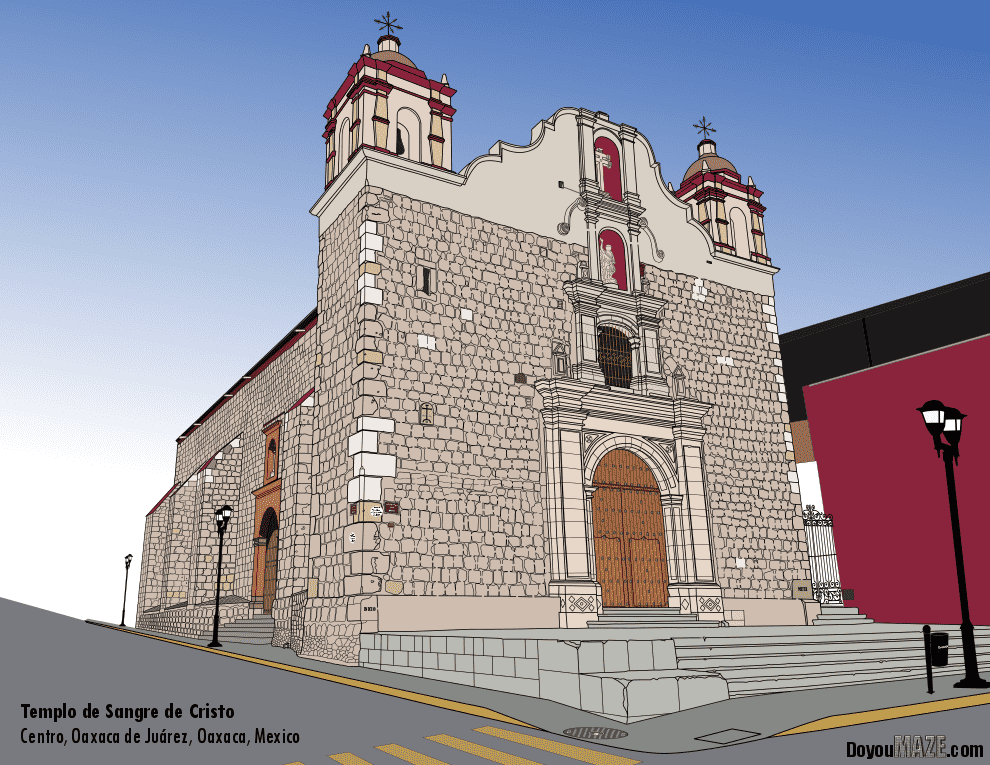
Maze #3 - Templo de Sangre de Cristo Maze
Not as drastic a change as the mazes above, but still an improvement, especially in the nooks of the church.

Maze #4 - Lotus Temple Maze
I thought this wonderful building would make a nice maze, but when I finished it it seemed a bit bland. The shadows really help the petals of the building stand out and also show the doorway overhangs better.

Exploring Different Ways to Solve a Maze

So you want to solve a maze and could use some extra help. Or, more likely you are writing a computer program and want to know what options you have to solve a maze. I will take you through 8 popular maze solving methods and then discuss some of the the other most common everyday ways of solving mazes people use and give you some cheat codes. Here is what you can expect:

8 MAZE SOLVING METHODS

  • 4 METHODS FOR PHYSICAL MAZES SOLVED FROM THE INSIDE

  • 4 METHODS FOR MAZES VIEWED FROM ABOVE

5 COMMON MAZE SOLVING OPTIONS

2 CHEAT CODES TO SOLVE MAZES

8 MAZE SOLVING METHODS

Let’s start with 4 methods used for physical mazes, like a hedge or corn maze, where you do not know what the maze looks like, i.e. you are a traveler in a maze looking to find the exit or goal.

  • Random Mouse Method - Very basic way to solve a maze and probably the way you typically do it. Starting walking, and randomly pick a direction at each intersection you reach. Nothing fancy, and not efficient, but works eventually. Also works for regular mazes you see from above - and probably how you solve most puzzle mazes.

  • Wall Follower Method - Well known way to solve a maze where you follow a wall consistently through a maze until you solve it. It can be a left handed or a right handed method, but once you choose your side you must stick with it ! To use this the maze must be simply connected, meaning it has no loops and all walls are attached to the outer walls of the maze.

  • Pledge Algorithm Method - A wall following method that can deal with disjointed walls. It involves counting turns you make (clockwise turn is positive, counter-clockwise turn is negative) and making decisions based on getting the number back to zero. Here are rules to follow to use it in practice:

    • Start at the entrance of the maze.

    • Move forward until a wall is encountered.

    • Follow the wall on the right-hand side until you reach the exit.

    • If you encounter a disjoint wall, you should turn left and continue following the wall on its right-hand side. How do you know you have a disjointed wall ? You arrive back at the same spot in a disjointed wall (a loop).

    • If you return to the starting point without finding the exit, turn around and follow the wall on its left-hand side until it reaches a new path. Then, it should follow the wall on its right-hand side again.

    • Repeat steps 3-5 until you reach the exit.

  • Trémaux's Algorithm - Uses a set of rules to solve a maze:

    • If you visit a junction with new paths, pick one at random.

    • Cross it out as you explore.

    • If you reach a dead end, retrace your steps to the last junction with unexplored paths and choose another path.

    • If you reach a junction with all paths already explored, retrace your steps to the last junction with unexplored paths and choose another path.

The following 4 methods of solving a maze are useful for typical puzzle mazes where you can see the complete maze from above:

  • Reverse Solve (Dead-end filling) - In this method you start at a known dead end and color in the pathway until you reach a junction. Eventually this process leads to a maze completely filled in expect for the correct pathway ! I like to use this for hidden message mazes !

  • Recursive algorithm - Math, coding. That is where this algorithm comes in. It uses X and Y values to check each spot inside a maze and determine if the space has been visited yet or not. It marks incorrect solutions as it goes and if it finds the correct pathway it marks in the X/Y values (pathway) of how it got there.

  • Maze-routing algorithm - Commonly used in chip design but can be used to solve a maze also. It is not something a person would use unless they coded it into a program. It works by finding the distant between any 2 points in the maze, blah, blah, blah, look you solved the maze !

  • Shortest Path Algorithms - A collection of many algorithms which all attempt to do the same thing - find the shortest path between 2 points - like let’s say the start and the goal ! While the details of this set of algorithms may not be for the average person to use to solve a maze, be glad it is used whenever you need directions between 2 points (Google Maps !, etc.)

Now let’s look more specifically at real world examples and the methods most people actually use for puzzle mazes. What method do you use to solve drawn mazes ?

5 COMMON MAZE SOLVING OPTIONS

  • With a writing utensil - probably the most common way to solve a drawn maze. You have a maze printed out or in a book in front of you and you grab a pen or pencil and solve using it. Makes the maze a one time use unless you have an eraser that does a good job and doesn’t harm the paper too much

  • With your finger - you use your finger as a guide to work your way through the maze and solve it. This method allows multiple people to solve the same maze

  • With your eyes - my personal most common maze solving method. Works for most maze types, although you need to add in a more comprehensive method for any spiral maze.

  • Reverse fill with a writing utensil - a method I used to use because I liked the way it looked. You use a pen / pencil and start at dead ends, filling each in until you reach a new branch. Eventually this leaves only the correct path NOT filled in, creating a reverse solve !

  • Of course online puzzles and mazes will use a combination of arrow keys or your mouse to solve a maze.

2 CHEAT CODES TO SOLVE MAZES

  • Solve it in Reverse - if a maze is giving you trouble, try solving it in reverse. Most mazes are mush easier this way since the maker of the maze likely designed it specifically to be solved in the Start to Goal direction. Of course some maze designers take this method into account and design difficulty in both directions ! These are called Dual entrance/exit mazes and you can learn how to make on and see examples of them here.

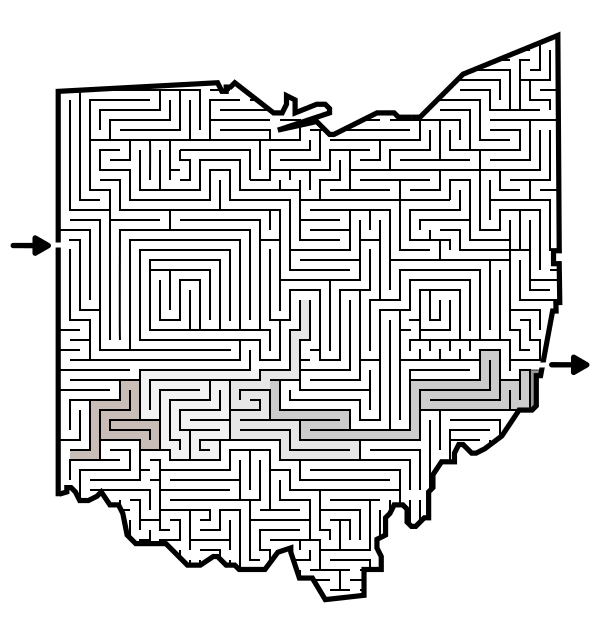
  • Middle Marking - This is what I call it. Before starting the maze pick a central spot in the maze and follow it until you reach a dead end. Color out that dead end. Choose the spot directly to the right of that spot and do the same. Repeat. The goal is to block out one side of the maze as unpassable by cutting it in half. Can also be done north/south. Here is an example where I repeated this 5 times (using 5 different shades of grey) and cut off the bottom half of the maze as a possibility. If I wanted to continue using this method I would start at the northern border and work my way down until I found the passable pathway !

Ohio Maze with shaded dead ends shown

Those are 15 ways to solve a maze. Good luck and happy mazing !

Case Study#6 - How to Improve a Maze - Uxmal

While this particular maze never made my list of abandoned mazes or mazes in need of improvement, in the time between making this maze and posting it on the site I decided to try to improve it. So, now it becomes my 6th case study.

If you want to read the previous 5 case studies:

Case Study#1 - How to Improve a Bad Maze - Tiki Totem Maze

Case Study#2 - How to Improve a Bad Maze - Danzante Conchero Chichimeca Maze

Case Study#3 - How to Improve a Bad Maze - Red Rocks Amphitheatre Maze

Case Study#4 - How to Improve a Bad Maze - The Hollywood Sign

Case Study #5 - How to Improve a Bad Maze - Severance Hall

You might notice that this blog post title dropped the “bad” maze, because in my opinion the original incarnation of the maze was not bad, just less than what it could be.

Let’s look at that maze, also known as the ‘before’. Now, I want to mention that no matter what size screen you are on it will probably not be large enough. I went max detail on this maze and it is meant to be movie poster size. I like how it looks, but it is a bit bland. Can I improve it?

Here are the enhancements I made to improve and finish the maze:

1. Resize - Any re-sizing will help the maze be seen and improve the look on a screen or when printed. Got rid of a lot of the empty space on top and bottom of the maze.

2. Grass added - I added the setting of the building (no more floating !).

3. Sky added - If you add the ground you should add the sky too!

4. Changed the grout and stone colors - The color of the ruins is what you would see if you were standing in front of them. The grout switches from black to light grey and really changes the look.

5. Change arrow colors - The black arrows no longer look good on the grass colored background so I matched them to the new maze color and that meant I should make sure the…..

6. Letter and branding changed - Re-color to match the ruins and look better against the new background.

FINAL THOUGHTS

And now the “After”. Much better maze. Still difficult to see all the detail without printing it out.

Mayan Ruins at Uxmal Maze

I think this is an improvement. What do you think ?

Case Study#5 - How to Improve a Bad Maze - Severance Hall

I have written 2 blog posts featuring a total of 20 mazes that I abandoned for one reason or another. You can read them here:

Why I abandoned these 10 mazes - Mistakes in Maze making

10 More Abandoned Mazes - Mistakes in Maze Making

I took the time to evaluate the mazes and see why they did not work and try to determine - could they be salvaged ? Today I present my 6th case study for improving one of those mazes, Severance Hall. You may recognize this maze. It was featured as Maze of the Week #79 in July. I realized I should have done a post showing the transformation previously. If you want to read the previous 5 case studies:

Case Study#1 - How to Improve a Bad Maze - Tiki Totem Maze

Case Study#2 - How to Improve a Bad Maze - Danzante Conchero Chichimeca Maze

Case Study#3 - How to Improve a Bad Maze - Red Rocks Amphitheatre Maze

Case Study#4 - How to Improve a Bad Maze - The Hollywood Sign

Here is what I wrote about the maze in the previous post on why it was abandoned:

“Abandoned Maze #3 - Severance Hall Maze

This almost maze was done before I started using perspective for just about every maze, that’s why it looks so boxy. I was in-between wanting to start from scratch or moving forward with the maze. I never made a decision and it got lost until I found it for this post. It also appears to be floating and a nondescript building. Mistake made: Using a poor method to start with. Indecision on how to move forward.”

And let’s look at that maze, also known as the ‘before’. There was no color, no maze, and it was very boxy, with the building floating on the page.

Here are the enhancements I made to improve and finish the maze:

1. Color added - I added color throughout the maze. I did some minor shadowing in the front of the building behind the columns. Changed the color of the window frames from black to grey to better reflect actual building.

2. Trees, bushes and grass added - I added the setting of the building (no more floating !). That meant large trees on each side of the building and a long row of bushes in front with a lawn. There is also a small pathway on the right side.

3. Sky and clouds added - I usually avoid clouds but this is Cleveland and clouds are a fact of life.

4. Added some details - The spotlight on the right side was previously missing. The year on the building “MCMXXX”. Added the name to the building.

5. Added bricks and the maze - Key to actually making this into a maze. The bricks enabled me to add the maze as their structure was used for the walls of the pathways. There are also some larger sections of concrete on the sides. Overall this changed the look of the building a lot. For the Start and Gal I went with internal but made them blue to make them a bit easier to find.
6. Letter and branding added - Added the name of the maze and added my branding in the corner.

FINAL THOUGHTS

I could have spent more time on the trees and bushes, but I think this is ok from what I started with. I think it represents the building well.

And now the “After”.

Severance Hall Mazed

I think this is an improvement. What do you think ?