Maze Design Case Study - Designing a Grid Maze in Different Difficulty levels

I wanted to do a case study showing how to create a maze in a few different difficultly levels. I thought the best way to illustrate this was to design a create a maze with a variety of different branch types included then have you solve them and compare how enjoyable each was for you to solve. Let’s jump into the example and you’ll see what I mean. (Hopefully).

  • Example - Part 1. Please solve this small 10x10 grid maze. Yes this is an interactive example !
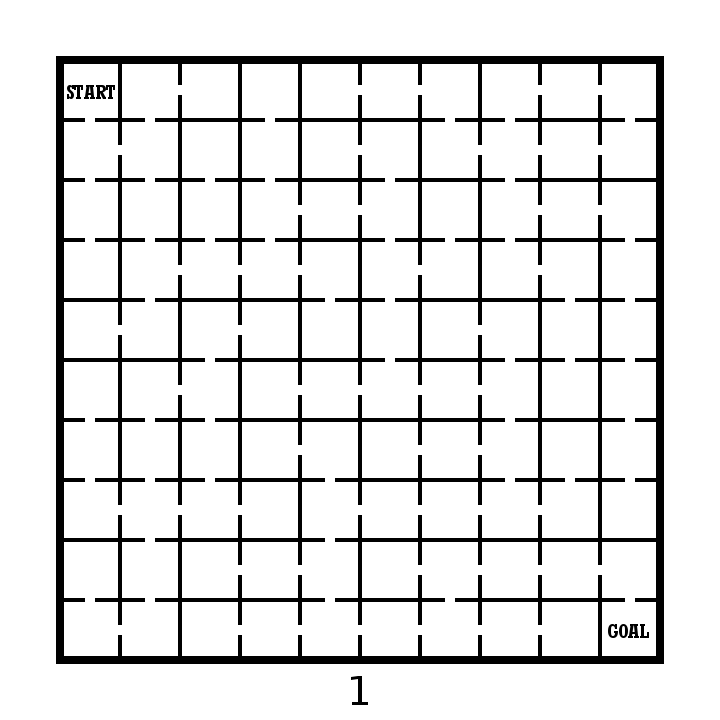
10x10 grid maze solving example

OK. Take note of how your experience was solving the maze. Did you enjoy it ? How quickly did you solve the maze ? Anything you did not like about the experience ? Did you find it to be enjoyable or frustrating ?

Now lets try this maze made on the same grid structure. We have 10x10 grid maze with the Start and Goal placed in the same locations.

  • Example - Part 2. Please solve this small 10x10 grid maze.

10x10 grid maze solving example 4

I have the same questions for you as before. How was your experience was solving the maze ? Did you enjoy it ? How quickly did you solve the maze ? Anything you did not like about the experience ? Did you find it to be enjoyable or frustrating ?

An finally in Part 3 we will group 2 additional mazes together for evaluation. Same questions will apply.

  • Example - Part 3. Please solve each of these small 10x10 grid mazes.

10x10 grid maze solving example 2
10x10 grid maze solving example 3

So what have we learned ? Before I go into some explanations on the design of each maze take a minute to hypothesize on what you think just happened. 4 similar mazes. Hopefully they gave you different experiences for you when you were solving them.

4 Maze Comparison - The Differences and Design Choices

  • First, did you notice each maze has the same exact solution ? Mazes 2 & 3 have the inverse (or flipped) solution of mazes 1 & 4. So the solutions are essentially all equal.

  • Each numbered maze should have gotten more difficult as the numbers increased (although with a small maze size this may have been somewhat less obvious)

  • Maze 1 - Short dead ends. Incorrect paths do not have branches. Pathways are wide. Some paths are “filler” and unusable.

  • Maze 2 - Longer dead ends. Incorrect paths do not have branches. Pathways normal width.

  • Maze 3 - Long dead ends with additional branches off of them. Pathways slightly smaller.

  • Maze 4 - Long dead ends with choices and branches off them. 4 way choices included. Small pathway widths.

So to summarize I used the following to change the difficulty of the 4 mazes:

  • The length of dead ends - How fast you know you have made an incorrect choice

  • Dead end branches - When you make a wrong turn are there multiple incorrect choices on that branch

  • Expanded pathway choices - Some intersections have multiple choices

  • Pathway widths - Smaller pathways are more difficult to see and navigate.

  • Unusable pathways - Filler sometimes used to fill a maze out while keeping it at the desired difficulty level.

Let’s look at the pathways coded to show what I mean. The red line is the solution. The blue line is the false pathway. The purple line is an unusable pathway (Did you know some mazes use this ?)

What you need to notice in the below deconstructed mazes:

  • Maze 1 - Thick pathways make this maze easier to solve. The purple lines to not connect to anything - essentially they are filler and unusable pathways. Most likely you did not notice them. They make the maze easier. The blue lines, the incorrect dead end paths - are short and only extend 2 levels before letting the solver know it was the wrong choice.

  • Maze 2 - Normal pathway width. No purple pathways from here on out. The blue lines are long but have no branches off of them. Longest length is 11 blocks.

  • Maze 3 - Pathways are a bit thinner. The blue dead end lines now have branches, so wrong turns have additional wrong turns. None of these, however has more than one additional dead end branch. There is also a dead end choice at the starting block.

  • Maze 4 - Pathways are very thin. There are now 3 intersections where 4 pathway choices are included (they look like a plus sign in this grid maze). Dead end branches also have multiple dead ends off of them.

four 10x10 grid maze solving example solutions

Hopefully this explanation and example shows you a small piece of how maze difficulty can be designed and changed with a few different choices. Most solvers would prefer Maze #1 because the wrong turns are not overly punishing. But a nice amount of people would prefer something a bit more challenging also, so remember the audience you are designing for when you create your mazes !

I will say that there is a balance between making a challenging maze and poor maze design. Do the pathways need to be ultra thin or are you just straining the eyes of the solver ? I think a re-design of Maze #3 with thick pathways would be both enjoyable AND challenging ! Happy maze-ing !

Additional popular posts you may like:
How To Make A Grid Maze

44 Different types of Mazes and Labyrinths

Comparison of the Top 10 Maze Generation Websites

Creating a Hidden Maze - Case Study #1

Some of my most popular content involves my making of hidden mazes. I can teach you how to make a hidden maze in 6 steps. And I have created over 30 hidden maze challenges to test my maze making ability and your ability to solve them (or for the solver to know what they say without solving them which would mean I didn’t make a very good maze). But I have never done a case study to expand on some options I made when making some of the new mazes. This also is a variation of how I teach you to make a hidden maze, with more details between the steps.

Let’s use my instructions as a basis for the case study

Step 1 - Draw the Outline

Now my hidden message mazes are boring in this regard as I make them to be used as the front of greeting cards. This means a simple rectangle.

Step 1.5 - Choose the Start and Goal

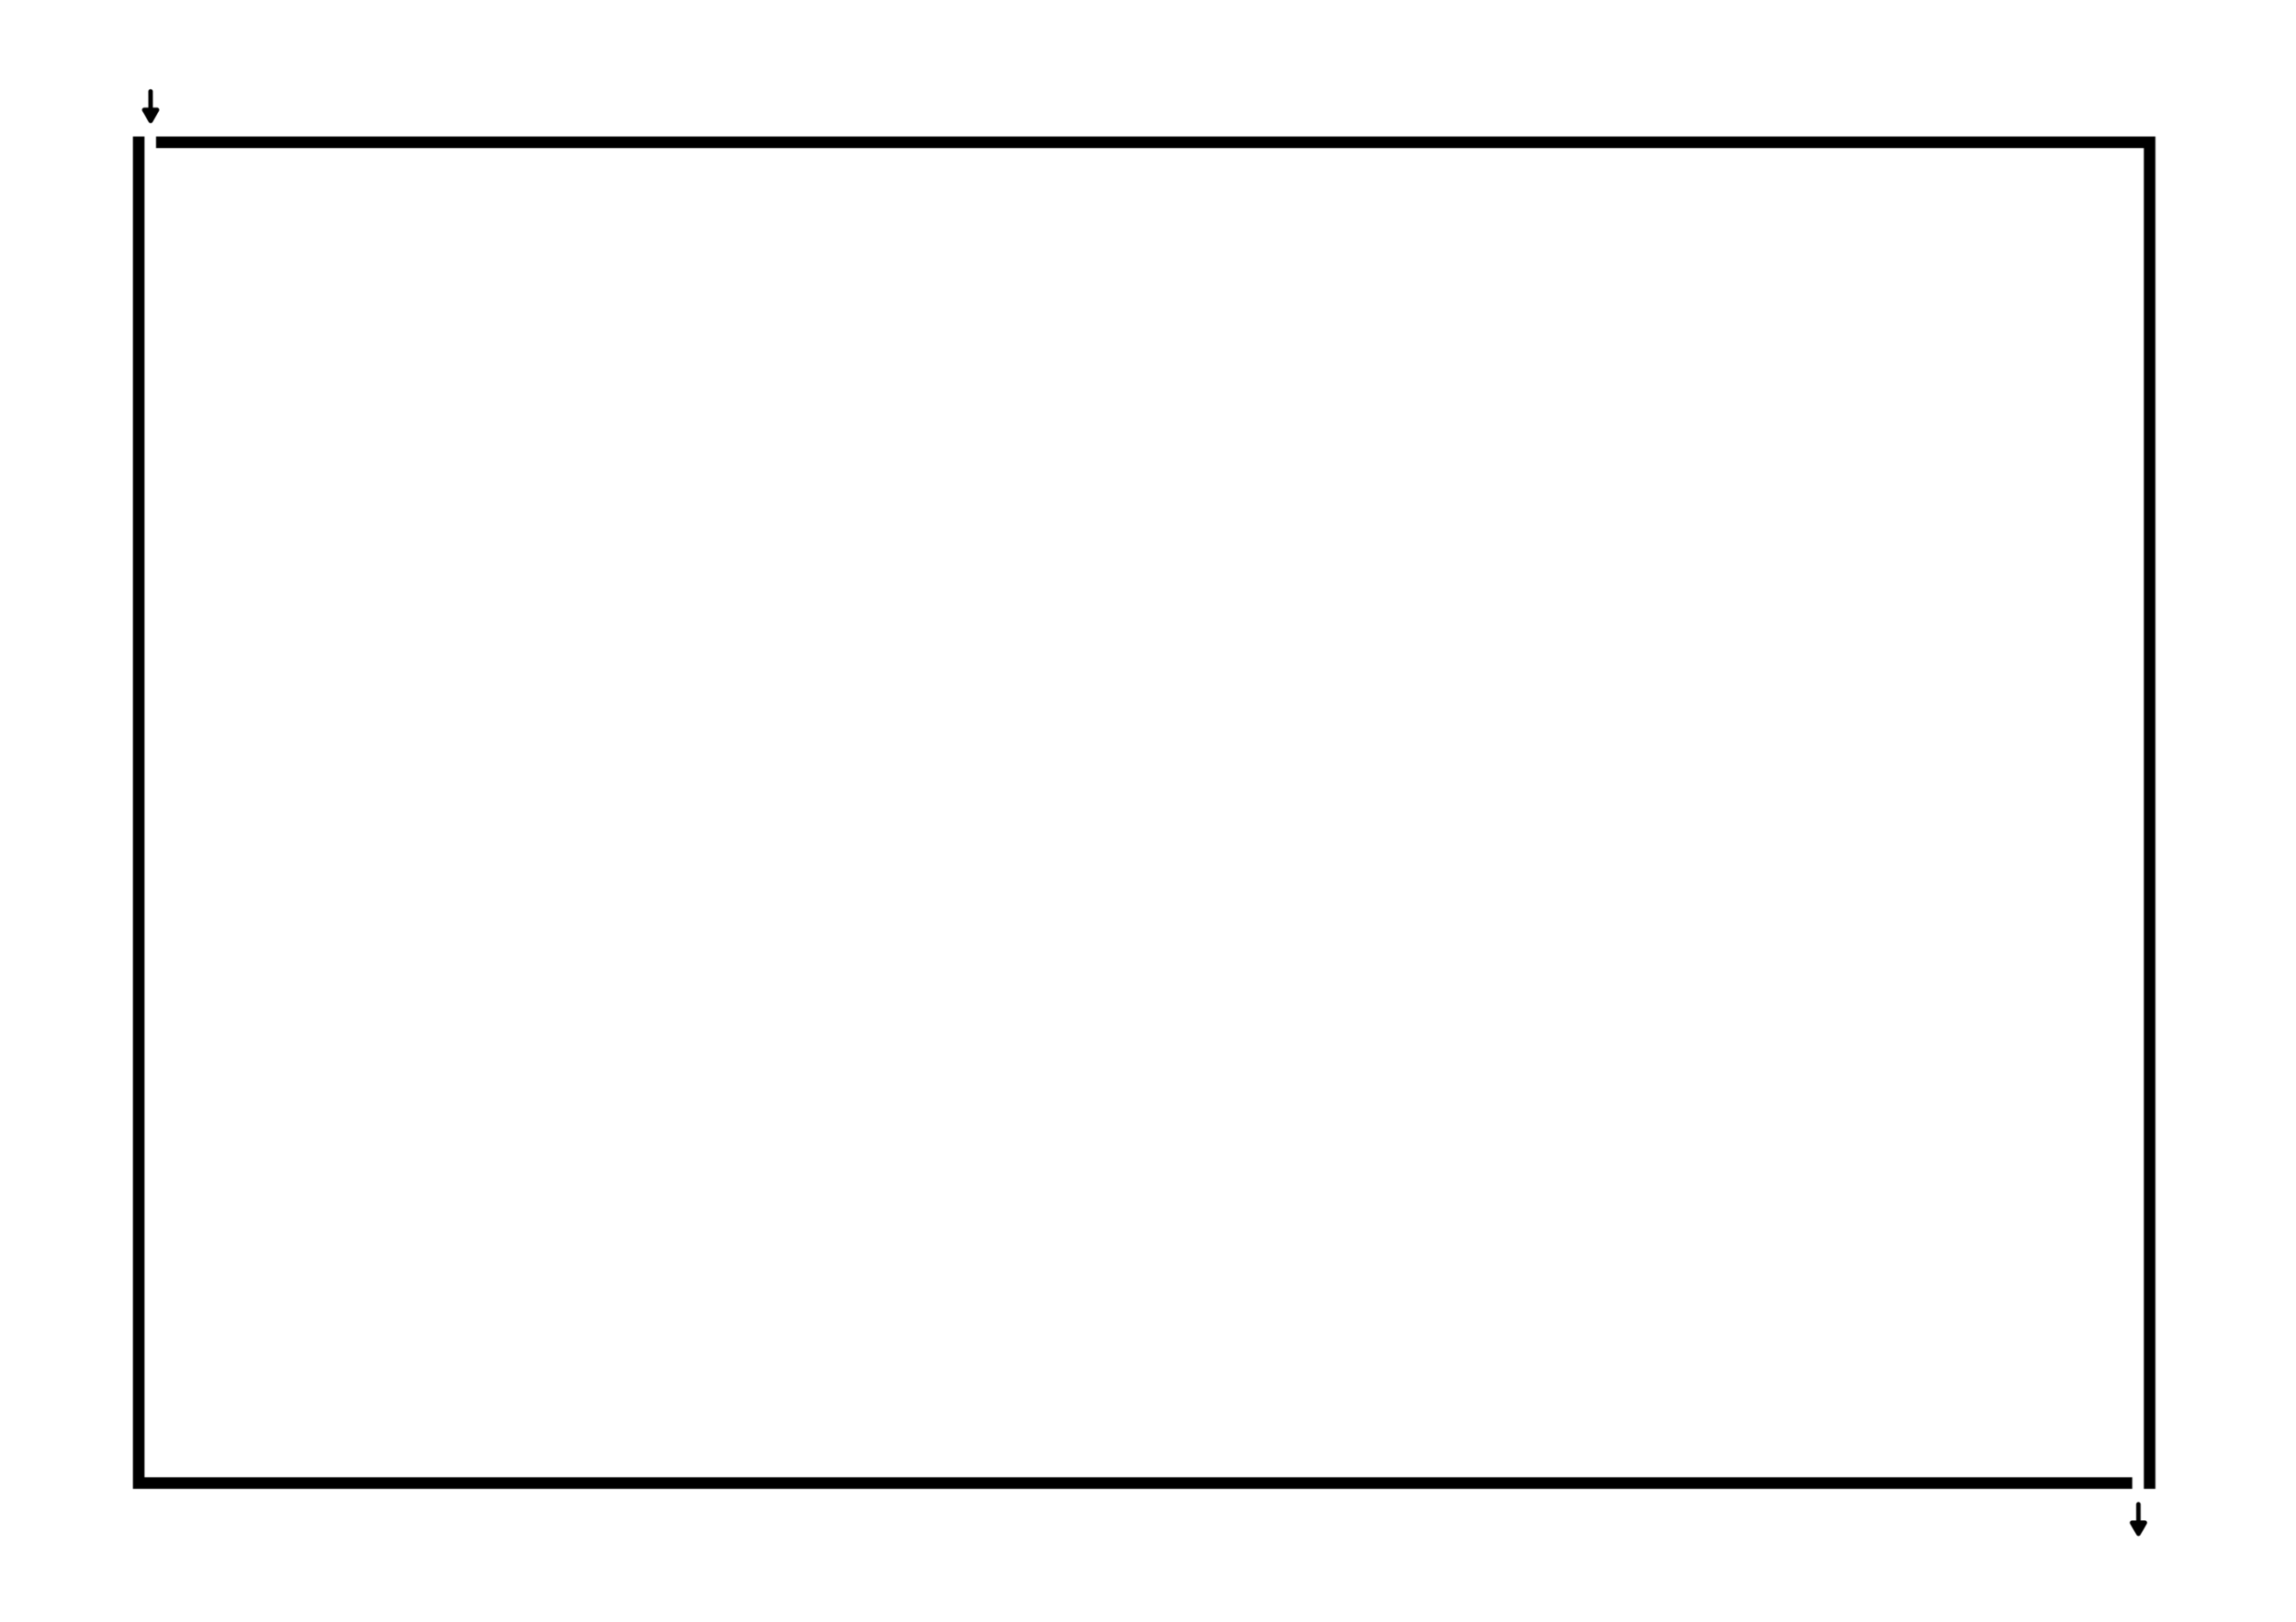
And this step is usually combined (thus step 1.5), and I present it that way here. Because English is written left to right the start will be on the left side of the page (I chose the top corner) and end on the right side (I chose the bottom right corner). I could have easily used the sides of the rectangle as start/goal.

empty blank rectangle with arrows for a maze

Step 2 - Write the Guide Message

Step 3 - Maze the Hidden Message

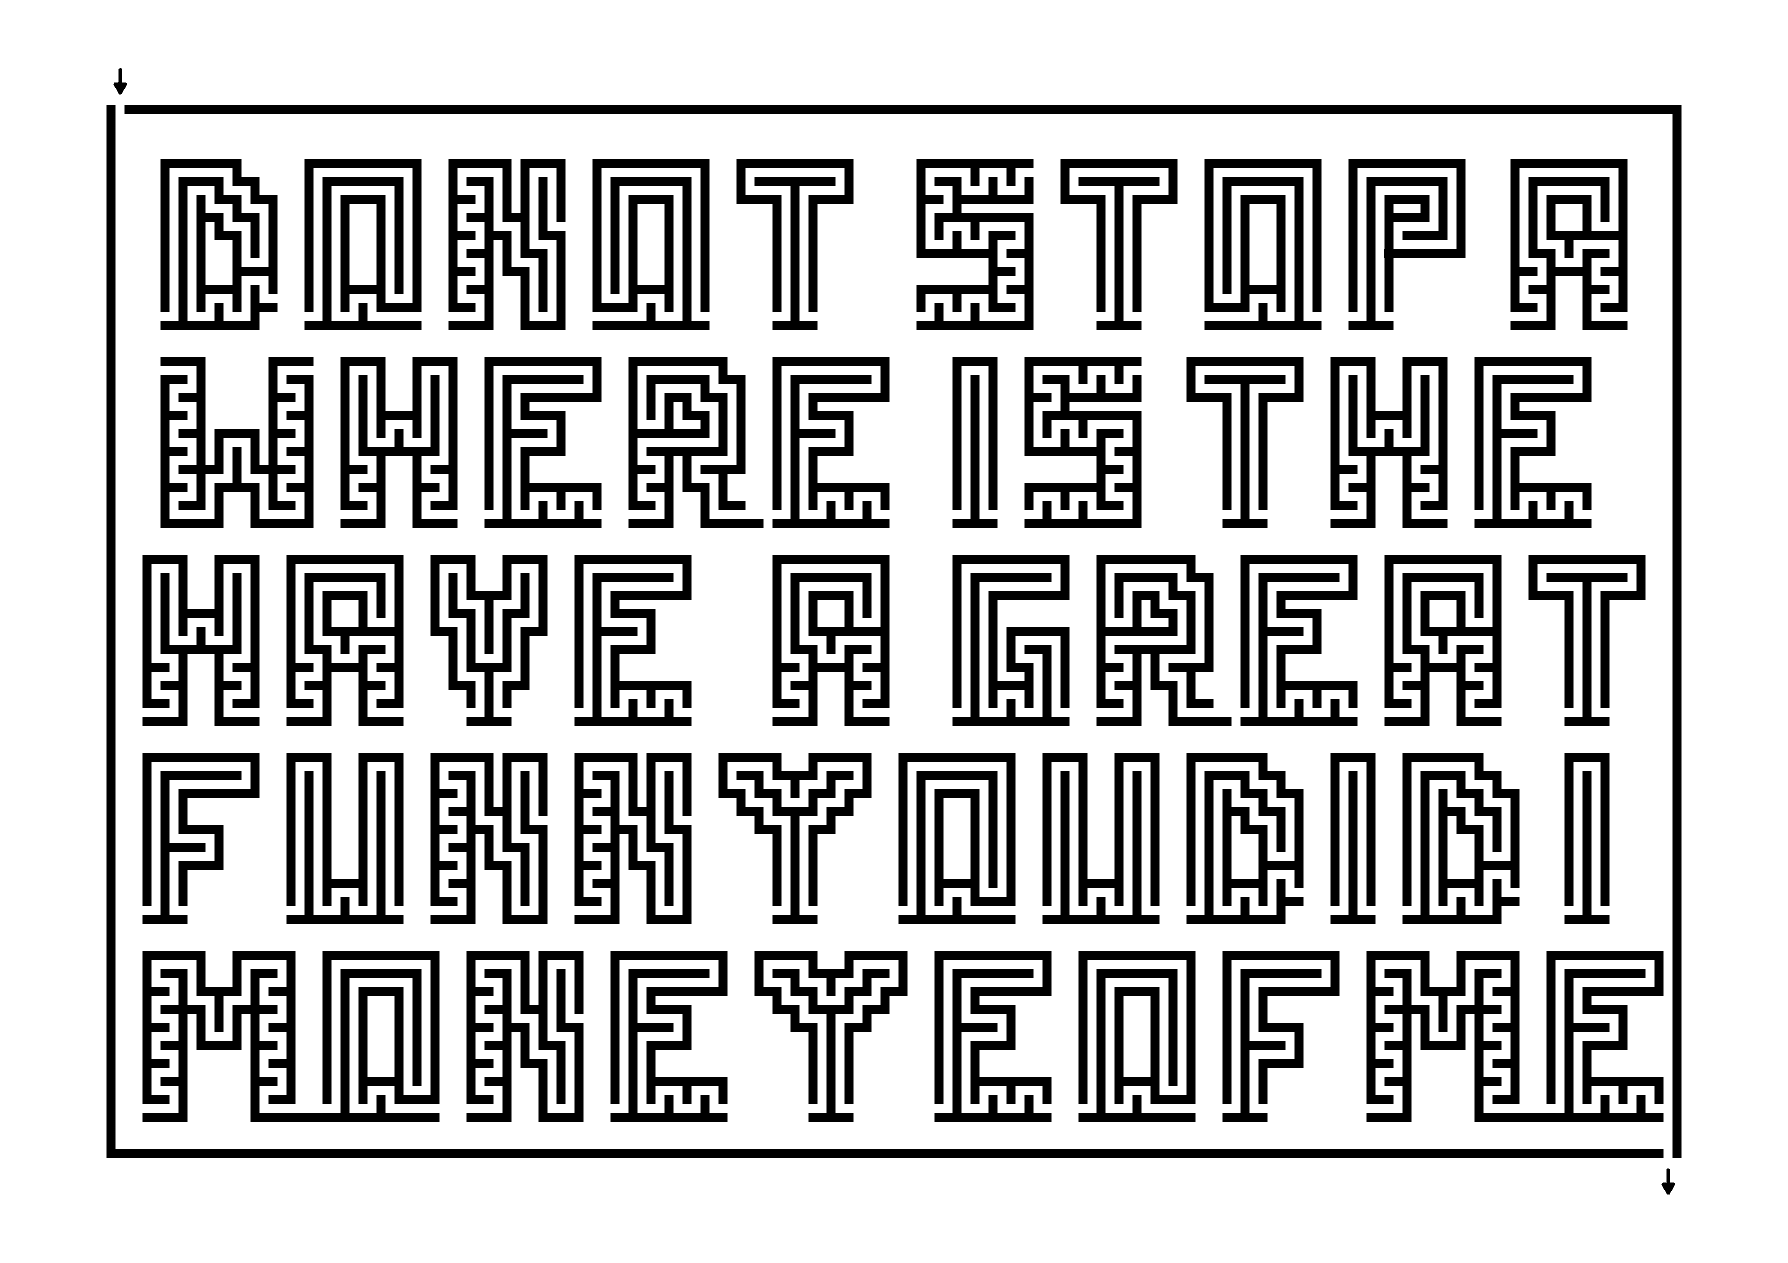
For my recent hidden message mazes I have used pre made mazed letters to speed things along. Here are my initial message possibilities. So, I do not use a guide message to make each letter from scratch each time.

Rectangle full of mazed words

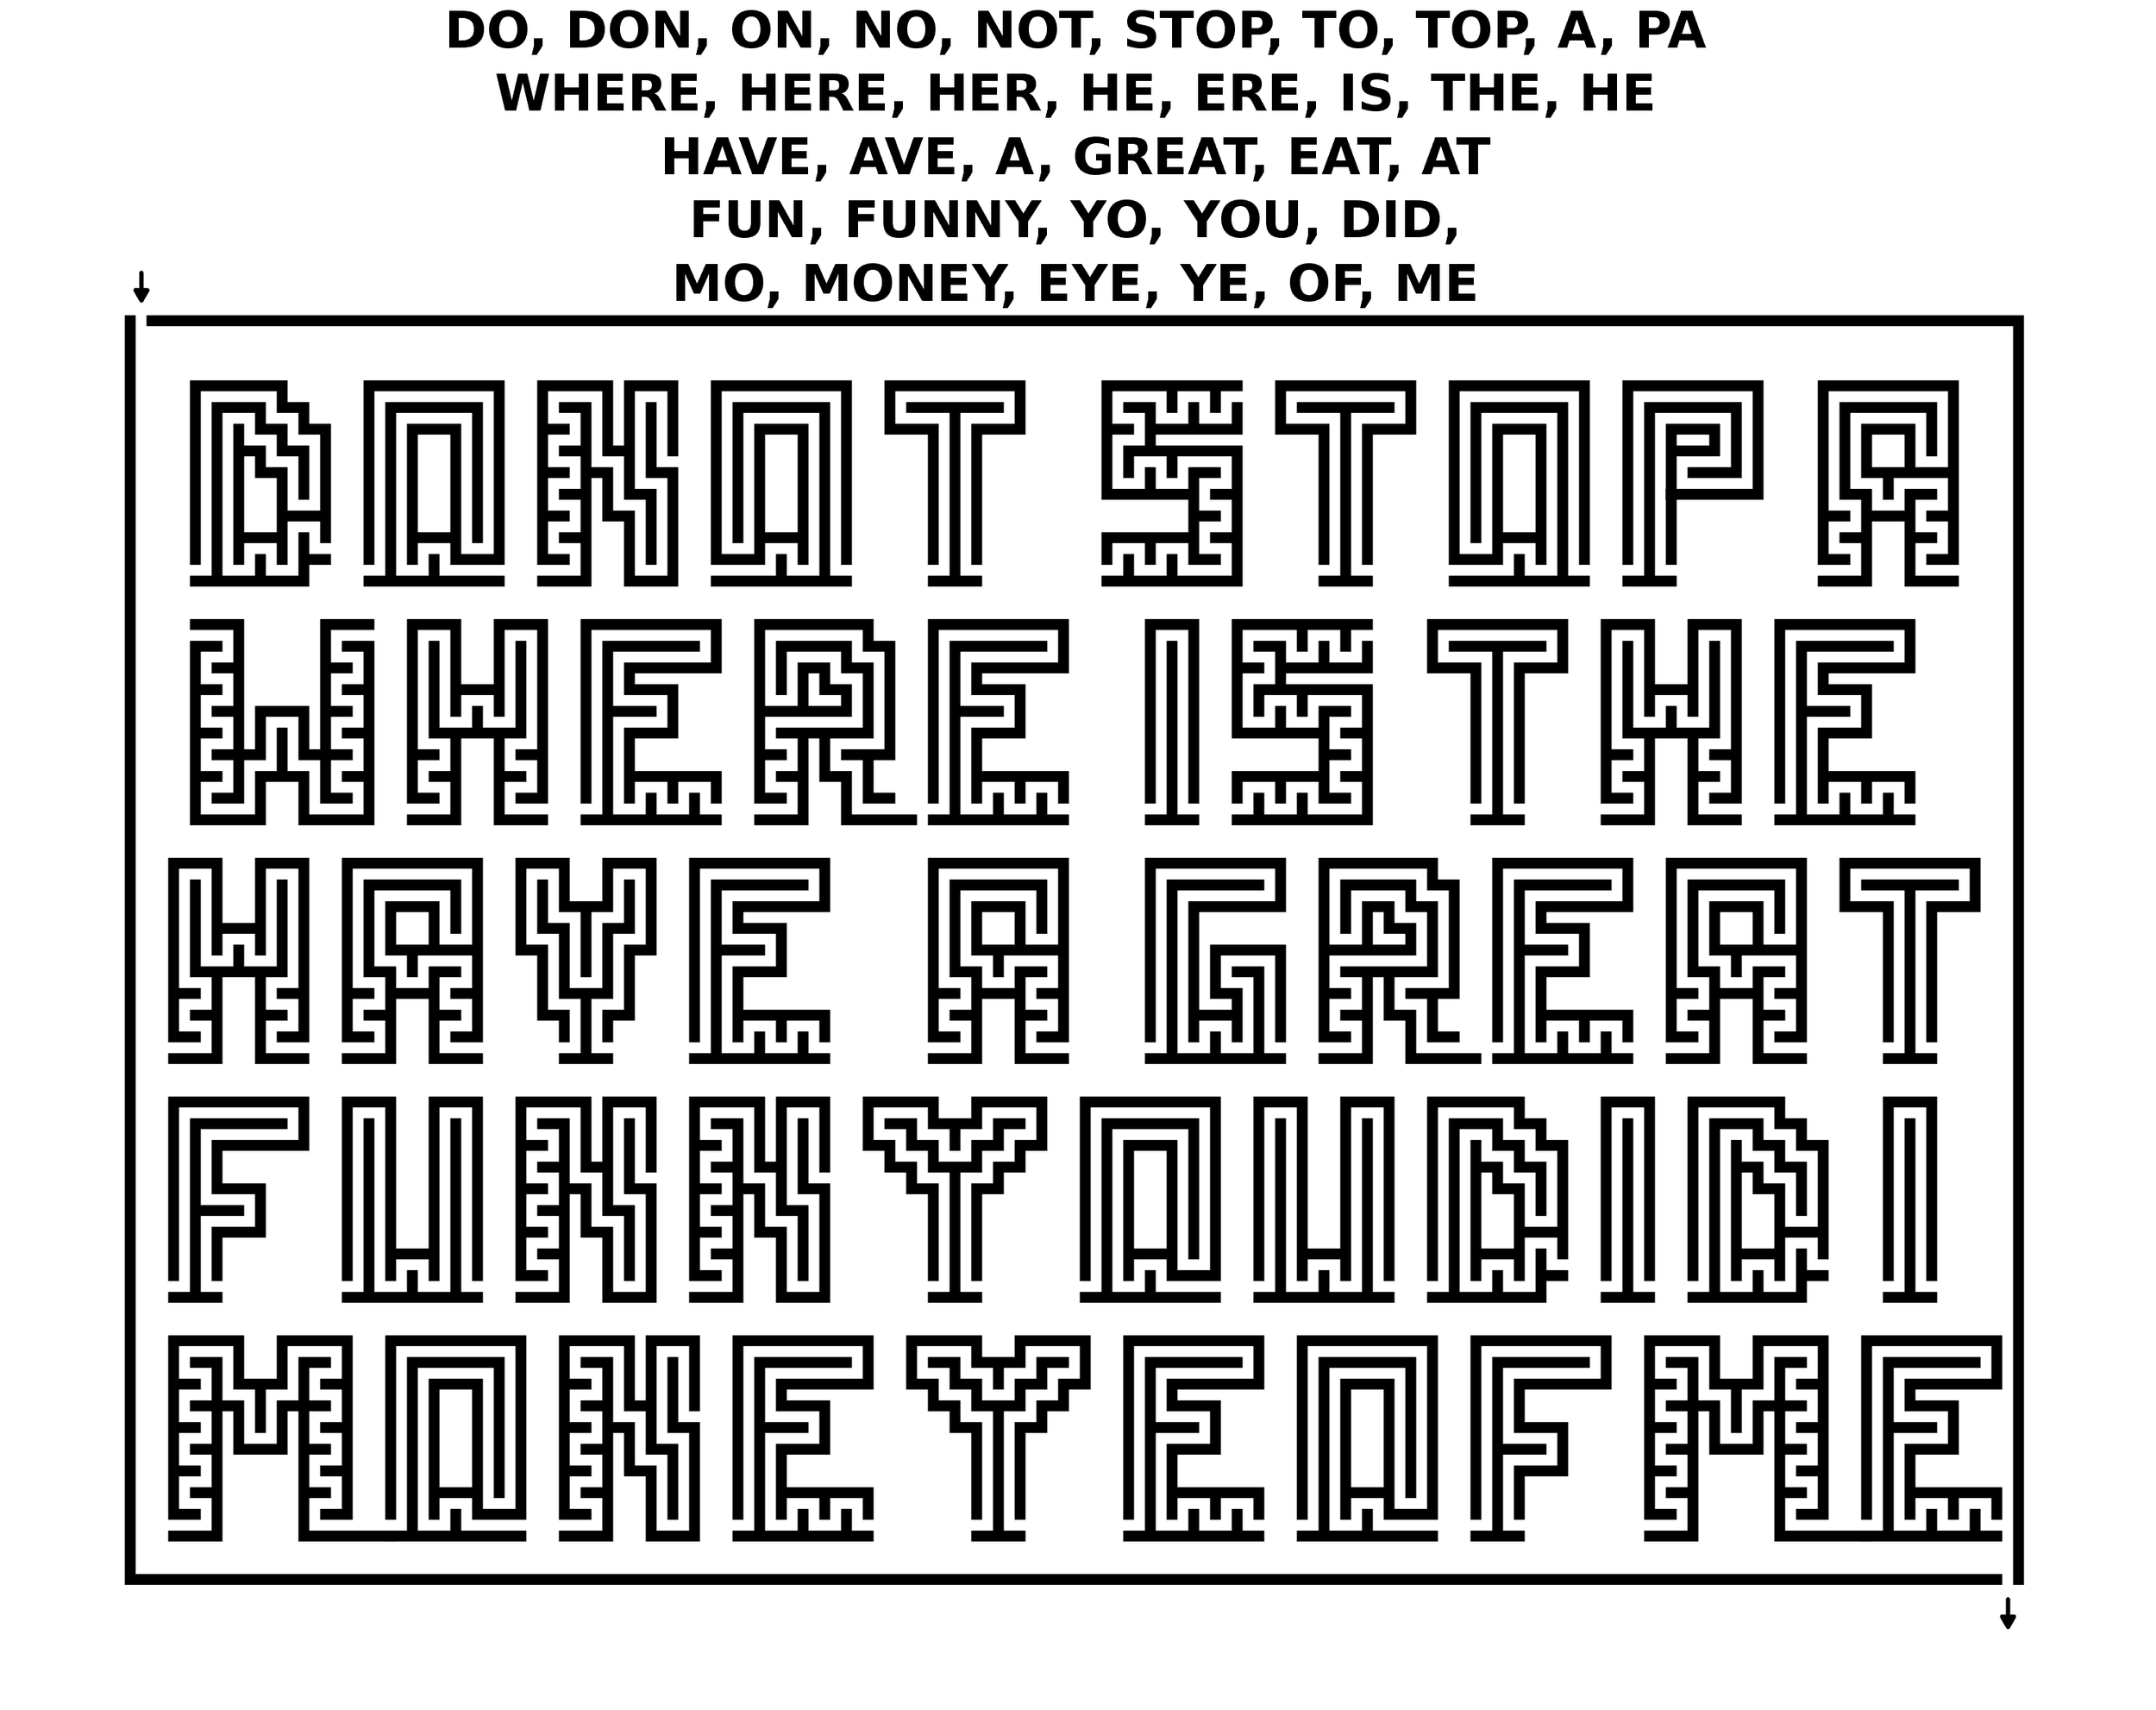
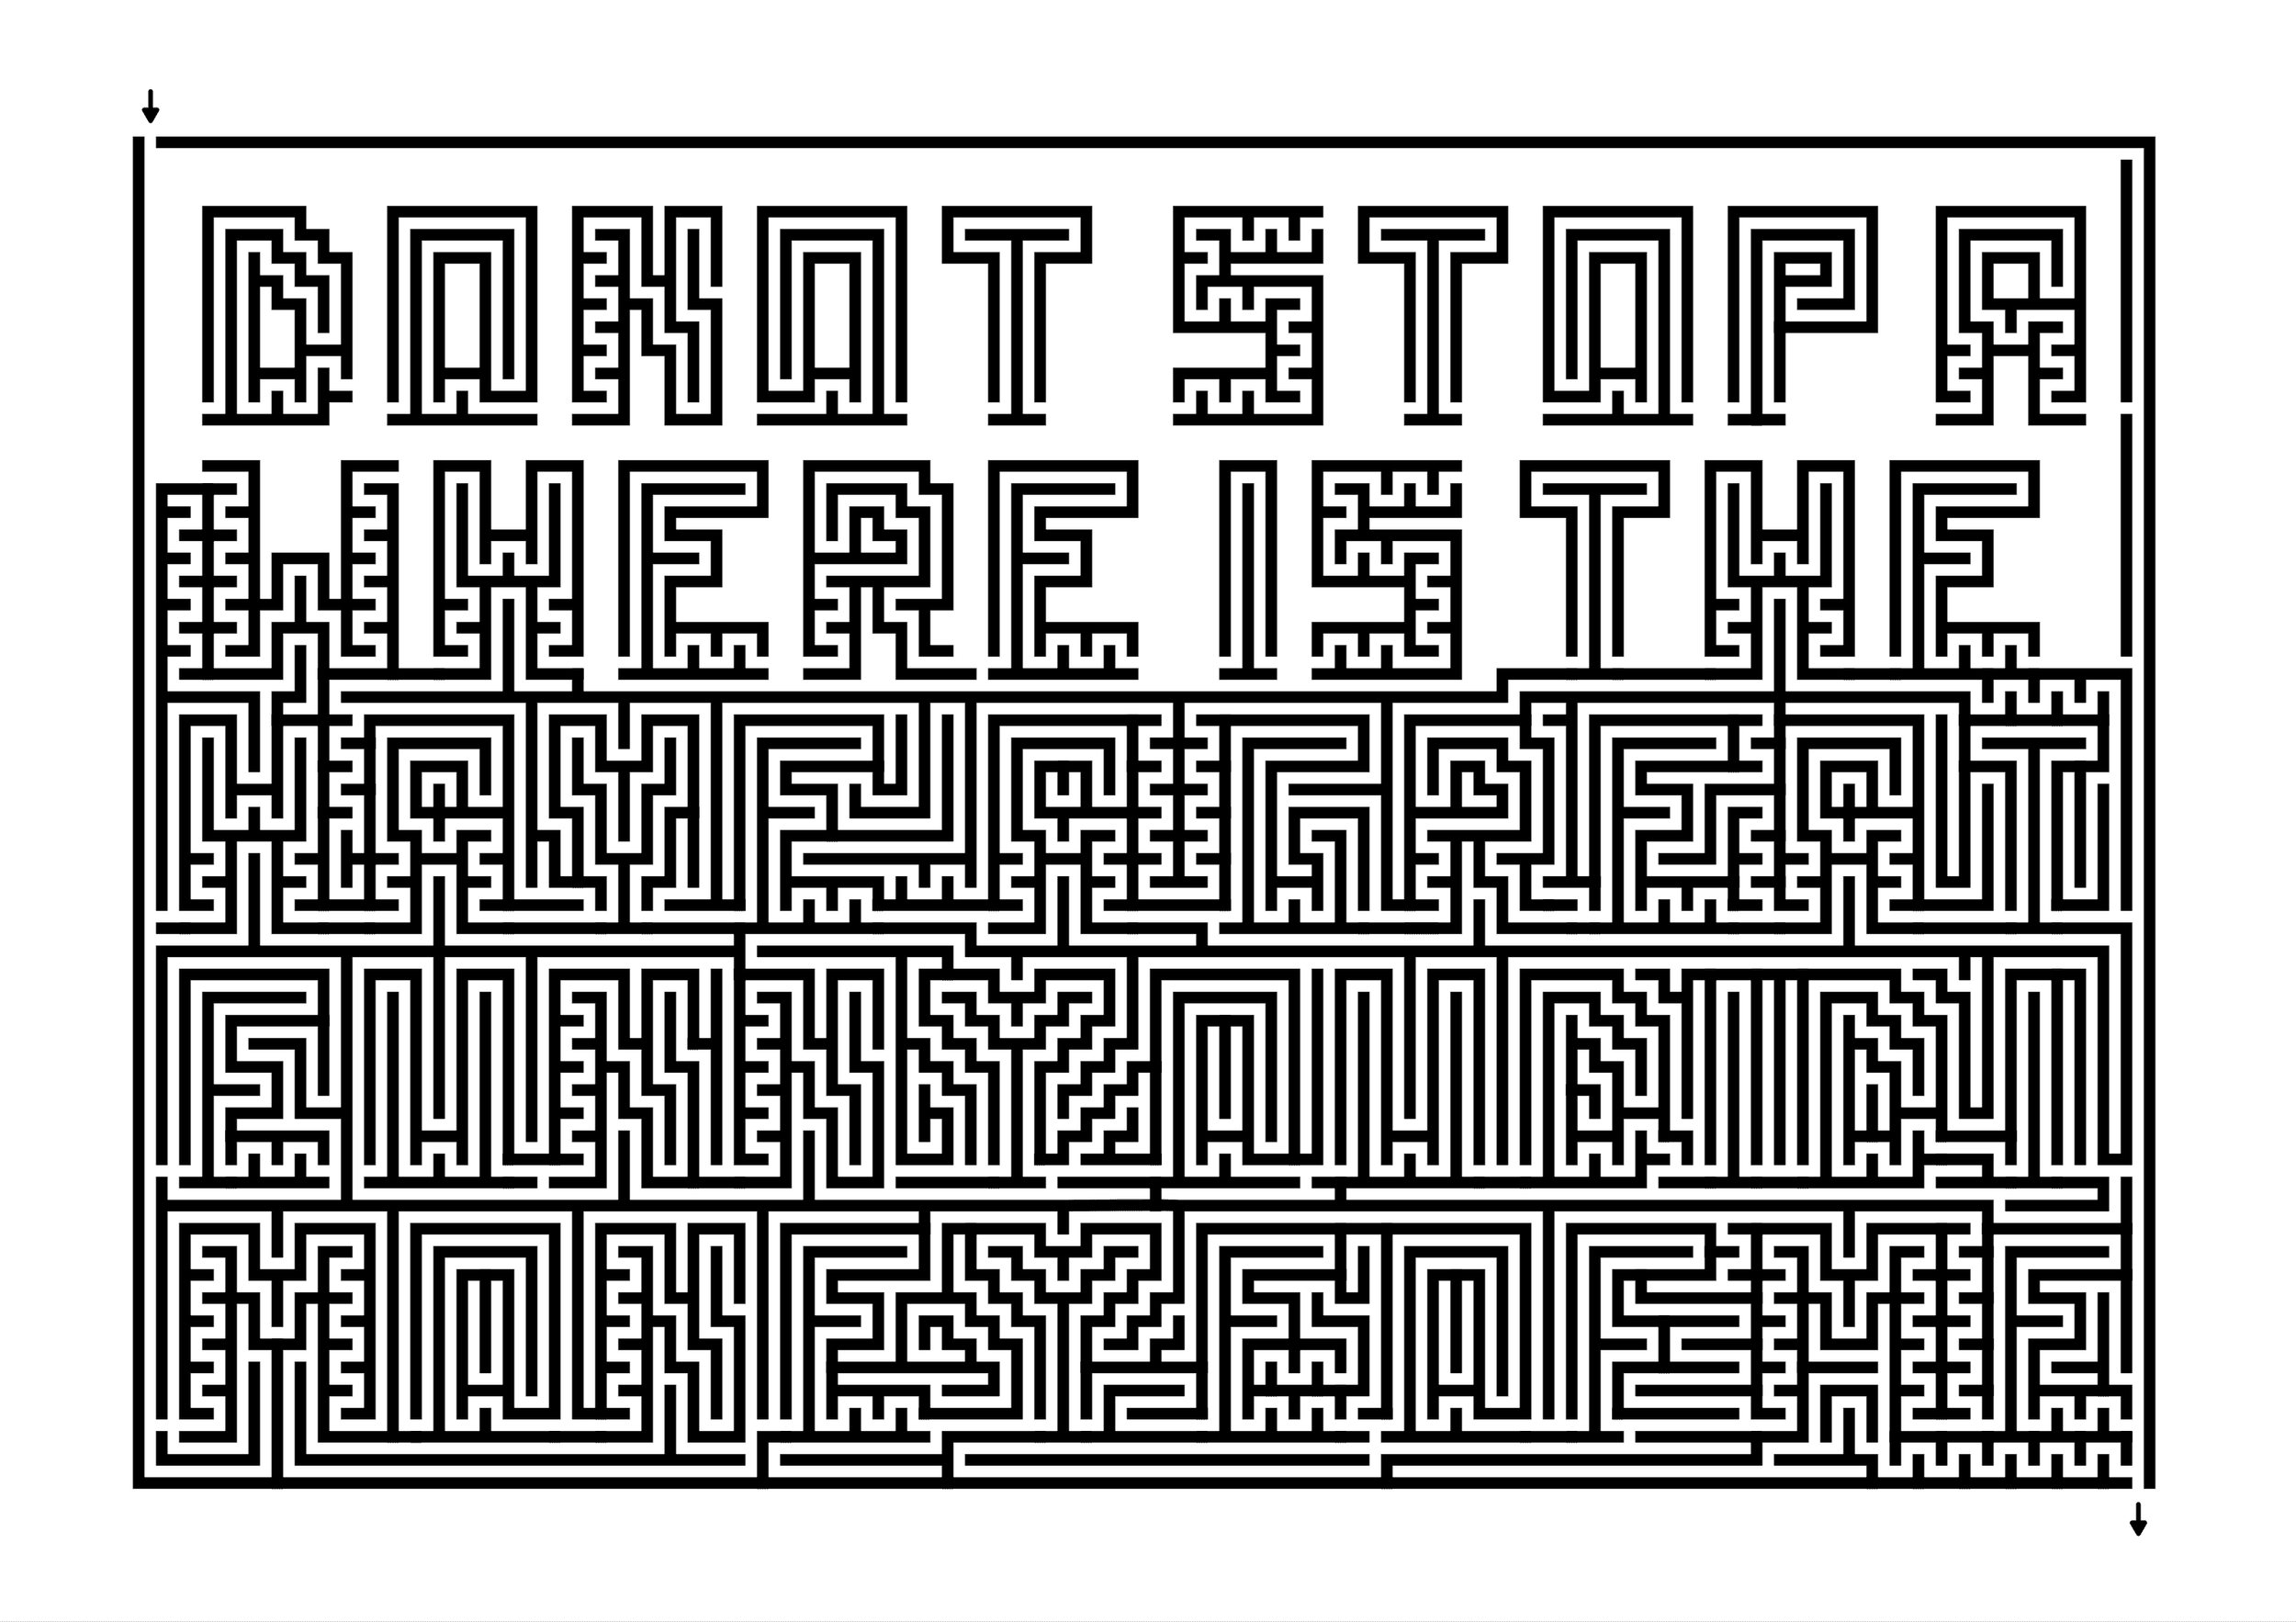
To confuse the solver I have added in a variety of false words that will not be used. While my initial hidden message mazes used one message and everything else was a false pathway, these are less about the false pathways and more about the false message. Here is a quick list of the possible words hidden in each row. I overlap some word possibilities, like the Y ending in funny also being the starting Y in you. This could also be expanded and made more difficult.

words mazed in a box showing possible combinations of words

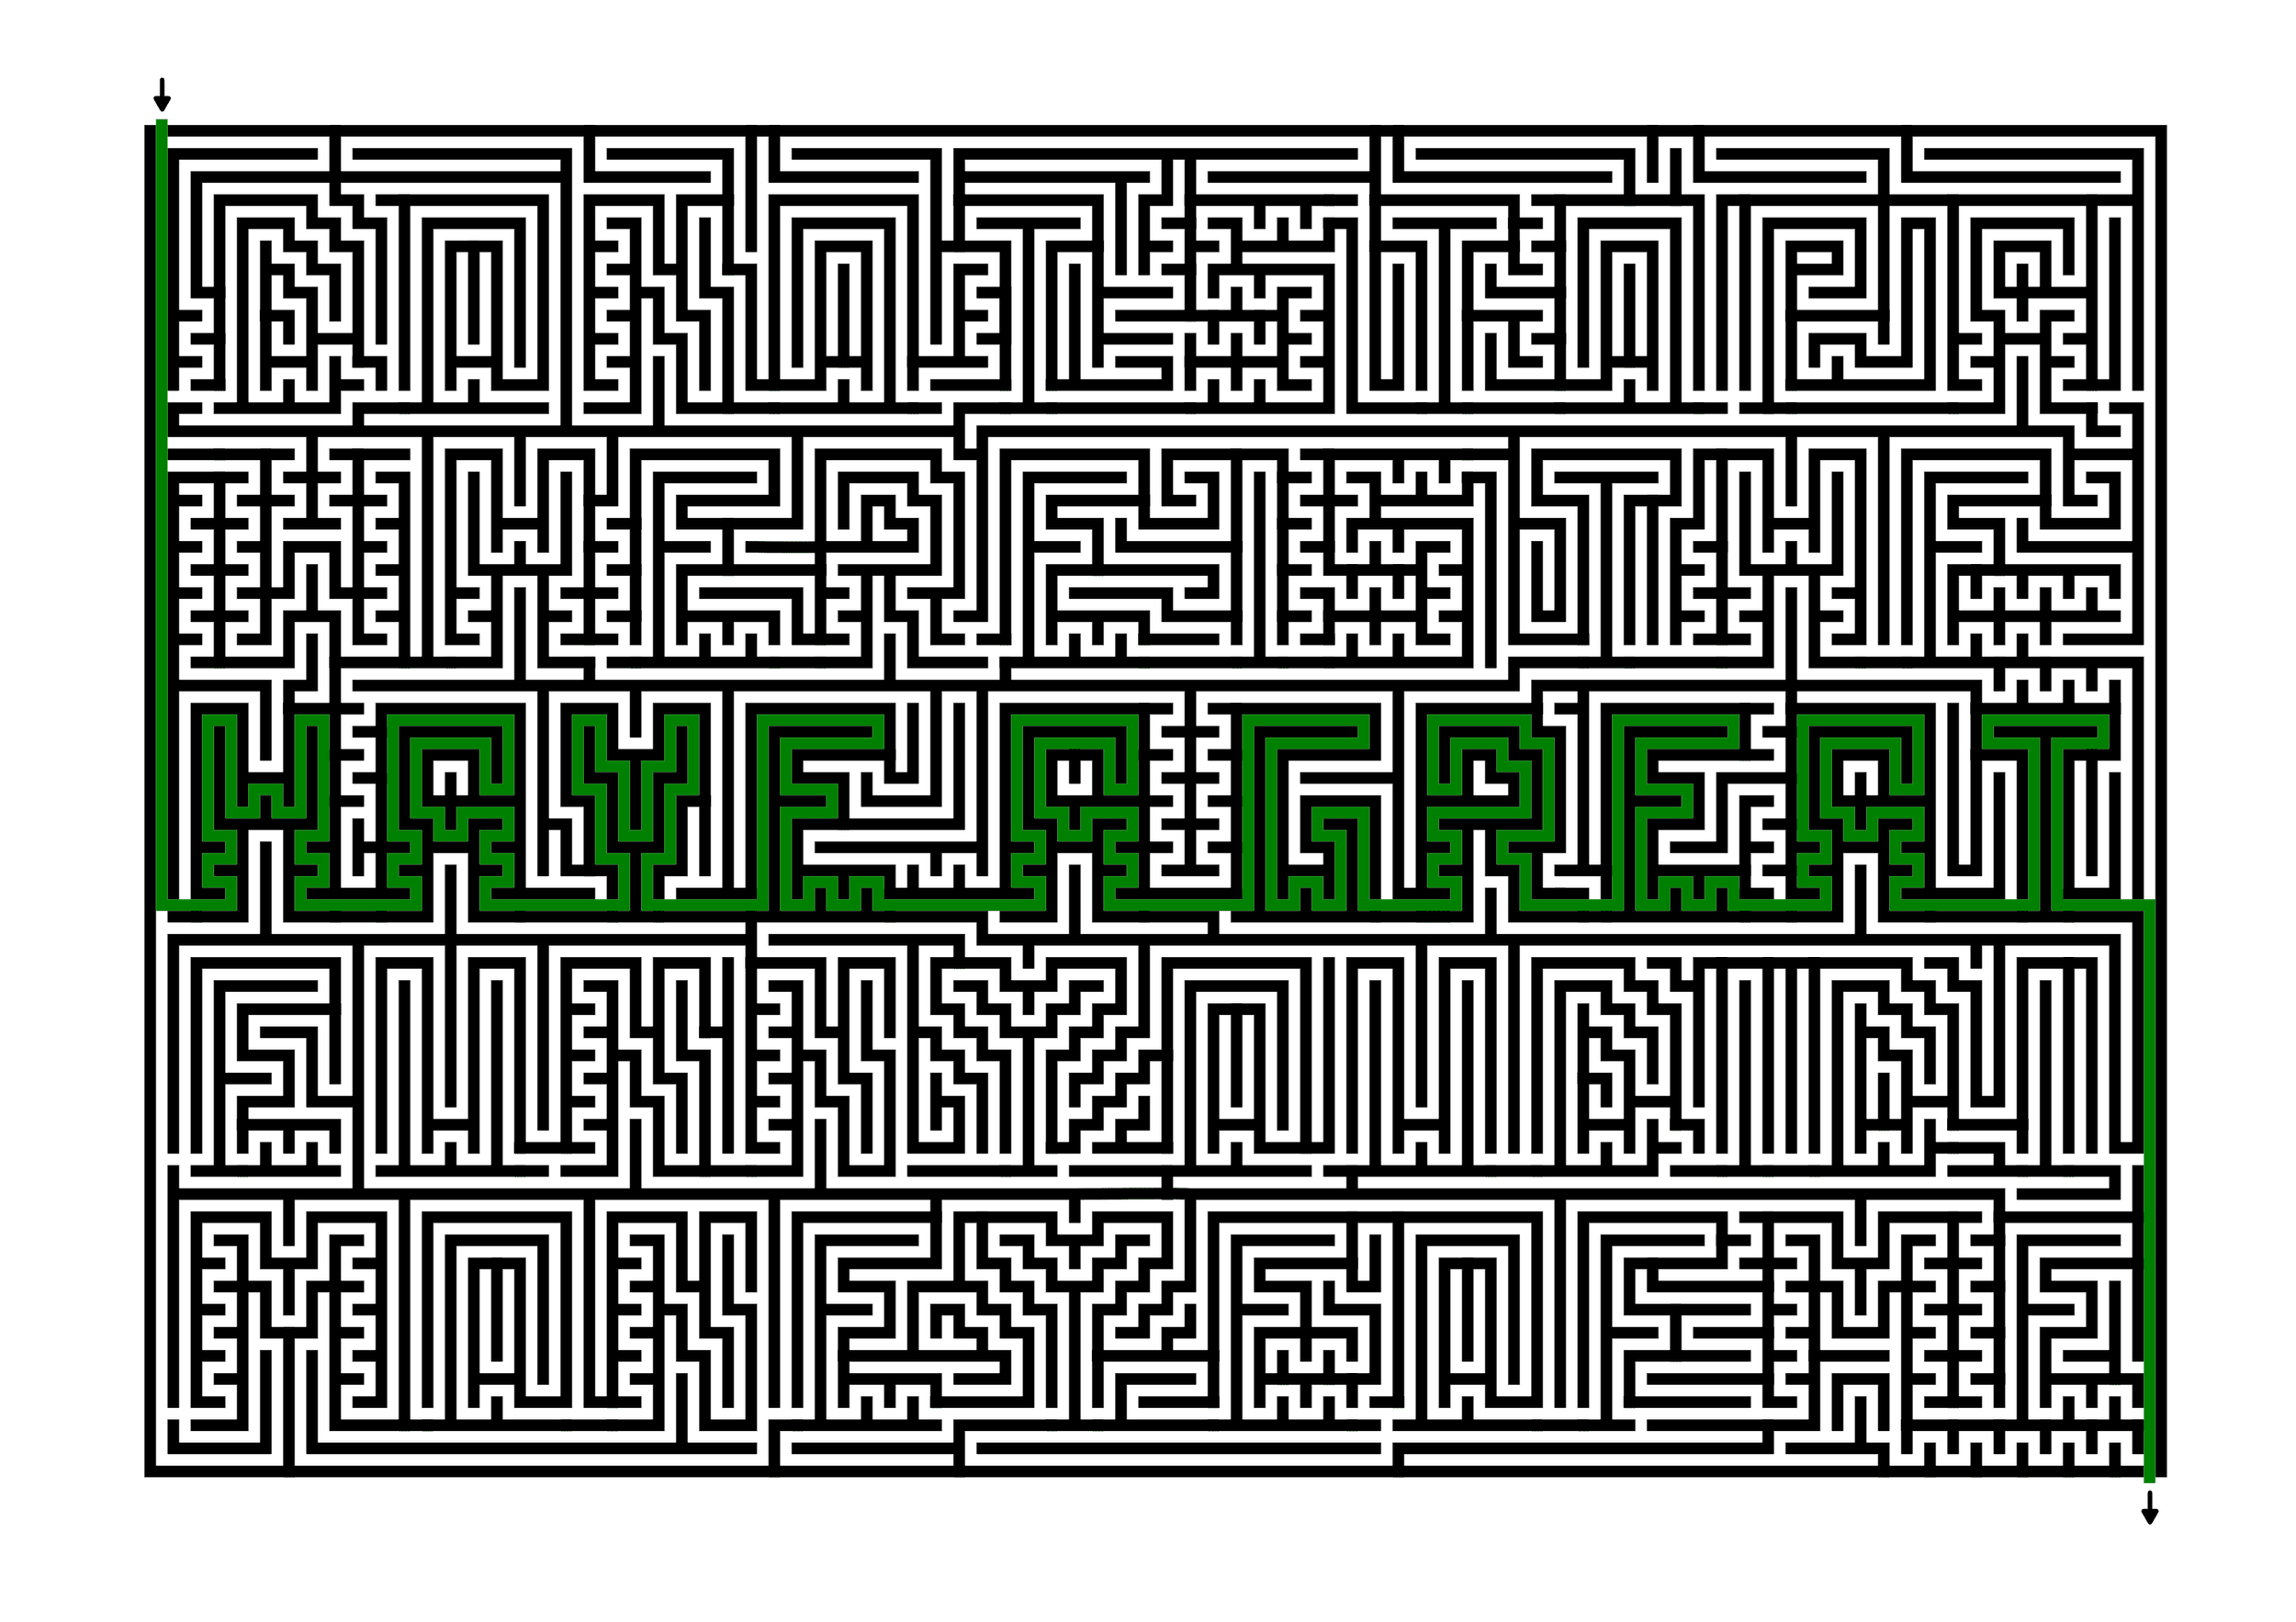
Here is where I actually fulfill Step 3 as this maze will say “Have a Great”. I make sure to close out any pathways so there are not any possible solves that don’t have a message.

Hidden word maze being made

Step 4 - Draw the False Pathways

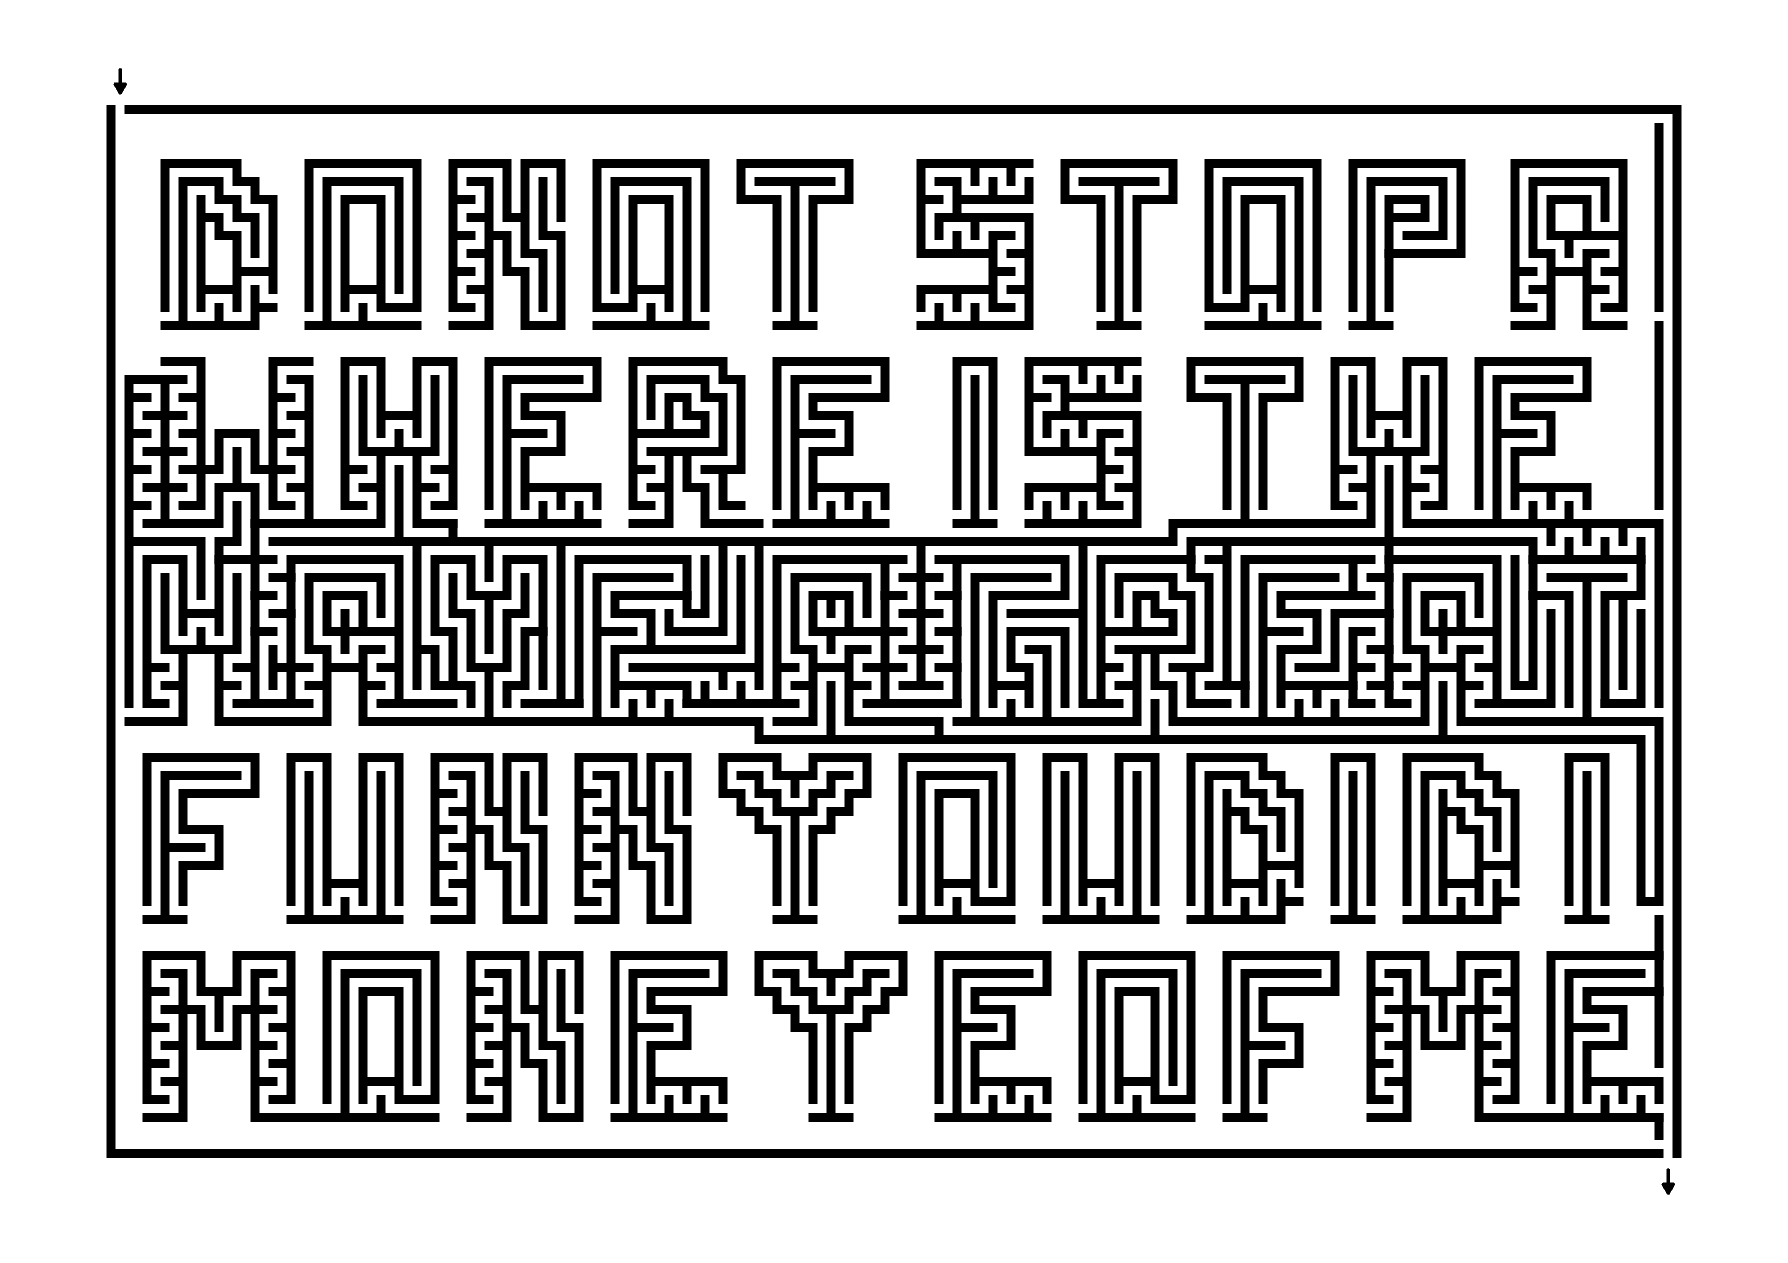
I draw a message row one at a time to ensure that I do not mistakenly make an extra solve. I make my false pathways short on the left side of the maze so the solver knows they have chosen the wrong row quickly. So when I mazed the bottom row, you will not get past the M before reaching a dead end.

Hidden word maze being made 2

Or the F in the second to last row.

Hidden word maze being made 3

Again I did a dead end after the W

Hidden word maze being made 4

Step 5 - Complete the Maze

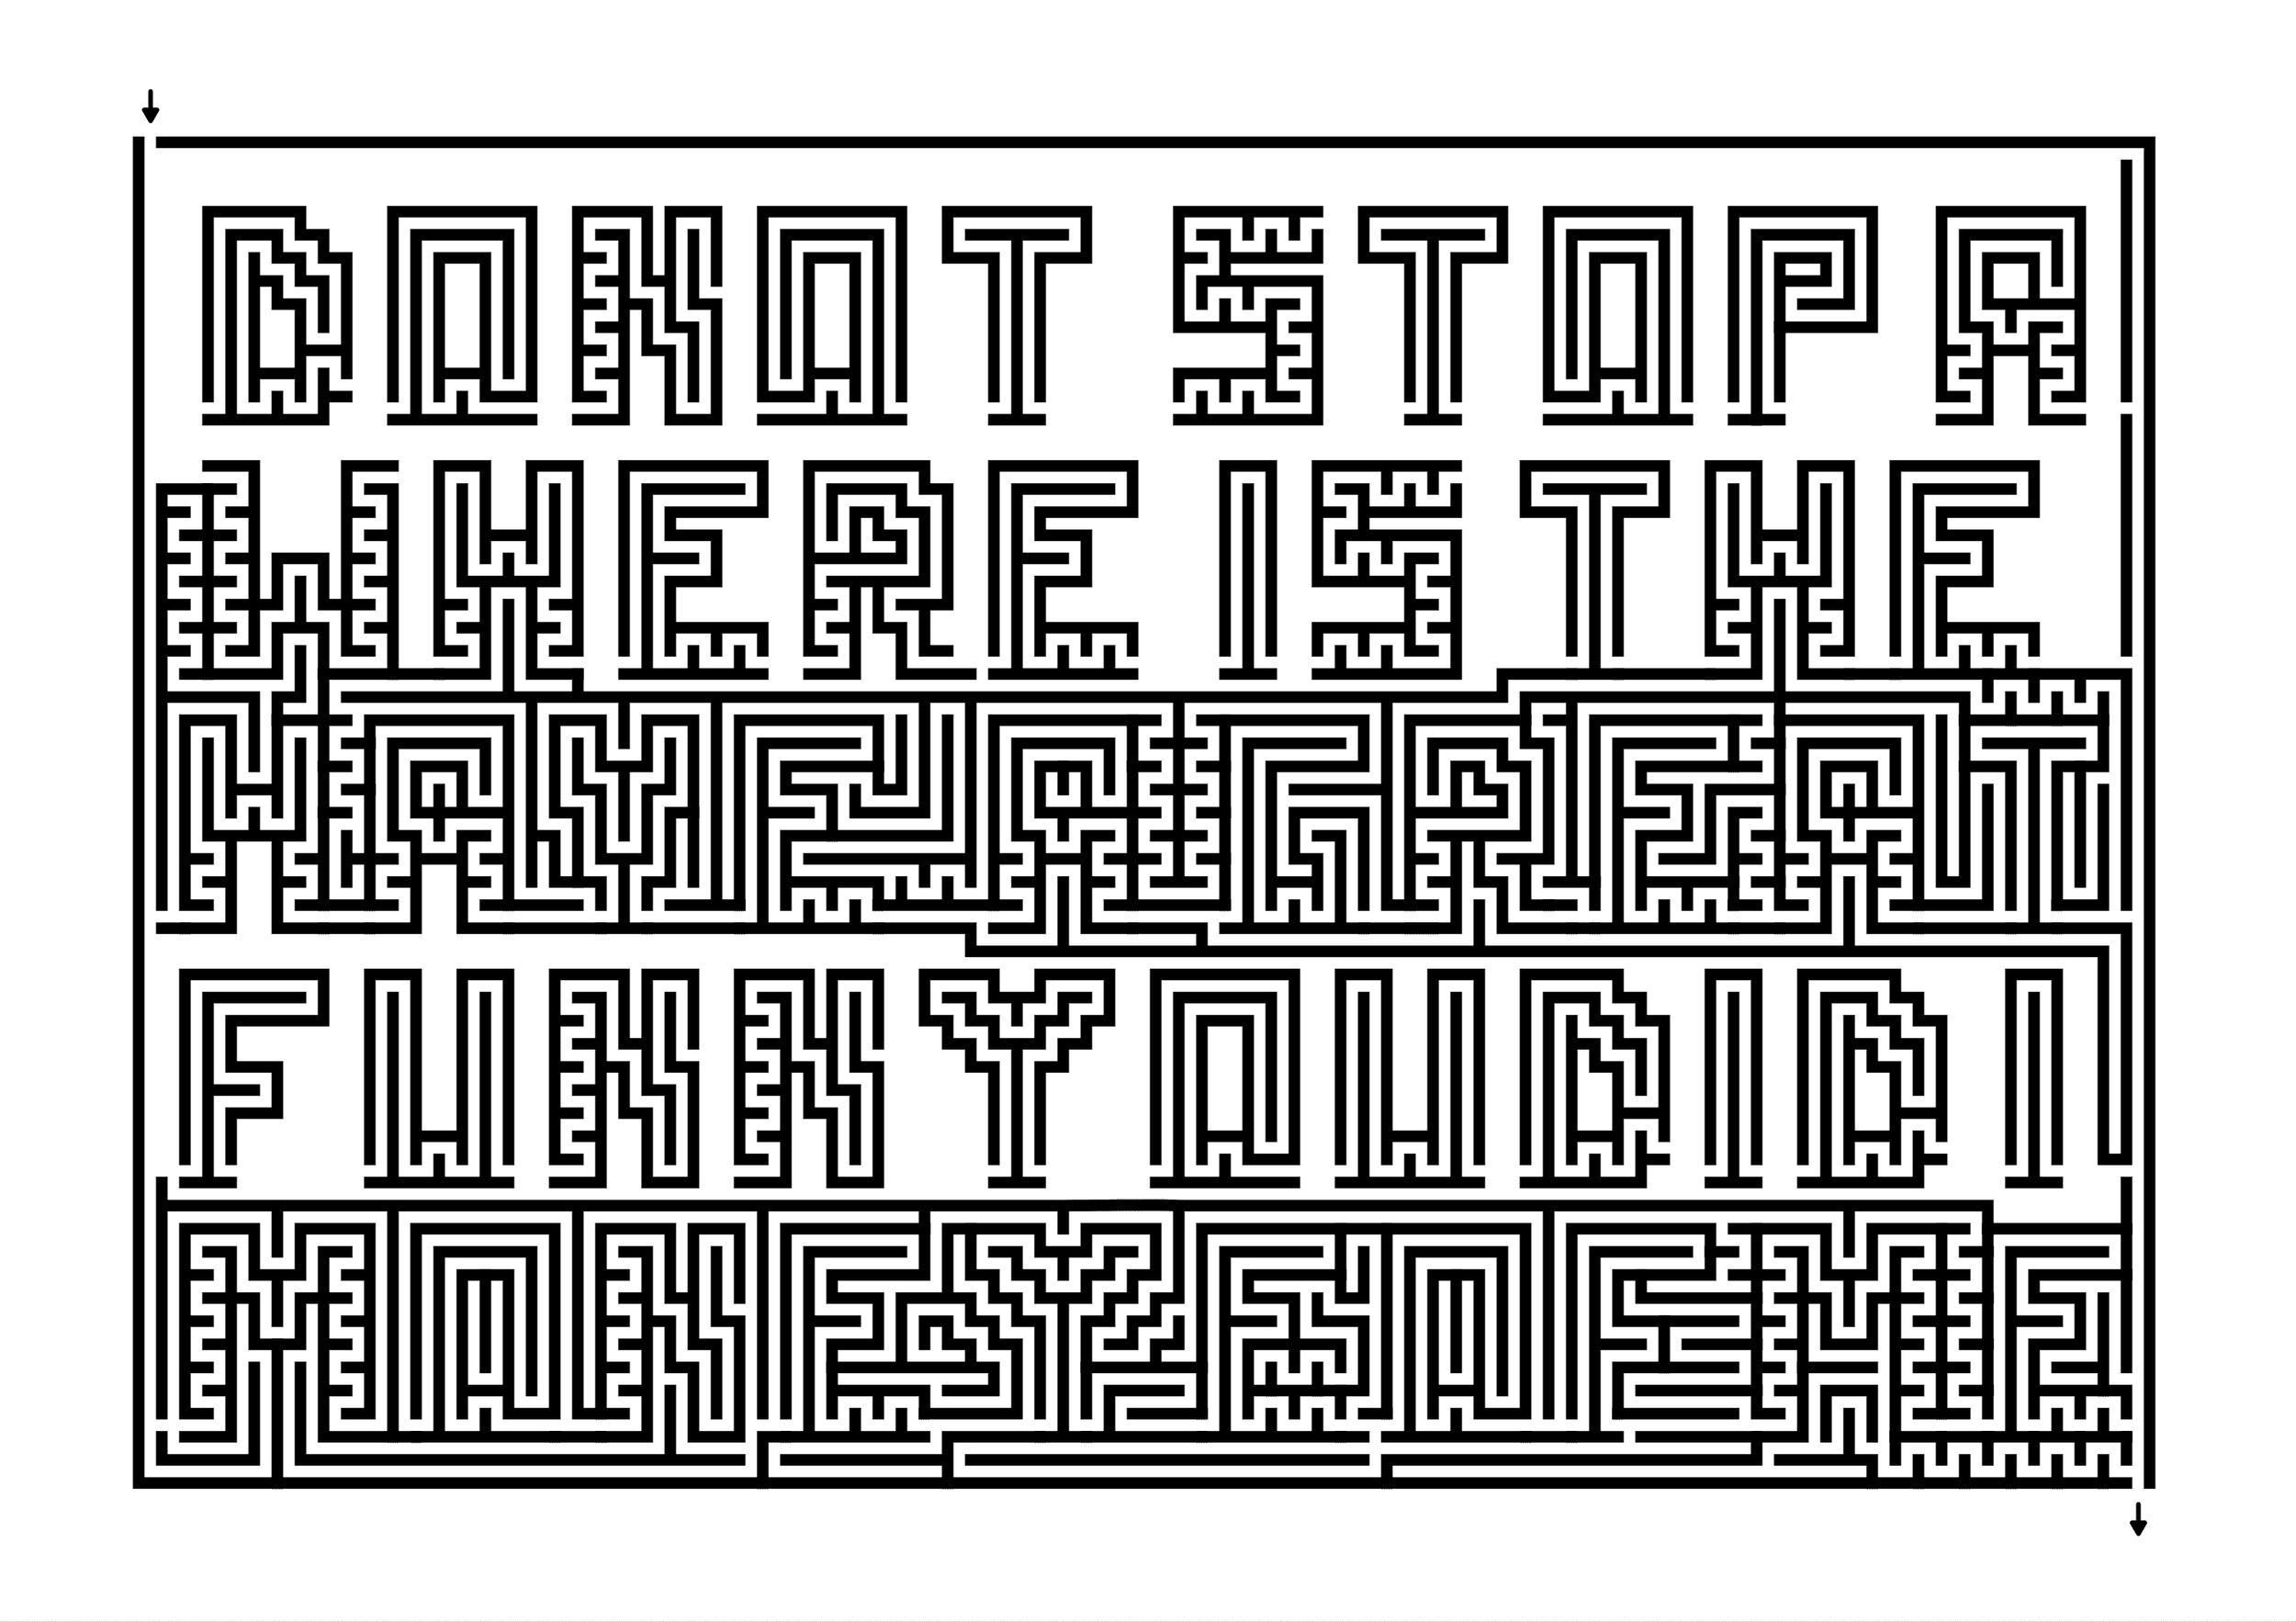
The first row uses DO before it dead ends. This completes the maze. Hopefully the use of all those letters and the false pathways filling in between make this a difficult maze to solve with your eyes. What do you think ?

Hidden Message Maze example

Step 6 - Make the Maze Solution

HIdden Message Maze solution - Have a Great

Maze options - Conditional Path options

Welcome to Part 3 of my 3 part series on maze construction options. Previously, I gave you step by step instructions to make over 40 different maze constructions. But making a maze also means making a series of different decisions, each that will change the look and difficulty of the maze. Here are the Parts we will cover in the series:

Part 1 - Starting and Ending a Maze

Part 2 - Maze Path options

Part 3 - Conditional Path options

Let’s get started with Part 3: Conditional Path Options

In Part 1 we looked at starting and ending your maze. In Part 2 we looked at all the different options for making your pathways. Today we look at a specific subset of maze construction that I call Conditional Path Mazes. This group of mazes is a choice you make as a maze maker to give your solver a bit of an extra challenge. Call them what you want, but can they follow a set of guidelines, conditions, or rules to solve the maze ? Let’s look at types:

1 - Find Items Maze

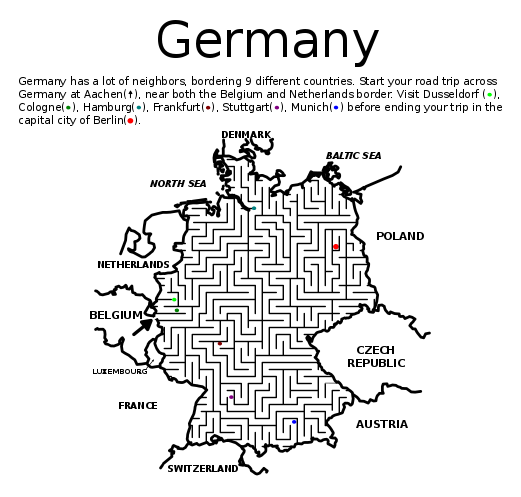
This is a simple condition mostly. You move through the maze from start to finish, but along the way there are places you need to visit to essentially find items, thus the name. It also works well for Map mazes, where finding the item, or visiting the city is the goal of the maze. Here’s a Germany maze for example:

Note: A subset of this version would be the find items in order maze, where you stipulate the order things must be found/visited.

Germany Map Maze

2 - Avoid Items Maze

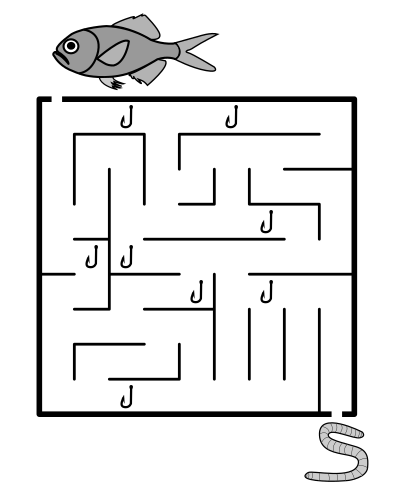
The opposite of finding is avoiding, at least for maze construction. This is a natural option for mazes, after all you are already avoiding dead ends !! Really these Avoid Items just create artificial dead ends within the maze, and hopefully help tell a story. Like this example of a Fish avoiding hooks. I could have made more walls but what fun is that ?

Kids Maze - Fish finds a worm

3 - Directional Mazes

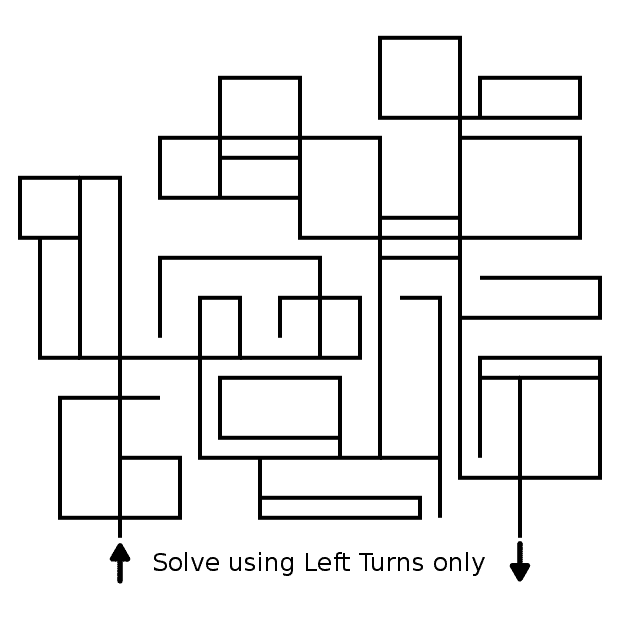
A maze that states the directions you may move in is a directional maze. To reference Part 2 in the series on pathways, this could be a regular pathway or online. Below is an On Line Maze with the condition that you can only turn left to solve it.

Left Turn Only Maze

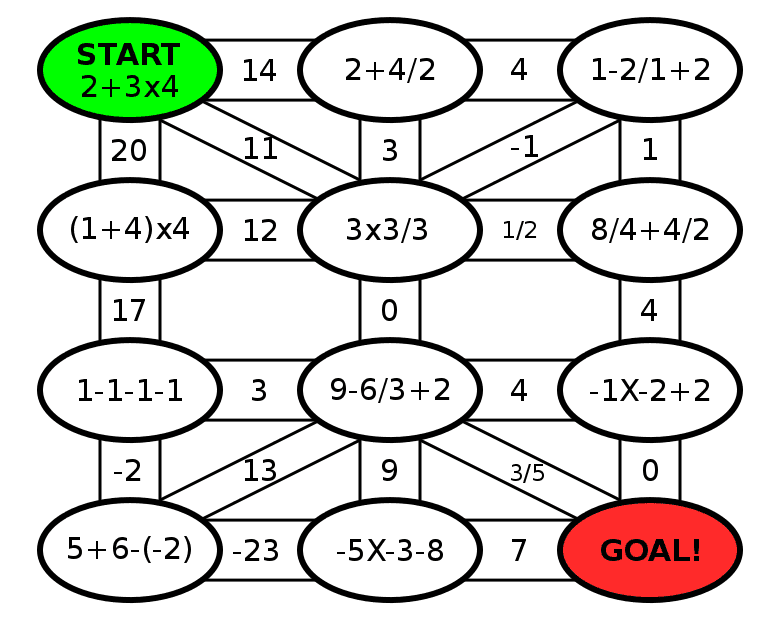
4 - Puzzle Maze

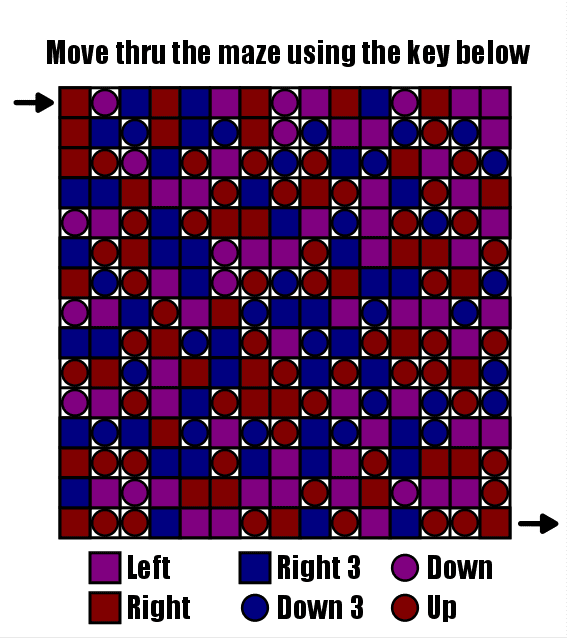
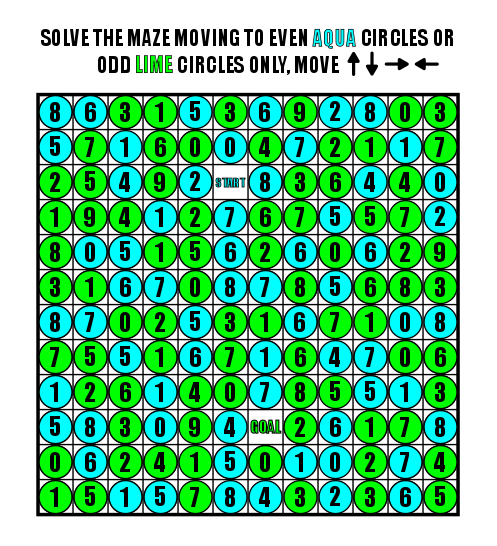
The condition of this maze type determines your movement. This means solving a puzzle to determine your movement thru the maze. In the first example below the movement is determined with a key - you must follow the directions to solve the maze and there are no choices, but with the 2nd puzzle movement is determined by rules - and there are multiple possible ways to move between grids.

Puzzle Maze
Puzzle Maze #2

5 - Letter Maze

Simply the rules involve letters…and in this version you have choices on where you move…i.e. this M or that M from START.

Letter Maze

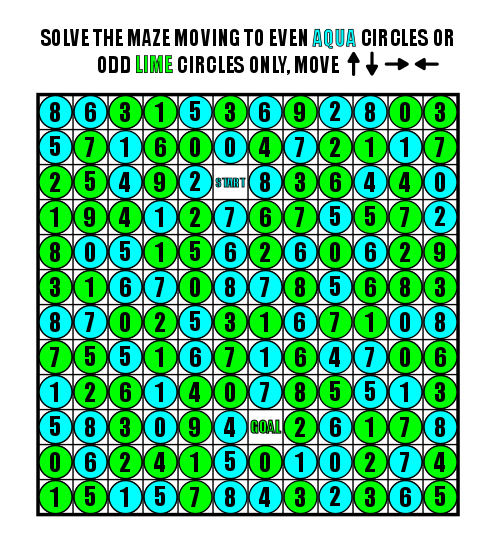
6 - Number Mazes

Or similarly, numbers to determine movement. This particular variation is based on division and is a Counting maze.

Count by 3's Kids math maze

7 - Color Grid Maze

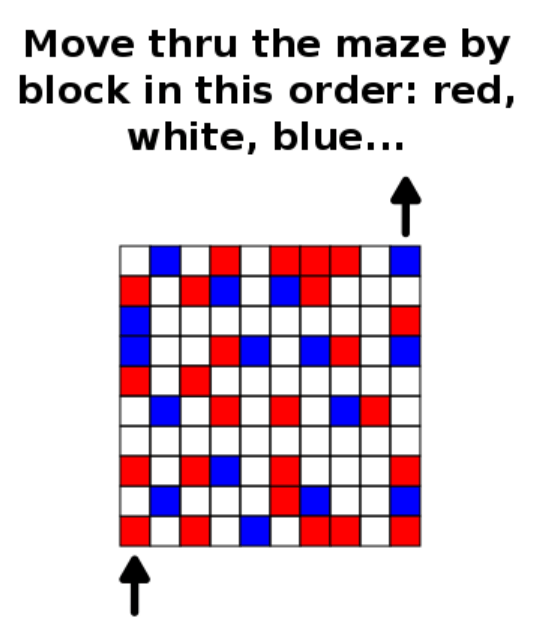
Movement thru the maze is determined by following a series of colors in order.

Color Grid Maze

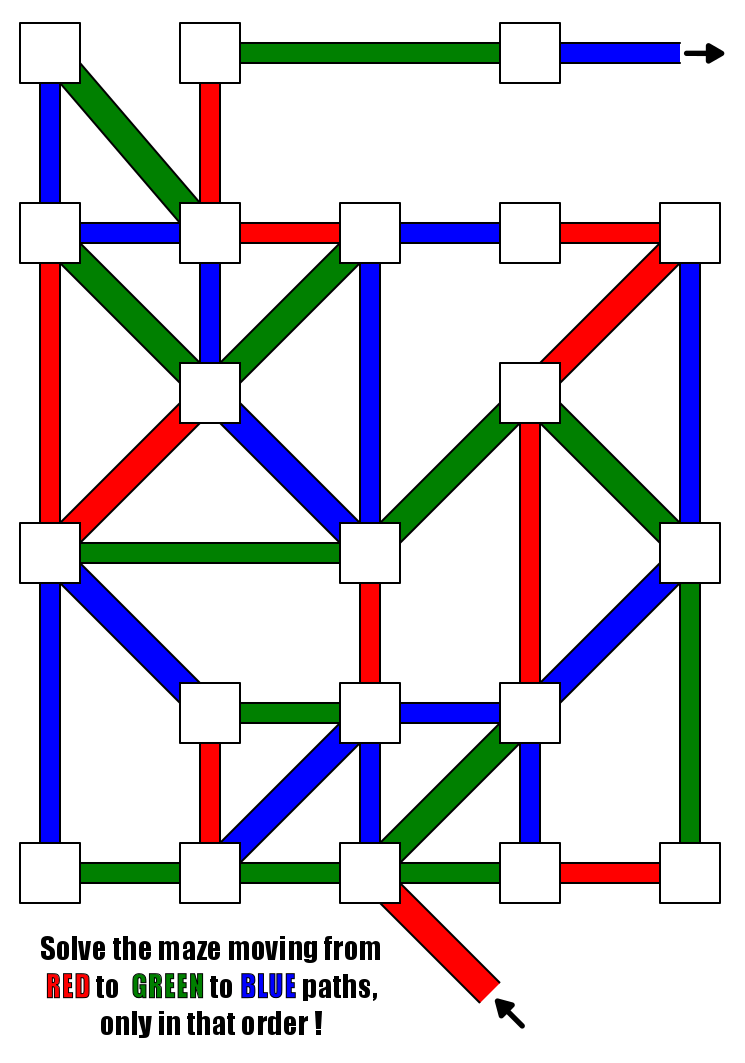
8 - Conditional Color Path Maze

Similar to #7 but the pathways change colors rather than being colored blocks. As someone who makes a lot of mazes these are both fun and challenging to create. The non grid format gives you options to get complicated and math-y !! If you are a maze maker I suggest you try to make one of these.

Conditional Pathway Maze

9 - Non Reusable Pathways

This is used in a Go & Return Maze and sometimes in Find Items Mazes. The solver is asked to move thru the maze and never visit the same place more than once while solving. These tend to have “open floor plans” when it comes to walls. You want freedom of movement and choice to complicate the solve.

Kids Find Items Maze -Ants find sugar

10 - Go & Return Maze

A Go & Return Maze is part #9 Non-reusable Pathway and part #1 Find Items Maze combined with a Start/Goal that is the same. So maybe this is a combination of things we have already covered, and maybe it isn’t. I thought it was unique enough to get it’s own option. In a Go & Return Maze you go from start to an internal part in the maze, then return back to start without using the same path. Those are the conditions to solve ! Here is an example:

Triangular Go and Return Maze

11 - Math Maze

A variation of the number maze where your movement is determined by needing to solve a math problem to correctly advance. If you are interested I have made 11 different Math Maze Templates that are free to download.

Order of Operations Math Maze

Maze options - Maze Path options

Welcome to Part 2 of my 3 part series on maze construction options. Previously, I gave you step by step instructions to make 40 different maze constructions. But making a maze also means making a series of different decisions, each that will change the look and difficulty of the maze. If you missed Part 1, I suggest you start there !

Part 1 - Options for Starting and Ending a Maze

Part 2 - Maze Path options

Part 3 - Conditional Pathway options

Let’s get started with Part 2: Maze Path Options

In Part 1 you figured out how you will be starting and ending your maze. Today we will explore some options for how you make your pathways. Pathways are of course where the maze solver travels as they are moving thru the maze. We start with the most common:

1 - Walled pathway

The most common pathway you will find. Self explanatory to anyone who has ever done a maze and most people that haven’t. The solver travels between walls made of lines. Here is what it looks like:
mini maze

2 - On Line Pathway

On line pathways are exactly as described - the solver travels on the lines and not in between them. This defines what an On Line Maze is, but can also used for Directional Mazes, which would have instructions such as - solve this maze by only turning left. Here is an example of an On Line Maze. If a solver is not paying attention, they may try to solve this maze as if it was using walls. If you use this construction I suggest adding directions explaining the “on-line” aspect.

On Line Maze Example

3 - Weaving Paths

Weaving Paths are intertwined and allow the solver to travel over/under other paths within the maze. Some use shadows or arrows to better define the movement and enhance the look of the maze, but generally it looks like below:

Diamond Shaped Weaving Maze

4 - Themed Pathways

This category is a catch all for a variety of themed pathways you find and become common in children’s maze and activity books. Some examples of these include Railroad tracks, a Roadway, a Subway Line, Sidewalks, and Pipes. Really places where people would naturally travel, or in the case of Pipes, water would. Here is a pipe maze example (which happens to also be a weaving pathway). Notice that I used shadows to further define the weaving aspect.

Ohio shaped Pipe Maze

5 - Grid “Pathway”

Grids can used for regular mazes, but are most commonly used in the different types of Puzzle Mazes. Puzzle Mazes, Block Move Mazes, Number Mazes, Letter Mazes, all use grids to give them structure. Below is a Standard Grid Maze and a Puzzle Maze to show 2 different variations of how grids can be used:

7x7 grid maze
12x12 puzzle maze

6 - Arrow Mazes

While Arrow Maze and Slide Arrow Mazes both use a grid for structure, the pathway you are following is actually determined by the arrow you land on and the direction you choose along the way. I consider this more about the arrows than the grids they are in. Here is an Arrow Maze as an example:

8x8 Easy Arrow Maze

7 - Free Drawn pathways

I say free drawn pathways, but really what you are drawing by hand are the walls. You get it. This encompasses all the variations that don’t quite fit into a perfect grid or grided path system. The distance between walls varies. Here is a crushed beer can (drawn digitally) with free drawn paths:

Crushed Beer Can Maze

8 - Background Picture

Mazes can have backgrounds, some of which have nothing to do with solving the maze. Think of making a maze over a picture of something. You could use the border as the Maze, but internally the picture only helps to decorate the pathways. Here is my maze from National Book day for example:

Book Cover Maze Example

9 - Objects as Walls/Paths

Similar to what I mentioned before above, this is really about creating pathways by what you use as walls. Using objects or words for the walls creates a very interesting path for the solver. I think they are fun to make and you can be very creative with it. Here are examples of pathways that were made using circles and many small boxes:

box maze full of balls
box maze full of boxes

10 - Patterned walls

Drawing a standard maze with straight lines as walls can get boring for both the mazer and the solver. This can be made more interesting by using a pattern that repeats for the walls. Like a simple back and forth, or a curve. Notice the example below how a simple maze transforms when drawn with standard walls versus with patterned walls. Very different looks for the same maze.

Example of a maze with patterned walls

11 - Colored Paths (walls)

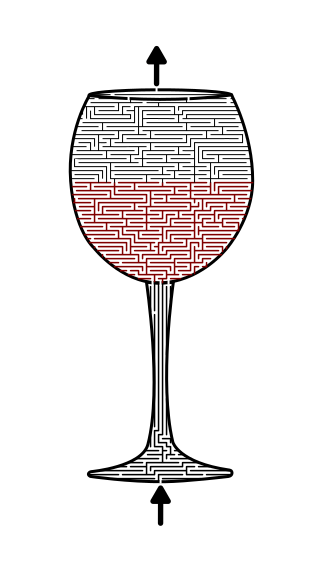
There is an option to enhance the maze you have made using colored walls to define sections. It is much more common to see color used as a background, but keeping this as an option can really enhance your maze making. The example shows a wine maze, specifically a red wine maze as defined by the colored walls ! You might want to read about a case study on colored pathways.

red wine maze

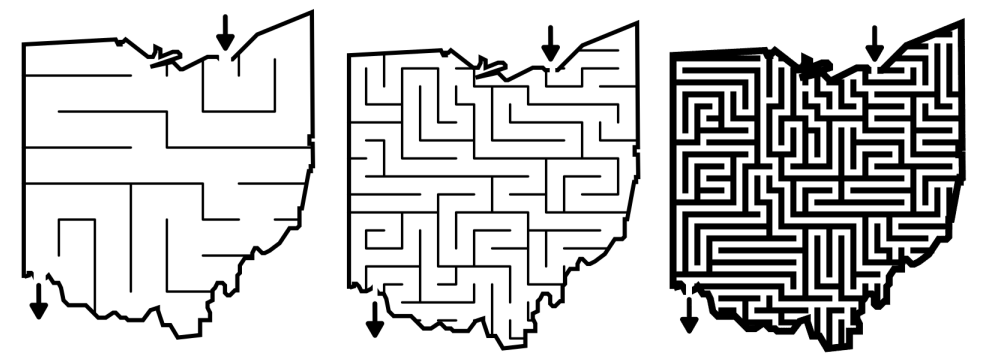
12 - Path Spacing

While most pathways you come across will be walled, there are different looks achieved ( and different maze types resulting from) based on how the same lines are spaced. In the examples below we have walled mazes used to maze the same object with 3 different looks. #1 is a Kids maze with highly spaced walls. #2 is a standard maze with normally spaced walls. #3 is a standard equal where the walls are pathways are of equal width.

3 mazes of Ohio with different maze path spacing

And while this is not the best example, below is a design that used different path widths for each different section of the object. I should mention that the background color is the same in every section. Notice how the bishop has a very dark colored head because of the closer pathways with a lighter core section. Line spacing is a great way to change the color and shading of an object you are mazing !

Chess Bishop Maze

13 - Use the Drawing as Walls (Natural shape of the subject)

When making maze art I find that the best looking mazes are ones where I don’t create any pathways, but where the pathways are naturally created by the object I am making a maze of. Typically this involves the draw and cut method of maze making where I draw something, then cut a maze into the structure. Almost every building maze on this site uses that method. In the example below of Museo Soumaya the panels of the building become the walls. Panels, bricks, windows, they all have become pathway makers for me !

Museo Soumya Maze in color