Some of my most popular content involves my making of hidden mazes. I can teach you how to make a hidden maze in 6 steps. And I have created over 30 hidden maze challenges to test my maze making ability and your ability to solve them (or for the solver to know what they say without solving them which would mean I didn’t make a very good maze). But I have never done a case study to expand on some options I made when making some of the new mazes. This also is a variation of how I teach you to make a hidden maze, with more details between the steps.
Let’s use my instructions as a basis for the case study
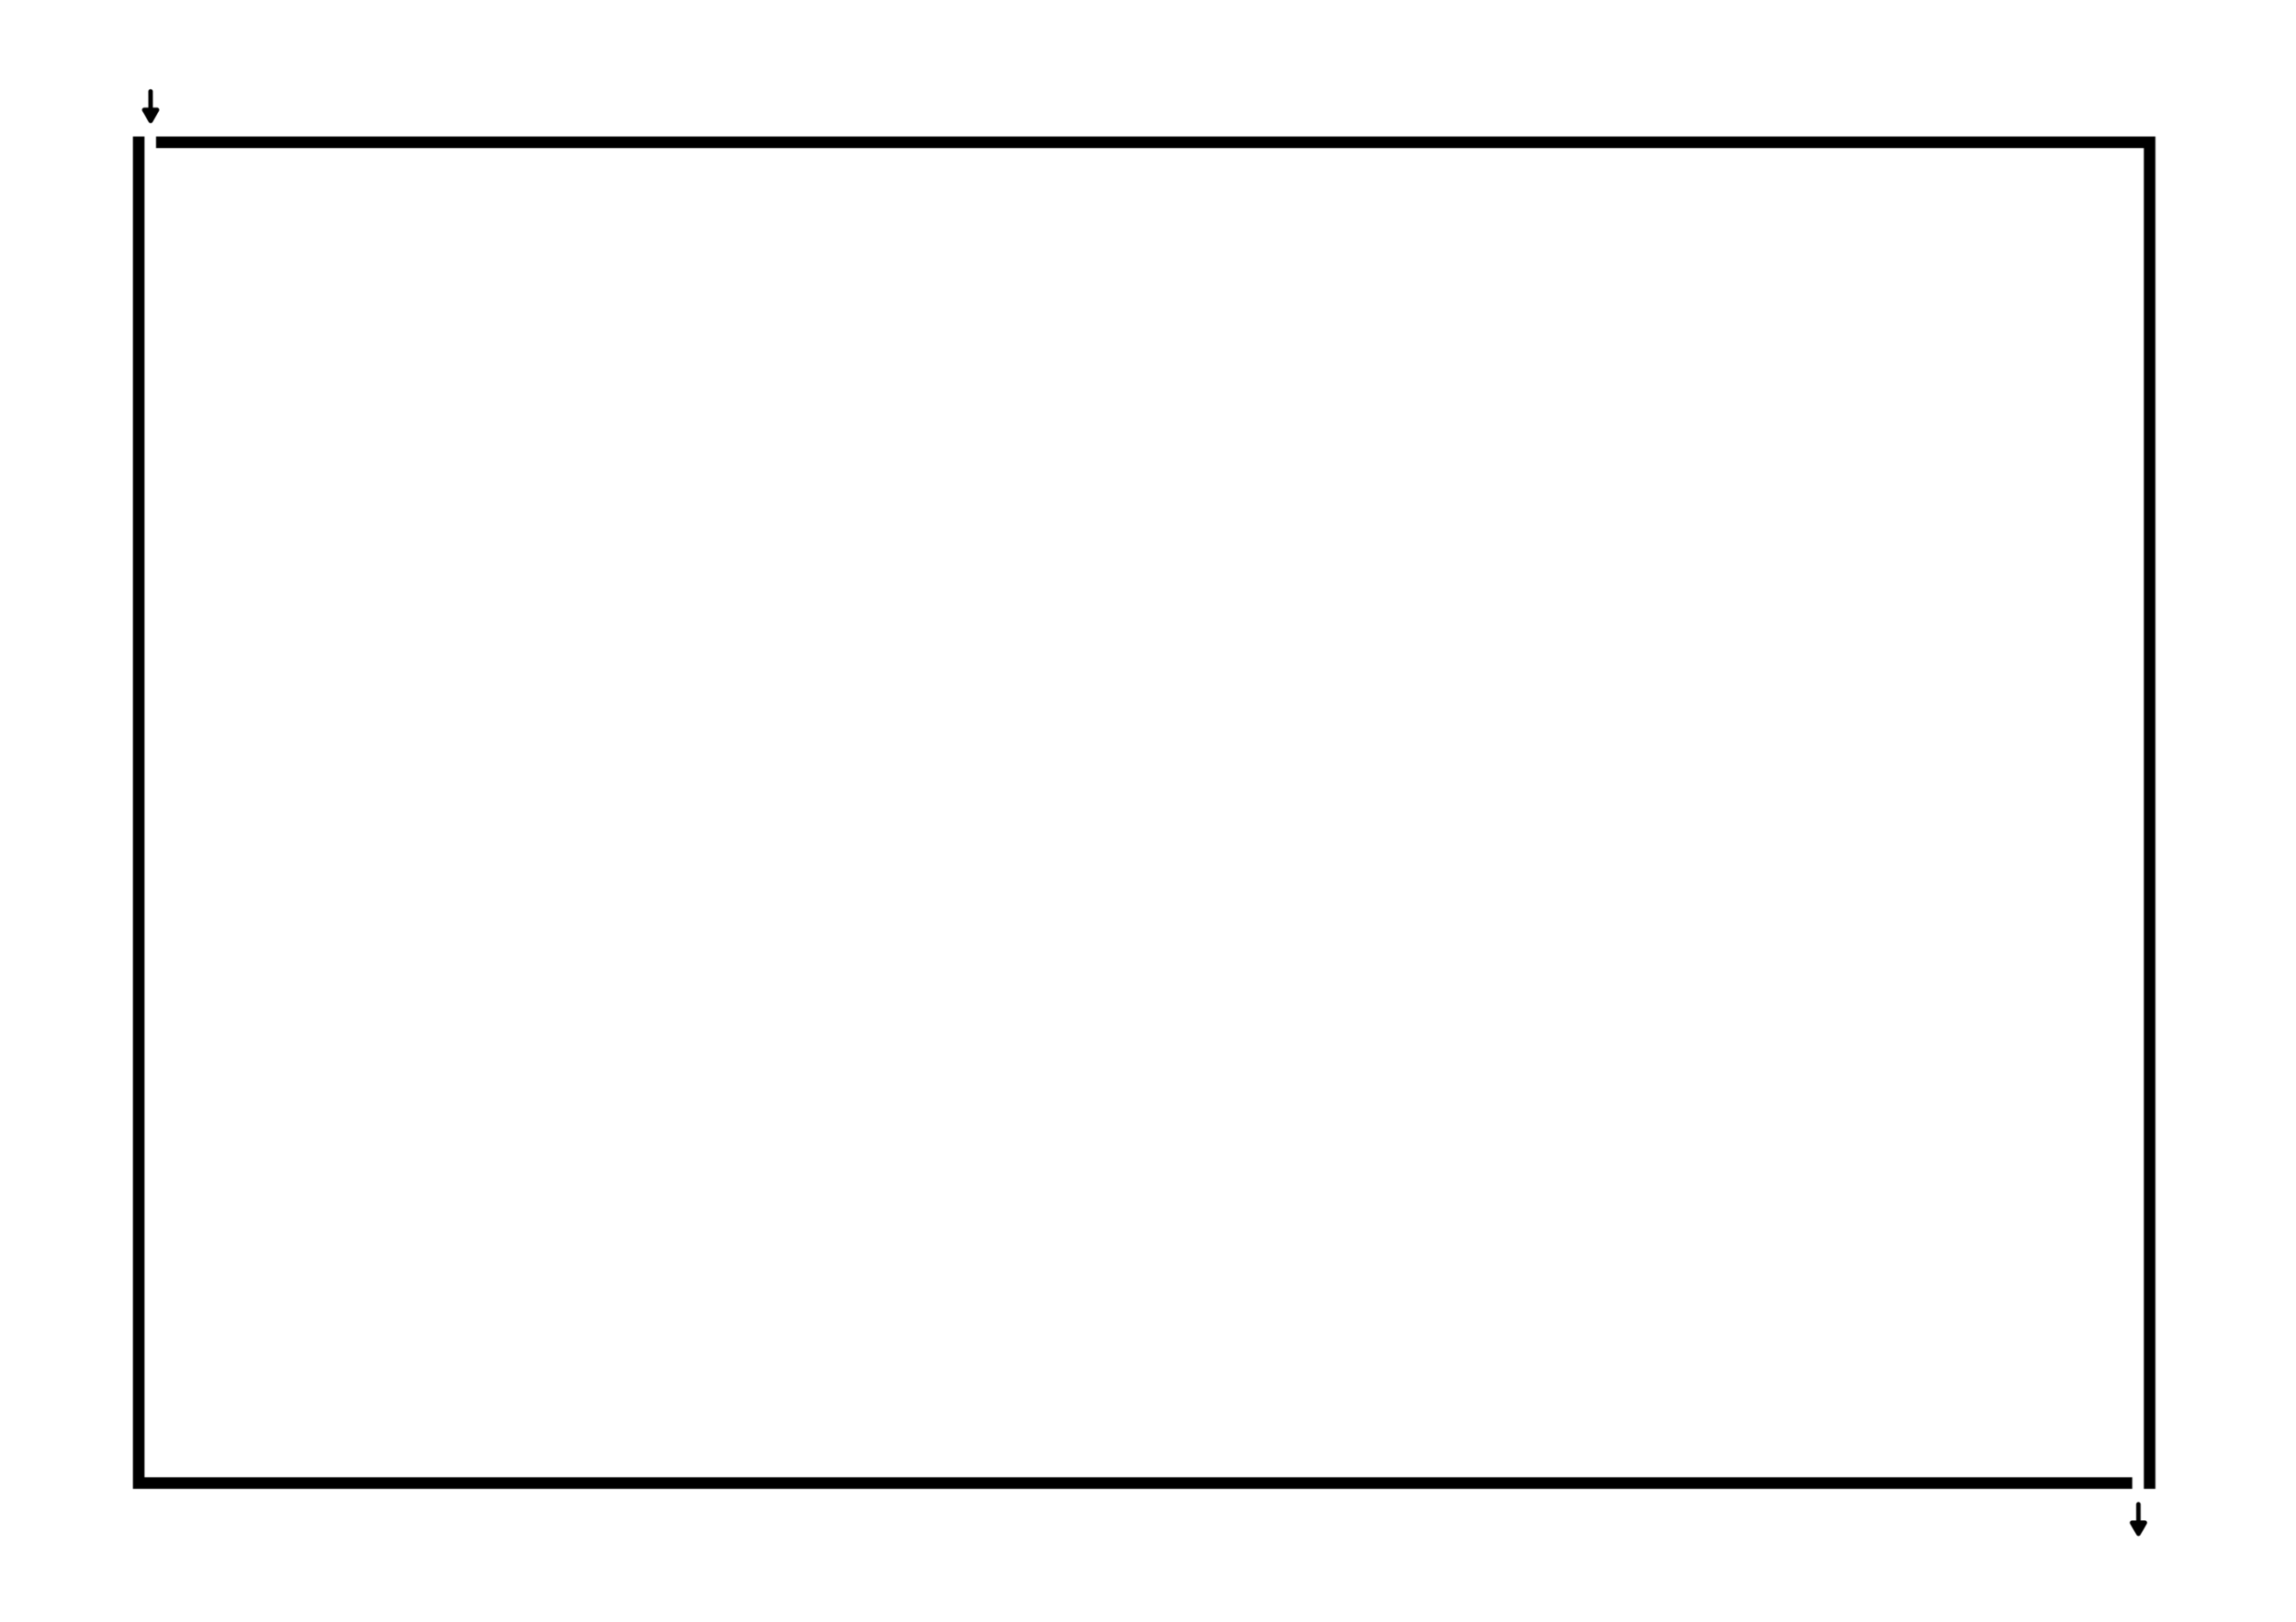
Step 1 - Draw the Outline
Now my hidden message mazes are boring in this regard as I make them to be used as the front of greeting cards. This means a simple rectangle.
Step 1.5 - Choose the Start and Goal
And this step is usually combined (thus step 1.5), and I present it that way here. Because English is written left to right the start will be on the left side of the page (I chose the top corner) and end on the right side (I chose the bottom right corner). I could have easily used the sides of the rectangle as start/goal.
Step 2 - Write the Guide Message
Step 3 - Maze the Hidden Message
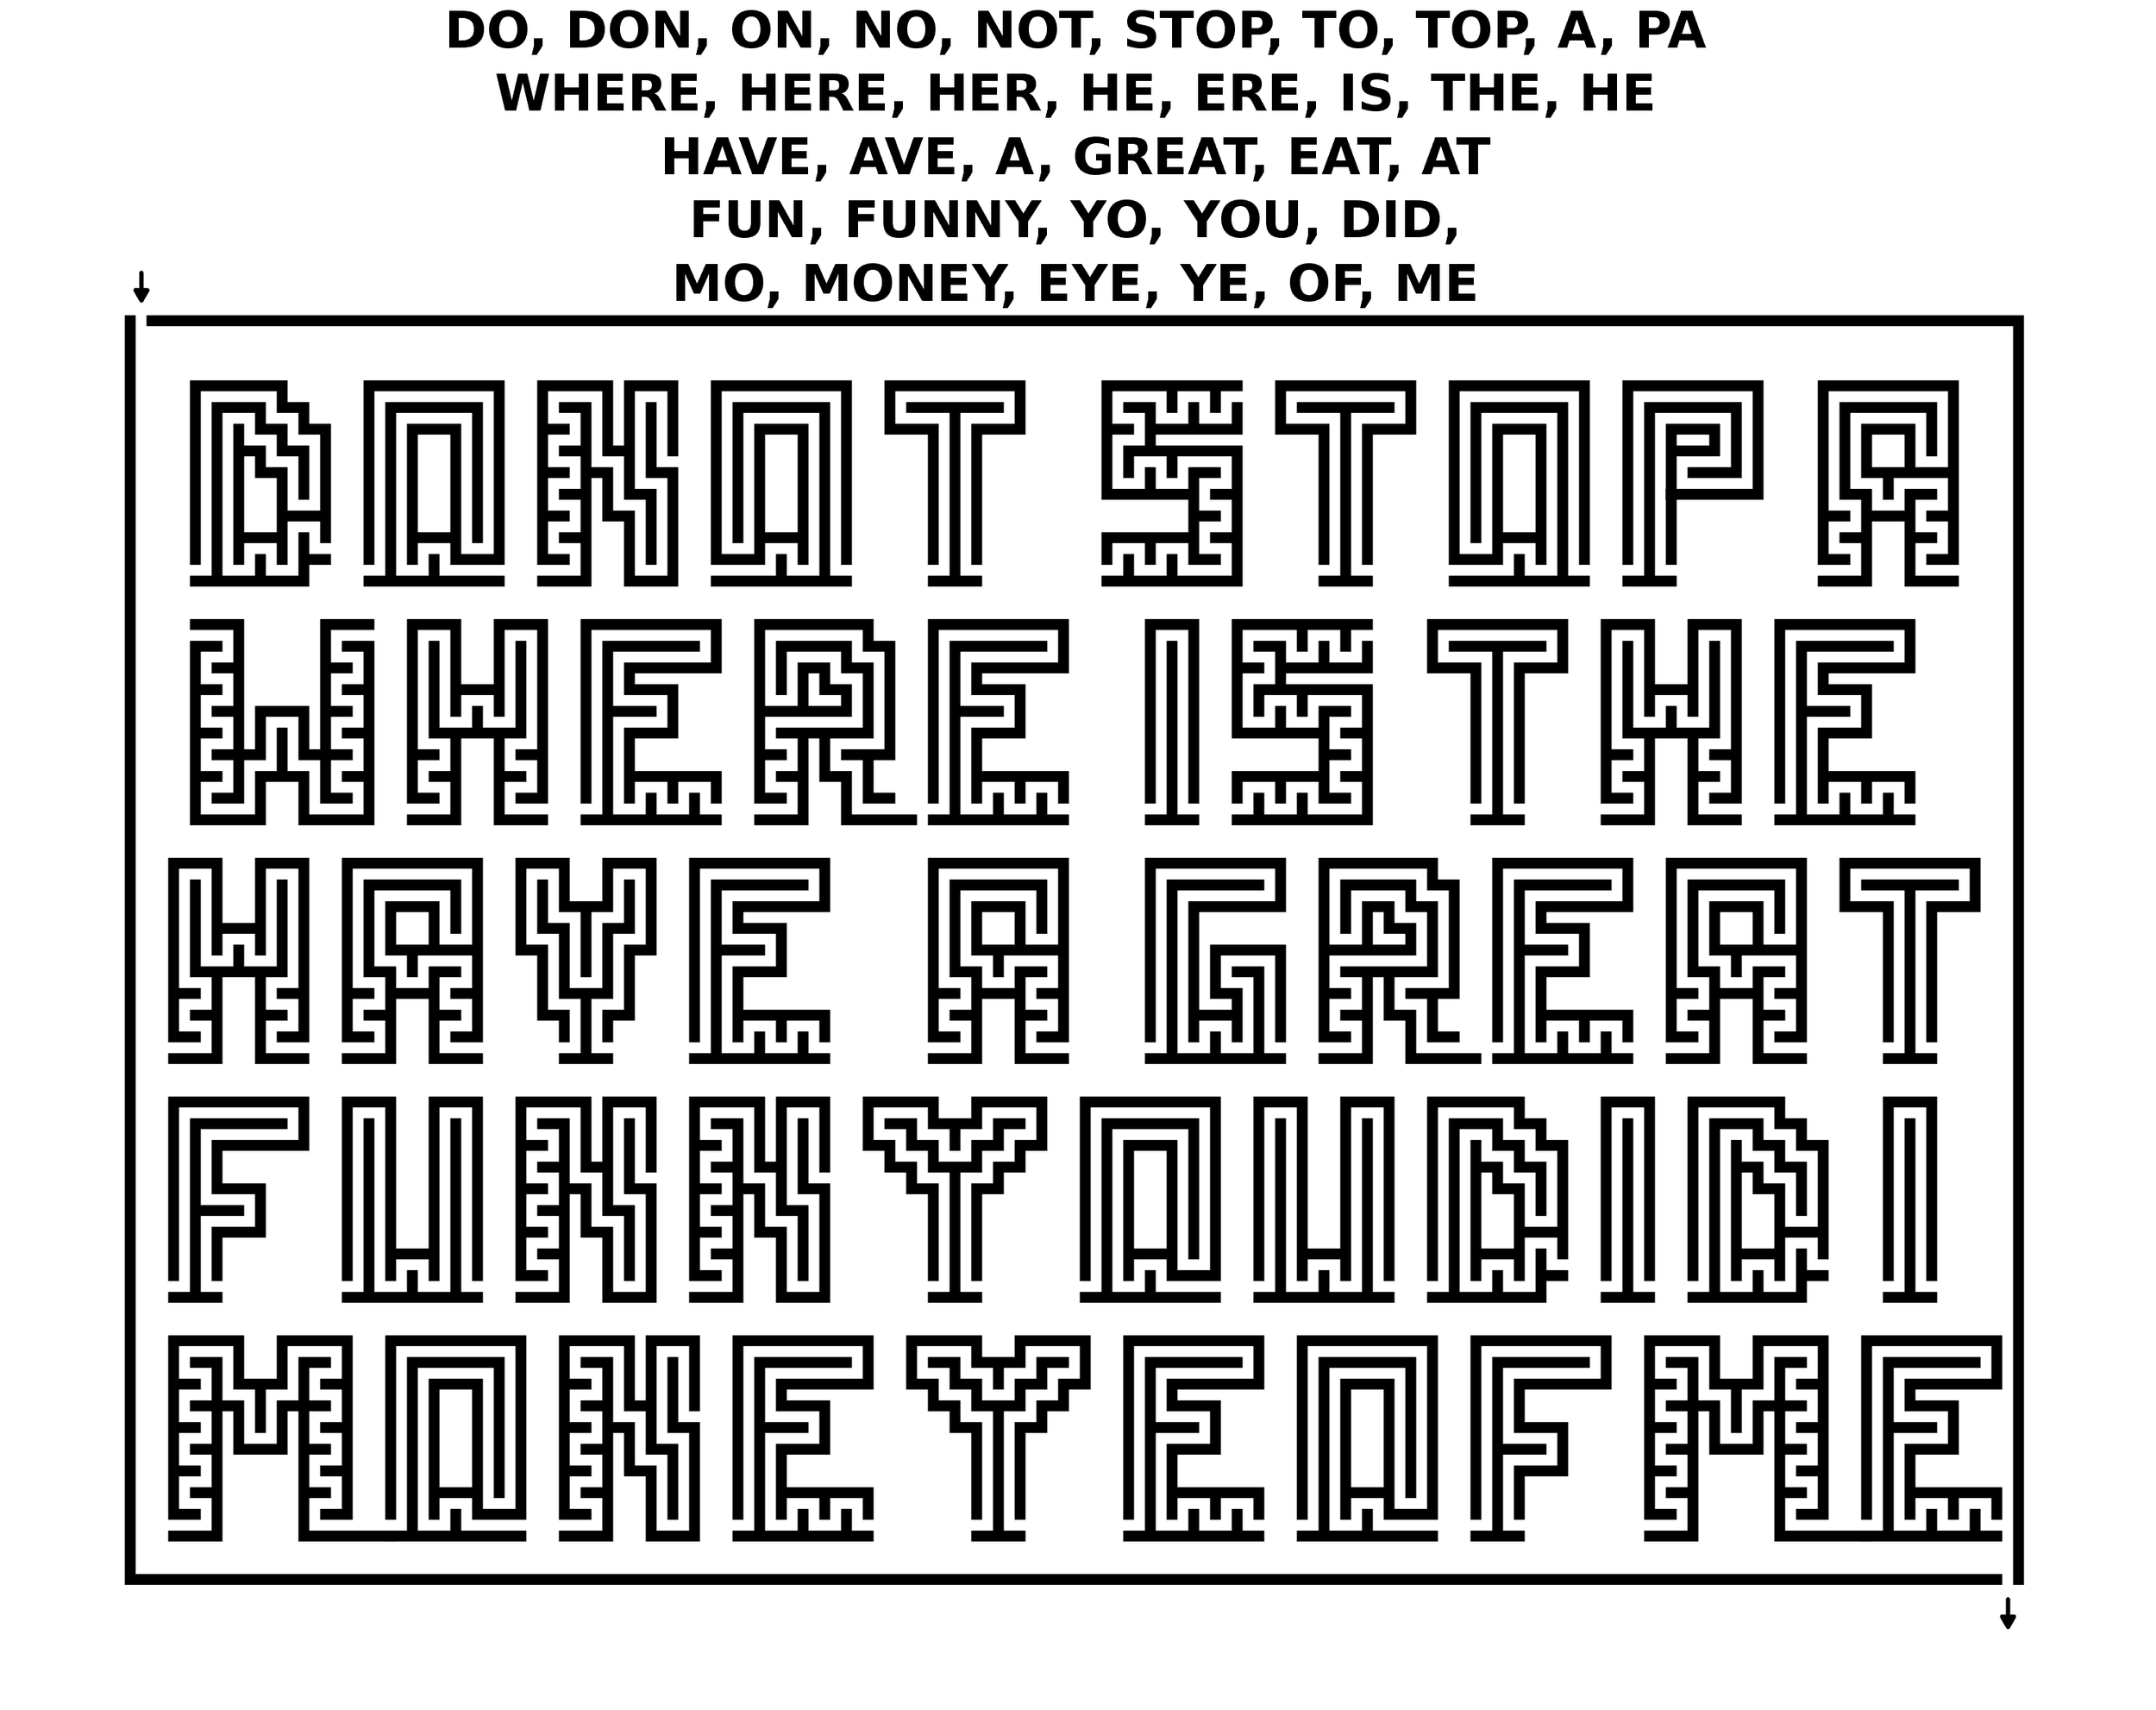
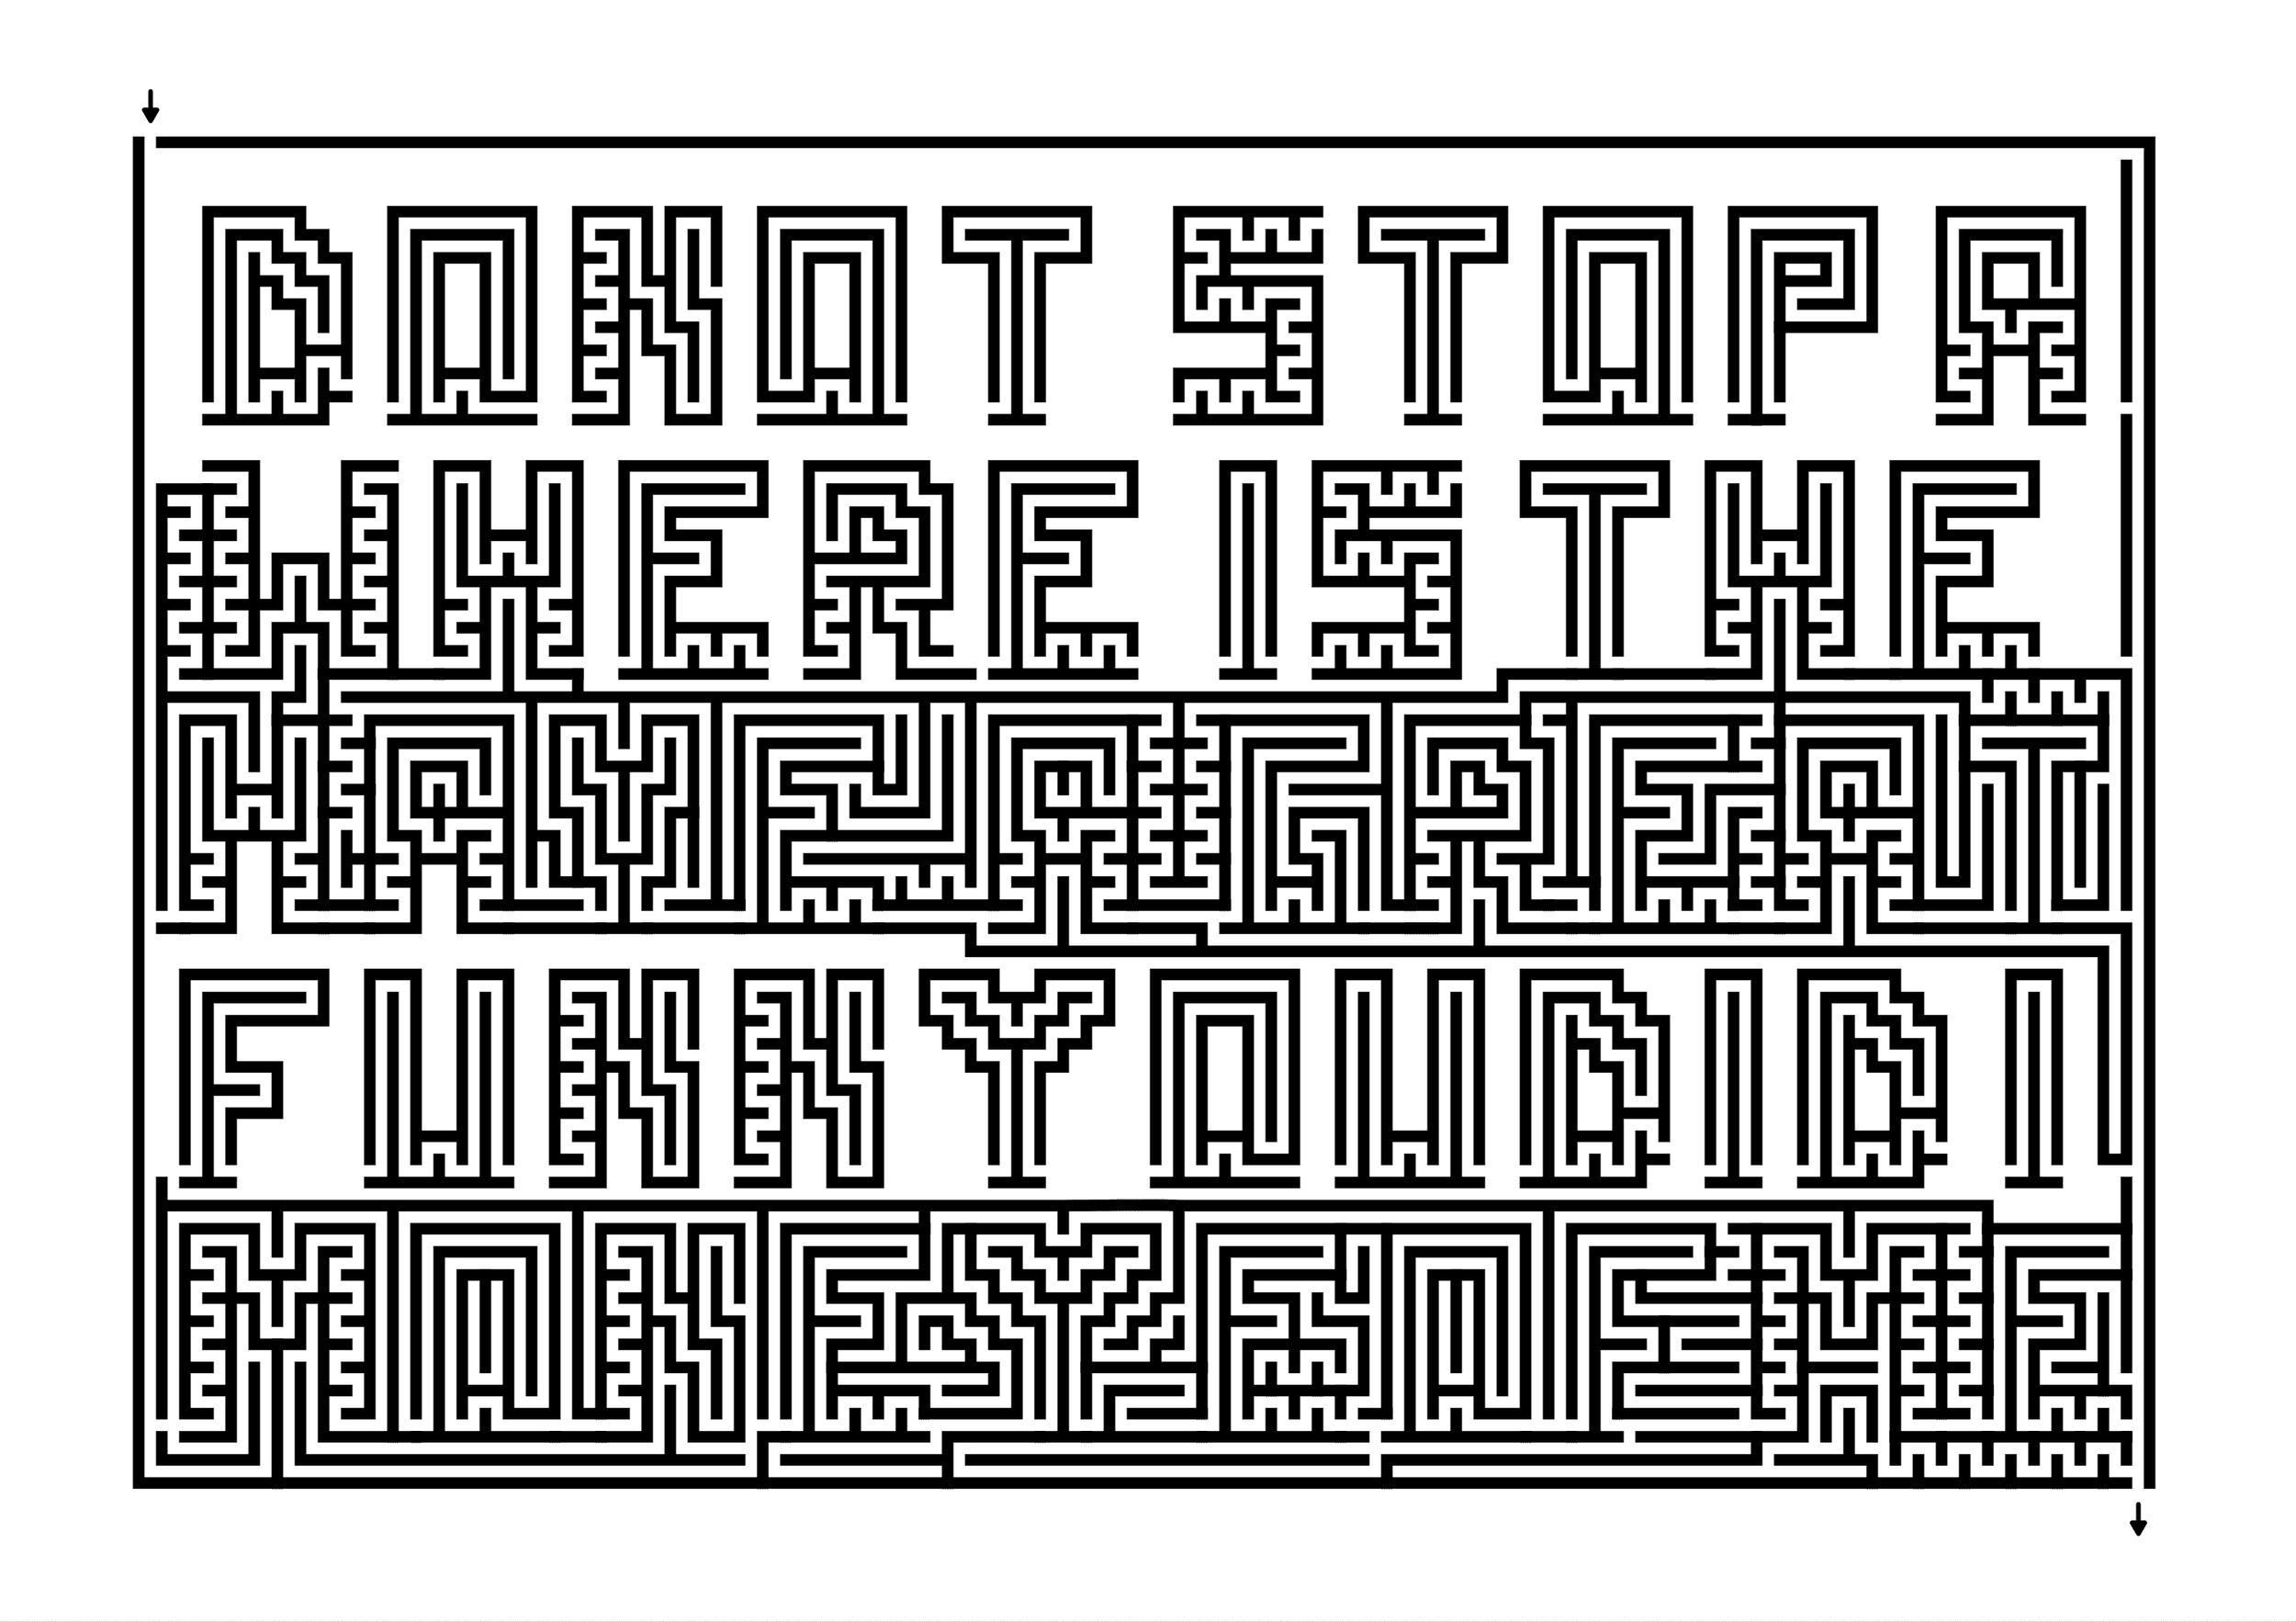
For my recent hidden message mazes I have used pre made mazed letters to speed things along. Here are my initial message possibilities. So, I do not use a guide message to make each letter from scratch each time.
To confuse the solver I have added in a variety of false words that will not be used. While my initial hidden message mazes used one message and everything else was a false pathway, these are less about the false pathways and more about the false message. Here is a quick list of the possible words hidden in each row. I overlap some word possibilities, like the Y ending in funny also being the starting Y in you. This could also be expanded and made more difficult.
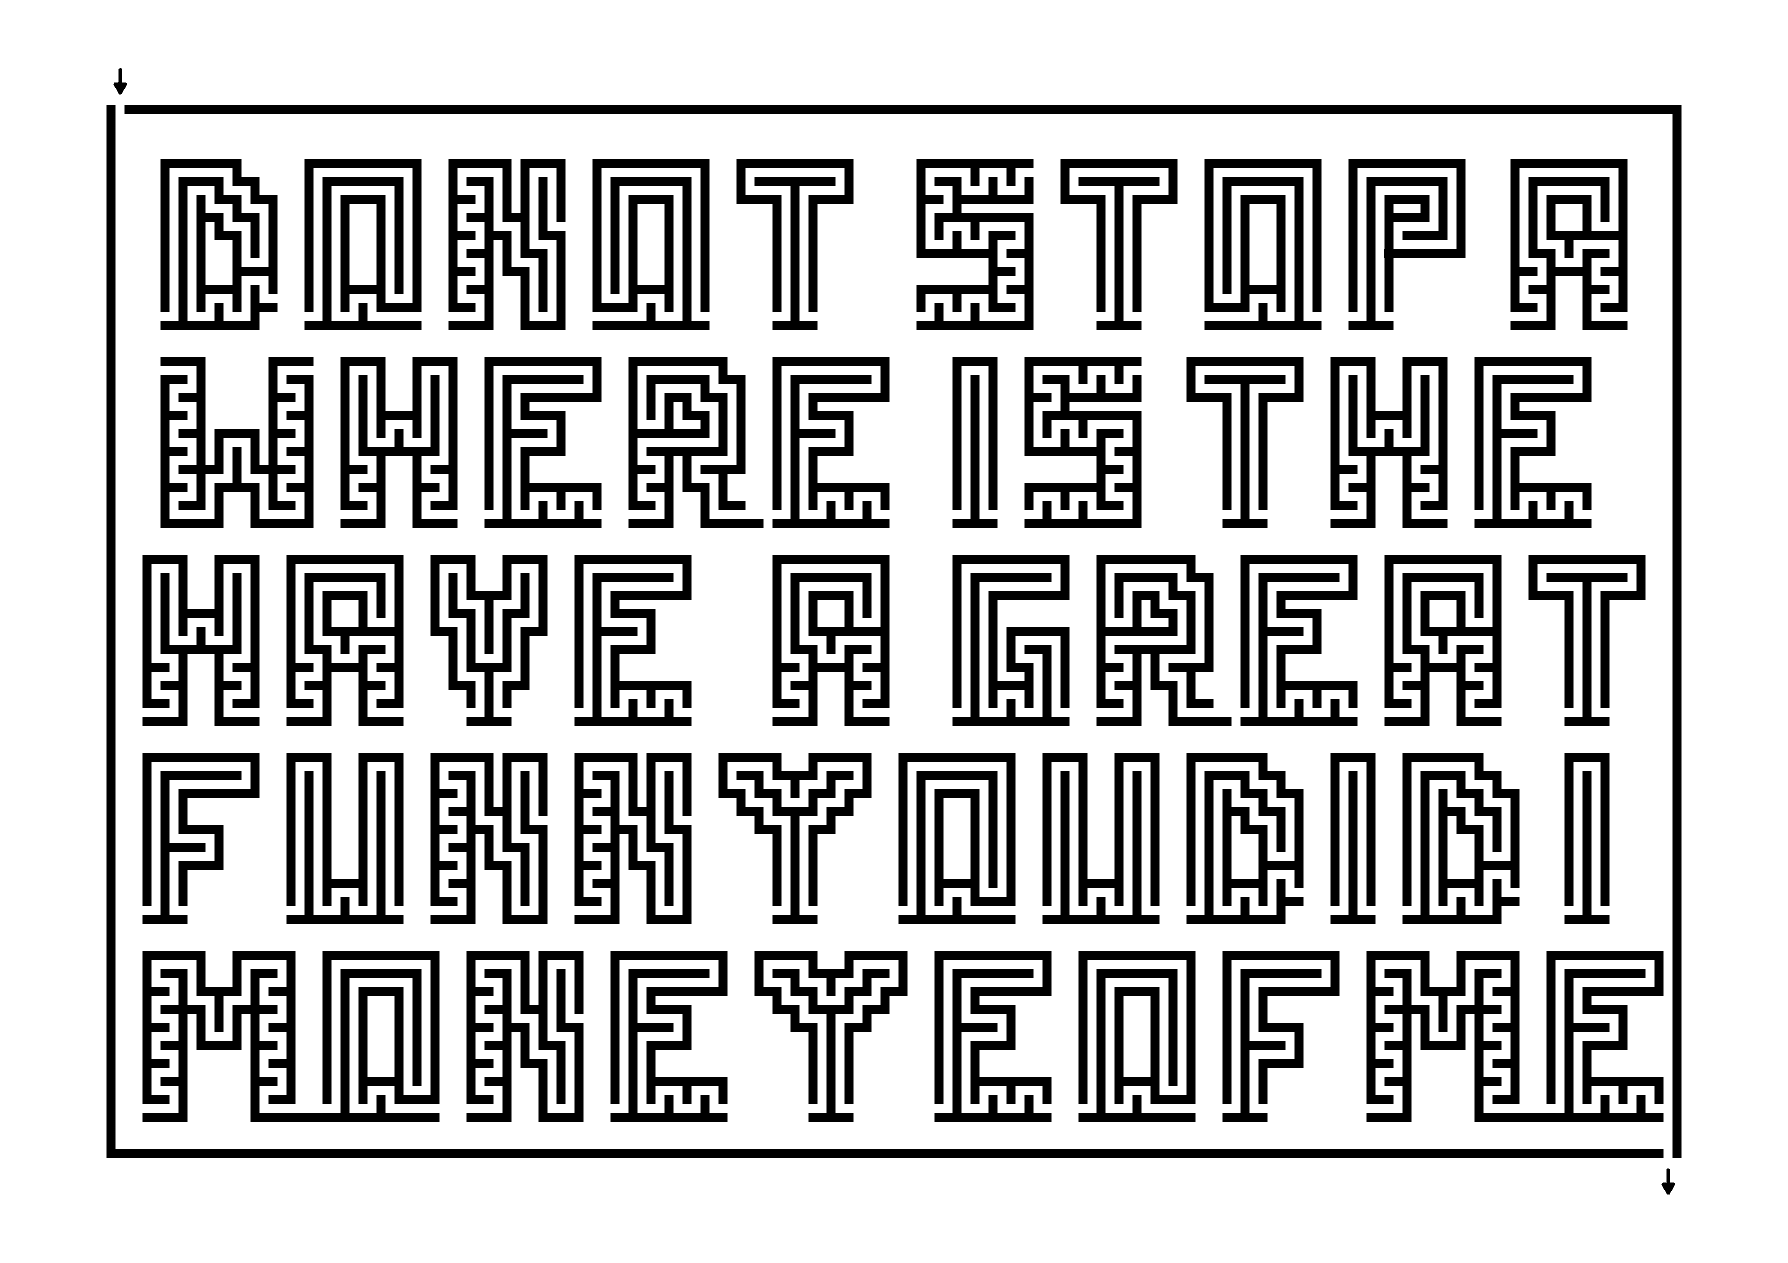
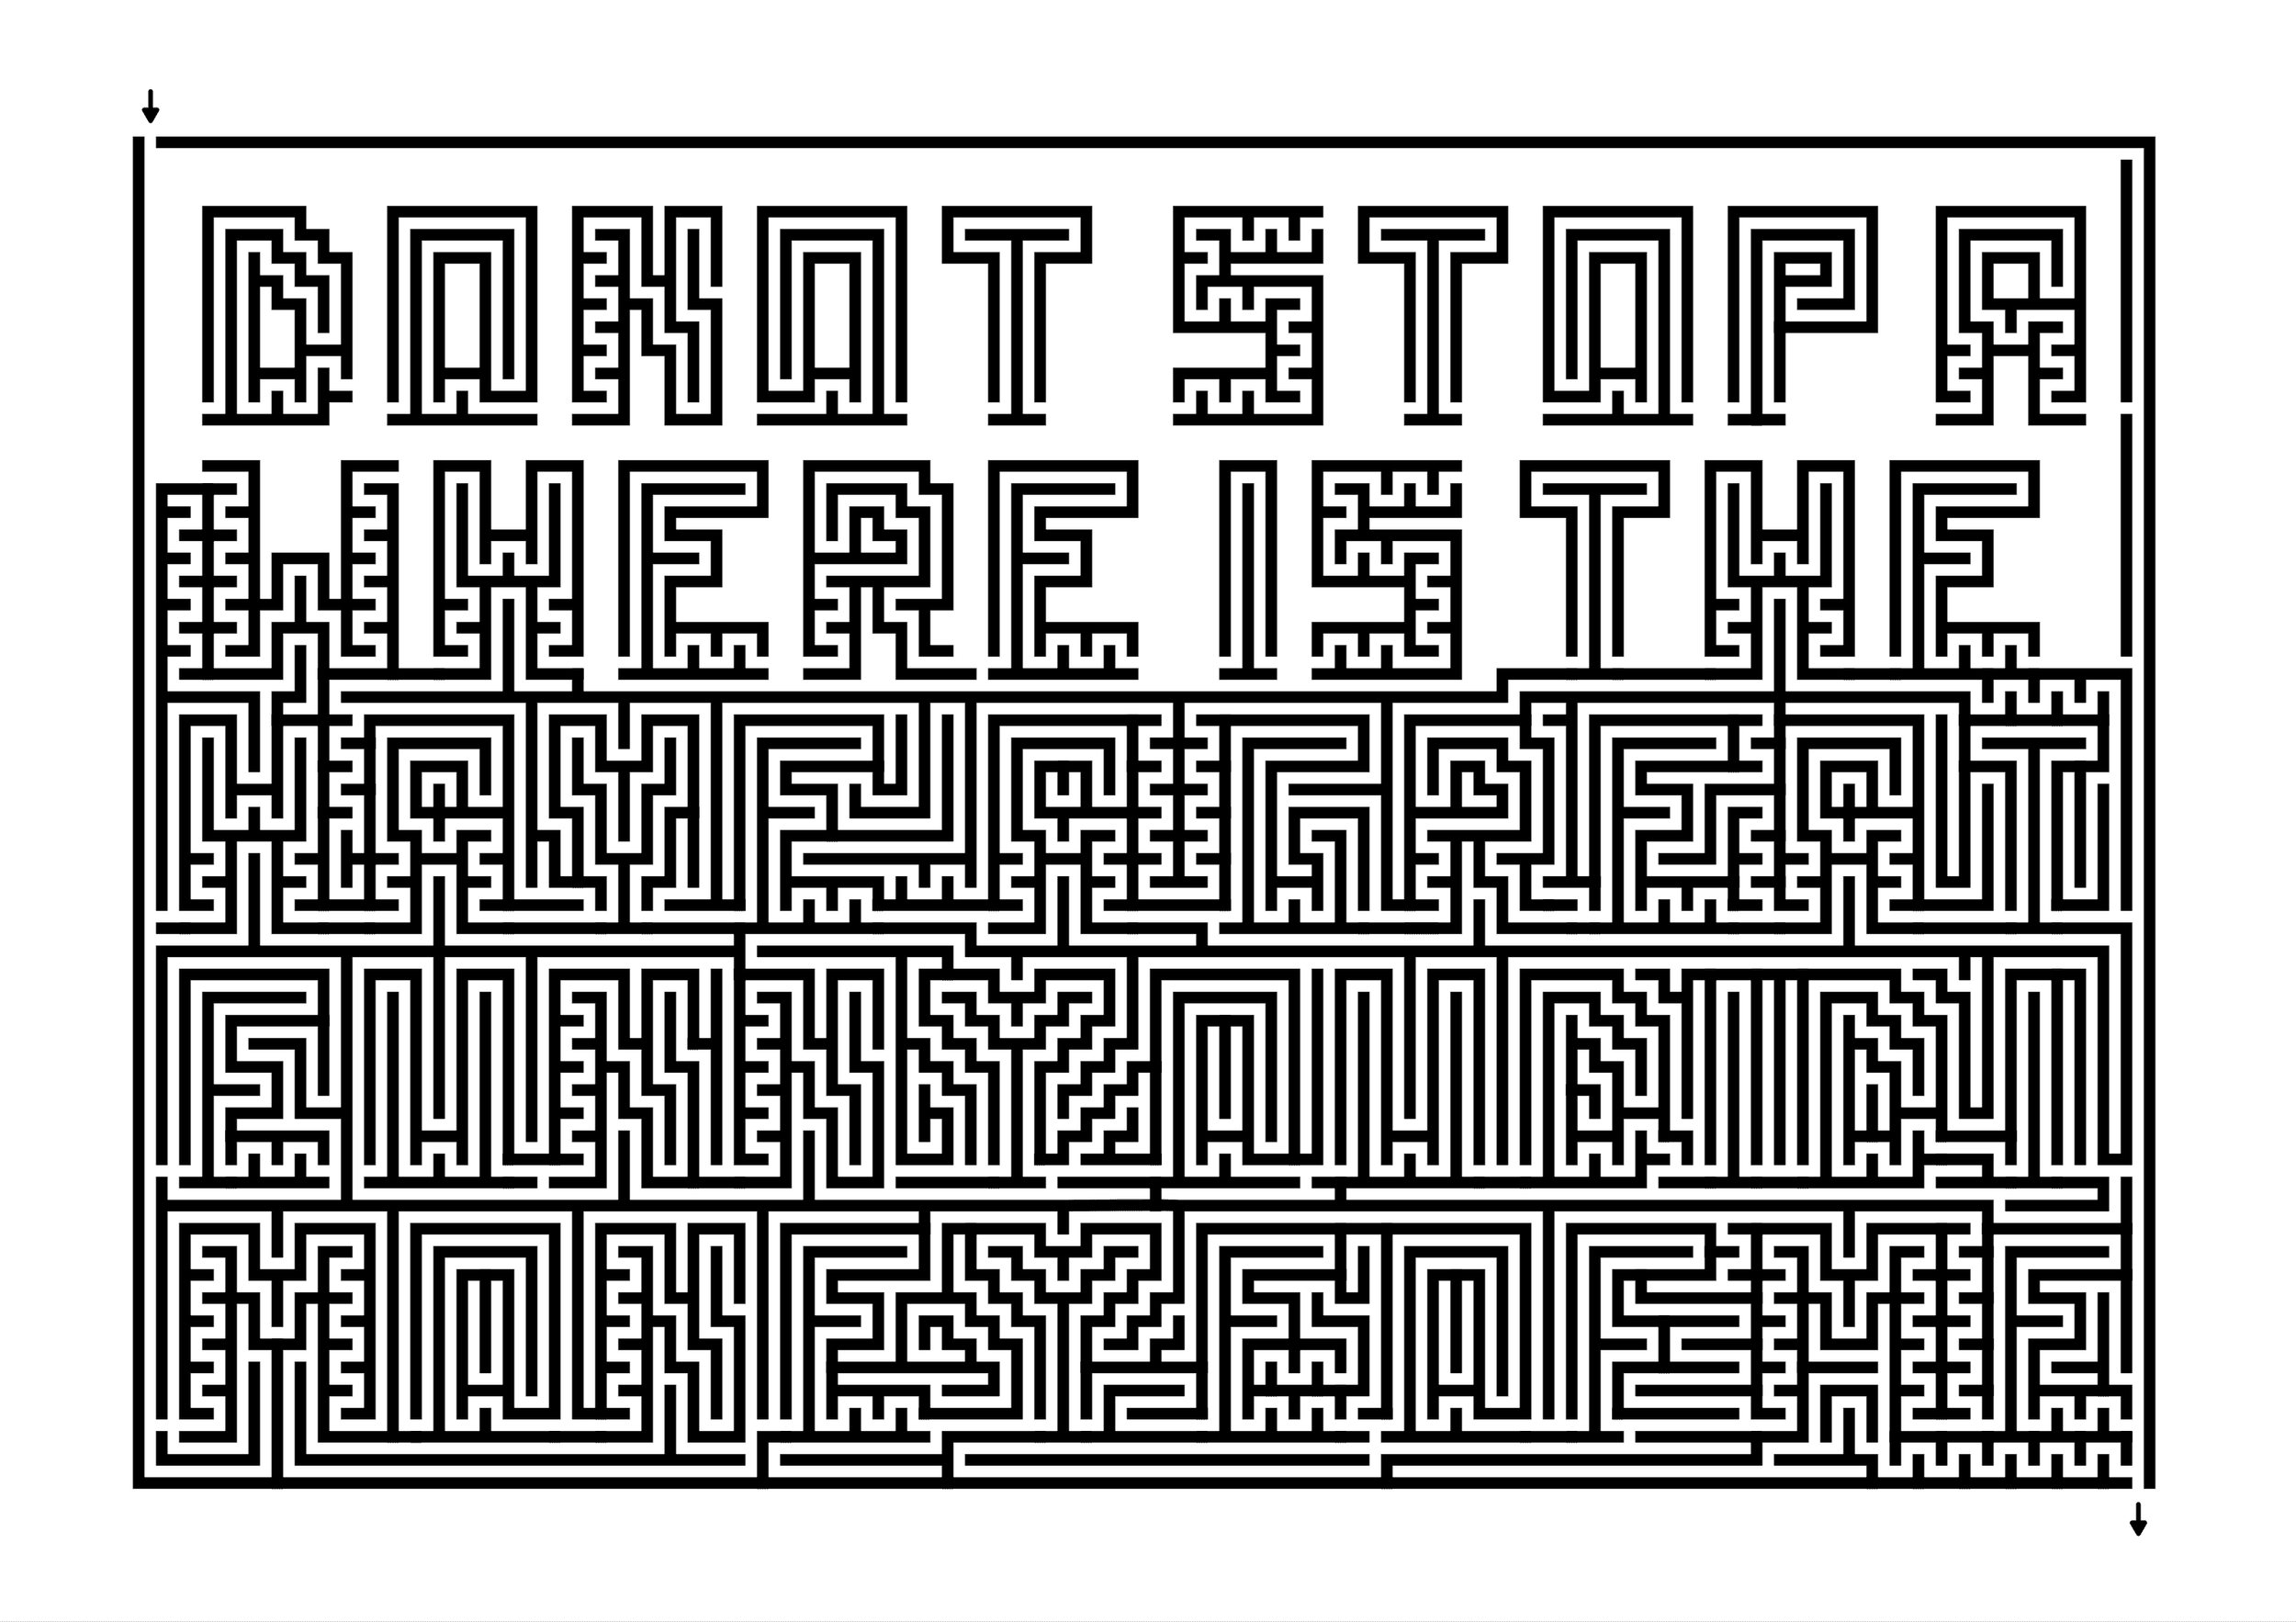
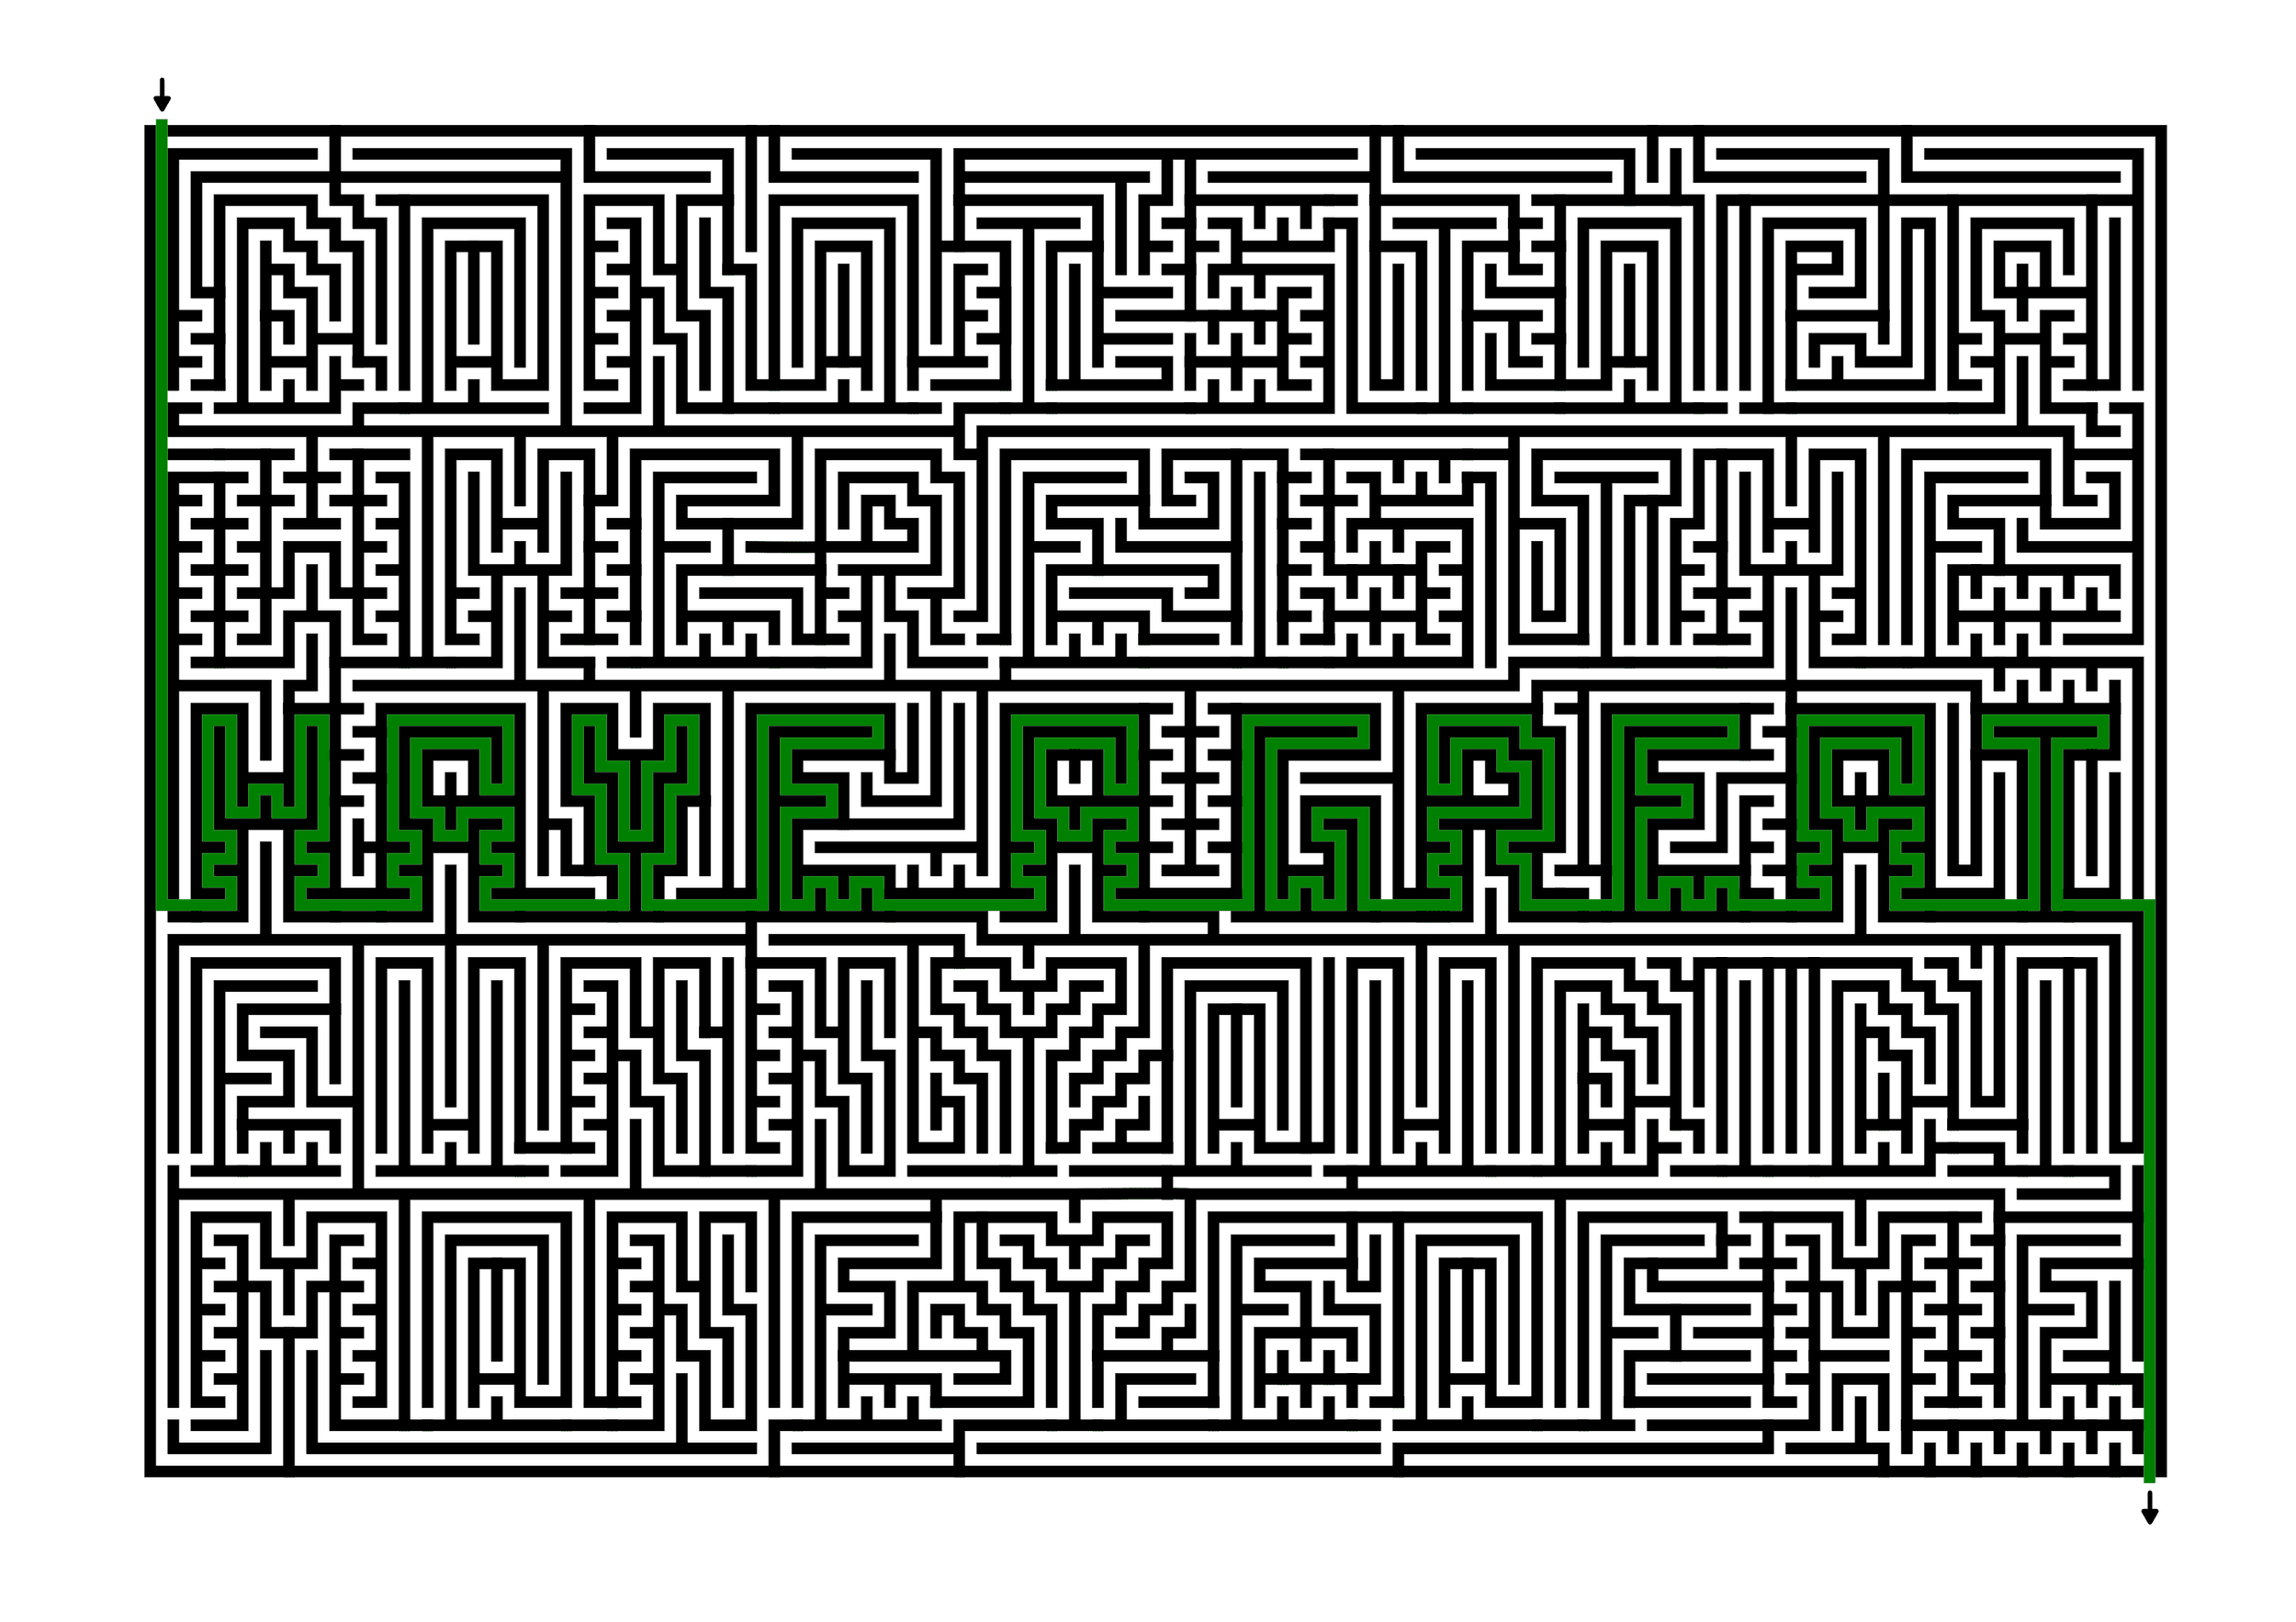
Here is where I actually fulfill Step 3 as this maze will say “Have a Great”. I make sure to close out any pathways so there are not any possible solves that don’t have a message.
Step 4 - Draw the False Pathways
I draw a message row one at a time to ensure that I do not mistakenly make an extra solve. I make my false pathways short on the left side of the maze so the solver knows they have chosen the wrong row quickly. So when I mazed the bottom row, you will not get past the M before reaching a dead end.
Or the F in the second to last row.
Again I did a dead end after the W
Step 5 - Complete the Maze
The first row uses DO before it dead ends. This completes the maze. Hopefully the use of all those letters and the false pathways filling in between make this a difficult maze to solve with your eyes. What do you think ?
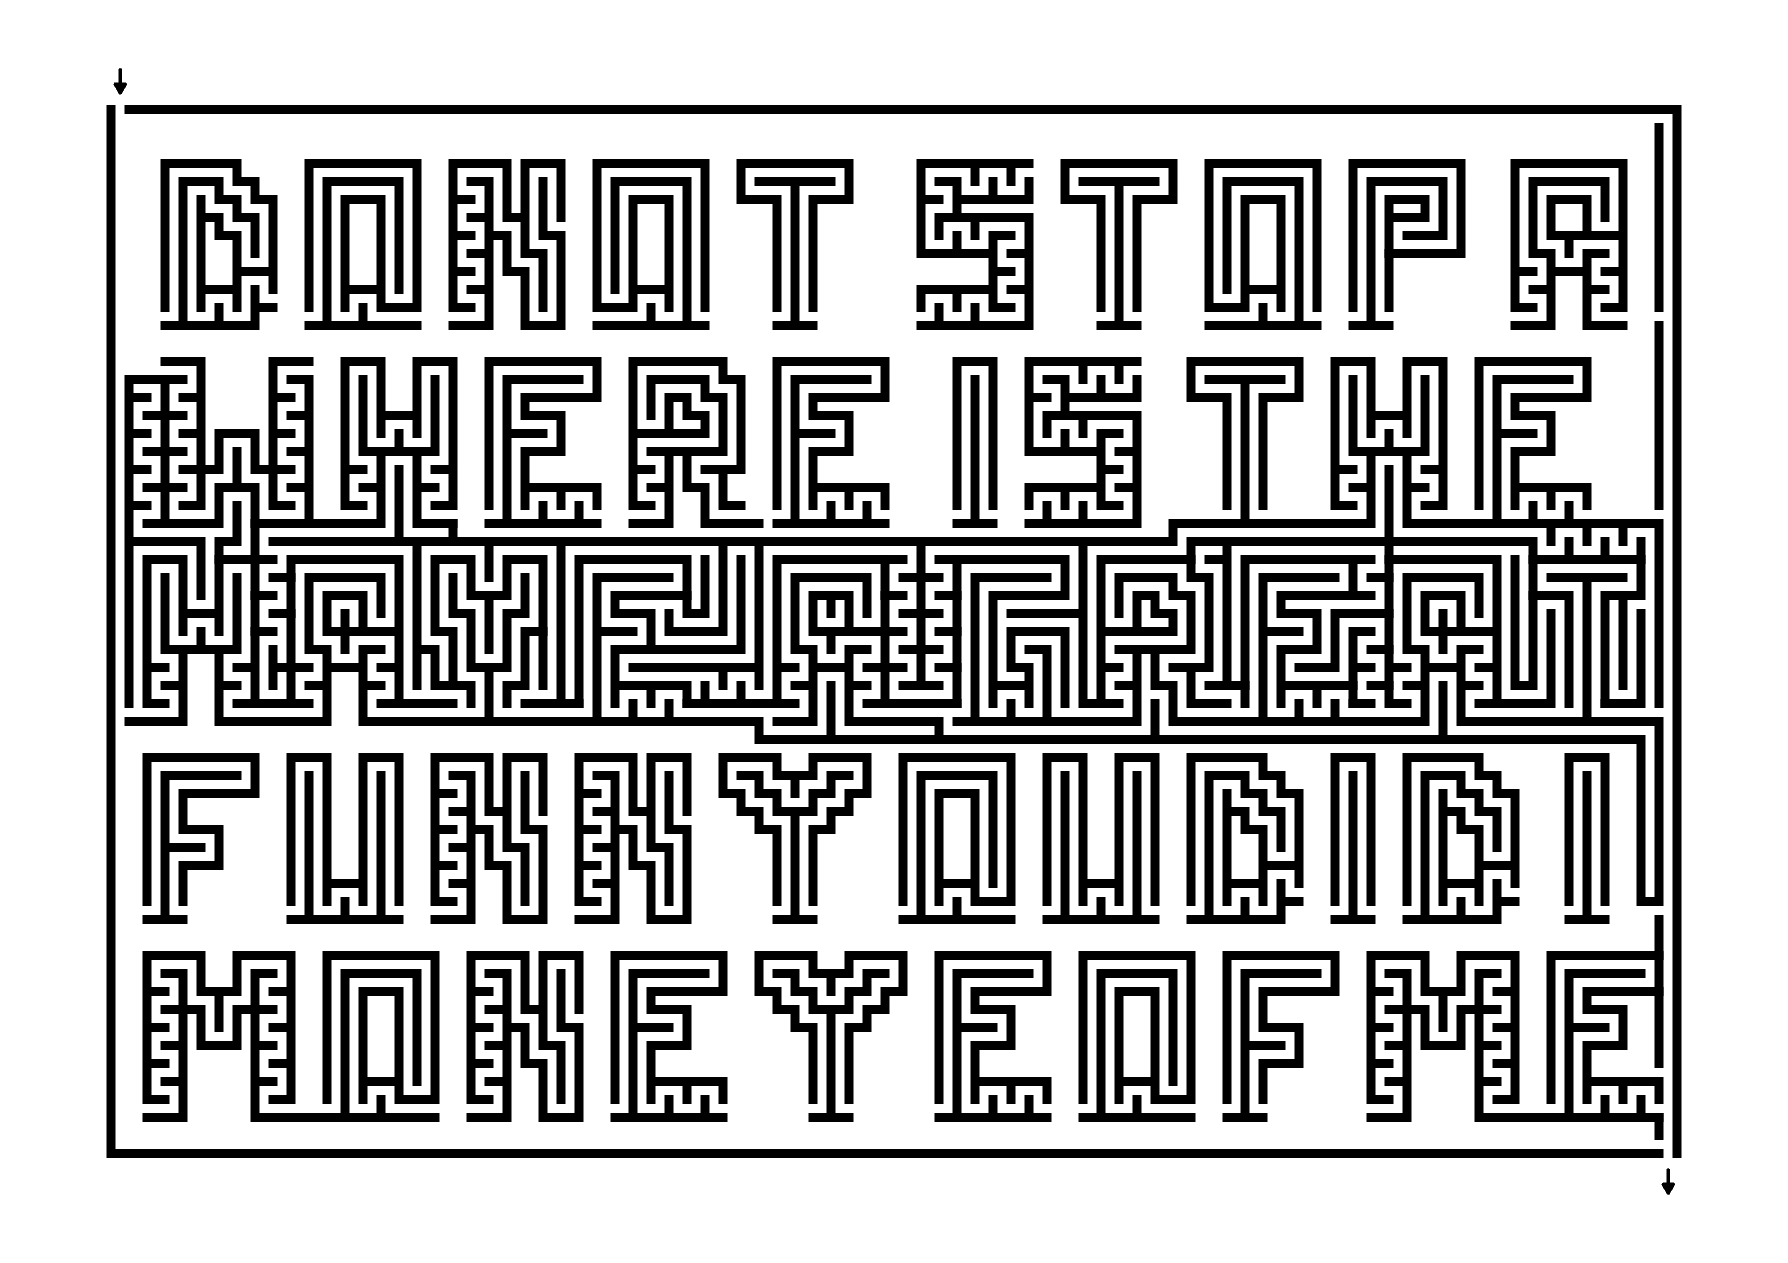
Step 6 - Make the Maze Solution
As a greeting card you could write whatever you want on the inside of this with a nice message.
If you are interested in case studies check out these posts :
Case Study#1 - How to Improve a Bad Maze - Tiki Totem Maze
Case Study#2 - How to Improve a Bad Maze - Danzante Conchero Chichimeca Maze
Case Study#3 - How to Improve a Bad Maze - Red Rocks Amphitheatre Maze
Case Study#4 - How to Improve a Bad Maze - The Hollywood Sign

