The Ultimate Directory of Maze and Labyrinth Builders: The Top 13 Builders in the world

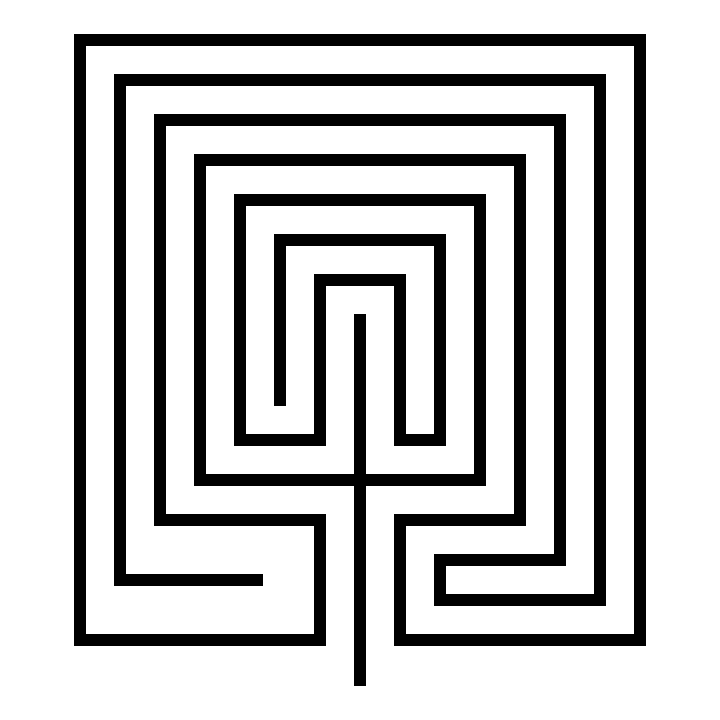
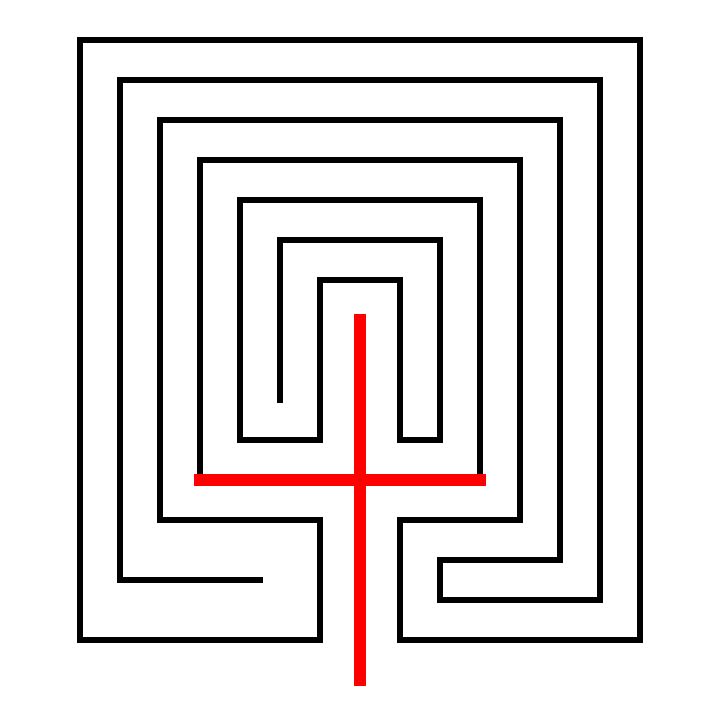
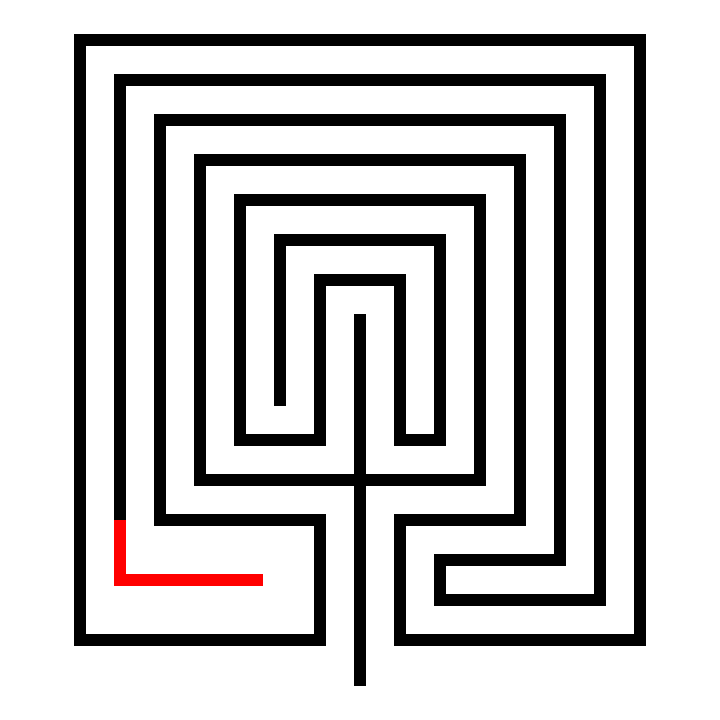
Mazes and labyrinths are becoming more and more popular. You can find them in corn fields, public and private gardens, parks, fairs, churches, beaches, courtyards, art galleries and of course in books. Setting up an installation that works in your space takes detailed planning and a keen understanding of how to use materials to give the feeling you want from the project. Today we will look at 13 companies that specialize in physical maze and labyrinth designs. These include projects made with stone, hedges, corn, earth mounds and many other interesting materials. If you are looking to build your own installation, you should be able to find a builder here.

Adrian Fisher - www.mazemaker.com

The world’s leading maze designer and holder of many Guinness World Records. Projects can be seen around the world and include all types of installations: Mirror, Hedge, Panel, Water, Paving, and Corn (or Maize in the UK). The company has been designing mazes for clients since 1979. Adrian Fisher designed the first Maize Maze, while pioneering water mazes, walk-through parting waterfalls in mazes, foaming fountain gates, and wrought-iron maze gates to make mazes dynamic. With over 700 designs the portfolio is impressive. Here is and example of their hedge maze work from the Blenheim Palace in England:

Adrian Fisher Designs, Blenheim Palacelenheim palace, England

Jim Buchanan - www.jimbuchananprojects.uk

Specializing in land art and labyrinths in the UK. Beautiful use of earth/mounds to build interesting labyrinths. Also the only person I know who uses light projections into swimming pools to create labyrinths that can be walked or swam. Below is his beautiful “Earth and Wildflower Labyrinth” commissioned by the Chesterfield Borough Council.

jim buchanan Earth and Wildflower Labyrinth Chesterfield Borough Council, 1996

Marty and Debi Kermeen - labyrinthsinstone.com

Specializes in pavement and stone labyrinths, mostly in the United States. Have been building labyrinths since 1998. They also make hand painted labyrinths on canvas and sell cards and posters of some of their work. Below is an example of their labyrinth work from Aurora University:

labyrinths in stone Aurora University paved labyrinth

The Labyrinth Company - www.labyrinthcompany.com

Offer a variety of services to build or help you build a labyrinth. Pre-designed kits are available to build labyrinths of paving stone, bricks, ceramic floors, hardwood floors, cork floors, carpets, poly canvas mats, vinyl and linoleum floors to name a few. They have many different labyrinth designs including replicas of many classics. If you need quick solution they probably have it. Here is an example of their Abingdon à la Chartres™ paved labyrinth:

Labyrinth Company Abingdon à la Chartres™ paved labyrinth

TheMAiZE -www.themaize.com

Design and consultant company specializing in the design of corn (maize) mazes. They have a great map feature allows you to find a corn maze near you ! Currently designing in the US, Canada, Poland and the UK with over 3000 corn mazes designed since 1996. Here is an example of one of their corn mazes:

The Maize California corn maze example

Precision Mazes - www.precisionmazes.com

Corn Maze builder from Missouri who focuses on the use of GPS to make precision designs. They have some impressive commercial maze work in their portfolio that include Cartman from Southpark and Salvador Dali. You can see more about their work in this short video:

Mazescape - mazescape.com

Company founded by UK based maze designers Angus Mewse and Tom Hockaday. They offer 4 different Maize (Corn) Maze design packages based on customer needs. All of their corn (maize) mazes are unique and not pre- designed. They also have designed and built mazes with a wide range of materials, including to quote the website “Willow, Bamboo, Beech, Yew, Turf, Timber Panels, Wooden Posts, Trellis and Climbing Plants, Fabric, Rope, Hay & Straw Bales, Recycled Tires, Adobe, Brick and Stone”.

maze scape corn maze

Don & Lorraine Watts - thecornmazeguy.com

Company out of Pennsylvania that specializes in affordable corn maze design for the Northeastern part of the US. They offer printed corn maze games to enhance the corn maze customer experience.

Corn Maze Guy Iwo Jima Corn maze

Maize Quest - mazecatalog.com

Company from Pennsylvania that has been designing corn mazes since 1997. They specialize in making mazes that include additional features for the guests, like a scavenger hunt and projects or tasks for kids to complete as they walk through the amaze. They also sell rope mazes and fence mazes like the one below:

Maze Quest fence maze

MazePlay - www.mazeplay.com

Started in 1998 when the owner planted a corn maze for the first time after convincing his father to let him experiment in a corner of the corn field. Based in Idaho. Service designs corn mazes and includes the options to add games to enhance the experience for guests (treasure hunts, solving a mystery games). Check out their video playlist here:

Instant Hedge - www.instanthedge.com

“Established in 2013, InstantHedge is the only nursery in the United States devoted to growing pre-finished hedges” - from their website. A company that specializes at installing hedges for clients. They also can design and install hedge mazes. Located in Oregon. Check out their great hedge care guides for hedges.

Instant hedge maze

Robert Ferré - www.labyrinth-enterprises.com/

Works on design, consulting, and installation of labyrinths. Hosts a Master Class on how to lay out a classical labyrinth. Author of the books Canvas Labyrinths: Constructuion Manual and The Labyrinth Revival. Below is his work from the Marianjoy Rehabilitation Hospital in Wheaton, Il.

Robert Ferre , Marianjoy Rehabilitation Hospital in Wheaton , IL

Lea Goode Harris - www.creativelabyrinths.com/

A creative designer and consultant for labyrinth insulations. Author of multiple books, including Ladybug Labyrinth: A Journey Home and A Discovery of Labyrinths. Creator of the Santa Rosa Labyrinth consisting of 8 concentric circles. Here is an example of it on the roof of the American Psychological Association in Washington, DC.

Santa Rosa Labyrinth on the roof of the American Psychological Association, Washington, DC

And one more that specializes in temporary mazes for exhibits:

BONUS: Minotaur Mazes - Minotaur Mazes

Minotaur Mazes specializes in creating real world mazes that can be used in exhibits and museums. The long list of clients (hundreds) on the website includes Museums, Science Centers, a list of Collaborations, Amusement Parks, Fairs, Festivals, Events, Libraries, Zoos, Aquariums, Botanical Gardens and Children’s Museums. So if you are running an event or one of these attractions this company is something you may want to look into ! Check out this YouTube video showing just one example of an installation of Mazes & Brain Games done in Raleigh Durham, NC. There are 11 different exhibitions to choose from on the site and you will no doubt know that my favorite is Mazes and Brain Games that you see previewed in the video below.

There is a lot of talent here to help you with professional labyrinth installation, design and construction. I hope this directory helps you make you vision a reality. If I missed someone that you would recommend, drop me note (doyoumaze@gmail.com). Thank you!

How to Draw a Circular Hopi Tapu'at Labyrinth

I have previously shown how to make a Square Hopi Tapu'at Labyrinth and today I will show you step by step how to make the circular version. Let’s look at the 2 side by side and compare them.

Circular Hopi Tapu'at Labyrinth

Circular Hopi Tapu'at Labyrinth

Square Hopi Tapu'at Labyrinth

Square Hopi Tapu'at Labyrinth

The interesting thing about these is that they are so different. The square version has 2 entrances and 2 goals, while the circular has one of each. Obviously there is also the overall shape and corner shapes apparent in the individual names.

When I made my circular version I noticed that it did not fit into the typical labyrinth making process. I have a potential usable seed pattern, but each step is more complex than normal. I also noticed that the labyrinth is a series of (mostly) vertical straight lines and half and quarter circles. Let’s explore this with a diagram I made to show what makes up the labyrinth and compare it to the 7 circuit classical labyrinth:

Hopi Tapu'at Labyrinth: Everything in red is a straight line. Everything is black is either a half circle or a quarter circle. This is a right handed labyrinth (first turn is to the right).

Classical Labyrinth: Everything in red is a straight line (basically just the seed portion minus the dots). However the black portions are not perfect circles. When you make this labyrinth you are connecting points with curved lines. This is a left handed labyrinth (first turn is to the left). This can be made right handed, but left handed is typical.

Circular Hopi Tapu'at Labyrinth seed pattern  ?

I trial and errored the making of this labyrinth. It is complicated. So, while it is not ideal, I am going to use this very large seed pattern. Otherwise, each step is complicated. So the most difficult part of this is creating the seed pattern correctly. Smooth sailing from there !

For this labyrinth I will be drawing each step in red on top of a completed labyrinth with thin lines to show you where that step is located in relation to the completed labyrinth. After each step the previous steps lines change to black from red.

Step 1: Draw the starting seed pattern.

I included the grid in this example to show you how to draw this seed pattern. It is the most complicated I have ever used. Start with a plus sign. The horizontal is 8 units long, while the vertical line is 6.5 units long, 3 units below and 3.5 units above that line. At the end of each side of the horizontal line draw a 4 unit vertical line. Beside the left line you just made add 4 lines to the left, all 4 units long. Make sure they are equidistant apart. On the right side do the same thing but with only 3 additional lines instead of 4. Now you can fit 3 vertical lines on the right side, 2 grids long and aligned t the top of the just made 4 grid lines. Moving to the left side you will do the same thing with 1 exception, the line just to the left of the top of the plus sign should aligh with it at the top (1.5 grids instead of 2). Next under the horizontal line, aligned to each end you will draw three 2 unit long horizontal lines ( 6 total lines). And finally the last line of this complicated seed is a horizontal line on the left side, aligned with the previously 3 on the left but draw 3 grids long instead of 2.

Circular Hopi Tapu'at Labyrinth seed pattern

Step 1 - Circular Hopi Tapu'at Labyrinth

Step 2: Draw the Goal

Between the two short lines in the center draw and arch to connect them. Teh top of the arch should align with the top of the vertical lines on its left and right.

Hopi Tapuat Mother Child Birth Circular Labyrinth step 2

Step 2 - Circular Hopi Tapu'at Labyrinth

Steps 3-9: Create the top arches

These are all the same maneuver and so they get bunched into 1 explanatory step. Create a semi circle to connect the top of the end of the next inner line on the left to the line on the right. The peak should align to the peak of the goal. Essentially you do this 7 times to create the top of the labyrinth ! Shown here as a rainbow; start with purple, then blue, etc.

Hopi Tapuat Mother Child Birth Circular Labyrinth steps 3-9

Steps 3 - 9 - Circular Hopi Tapu'at Labyrinth

Steps 10/11: Connect the internal turns

You should have 2 empty spaces to fill in the center of the labyrinth on either side below the goal, each has 3 vertical lines. Take the end of the 2 outside lines on each side and connect them with an upside down arch. Shown in red and blue below.

Hopi Tapuat Mother Child Birth Circular Labyrinth steps 10 & 11

Steps 10/11 - Circular Hopi Tapu'at Labyrinth

Steps 12-15: Draw the left corners

On the bottom left connect the end of each vertical line with the end of each horizontal line working you way from inside out. Each of these is a quarter of a circle, or arch. In order, red, blue, green, yellow below.

Hopi Tapuat Mother Child Birth Circular Labyrinth steps 12-15

Step 12-15 - Circular Hopi Tapu'at Labyrinth

Steps 16-18: Draw the right corners

Same as above but on the right side, and only 3 times, shown as red, blue and green below.

Hopi Tapuat Mother Child Birth Circular Labyrinth steps 16-18

Step 16-18 - Circular Hopi Tapu'at Labyrinth

Steps 19 - 21: Close the outer pathways

On the bottom left you should have 3 horizontal lines of the same length (the southernmost line is slightly longer). Connect the 1st and third with a semi-circle to create a turnback pathway (shown below in red). Do the same thing on the right side opposite (in blue). And our final step is completing the labyrinth by connecting the bottom of the plus sign with the end of the horizontal line on the left with a quarter circle (shown in green).

Hopi Tapuat Mother Child Birth Circular Labyrinth steps 19-21

Step 19-21 - Circular Hopi Tapu'at Labyrinth

That completes the labyrinth.

Circular Hopi Tapu'at Labyrinth

Circular Hopi Tapu'at Labyrinth

How to Draw a Square Hopi Tapu'at Labyrinth

You might have noticed on my How to Make a Labyrinth section of the site I have a section titled Other /Experimental Labyrinths. The first labyrinth included in this section is the Man in the Maze labyrinth, a Native American symbol from the Tohono O'Odham nation. Learn details about it on this blog, or on Wikipedia, or from this article. Below is one I made digitally.

Man in the Maze Labyrinth

I wanted to do a step by step How - to for creating it, but realized as I made it…there was not an easy way to do that. Essentially it is a “copy what you see and good luck” situation. My trial and error included a lot of both. Today I want to explore the making of another Native American Labyrinth, the Hopi Tapu'at Labyrinth, and specifically the square version. As I researched how to explain this labyrinth I realized an expert could do it much better, here is Julie Bounford, from her website.

The mythology of the Hopi of northern Arizona features labyrinths. Most well-known is the Tapu’at, the “Mother and Child” symbol. Both the circular and square forms represent the womb of Mother Earth, the divine birth-giver. The circular in particular is said to represent the road of a human life. In following it, one attains spiritual rebirth. From early on, the labyrinth has been associated with death and rebirth. In death, one returns to the earth (the eternal mother), from which one is reborn.
— Julie Bounford

This is a 9 step process, and while I will make it digitally, giving it a ‘clean’ look, it is typically hand drawn and so more natural looking. Let’s get started.

For this labyrinth I will be drawing each step in red on top of a completed labyrinth with thin lines to show you where that step is located in relation to the completed labyrinth. After each step the previous steps lines change to black from red.

Step 1: Draw the starting seed pattern.

The starting seed pattern for this labyrinth is an off-center plus sign. The horizontal line is 7 units on a grid, 4 on the left 3 on the right of the vertical line made of 9 units, 4 above the horizontal, and 5 below.

Square Hopi Tapu'at Labyrinth seed pattern

Step 1 - Square Hopi Tapu'at Labyrinth

Step 2: Draw the first layer

Above the top of the plus sign create an upside down U shape that extends out to the left and right 1 unit less than the horizontal lines. See below.

Hopi Tapu'at Labyrinth step 2

Step 2 - Square Hopi Tapu'at Labyrinth

Step 3: Create the Inner Goal

Create the inner goal by drawing from the previous steps right side around the structure counterclockwise making an upside down square shaped U. There are actually 2 goals in this labyrinth which I will discuss below.

Hopi Tapu'at Labyrinth step 3

Step 3 - Square Hopi Tapu'at Labyrinth

Step 4: Draw the next level

Connect the right side of the horizontal line in the plus sign counterclockwise to the end of the northernmost horizontal line (created in Step 2) to close off the pathway. Again you have just made an upside down square shaped U.

Hopi Tapu'at Labyrinth step 4

Step 4 - Square Hopi Tapu'at Labyrinth

Step 5: Draw the next level

This time we are drawing clockwise, connecting the left end of the initial plus sign around the outside creating our familiar upside down square U shape but continuing it to left ( but not closing it off completely). See below.

Hopi Tapu'at Labyrinth step 5

Step 5 - Square Hopi Tapu'at Labyrinth

Step 6: Draw the next level

This is a long one. Start with an upside down reverse L shape in the lower right plus sign that starts one units or grid up from the bottom of the plus sign. Then continue by drawing your familiar U shape clockwise. End the line on the right side with a horizontal line that stops one unit or grid before the end of the line just inside it. That’s a long one. See below.

Hopi Tapu'at Labyrinth step 6

Step 6 - Square Hopi Tapu'at Labyrinth

Step 7: Draw the outer goal

The next layer starts equal to the end of the bottom left corner and follows clockwise all the way around to the bottom right corner. Continue the line left until it moves north 1 unit to close off the previous section and create the outer goal.

Hopi Tapu'at Labyrinth step 7

Step 7 - Square Hopi Tapu'at Labyrinth

Step 8: Draw the outer wall

This step completes the outer wall, but not the total labyrinth. Draw a line starting in the bottom right side centered in the last gap to complete the right entrance. Then follow the outside wall around…until you get to the bottom left corner. Here you need to draw the final wall equal to the wall on the right side. This creates a larger gap than normal above it.

Hopi Tapu'at Labyrinth step 8

Step 8 - Square Hopi Tapu'at Labyrinth

Step 9: Complete the labyrinth
This last step creates a pathway and walls that is not equidistant like the previous steps. The final L shape you draw should be centered between the 2 bottom walls and connect to the end of the last line.

Hopi Tapu'at Labyrinth step 9

Step 9 - Square Hopi Tapu'at Labyrinth

That completes the labyrinth.

Square Hopi Tapu'at Labyrinth

Square Hopi Tapu'at Labyrinth

2 Entrances - 2 Goals

This labyrinth has 2 entrances and 2 goals. The left entrance, the Mother, is the outer labyrinth, which encapsulates the inner Child section that is reached from the right entrance. I have colored the two labyrinths sections to better show this concept, in blue and yellow below:

Square Hopi Tapu'at Labyrinth Mother and Child shown

Alternative Seed Pattern: I hesitate to call this a seed pattern since it is complicated. But it works similar to other seed patterns for labyrinths. IF you start with this pattern the next 7 steps are connecting points to points. Here it is in Red.

Square Hopi Tapu'at Labyrinth alernative seed pattern

If you are interested in how to make the circular version drop me a note. It is difficult but not Man in the Maze difficult ! Here is my digital drawing of it.

Hopi Tapuat Mother Child Birth Circular Labyrinth

Circular Hopi Tapu'at Labyrinth

How to Draw a 3 Circuit Square Labyrinth

Drawing a classical 3 circuit square labyrinth is both easy and fun once you learn the starting pattern and the rules of building the pathways. Follow this simple 5 step process and draw your own 3 circuit classical square labyrinth.

Step 1: Draw the starting seed pattern.

The starting seed pattern for this labyrinth is not the typical plus sign you may be used to. Instead it is 3 vertical lines, with 2 horizontal lines. The horizontal line on the left aligns with the bottom of the 3 vertical lines, while on the right side it aligns with the top of the vertical lines. Each line is the same length. See below:

3 Circuit Labyrinth Square starting seed pattern

3 Circuit Labyrinth Square starting seed pattern

Step 2: Draw the center goal

At the 2 rightmost vertical lines draw a line up one grid. This will become the opening to the center goal. Draw a square centered on top of this. Grid-wise this is a 3x3 square.

Making a 3 circuit Square Labyrinth step 2

3 Circuit Square Labyrinth - Step 2 - Draw the Goal

Step 3: Draw the next level

Connect the top of the remaining left vertical line to the far corner of the right horizontal line. It is an upside-down squared U shape started with a small horizontal move on the left side. See below.

Making a 3 circuit Square Labyrinth step 3

3 Circuit Labyrinth - Step 3 - Draw the next arch

Step 4: Draw the next level

Connect the left side of the horizontal line around the structure clockwise until it reaches the end of the rightmost vertical line. Again this creates an upside-down square U shape plus a horizontal connection in the last section. See below.

Making a 3 circuit Square Labyrinth step 4

3 Circuit Square Labyrinth - Step 4 - Draw the next arch

Step 5: Connect the final arch from the left

Connect the ends of the bottoms of the final 2 vertical lines around the structure to complete the labyrinth.

Making a 3 circuit Square Labyrinth step 5

3 Circuit Square Labyrinth - Step 5 - Draw the final arch

That does it. The final 3 circuit classical square labyrinth after 5 easy steps !!!

3 circuit classical square labyrinth

3 circuit classical square labyrinth

And here is the same labyrinth shown with grids so you can understand the shape better.

3 circuit classical square labyrinth shown on a grid

Alternative construction option: You have the option to use the more traditional starting seed pattern to create a 3 circuit square labyrinth, but this is not the most common construction. This version does not have a large square center and ends up not even being a perfect square. Here is the 5 step process to create it.

PRO TIP: this is the same construction and instructions as a 3 circuit classical shaped labyrinth but instead of curving the corners you draw the lines and corners at 90 degree angles !

Step 1: Draw the starting seed pattern.

The starting seed pattern is a plus sign with four dots in each of the four corners in the space apart from the lines to form pattern below.

3 circuit classical square labyrinth alternative seed pattern

Step 2: Connect the first “arch”

Draw an upside -down U shaped line from the top of the plus sign to the dot in the top right corner of the starting pattern. The top of the arch should peak halfway between those two points. This line will form what will become the goal of the labyrinth.

Square 3 circuit Labyrinth Alternative Part 2

Step 3: Connect the next “arch” from the left

Draw an upside down U shaped line from the left corner dot to the end point on the right side of the plus sign. Space the line an equal distance from the wall to the inside. Notice that you have moved one point to the left and connected that to the next point on the right.

Square 3 circuit Labyrinth Alternative Part 3

Step 4: Connect the next “arch” from the left

Draw another clockwise line from the end point of the left side of the plus sign around to the dot on the bottom right side of the pattern (Again, the next on the left to the next on the right). Space the line an equal distance from the wall to the inside as you draw the line. Again this looks like an upside-down U plus the connections to the appropriate ends.

Square 3 circuit Labyrinth Alternative Part 4

Step 5: Connect the next “arch” from the left

Same process as before but this time you connect the bottom left dot from the seed to the bottom of the plus sign.

Square 3 circuit Labyrinth Alternative Part 5

That completes the process for this alternative version.

3 circuit classical square labyrinth with small center