
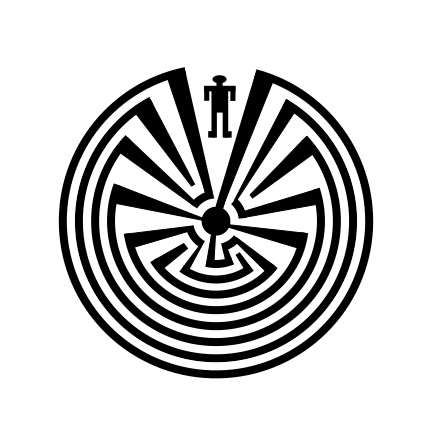
You might have noticed on my How to Make a Labyrinth section of the site I have a section titled Other /Experimental Labyrinths. The first labyrinth included in this section is the Man in the Maze labyrinth, a Native American symbol from the Tohono O'Odham nation. Learn details about it on this blog, or on Wikipedia, or from this article. Below is one I made digitally.
I wanted to do a step by step How - to for creating it, but realized as I made it…there was not an easy way to do that. Essentially it is a “copy what you see and good luck” situation. My trial and error included a lot of both. Today I want to explore the making of another Native American Labyrinth, the Hopi Tapu'at Labyrinth, and specifically the square version. As I researched how to explain this labyrinth I realized an expert could do it much better, here is Julie Bounford, from her website.
“The mythology of the Hopi of northern Arizona features labyrinths. Most well-known is the Tapu’at, the “Mother and Child” symbol. Both the circular and square forms represent the womb of Mother Earth, the divine birth-giver. The circular in particular is said to represent the road of a human life. In following it, one attains spiritual rebirth. From early on, the labyrinth has been associated with death and rebirth. In death, one returns to the earth (the eternal mother), from which one is reborn. ”
This is a 9 step process, and while I will make it digitally, giving it a ‘clean’ look, it is typically hand drawn and so more natural looking. Let’s get started.
For this labyrinth I will be drawing each step in red on top of a completed labyrinth with thin lines to show you where that step is located in relation to the completed labyrinth. After each step the previous steps lines change to black from red.
Step 1: Draw the starting seed pattern.
The starting seed pattern for this labyrinth is an off-center plus sign. The horizontal line is 7 units on a grid, 4 on the left 3 on the right of the vertical line made of 9 units, 4 above the horizontal, and 5 below.
Step 1 - Square Hopi Tapu'at Labyrinth
Step 2: Draw the first layer
Above the top of the plus sign create an upside down U shape that extends out to the left and right 1 unit less than the horizontal lines. See below.

Step 2 - Square Hopi Tapu'at Labyrinth
Step 3: Create the Inner Goal
Create the inner goal by drawing from the previous steps right side around the structure counterclockwise making an upside down square shaped U. There are actually 2 goals in this labyrinth which I will discuss below.

Step 3 - Square Hopi Tapu'at Labyrinth
Step 4: Draw the next level
Connect the right side of the horizontal line in the plus sign counterclockwise to the end of the northernmost horizontal line (created in Step 2) to close off the pathway. Again you have just made an upside down square shaped U.

Step 4 - Square Hopi Tapu'at Labyrinth
Step 5: Draw the next level
This time we are drawing clockwise, connecting the left end of the initial plus sign around the outside creating our familiar upside down square U shape but continuing it to left ( but not closing it off completely). See below.

Step 5 - Square Hopi Tapu'at Labyrinth
Step 6: Draw the next level
This is a long one. Start with an upside down reverse L shape in the lower right plus sign that starts one units or grid up from the bottom of the plus sign. Then continue by drawing your familiar U shape clockwise. End the line on the right side with a horizontal line that stops one unit or grid before the end of the line just inside it. That’s a long one. See below.

Step 6 - Square Hopi Tapu'at Labyrinth
Step 7: Draw the outer goal
The next layer starts equal to the end of the bottom left corner and follows clockwise all the way around to the bottom right corner. Continue the line left until it moves north 1 unit to close off the previous section and create the outer goal.

Step 7 - Square Hopi Tapu'at Labyrinth
Step 8: Draw the outer wall
This step completes the outer wall, but not the total labyrinth. Draw a line starting in the bottom right side centered in the last gap to complete the right entrance. Then follow the outside wall around…until you get to the bottom left corner. Here you need to draw the final wall equal to the wall on the right side. This creates a larger gap than normal above it.

Step 8 - Square Hopi Tapu'at Labyrinth
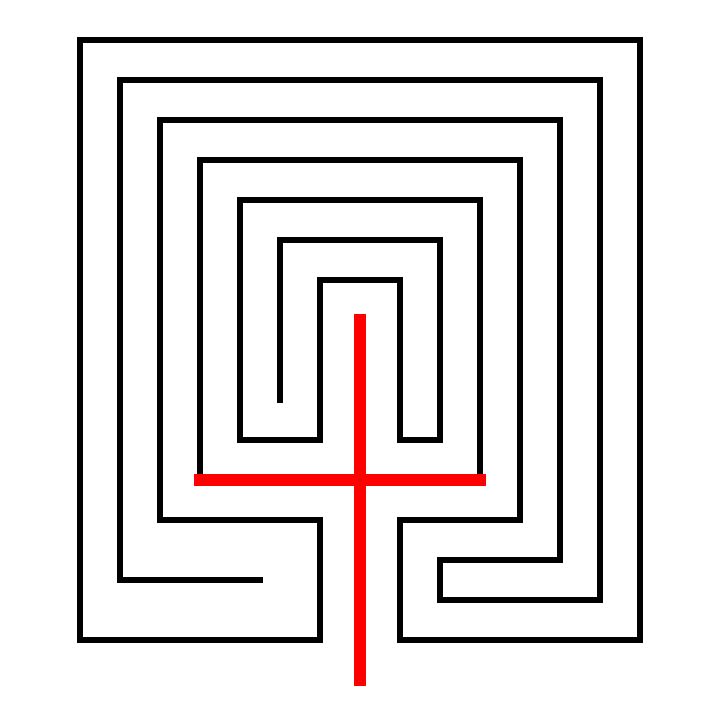
Step 9: Complete the labyrinth
This last step creates a pathway and walls that is not equidistant like the previous steps. The final L shape you draw should be centered between the 2 bottom walls and connect to the end of the last line.
Step 9 - Square Hopi Tapu'at Labyrinth
That completes the labyrinth.
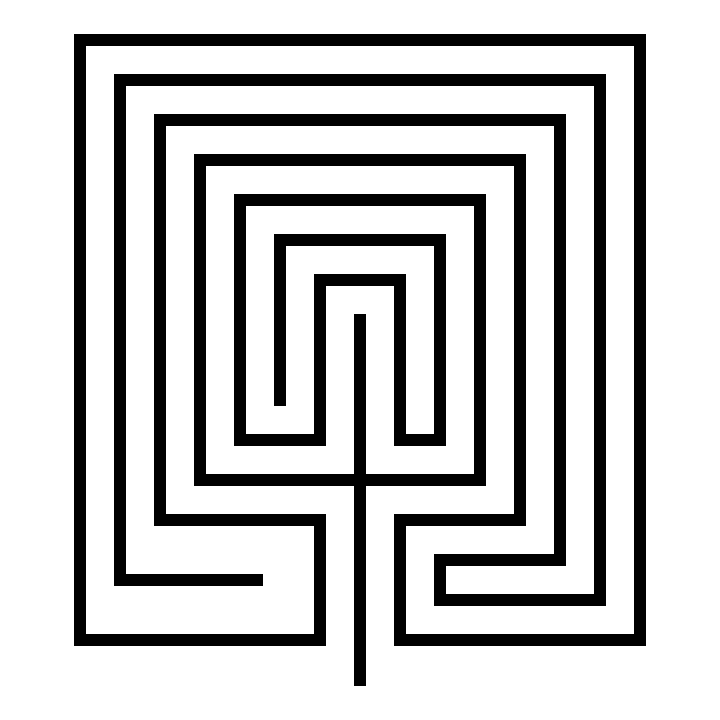
Square Hopi Tapu'at Labyrinth
2 Entrances - 2 Goals
This labyrinth has 2 entrances and 2 goals. The left entrance, the Mother, is the outer labyrinth, which encapsulates the inner Child section that is reached from the right entrance. I have colored the two labyrinths sections to better show this concept, in blue and yellow below:

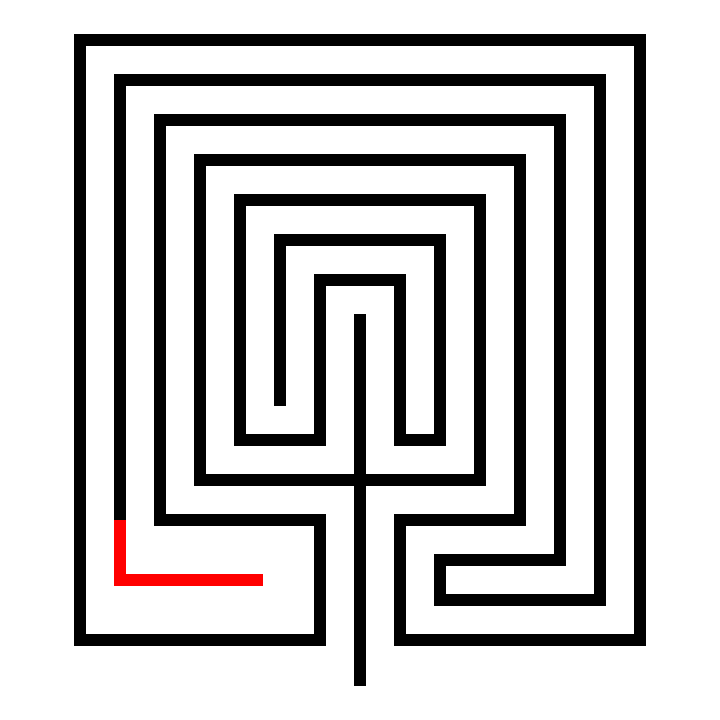
Alternative Seed Pattern: I hesitate to call this a seed pattern since it is complicated. But it works similar to other seed patterns for labyrinths. IF you start with this pattern the next 7 steps are connecting points to points. Here it is in Red.

If you are interested in how to make the circular version drop me a note. It is difficult but not Man in the Maze difficult ! Here is my digital drawing of it.

Circular Hopi Tapu'at Labyrinth
Thank you. Happy Labyrinth making !
Other posts you may like:
The 12 Best Maze and Labyrinth Movies Of All Time