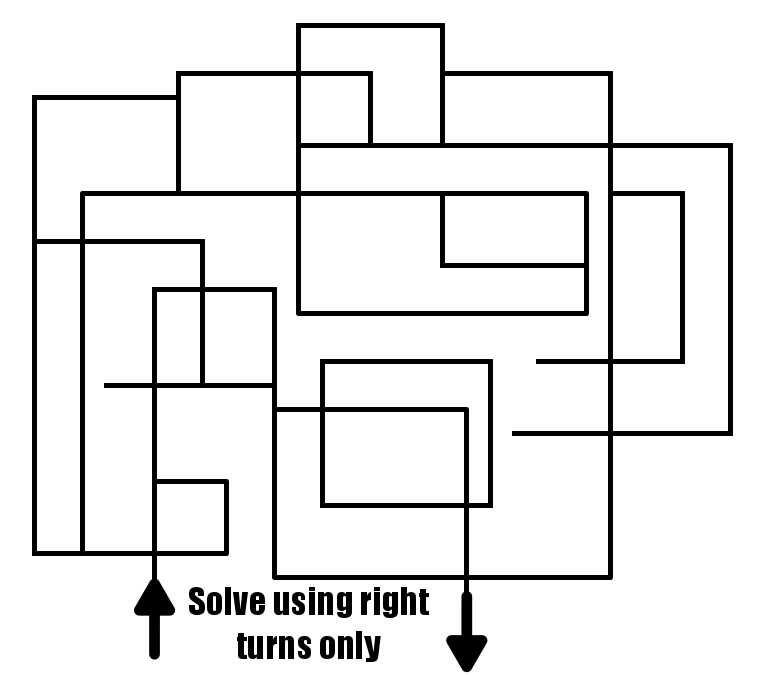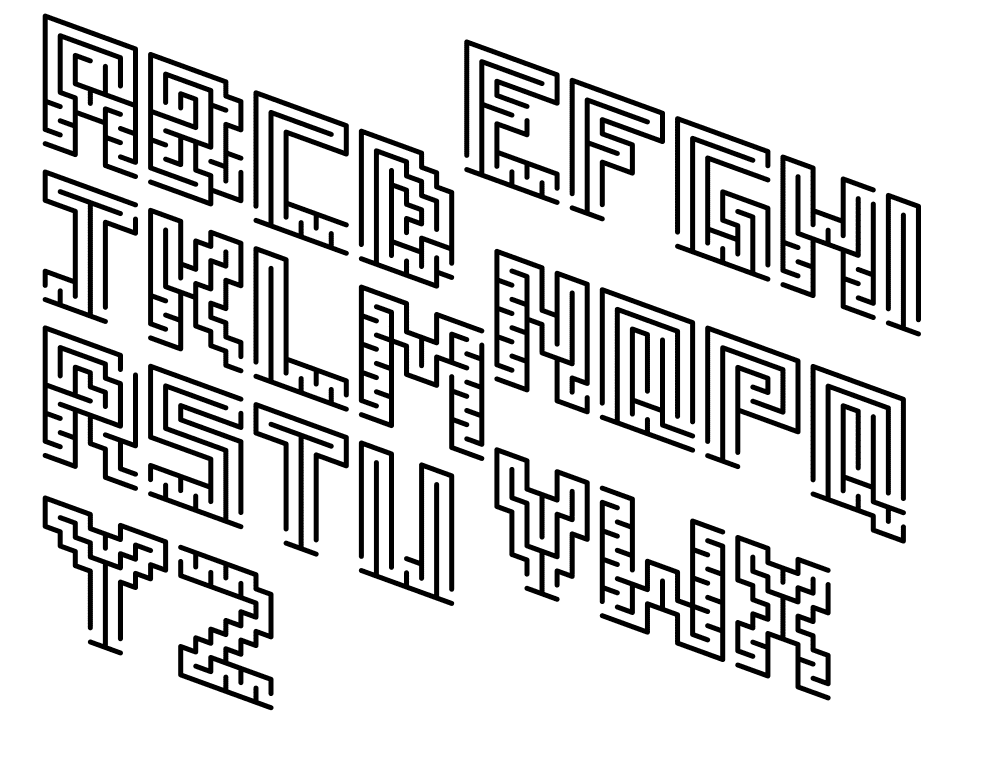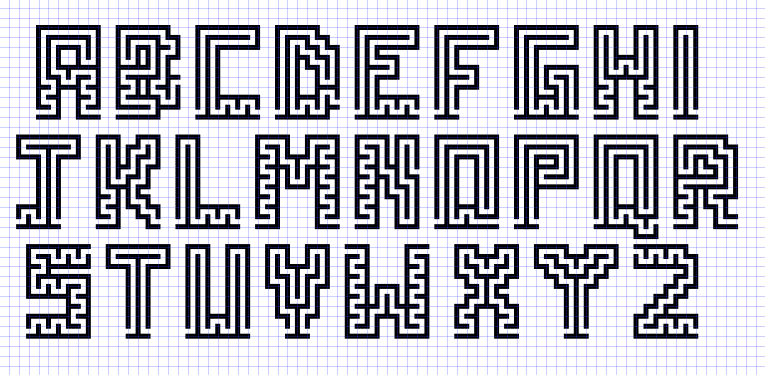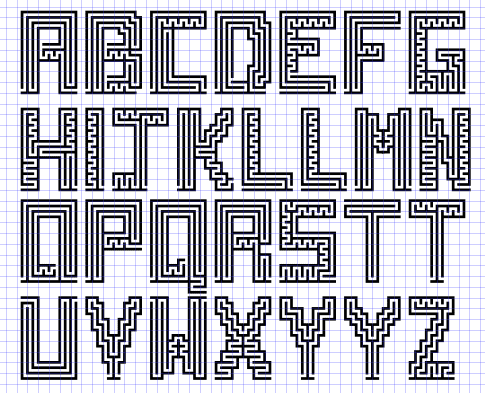
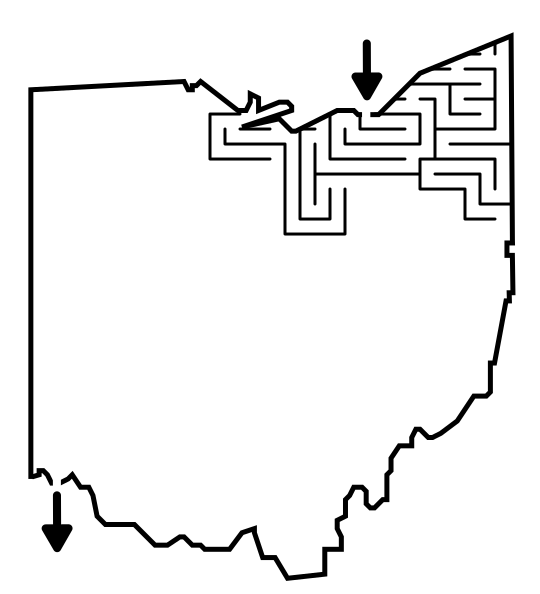
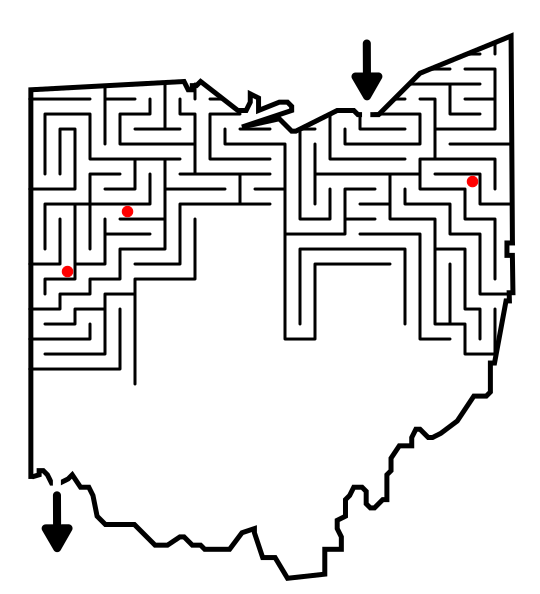
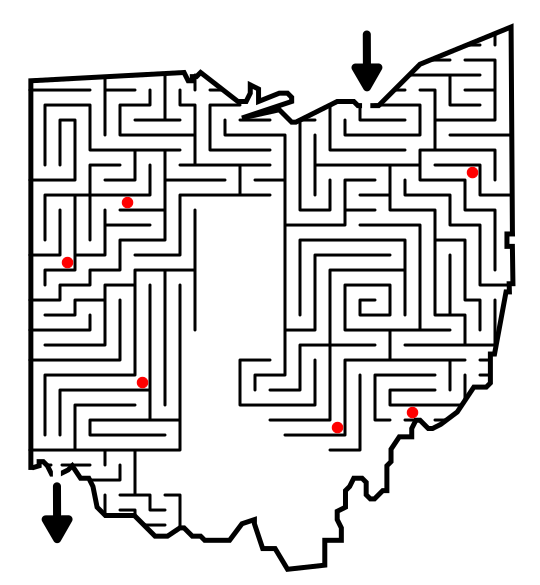
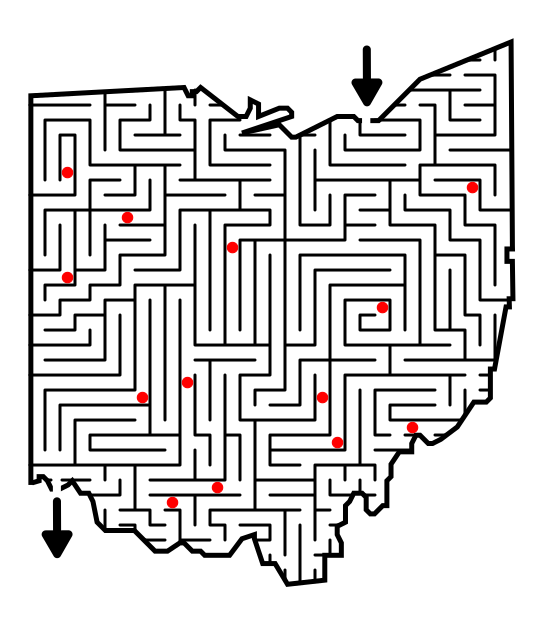
In a series of posts I will show you how to make a maze in a wide variety of design constructions. The 17th and 18th type of maze constructions are the Find Items maze and the Avoid Items maze. Let’s define what I mean, then get into examples. These mazes are opposites and make sense to discuss together. Every how-to will use a simple square so you can compare the differences between each maze construction type. I will also show a consolidated secondary how-to using an irregular shape (the state of Ohio).
Here is an outline for this blog post with jump links if you want to skip ahead to a section:
FIND ITEMS:
HOW TO MAKE A FIND ITEMS MAZE - abbreviated writing & using a different shape
ADDITIONAL FIND ITEM MAZE EXAMPLES
AVOID ITEMS:
HOW TO MAKE AN AVOID ITEMS MAZE
MAZE DEFINITIONS:
Find Items Maze - A maze that requires the solver to visit specific places within the pathways or find items along the way before reaching the goal. To properly solve the maze restrictions may exist on where the solver goes first, second, etc.
Avoid Items Maze - A maze that requires the solver to avoid specific places within the pathways or avoid items along the way before reaching the goal. This can be considered the opposite of the Find Items Maze.
THE 5 RULES OF MAZE DESIGN:
These 5 rules apply to any maze you make so we start with them !
1. Always keep an open pathway for the solution
While drawing a maze you will need to juggle multiple open pathways each of which could become the solution. One of them will become the solution. Keep track of it. This is especially important if you are designing pathways in both directions (from the start and from the goal).
2. Clearly mark the start and goal, or the objective of the maze
A maze should have a start and a goal that you can assess just by glancing at it. There are many ways to start and end a maze I review in this blog post: Options for Starting and Ending a Maze
3. Ensure the difficulty matches the intended audience
Most people want to solve a puzzle/maze that is just slightly below or slightly above their skill level. Many things help determine the difficulty of a maze. Size, number of branches, the length of dead ends, the number of choices, the complexity of the rules (if the maze has them).
4. Ensure your maze has a solution
When your maze is complete, solve it to determine the difficulty level and to ensure it is a real, solvable maze. Depending on the complexity of the maze you may want to do this right away or wait so you can properly assess the difficulty.
5. Explain anything that needs explaining
Some mazes have rules or conditions. Explain them with directions. If it isn't obvious, make it so.
HOW TO MAKE A FIND ITEMS MAZE
Step 1 - Draw the Outline
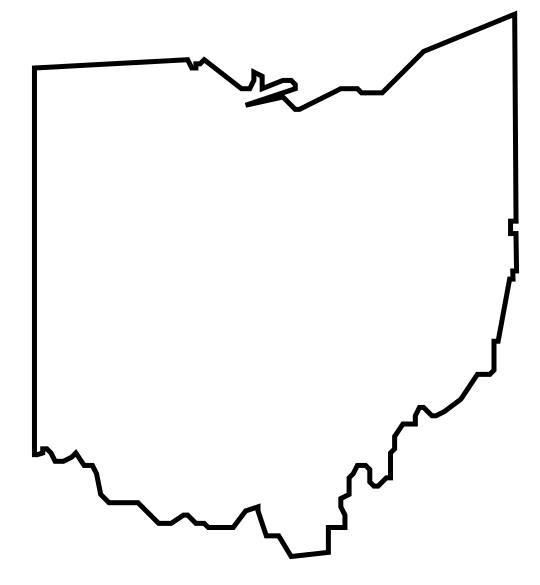
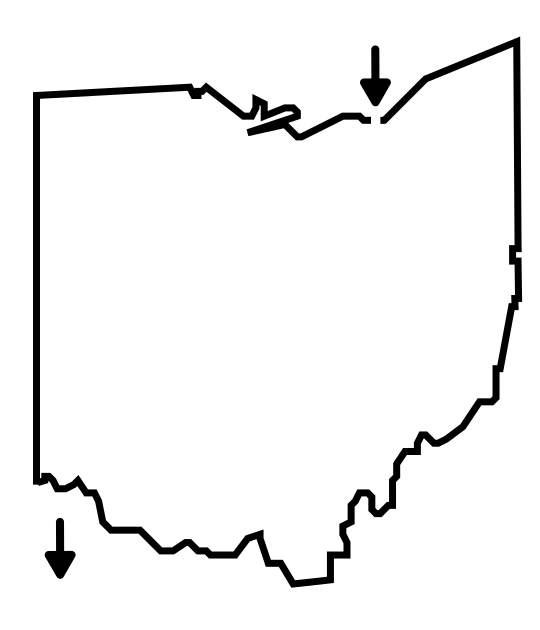
The outline of the maze makes the outer wall of the maze. It can be anything from a simple shape like a square, to a complex picture. The outline should be thicker than the internal lines to give the maze definition. In the example below I chose the state of Ohio.
Step 1.5 - Choose the Start and Goal
For the below example I chose the start of Cleveland and the goal of Cincinnati.

Step 2 - Draw An Open Maze Structure
For this kids version draw an open maze with no dead ends. The maze is created by how the items are placed rather than by dead ends for this type of maze (although there is no rule about no having dead ends).

Step 3 (any time step) - Add Directions for the Solver
This step can be completed at any time. Ask the solver to find the items in the maze. Let them know of any conditions - Do they need to collect them in order ? Can they backtrack and visit a path more than once ?

Step 4 - Add the Find Items
In this example I added the pretzels that the solver must collect before reaching the goal. IF you add a condition that a solver can only visit a location once, you will need to map the solution out, then add the items.
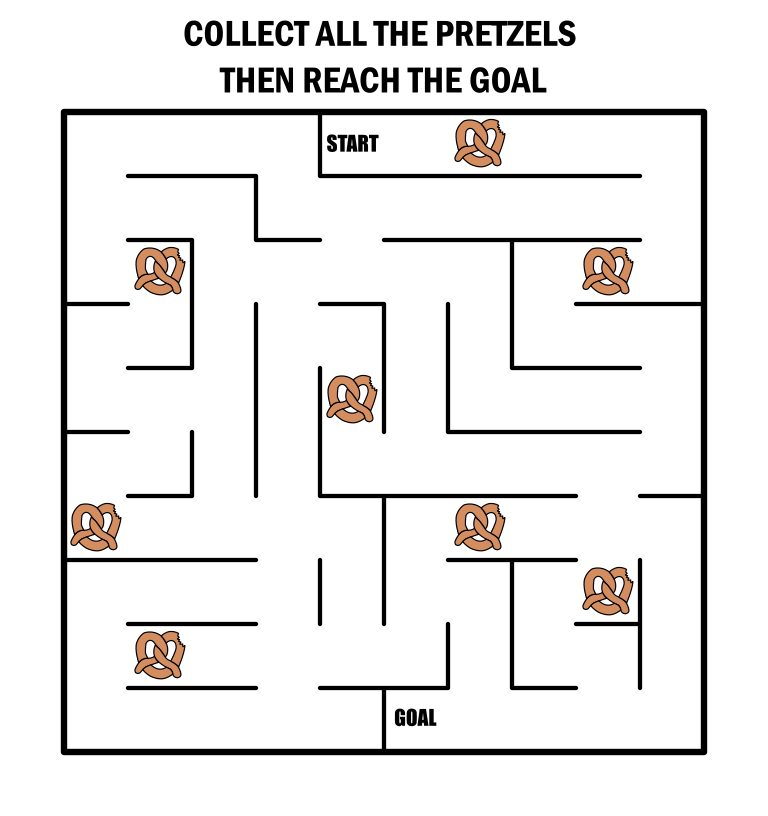
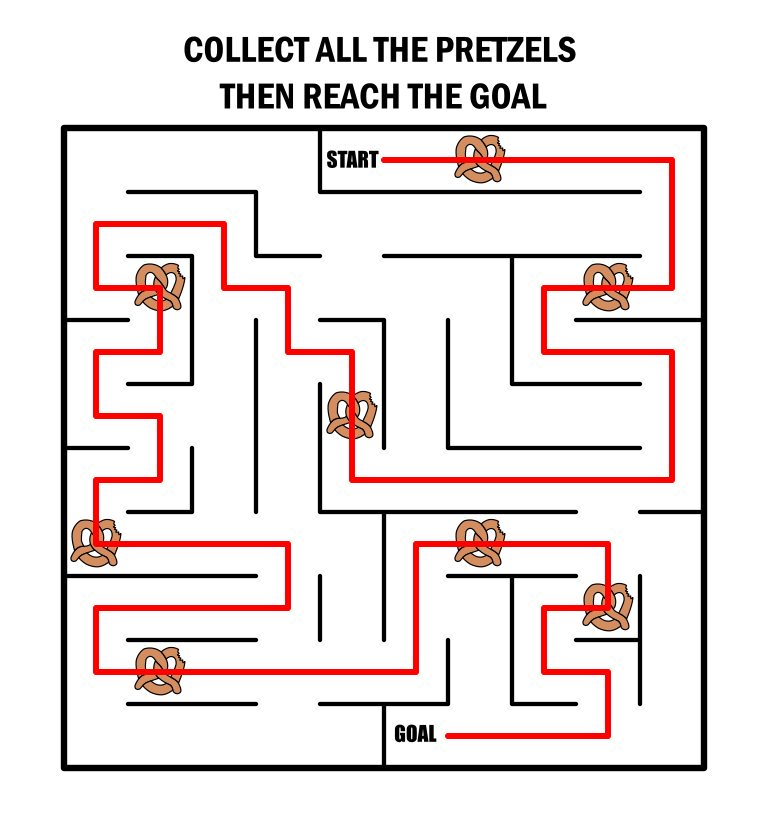
Step 5 - Make the Maze Solution
Highlight the correct path in the final version of the maze to create the final Maze solution (shown here in red). Although not said in the instructions this maze can be made more difficult by adding the phrase “you may not visit a spot more than once” and the solution reflects that !
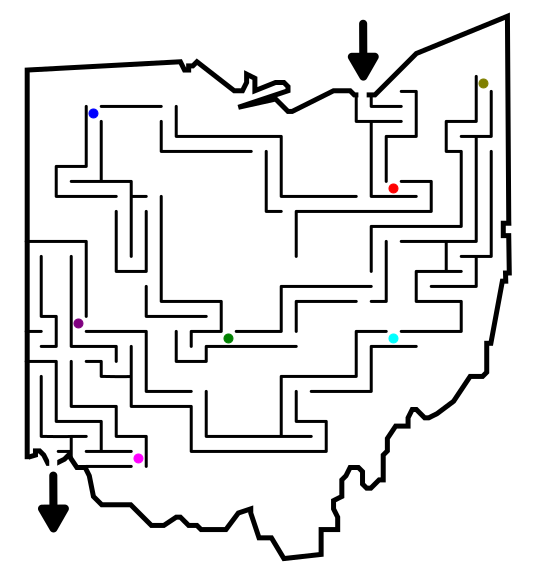
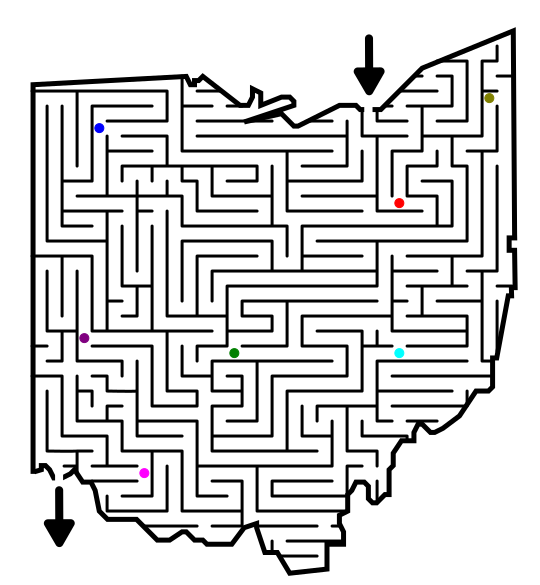
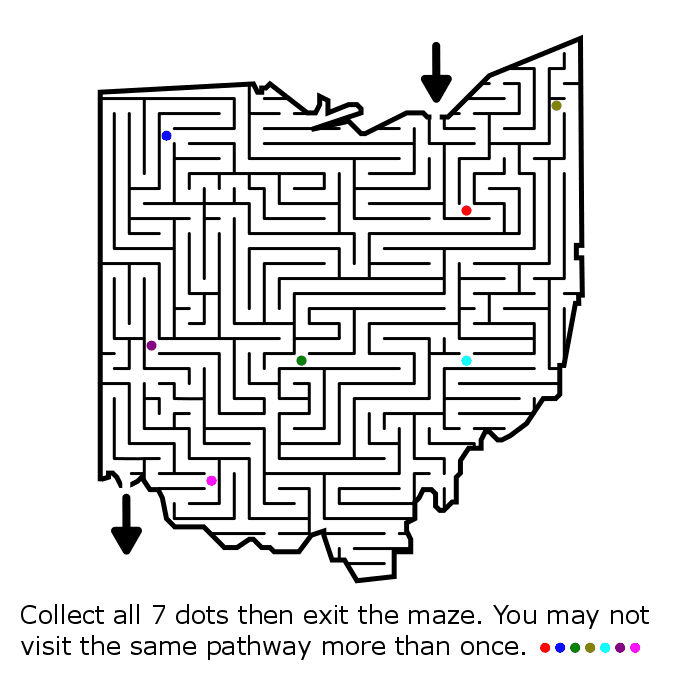
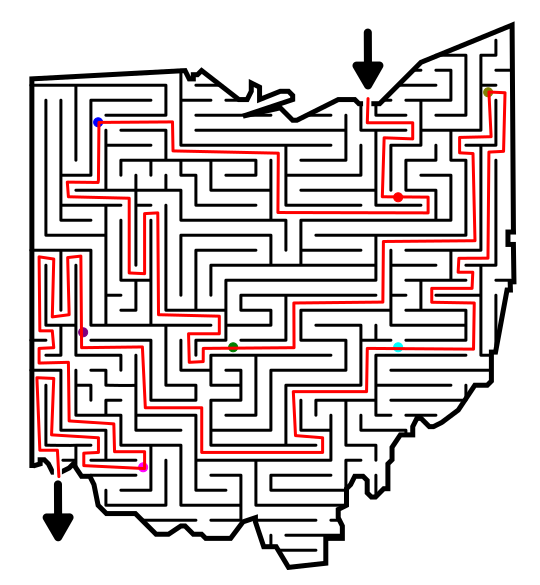
HOW TO MAKE A FIND ITEMS MAZE - abbreviated writing & using a different shape
This maze uses a different, but similar how-to as shown in the gallery.
Step 1 - Draw the Outline
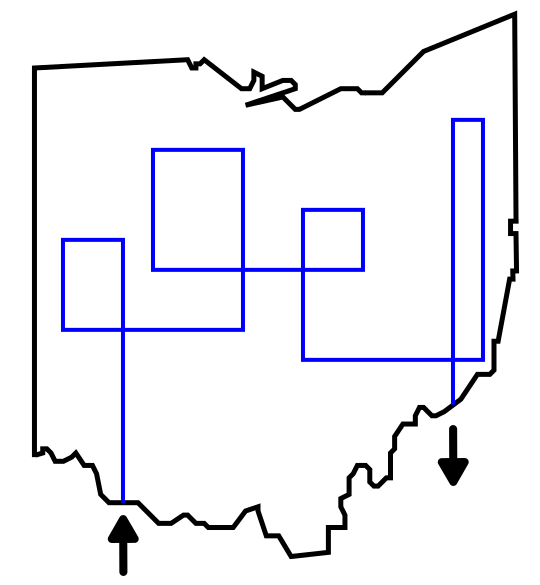
Step 2 - Draw the Solution with Items
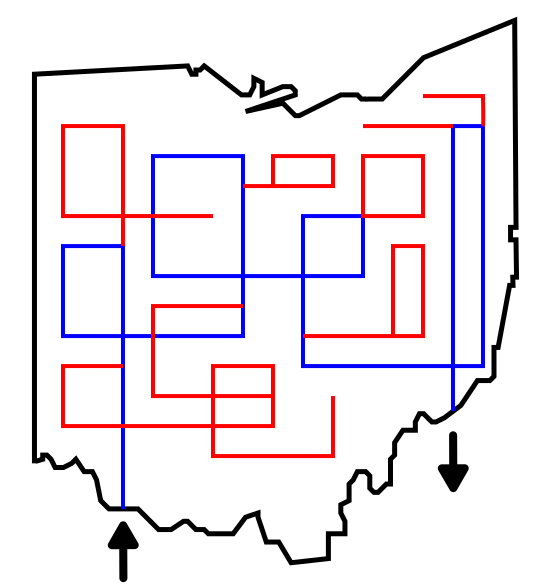
Step 3 - Complete the False Paths - This more difficult maze version does include dead ends.
Step 4 - Add Directions for the Solver
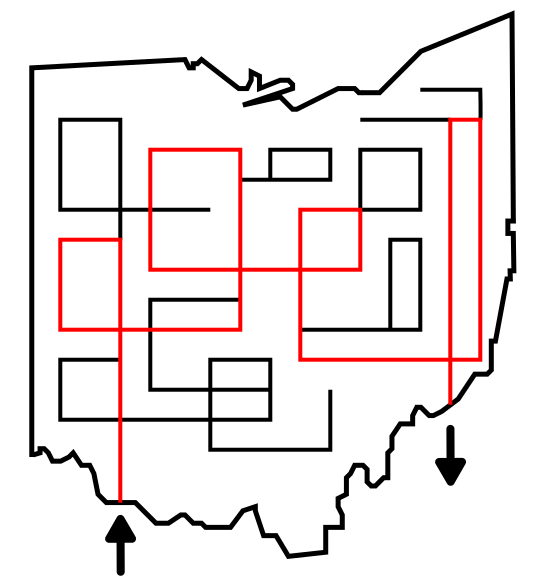
Step 5 (Optional) - Make the Maze Solution
ADDITIONAL FIND ITEM MAZE EXAMPLES
Another example of the Find items maze is the map of France below from my Countries of Europe maze book. Each country requires the solver to visit cities along the way to the goal, the capital of the country, in this case Paris. Maps work well for this maze type. Here the directions are on top are link the items to specific cities on the map.

For my second example I have made a Find Items maze for an older child. The format works very well for mazes meant for kids, including the use of fun objects/animals to create more enjoyable mazes. In this case a grasshopper and leaves.

HOW TO MAKE AN AVOID ITEMS MAZE
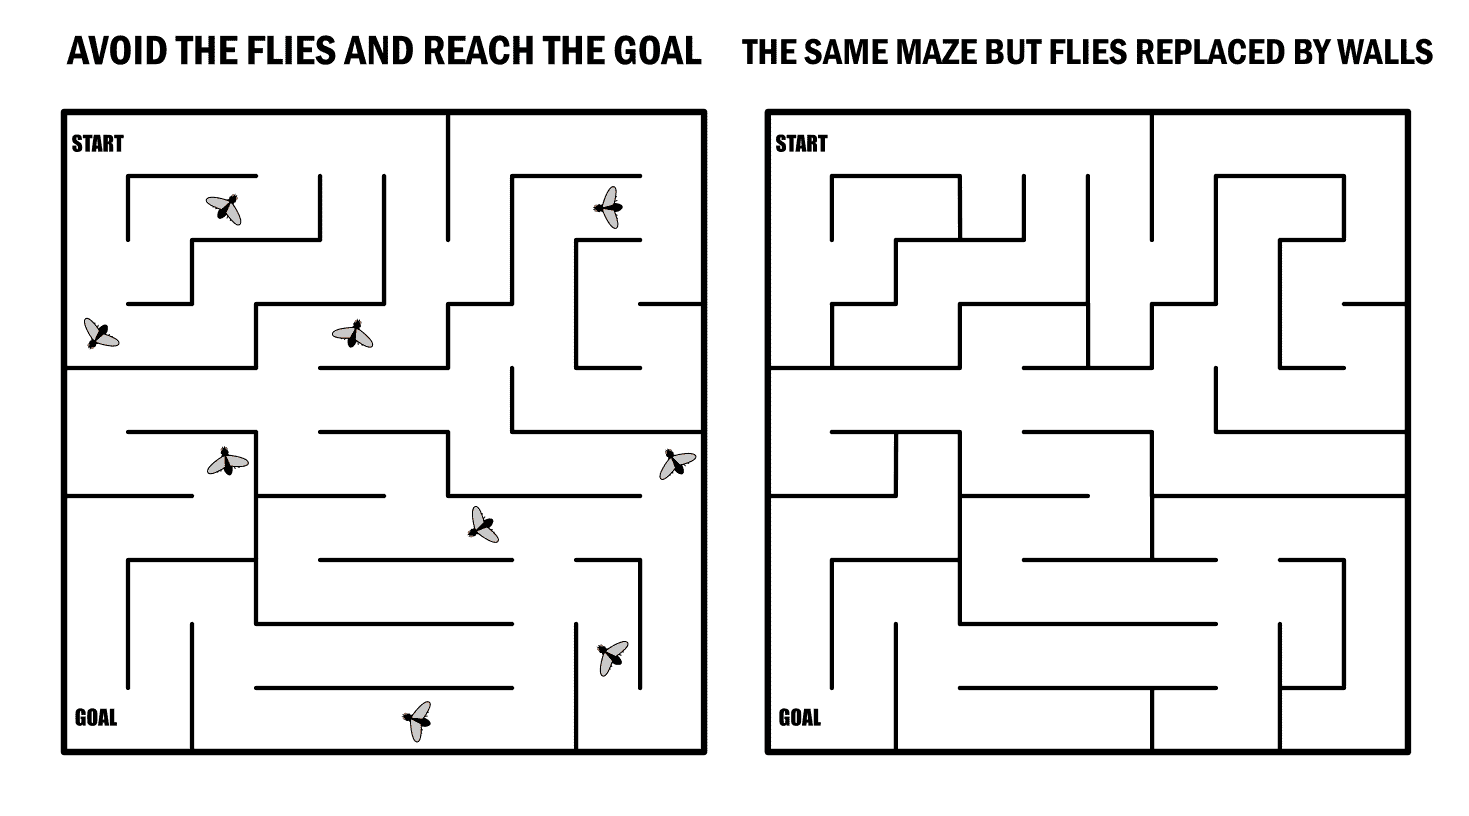
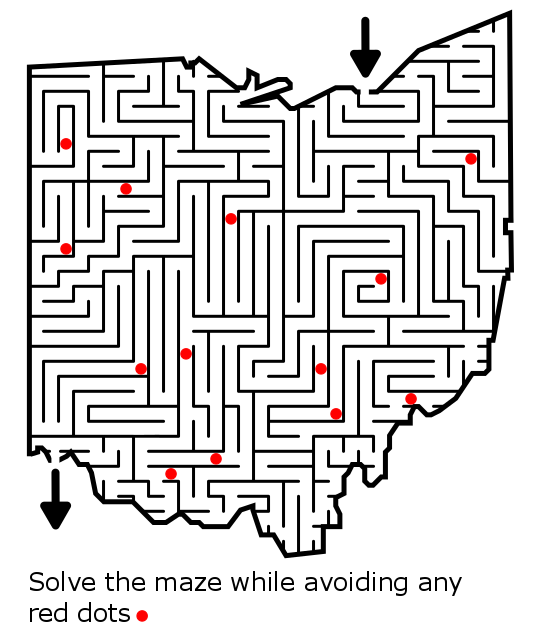
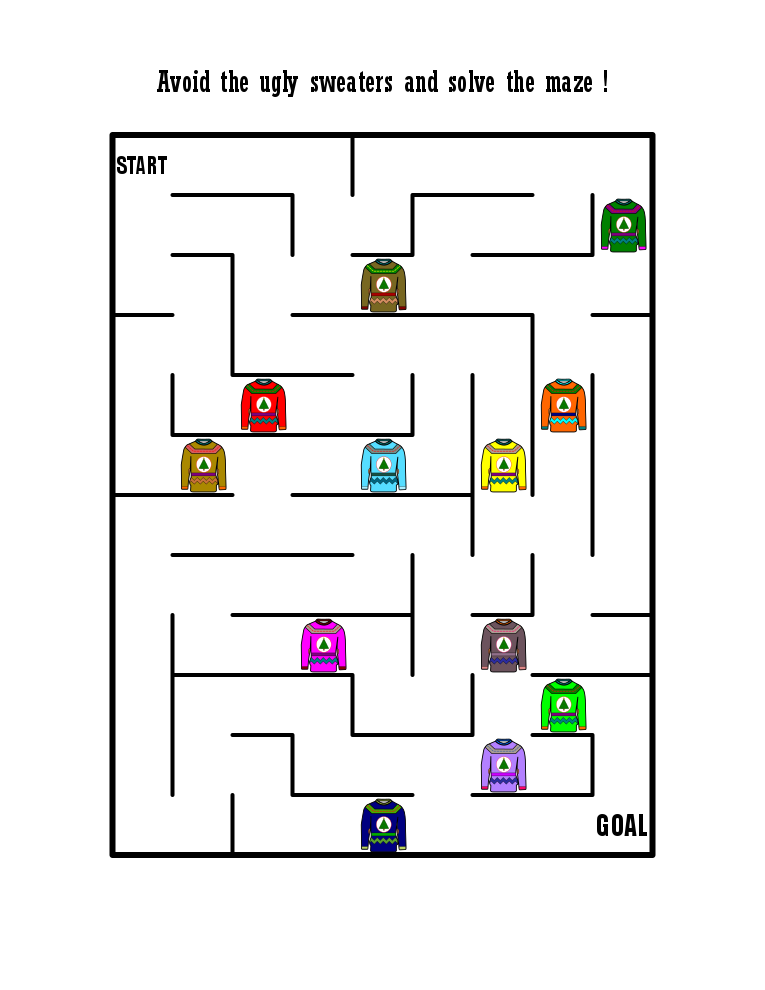
I did another abbreviated how-to for this. Nothing complicated. Watch the maze being made by clicking through the gallery. But I want to make this super easy to understand. The avoid item acts as a wall. Design a maze as you normally would and instead of drawing a wall add an avoid item. These 2 mazes are the same for an example:
Step 1 - Draw the Outline
Step 1.5 - Choose the Start and Goal
Step 2 - Start to Draw the Maze Walls
Step 3 - Continue Drawing Paths, Adding Avoid items
Step 4 - Complete the Maze
Step 5 - Add Directions for the Solver
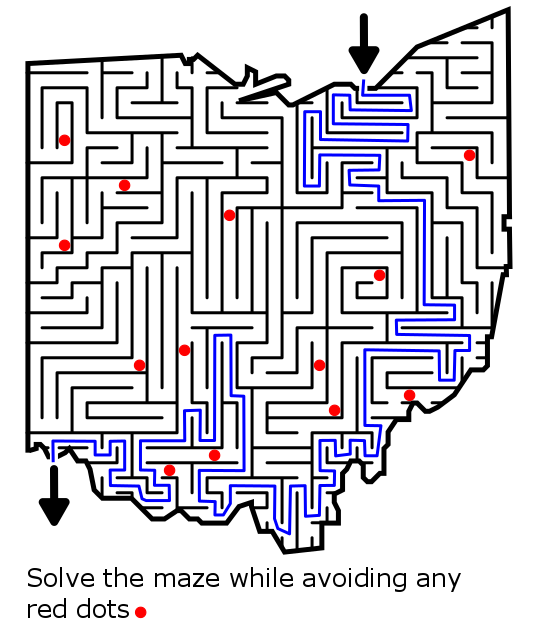
Step 6 (Optional) - Make the Maze Solution
ADDITIONAL AVOID ITEM MAZE EXAMPLES
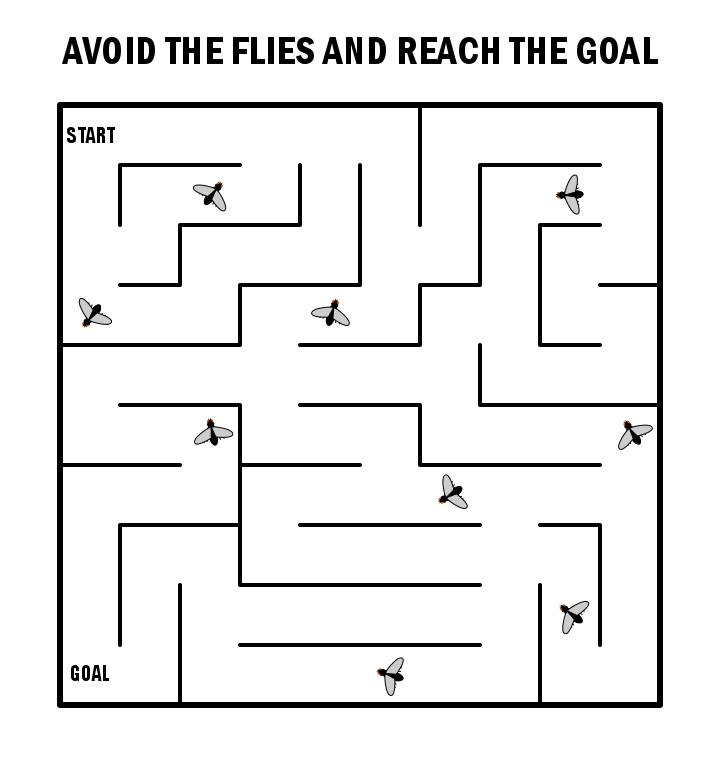
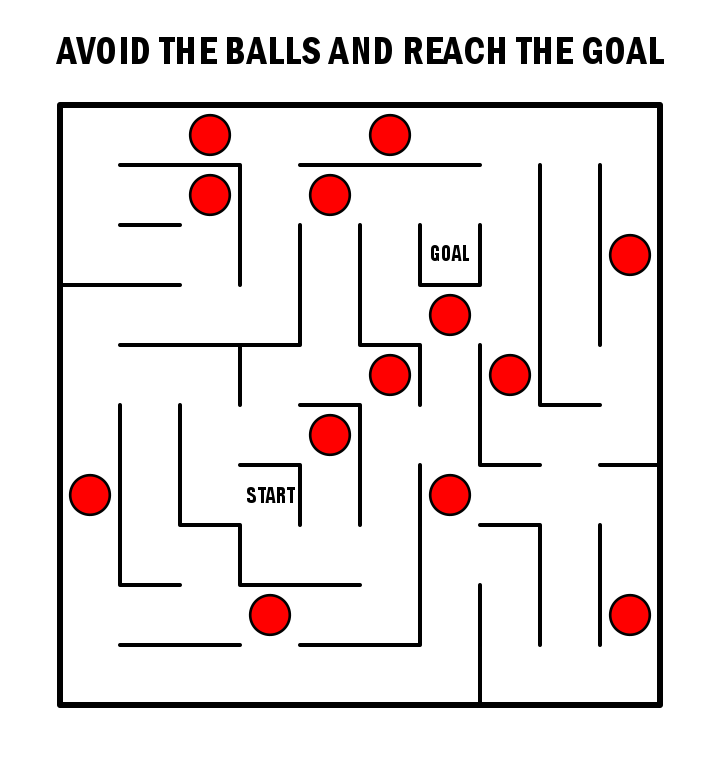
3 more avoid maze examples.
FIND/AVOID MAZE MAKING TEMPLATE
This free downloadable basic template will work for either version.