In Part 1 of this series I exclusively used StarryAI to create over 30 maze and labyrinth images. Today, in Part 2 I will use 5 other AI text to image generators to create a variety of interesting images of mazes and labyrinths.
For all images I include the Al text to image generator I used and prompt that I used. I hope you enjoy the creations and they inspire your own creations!
AI Image Generator - A labyrinth designed by Piet Mondrian in his traditional bright red bright yellow and bright blue colors
Not quite what I was looking for, but I like the way it came out anyway.

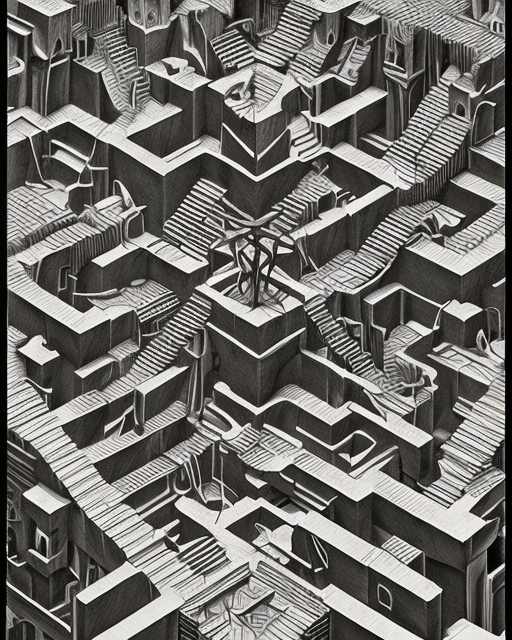
Craiyon - Fantasy labyrinth by MC Escher
A tried and true prompt I like to use for labyrinths, MC Escher. Not what I expected but nice to look at anyway.

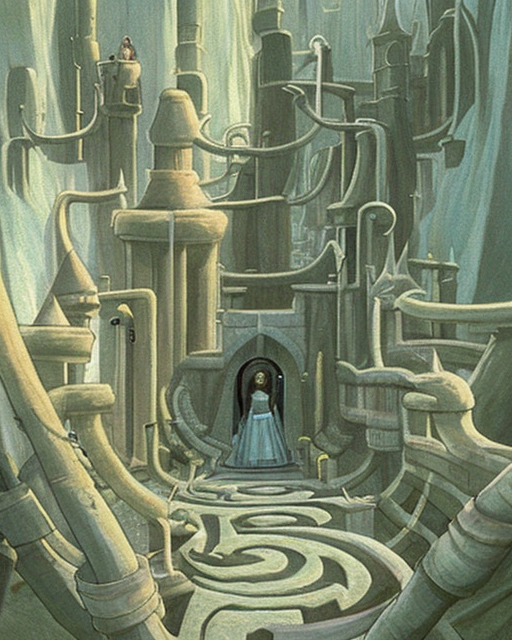
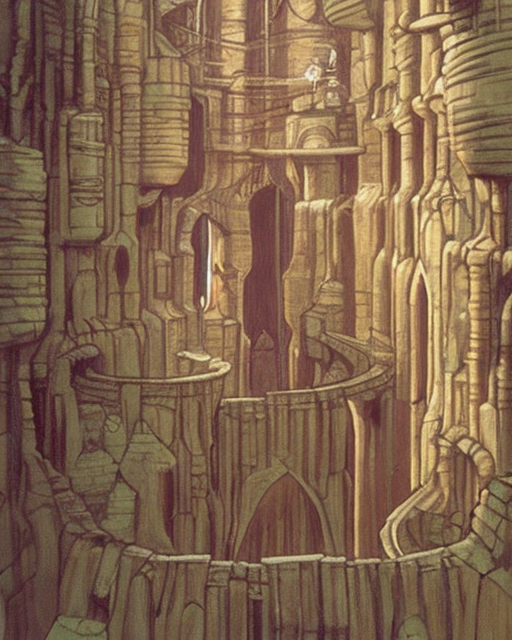
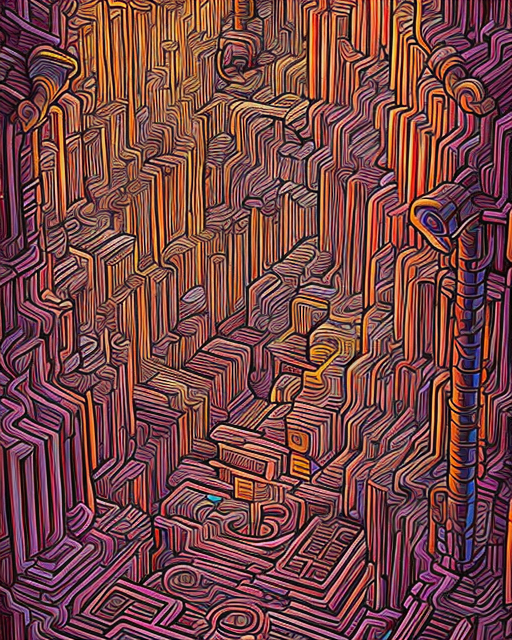
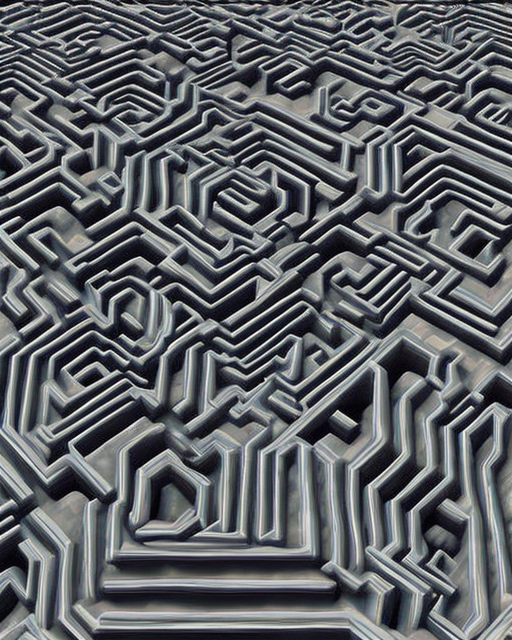
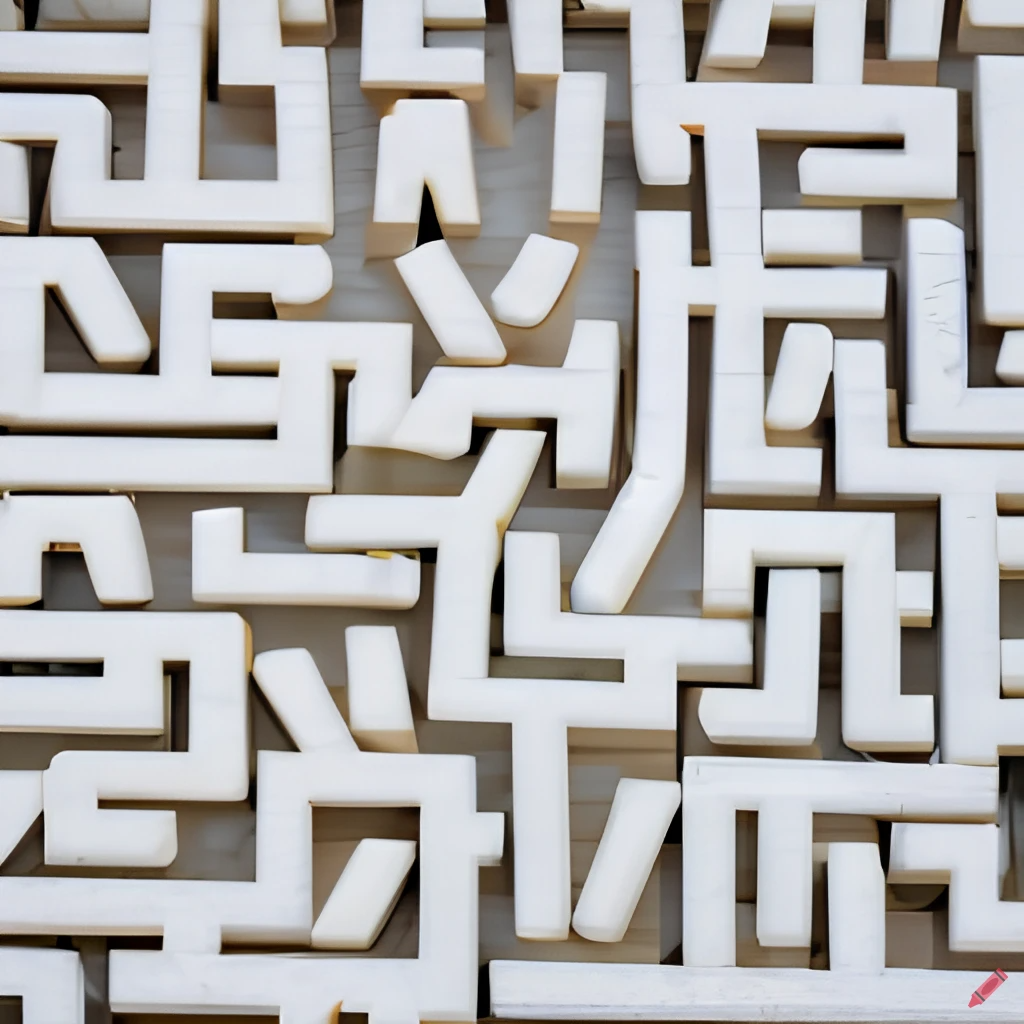
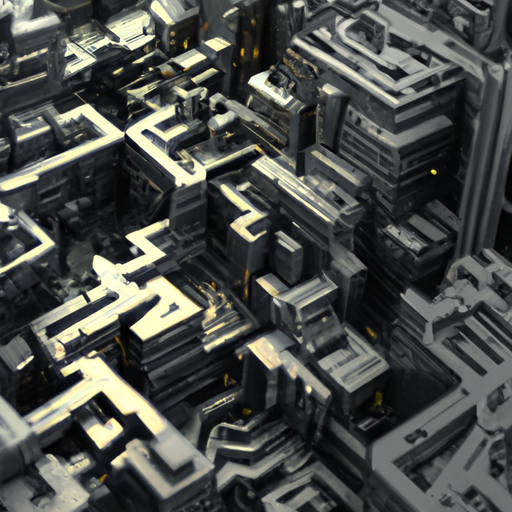
Craiyon - A maze made of pipes
I love pipe mazes. I love to make them and have considered making a full book of 100 of them for Amazon. Maybe someday. Until then I get to create them here. Interesting that the pipes are green.

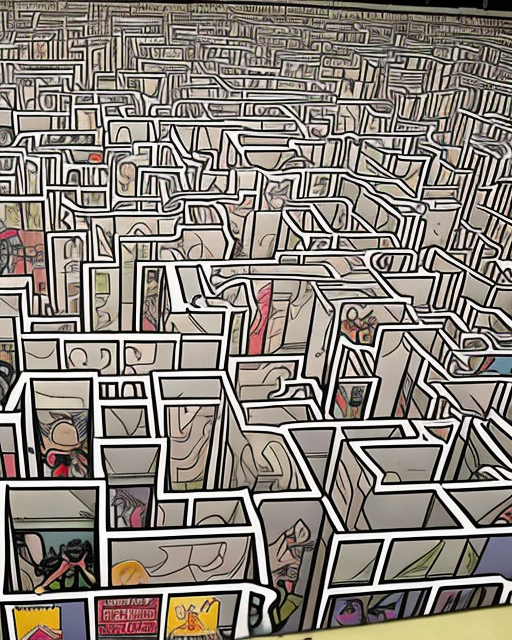
Craiyon - A maze made of numbers and letters from many different alphabets
The output looks like letters from an Asian alphabet or two, possibly Korean...maybe a speaker of Korean sees something interesting here ? Either way, htis concept of making walls out of letters is one that could be cool. Also a hidden message maze would be cool.
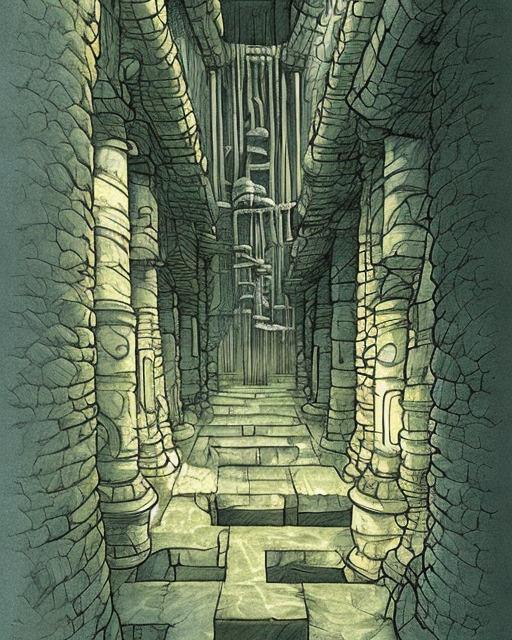
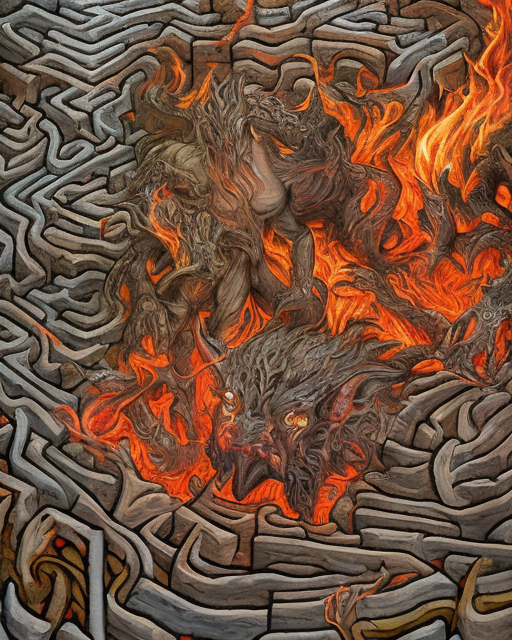
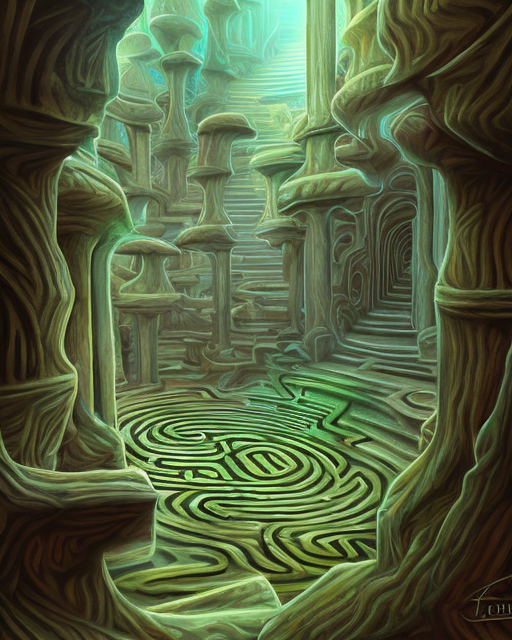
Dream by Wombo - a maze inside a maze inside a maze spectral style
I wonder about the building or tent (what is it?) in the background. What could be in there that needs just a large labyrinth to protect it ?

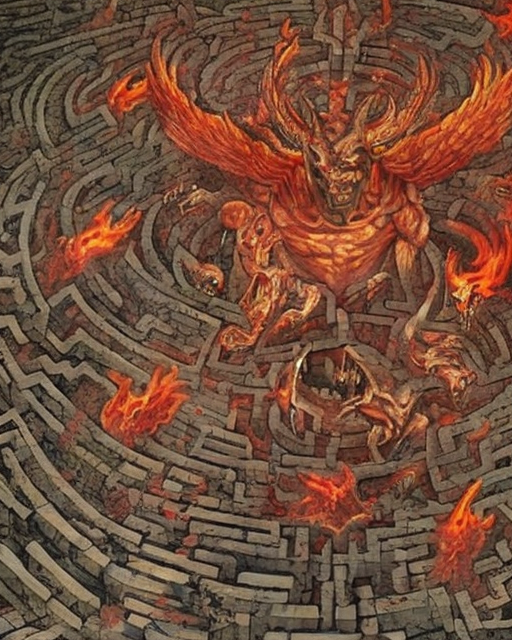
Dream by Wombo - a maze inside a maze inside a maze steampunk style
When you find a prompt that works, tweak it a bit and keep going. I wanted this to be more steam-punky if that makes sense to you and less like a painting. I think with some work this prompt could be epic.

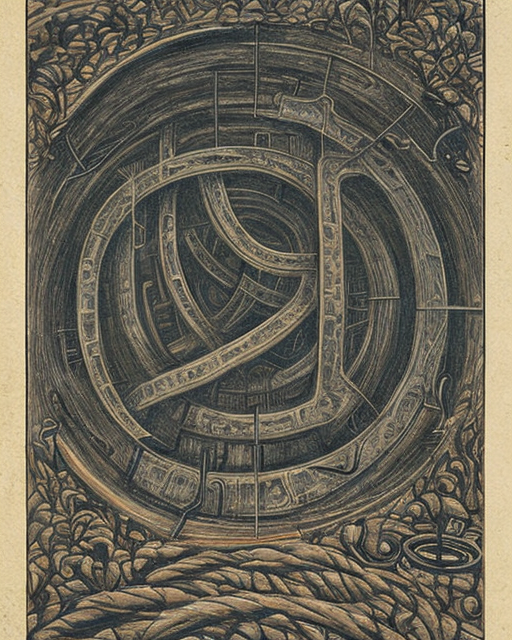
Dream by Wombo - a maze inside a maze inside a maze surreal style
3 in a row and the best of the 3. That labyrinth goes on for miles and miles into the landscape.

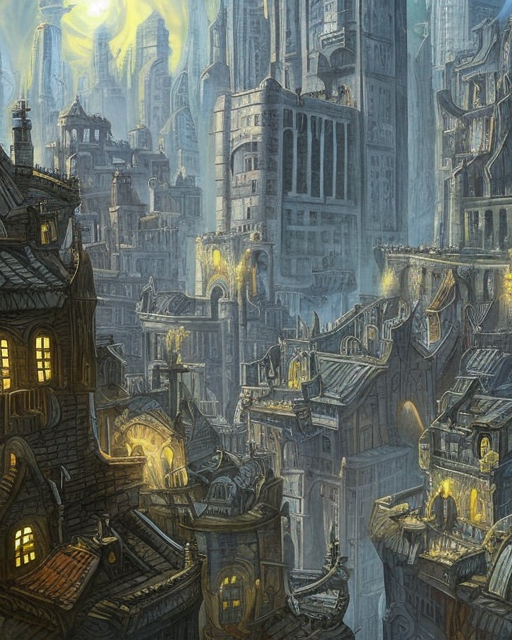
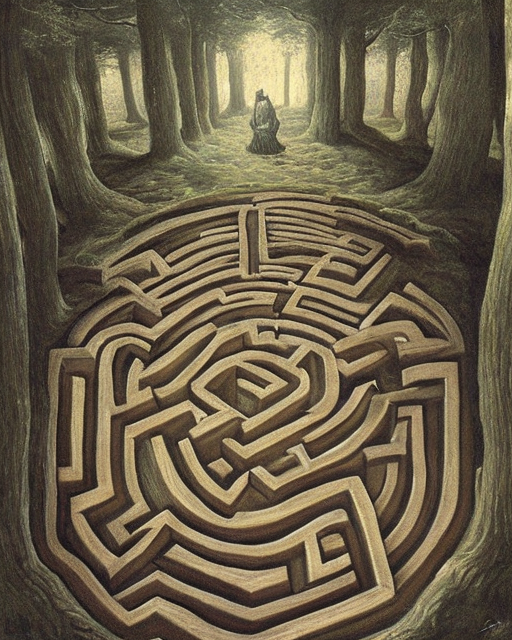
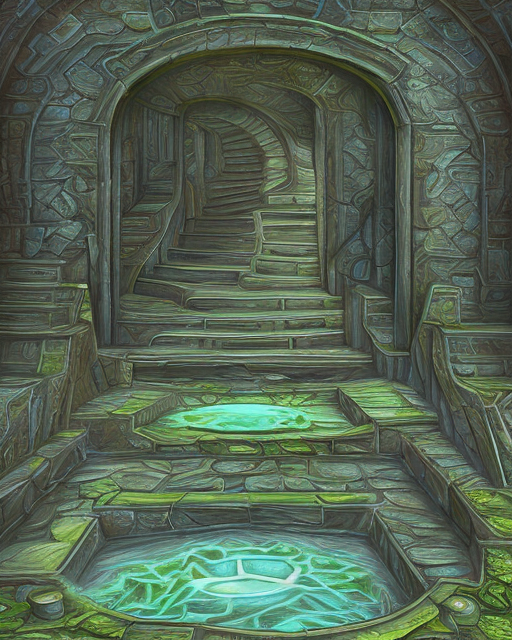
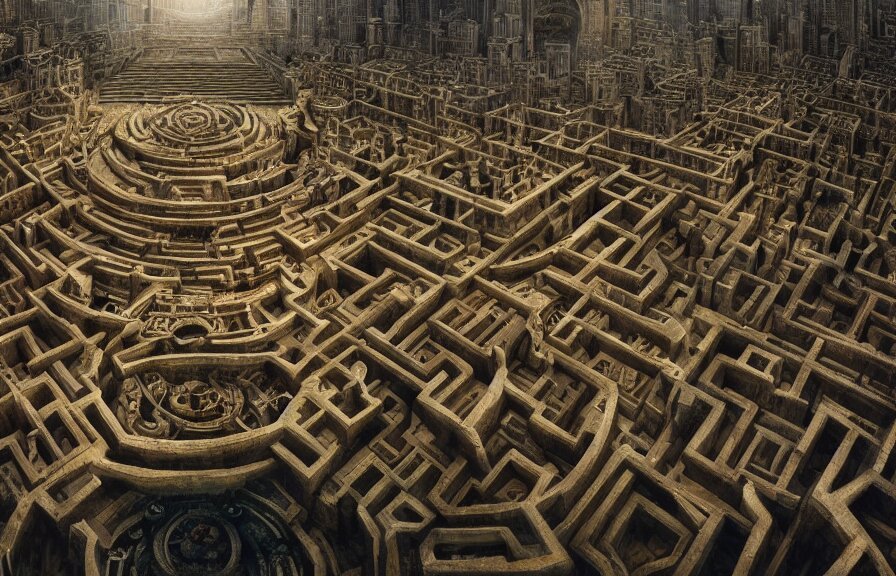
Dream by Wombo - middle ages labyrinth in a city
At first I thought there were 3 labyrinths but this is designed as 1. This is on the outskirts of the city in the background on the right. Imagine this as the main plaza in a city.

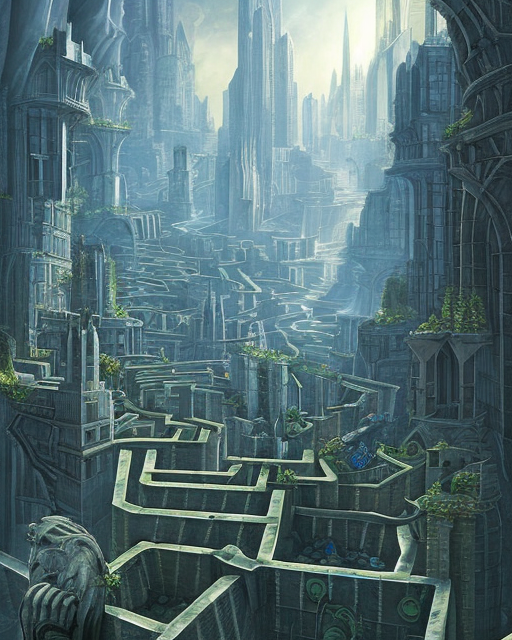
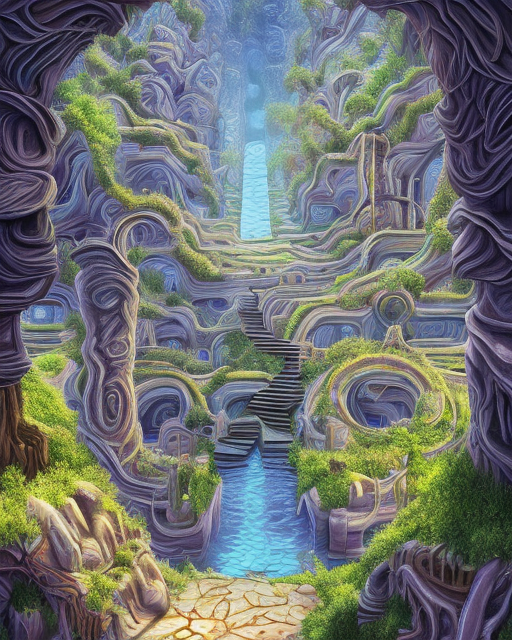
StableDiffusion - a fantasy maze at sunset overlooking the horizon
This looks like it might be a real hedge maze but placed near a wat in Asia. I think this could be made into something great with some adjustments !

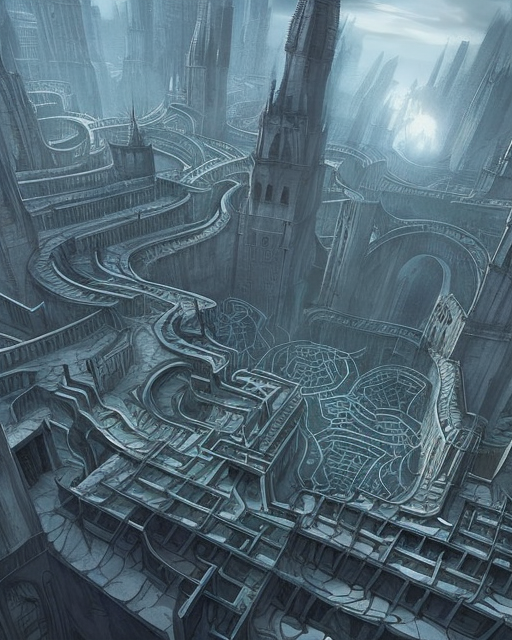
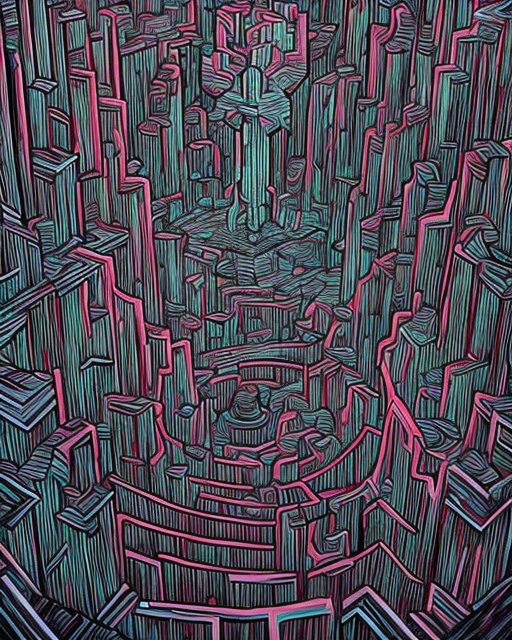
StableDiffusion - A maze in the city of Gotham, highly detailed
If this was an actual maze with that amount of detail it would be epic. As much as I want to take this and make it myself, this looks like something that would take a significant amount of time.

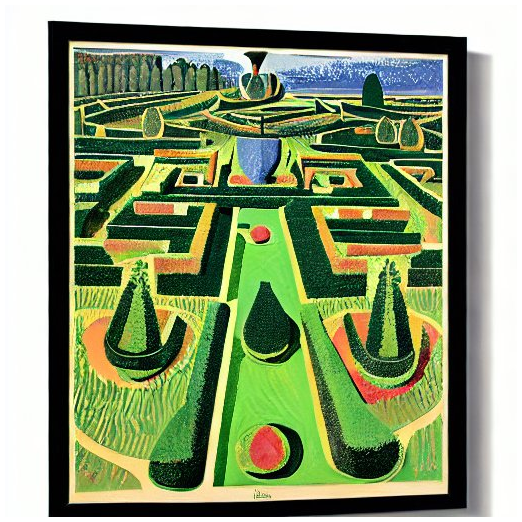
StableDiffusion - Pablo Picasso hedge maze
Full disclosure I have tried this prompt many times with many sites and they usually lead to disappointment. This is the best output.
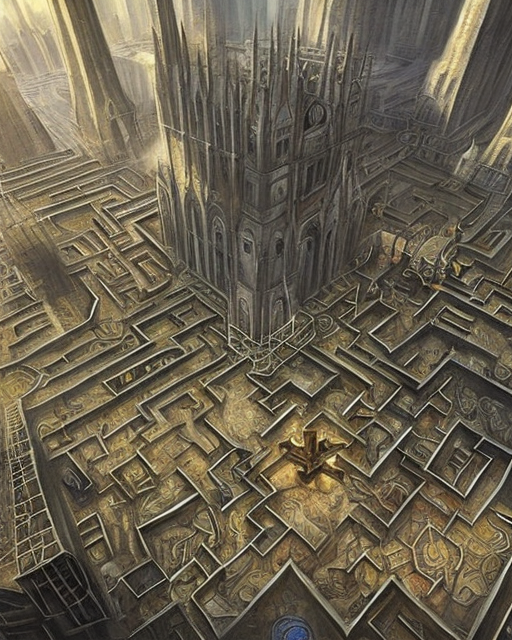
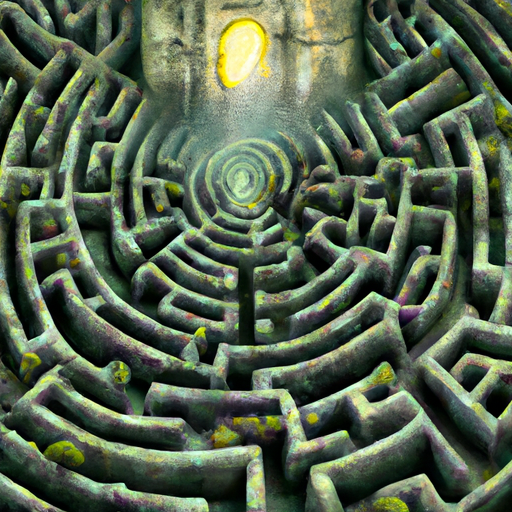
ToolBaz - a large labyrinth in a valley carved into the stone with a tower in the center, fantasy painting style
I just like it. It looks like a stone maze covered in some moss. possibly with some trees spread around throughout.
ToolBaz - a large room with a maze on the ceiling
If I ever open a maze museum I want this to be the ceiling.

ToolBaz - assorted prompts, see descriptions.
ToolBaz has some suggestions based on the prompts you write and these are a few that came up based on mine, made by them, all excellent. This is one of the great features of the site.

I hope you enjoyed this exploration using AI to create maze and labyrinth images. Happy mazing !