Maze Art: Advanced Tips to Creating Your Own Masterpiece

So you want to make some maze art. I’m here to help. I will take you through some things to think about and give you tips to make the best possible mazes. I can’t construct a maze for you, and while maze art, like all art is subjective, my goal is to help you make your mazes more interesting. Ideally, you will layer on your own particular style and make beautiful mazes. My goal is to help you Unlock the Secrets of Maze Art.


Before we get started:

I assume you understand how to make a maze and just want advanced and specific instruction and tips. If not start with the blog post how to make a standard maze. On this website I have a section on how to make a maze includes over 40 different maze types (and there are even more types not shown made by others) if you want - browse around for some inspiration and ideas.

Maze Construction:

I also have done a series of blog posts that pull together different aspects of maze making, like starting and ending a maze that will help you see the different options and come up with a style you like. Personally I like to experiment often, but build off of 2 things: the first is making more of what I I like while the second is making mazes similar to what is successful on the site ! Tip #1 - Make lots of experimental mazes. When I initially made mazes on this website, and I used to make daily mazes, I did a large variety of maze types and constructions. I also did monthly voting where people could vote for their favorite mazes. This feedback was essential to help me find my lane. Tip #2 - Get feedback. Some options: Voting, posting mazes online in the reddit mazes forum, looking at traffic on your site by maze. I prefer to ask strangers vs. friends and family, because they tend to only give uncritical, positive feedback.

Here are the 3 blog posts that deal with Maze Construction:

Part 1 - Options for Starting and Ending a Maze

Part 2 - Maze Pathway options

Part 3 - Conditional Pathway options

And some case studies:

Using Color for Maze Pathways - A Case Study

Maze Design Case Study - Designing a Grid Maze in Different Difficulty levels

A Case Study - The Free Stamp Maze

My first attempt at a how-to for making maze art is my project that made Maze of the Week #46 - The Free Stamp, located in Cleveland, Ohio. I turned this into a case study that includes step by step instructions. Let’s look at those 6 steps, each of which has a few tips in the how-to. Here I will add some additional tips specifically suggested to elevate the quality of your maze.

STEP 1 - CHOOSE YOUR MAZE SUBJECT

  • While your neighbor’s shed may make a nice maze…will anyone really care ? Tip #3 - Famous landmarks/locations/objects get more interest. 5 of my top 6 voted mazes from last year were of famous buildings. Here are some examples: The Louvre, Sydney Opera House, Rock N Rock Hall of Fame.

  • I specialize in making mazes of buildings and signs. I like them as subjects and make them well. Other maze artists specialize in cityscapes, comics, map mazes, or colorful landscapes. One thing I am terrible at is drawing faces. Human faces are difficult to draw and if you have that skill you should use it. Making a human face that is recognizable as a specific person is even more impressive, so if you have that very difficult skill - leverage it ! Tip #4 - Leverage your unique skills. This could also be Specialize in the maze types you do best.

STEP 2 - TAKE A PHOTOGRAPH OF THE SUBJECT (OPTIONAL)

  • Tip #8 - Take lots of detailed pictures of your subject. I will explain this later with an example !

STEP 3 - DRAW THE MAIN OUTLINE OF THE SUBJECT

  • When I first started making mazes I tried to have each maze fit on a standard size piece of paper. This made me leave out details I wanted to include and not optimize the shape of the artwork. Now, I make mazes that fit the subject matter- tall, short, boxy. Tip #5 - Don’t worry about “fitting” the maze into a particular size. If a maze needs more room, take it !

STEP 4 - BEGIN THE DESIGN OF THE MAZE

  • My best mazes all took the longest amount of time to make. It is not a perfect correlation but it is definitely there. For me, the juice is worth the squeeze. Tip #6 - Slow down and take your time. Don’t rush. Take your time. Get it the way you want it.

STEP 5 - DRAW THE MAZE

STEP 6 - MAKE ANY AESTHETIC CHANGES TO COMPLETE THE MAZE - COLOR, SIZE, BORDER, TITLE

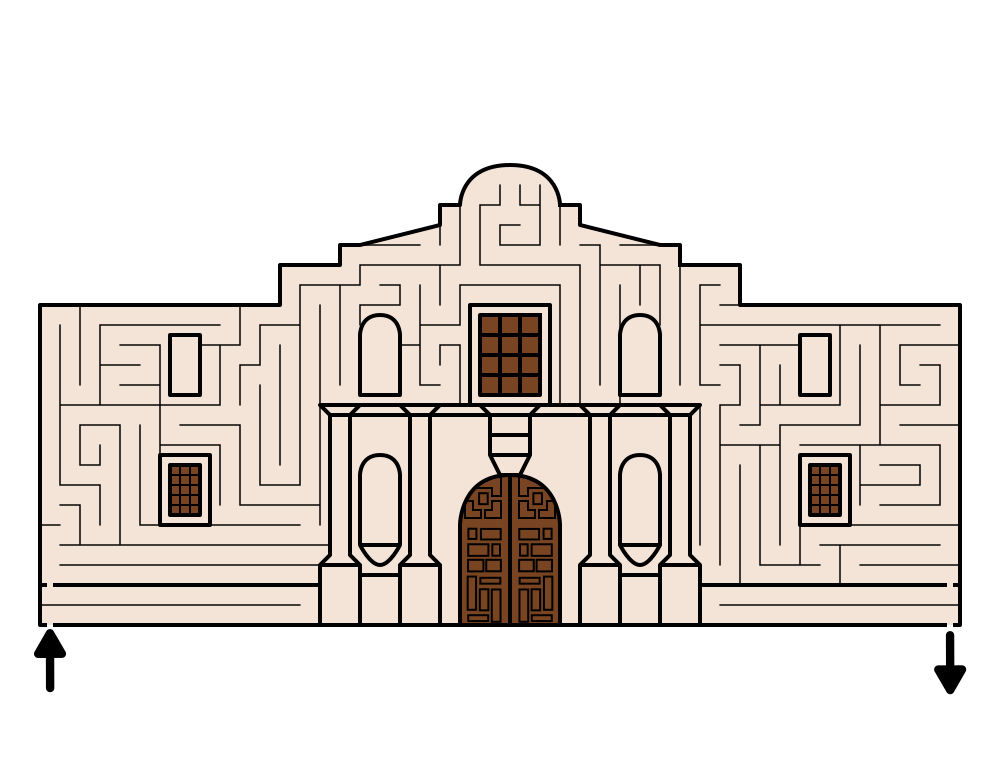
  • Not sure if this tip becomes part of step 6 or a new Step 7. Tip #7 - Add as many small details in the maze as possible. Even if they are not relevant to the solving of the maze. In my ‘how - to’ I give this example of a maze of The Alamo - and I repeat it here:

    Example 1 - a basic maze of The Alamo. I think people would recognize it without a label:

The Alamo Mission simple maze

Example 2 - a detailed maze of The Alamo:

The Alamo Mission Maze in Color

Do I even need to comment on which maze has been more popular ? Both are recognizable as the Alamo Mission.


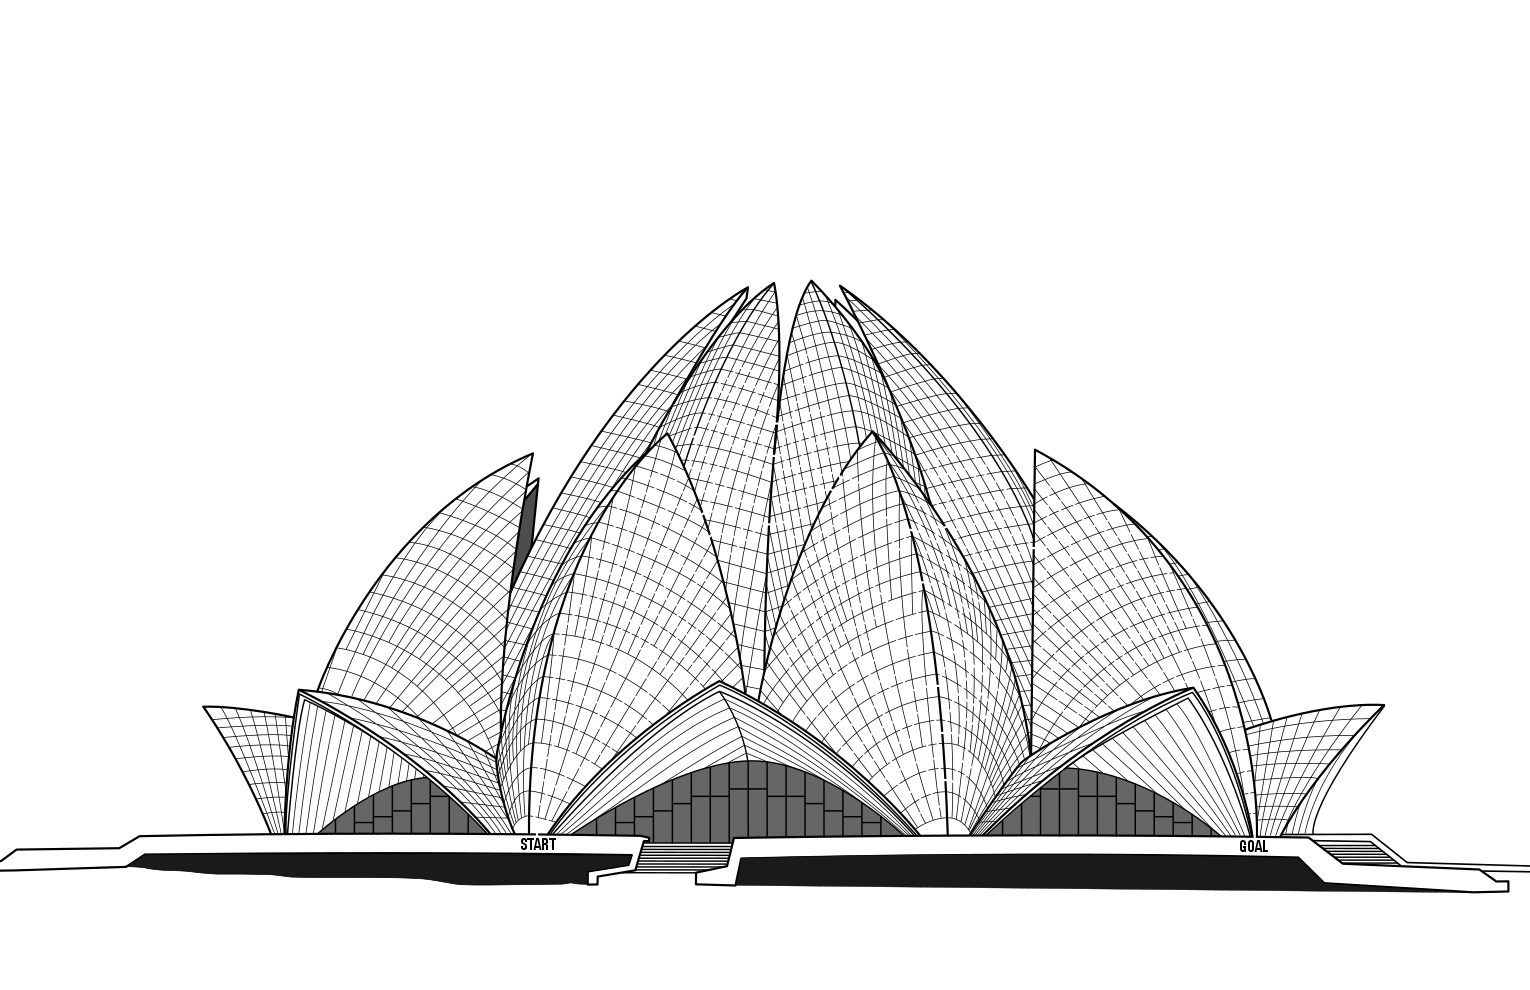
Added detail includes the use of shadowing. Depending on your subject matter this could become it’s own tip (Consider adding shadows) It is the #1 thing I struggle with adding or not adding to a maze…here is an example where the use improved the finished product, the Lotus Temple Maze.

The maze with shadows:

Lotus Temple maze

And without shadows:

Lotus Temple maze no shadows

When I was making this I thought I was done with the bottom version but after I experimented with shadows I knew that would become the superior version.

Another example:
I decided to make a maze of a church near my house. I went to the church and took a picture from an angle that I thought would look good. I went through the steps of making the maze…and when I got about 80% done I went back to the church and took more pictures (close-up this time) of items on the church and the surrounding area that could be included in the maze. That maze has not yet been published, but here is a collage of some of the details I added ! Similar to the Alamo example, without these details the maze is still good, but adding details enhances the interest in the maze. Tip #8 - Take lots of detailed pictures of your subject.

Photo collage of church details

Additional example: The Louvre

This was one of my most popular mazes. A world famous building that everyone knows. But look at it closely. The maze is completely housed in the pyramid. This part of the maze was easy to make. The details of the other buildings of the Louvre in the background have nothing to do with the maze, but without them this maze is completely different. Those buildings took more time to create and draw but really change the maze. Let’s compare them:

The Louvre Maze

Compare to this version:

The Louvre Maze no background

Nio background buildings

A few of you might prefer the 2nd cleaner version….but without the label do you know that is the Louvre Museum ? You know it is a pyramid, and a modern one because of the straight lines/edges, but that’s about it.

Tip #9 - Know what you are drawing. Sounds obvious but it is not. I realized this myself while making some of my own mazes. The best example to illustrate this is if I asked you to draw a brick wall. Let’s look at the most common way this would be done below. Looks like a brick wall.

brick wall in black and white

Brick Wall

What did I draw ? I did not draw bricks. I drew the mortar. Maybe it is not important, but maybe it could be. And what did I draw below ? Bricks in a brick wall. Know what you are drawing !

Brick wall outline in burgundy

I hope my 9 tips help you make your own masterpiece !

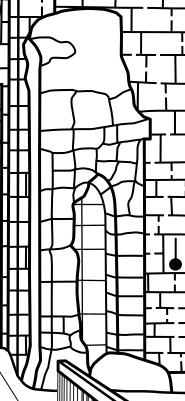
Maze Art Case Study - Bodiam Castle Maze Coloration & Improvement

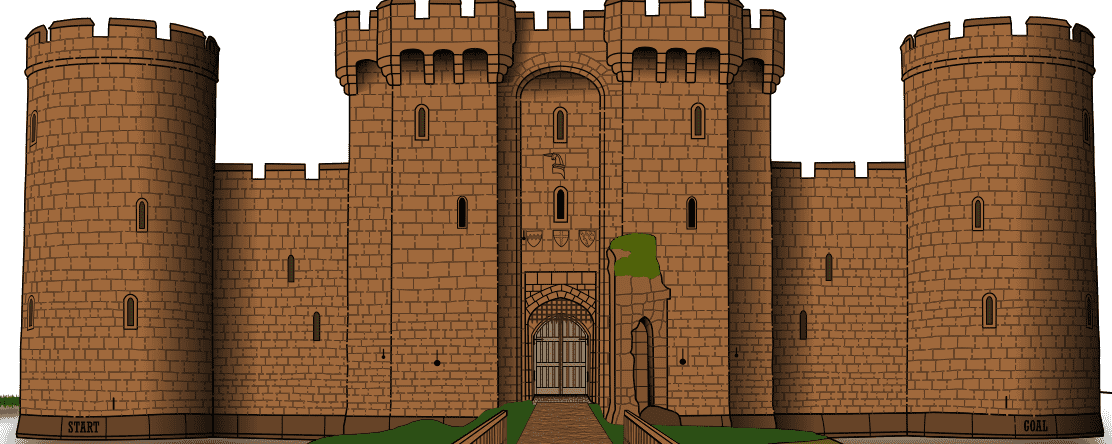
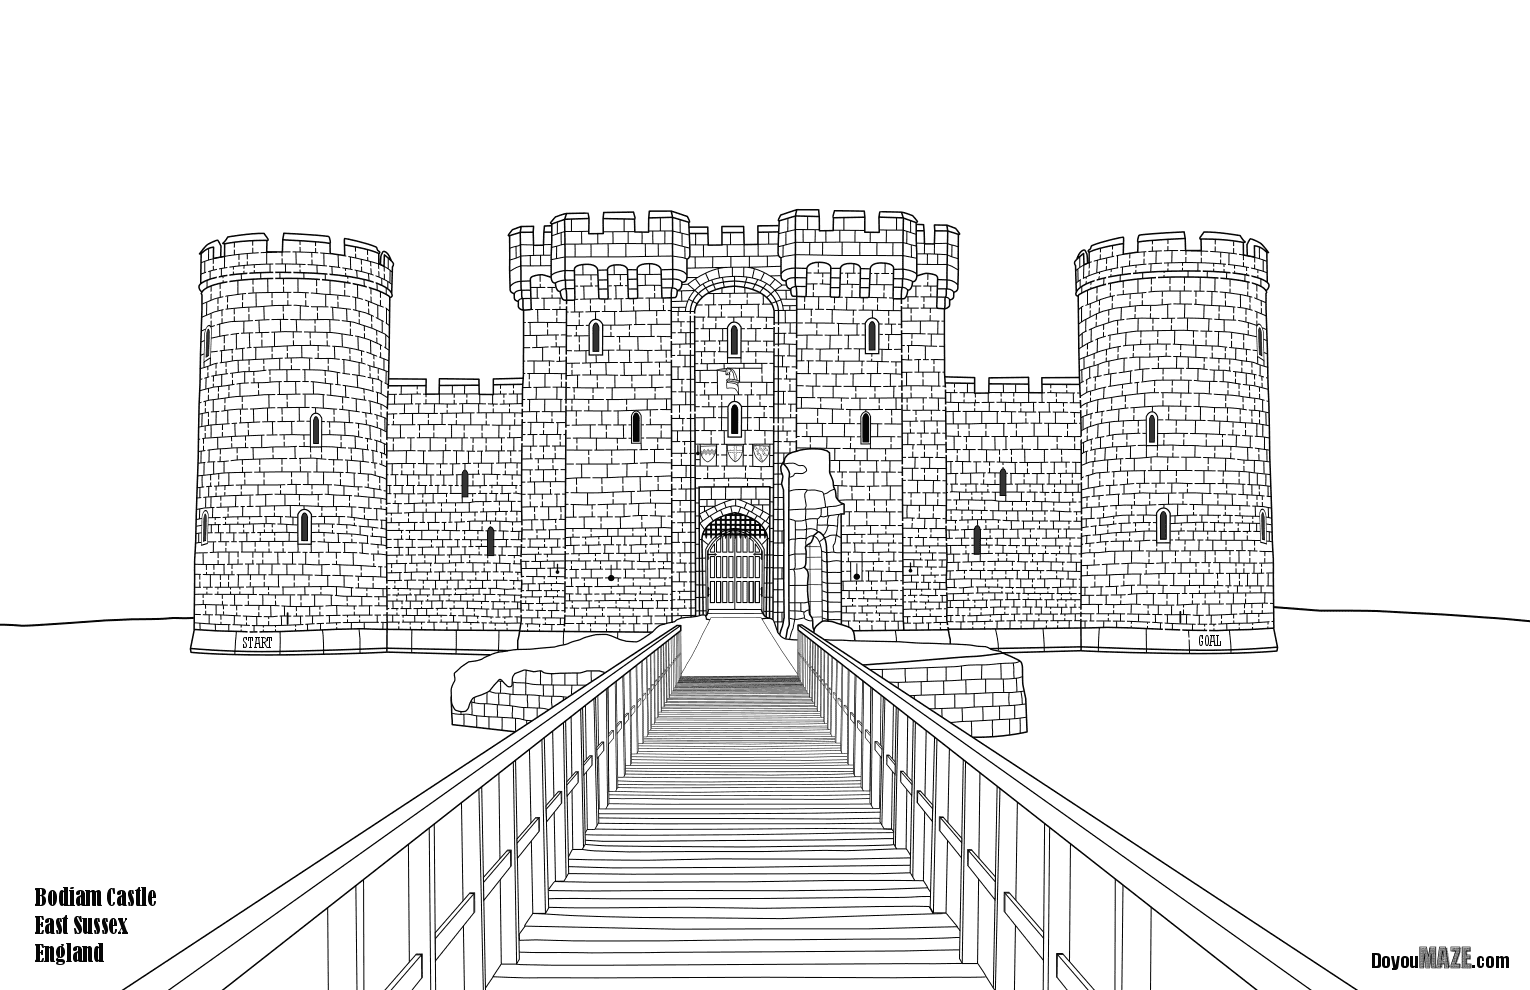
I wrote a blog post about improving existing maze art, Maze Art: Advanced Tips to Creating Your Own Masterpiece. I wanted to use my own writing to see if I could improve one of my own mazes. The maze in question is Maze of the Week #69 of Bodiam Castle in England. It is my second maze of a castle in England and this one I made only in black and white. When I was finished with the maze I didn’t really feel finished. I wanted to do more but was frustrated because the last section of the maze I worked on was a complicated. The parts that I could add would not have any bearing on the actual maze or maze solving so I moved to my next maze. Now I go back and try to improve the maze. Will work ?

Here are my 8 advanced tips for making maze art:

Tip #1 - Make lots of experimental mazes - DONE

Tip #2 - Get feedback - need to do !

Tip #3 - Famous landmarks/locations/objects get more interest - DONE.

Tip #4 - Leverage your unique skills - DONE , I make many building mazes !

Tip #5 - Don’t worry about “fitting” the maze into a particular size - DONE

Tip #6 - Slow down and take your time - I was rushing onto the next project…thus the case study !

Tip #7 - Add as many small details in the maze as possible ( & Consider adding shadows) - What I need to do.

Tip #8 - Take lots of detailed pictures of your subject - I do not live nearby but will search for as many details as I can find.

So 4 of the 8 tips apply to this maze. I will work my way through these and see how things go.

Tip #2 - Get feedback - I am going to send this to 2 friends to get some feedback and see what they say and include that in my changes.

Tip #6 - Slow down and take your time. I will be done when I complete the details I want to try and not before !
Tip #7 - Add as many small details in the maze as possible - This will be the core of what I do based off of additional pictures I find (Tip #8)

Here is my own evaluation of the small details that are missing in the current maze:

  • You can’t tell that there is a moat around the castle. I can try a few things to potentially fix this.

  • What is behind the castle on the landscape (it is not nothing) ?

  • The island includes grass although that is not clear in black and white.

  • Different sections of the maze bricks have different colors.

  • The structure on the island blends into the castle just to the right of the door.

  • The boards on the walkway leading to the entrance have additional details that can be added (like nails)

  • How about adding some shadows to give the castle some shape

  • The sky is empty

  • Moss and small plants cover a portion of the structure

As I sat down to enhance this maze I decided to start in the center with the wooden walkway and work my way from there. Let’s look at the changes I made:

1 - Walkway - added color - different shades based on shadows; added shadow between the boards; added nails; added lines to show ‘grain’ in the wood. Made over a dozen small fixes to extend/shorten lines and clean up the picture.

Walkway before
Walkway after

2 - Dirt Walkway - directly behind the wooden walkway it appears to be made of dirt and small stones. I gave it some detail to reflect that and colored it. I used lines closer together in the center where people would walk more.

3 - Island Bricks - I noticed that the bricks that make up the island have grout that it light colored, so as I colored the bricks, I changed the black grout to the lighter color with black accents.

4 - Island Moss - added color, including dead grass on the edges in a lighter color. I added some moss over the bricks.

Island before
Island after

Here is a close-up of 2 of the changes I made, the new bricks and the new walkway:

bricks view
pebble walkway illustration

5 - Island fix - I actually did not finish the portion of the island that goes behind the walkway. And this was not finished on either the left or right side, so I added the portion of the island in the background between the wood. I also colored them and added grout as appropriate. Here is the section on the left side with the island added. Go back and compare the before and after’s. Most people don’t notice the missing island in black and white !

bridge with background bricks illustration

6 - Door area - Added stone detail in front of the front door (and behind the pebbles) and colored it. Adjusted this from 2 sections to 1 and added shadow area near/under the door. Changed the door panels to be smaller with more accurate depiction based on the pieces of wood that make up the door. Added bolts that hold the panels together on both doors. Added a door handle on the left door. Changed the iron parts of the door to be a more accurate shape. Changed the color of the gate and added the bolts at the intersections that hold it together.

Door before
castle Door before

7 - Castle fixes - There are remnants of a building in front of the main castle on the right side. It has moss on the top and a door. I made the bricks the same as the island. There is a rock in front of the door. You’ll notice that later I made additional changes to this section (darker moss, doorway shadows).

Extra building before
Extra building after

The main castle has a shape that includes sections with some depth so I added color and shadows to account for that. The bricks were not as strong in the pictures I saw so I softened them just as I did on the island with the lighter cement color. The bottom stones near the boat were colored darker.

Castle illustration before
Castle illustration after

8 - Water fixes - I went for it on this section. I created relections of the castle and island in the water. Obviously I colored the water a nice blue color. I also added the reflection of the shore items (trees and grasses) after they were added.

9 - Shore fixes - Added some trees near the shore and some small hills in the background. Near the shore coming from the water I added reeds/grasses in the transition area. All items were later reflected into the water !
To show more detail I will only show the right side of the picture.

moat illustration before
moat illustration after

10 - Final touches - Added a sky. Changed the color of some moss (darker) to better reflect reality. Re-worked some layers to improve the maze. Enlarged the name of the castle in the bottom left corner larger than the location.

Considered but did not ultimately add: Clouds in the sky. I practice these often but have not perfected a good enough cloud yet. Ripples in the water. I experimented with this but decided it looked forced. Something to practice ofr future mazes. Ducks in the water and birds in the sky. Not needed, but if I could make it well enough it would be fun little added touch.

Here is the Before:

Bodiam Castle Maze in black and white

And here is the After: I had some trouble saving this as a PNG and keeping all the reflections, So I went with a screenshot. The full maze as intended is shown in the saved and downloadable pdf file.

Bodiam Castle Maze in color

How long did the changes take to add?

Changes took me almost 4 full days to complete, working on and off most of each day. I did not work on any other mazes during this time.

How much bigger is the new file than before ?

I added a lot of small details that really add up. The PDF file went from 149KB to 1,886 KB (12.6x larger) while the PNG file grew from 422 KB to 1,048 KB (2.5x larger).

Was it worth it ?

Yes, I think it was. But what do you think ?

Maze of the Week #69 - Bodiam Castle Maze

Maze of the week #69 gives us our second castle from England with the Bodiam Castle (check out MoTW #64 - Leeds Castle). And this castle has a moat ! You can plan your visit on this website, or use the castle website to learn about the history of the castle from it’s initial building in 1385.

Photo: flickr, Not So Dusty

Bodiam Castle

Bodiam Castle

The Maze: I went with black and white, which may have been a mistake since you can’t tell there is a moat ! I could color it in the future.

Bodiam Castle Maze in black and white

Bodiam Castle Maze

I hope you enjoy the maze. Download is available on the homepage.

And now that we got all of that out of the way…I changed the maze to improve it and made that into a case study. You can read all about that here (if this is day 1 of this blog post, April 24 it will not yet be visible - come back tomorrow to read all about it - it is worth it !)

Maze Art Case Study - Bodiam Castle Maze Coloration & Improvement

Coming the next 5 weeks: We get religious !

A temple maze

A church maze

A mosque maze

A church maze

A church maze

Making mazes with AI: Canva

Welcome to the 9th in a series of posts where I will test AI image generators and see how they handle making maze art. I will be asking 10 prompts and seeing what gets generated. My goal is to evaluate different AI image sites against each other to see how they perform. If you need to catch-up here is the series so far:

An exploration into Al Image Maze Generation

Making mazes with AI: DallE2

Making mazes with AI: Stable Diffusion

Making mazes with AI: Craiyon

Making mazes with AI: Dream by Wombo

Making mazes with AI: Nightcafe

Making mazes with AI: StarryAI

Making mazes with AI: DeepAI

Canva logo

Making Maze Art with Canva

Today I test out Canva Text to Image. You can access the website here. You must create an account and sign-in to use the website. Each prompt, or generation will generate 4 images. There are 6 styles to choose from: Concept Art, Photo, Painting, Drawing, 3D, and Pattern. You may also pick the aspect ratio to generate: Square, Landscape or Portrait. All 10 prompts I will use are the same for each site tested !

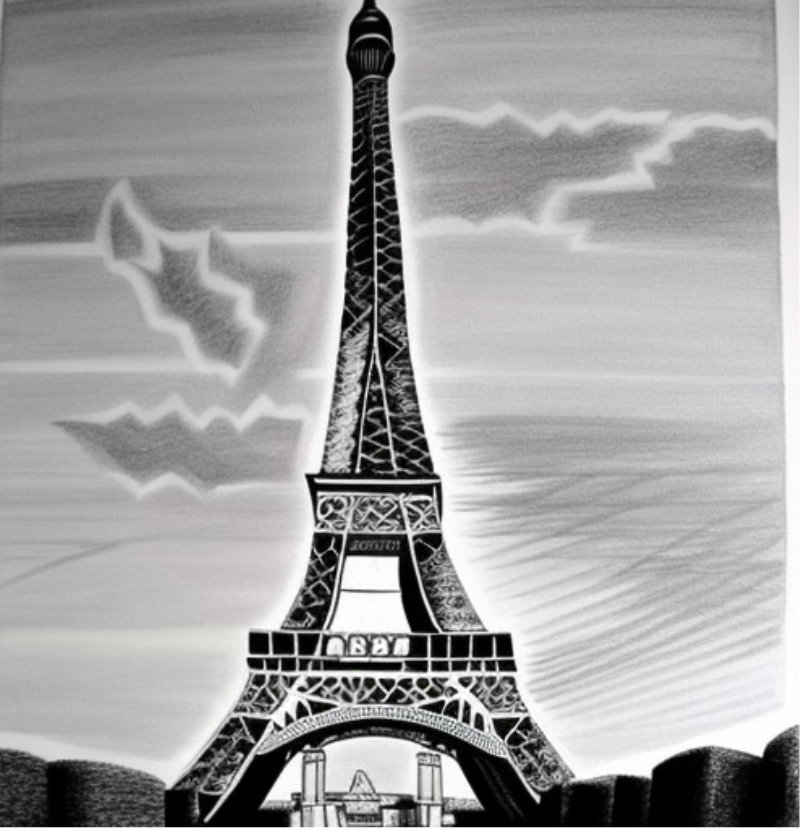
Prompt 1 - Make a medium difficulty maze of the Eiffel Tower in black and white with arrows at the start and finish

Canva  Eiffel Tower

This is the interpretive dance version of the Eiffel Tower I think. You can almost see a bat signal in the clouds.


Prompt 2 - Draw a medium difficulty large maze of the Empire State Building with the start and goal embedded in the structure

Canva  ESB

2 Empire State Buildings beside each other in black and white with colored pencils on the right side because ?

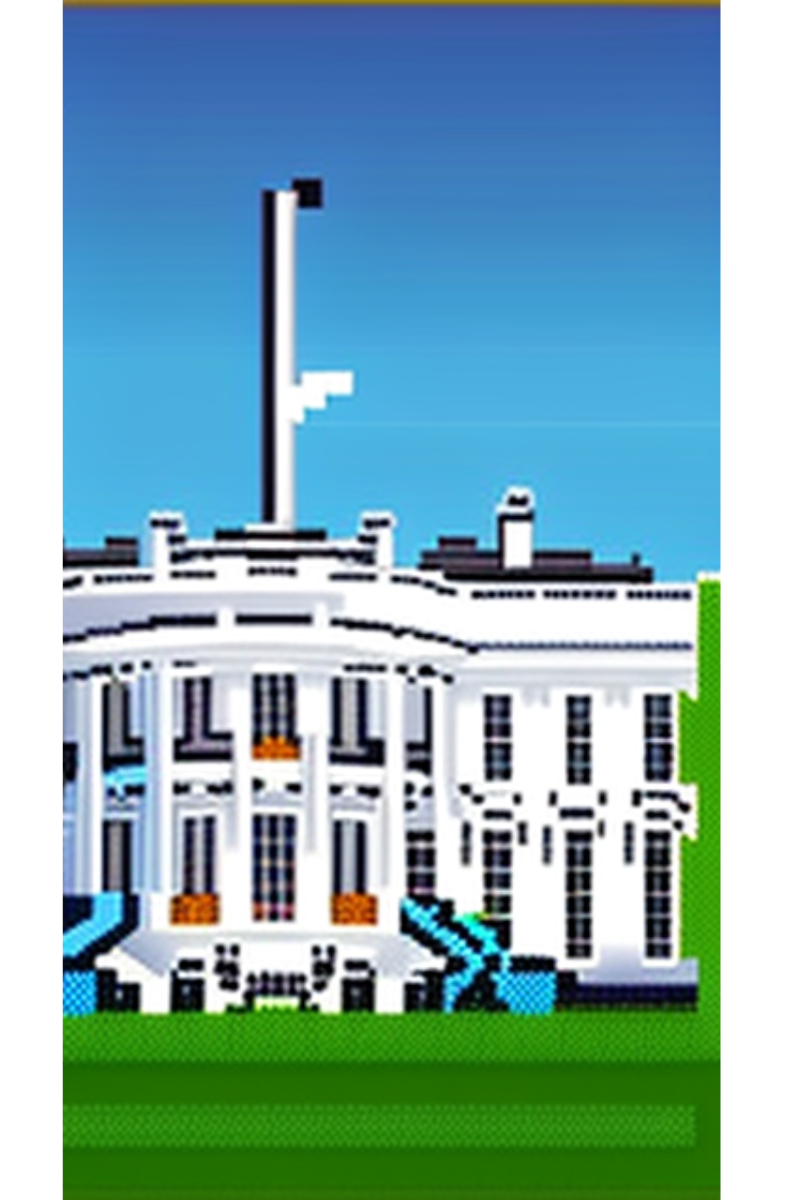
Prompt 3 - Draw a difficult maze of the White House pixel art style

Canva  White House

No maze, but sweet pixelated White House.

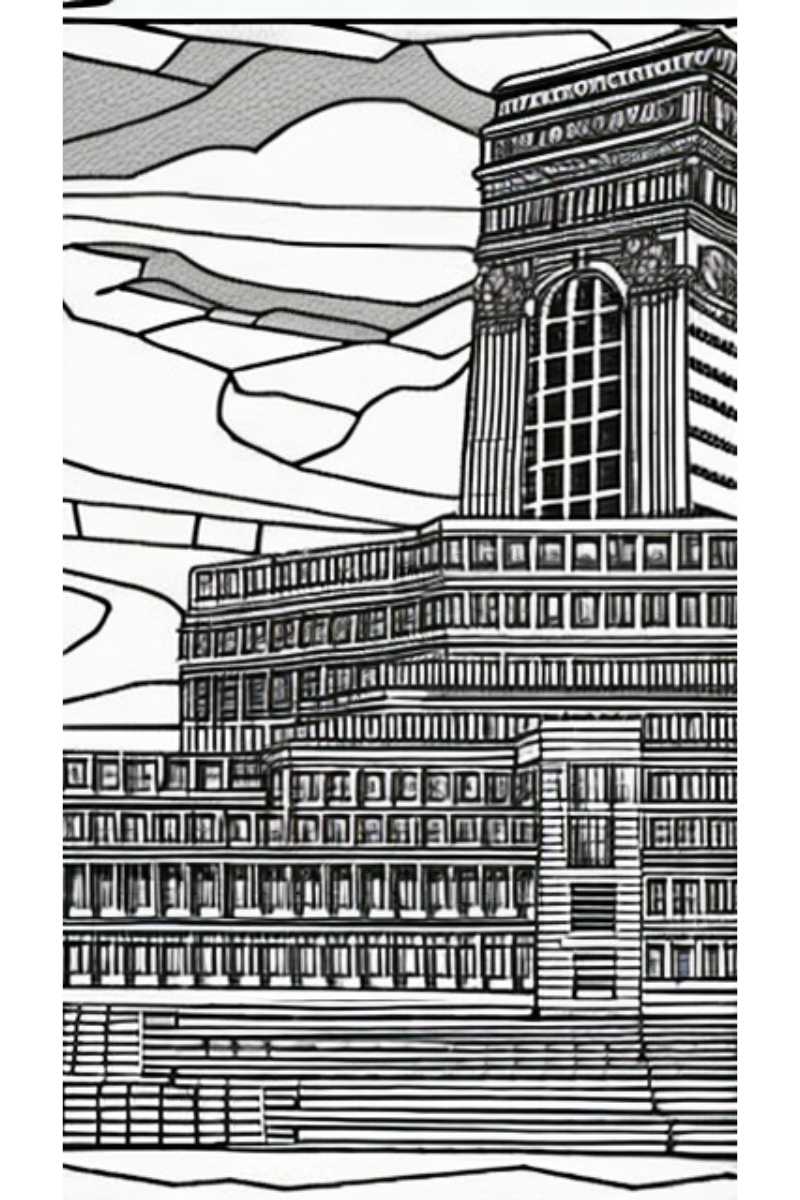
Prompt 4 - Draw a difficult maze that looks like a drawing of a famous building in sketch style

Canva famous building

I think we can all guess what this famous building is supposed to be, right ? It has volumes and volumes of leather bound books inside.

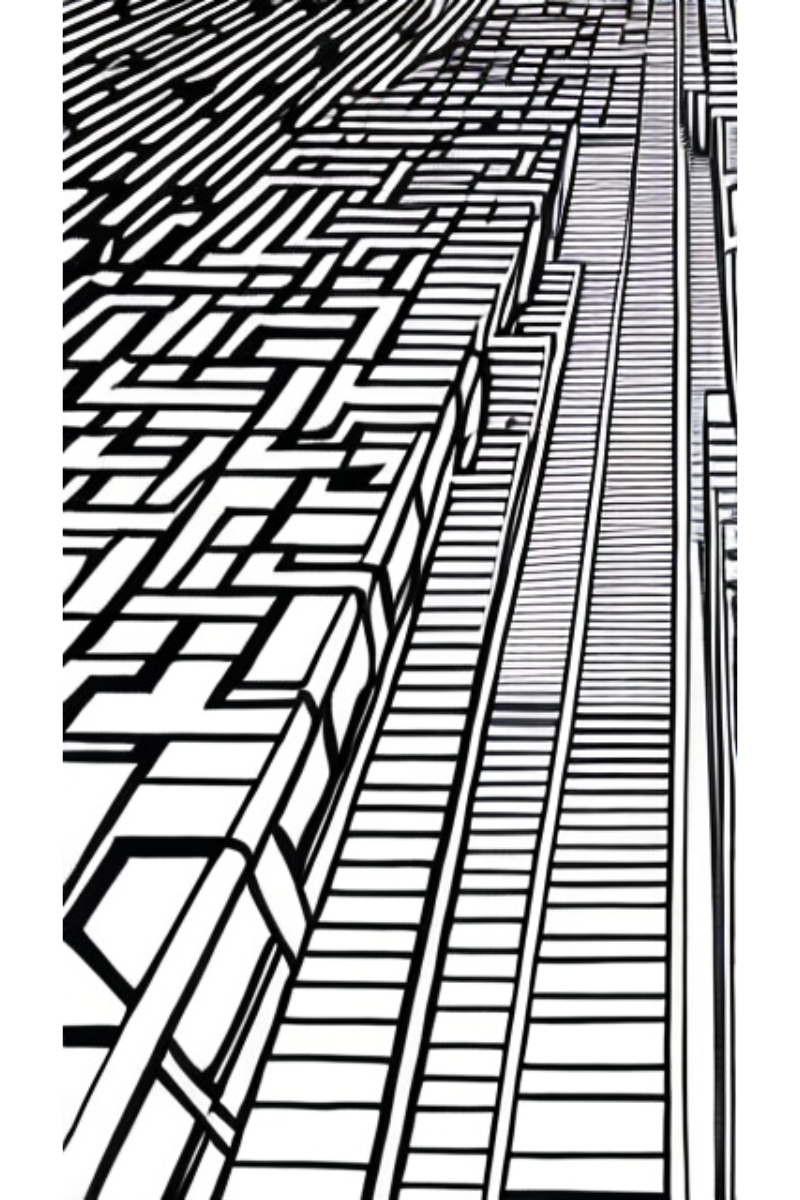
Prompt 5 - Draw a maze in the style of doyoumaze.com of a skyscraper in NYC

Canva skyscraper maze

I like this. I know it is supposed to be looking up at a skyscraper, but it could also looking looking out into the far horizon. What do you see ?

Prompt 6 - Draw a maze in the style of Sean C Jackson of a scene from a large outdoor market

Canva outdoor market

You can only buy food at this market if you can get out of the maze. I like that the word ‘season’ is on the sign.

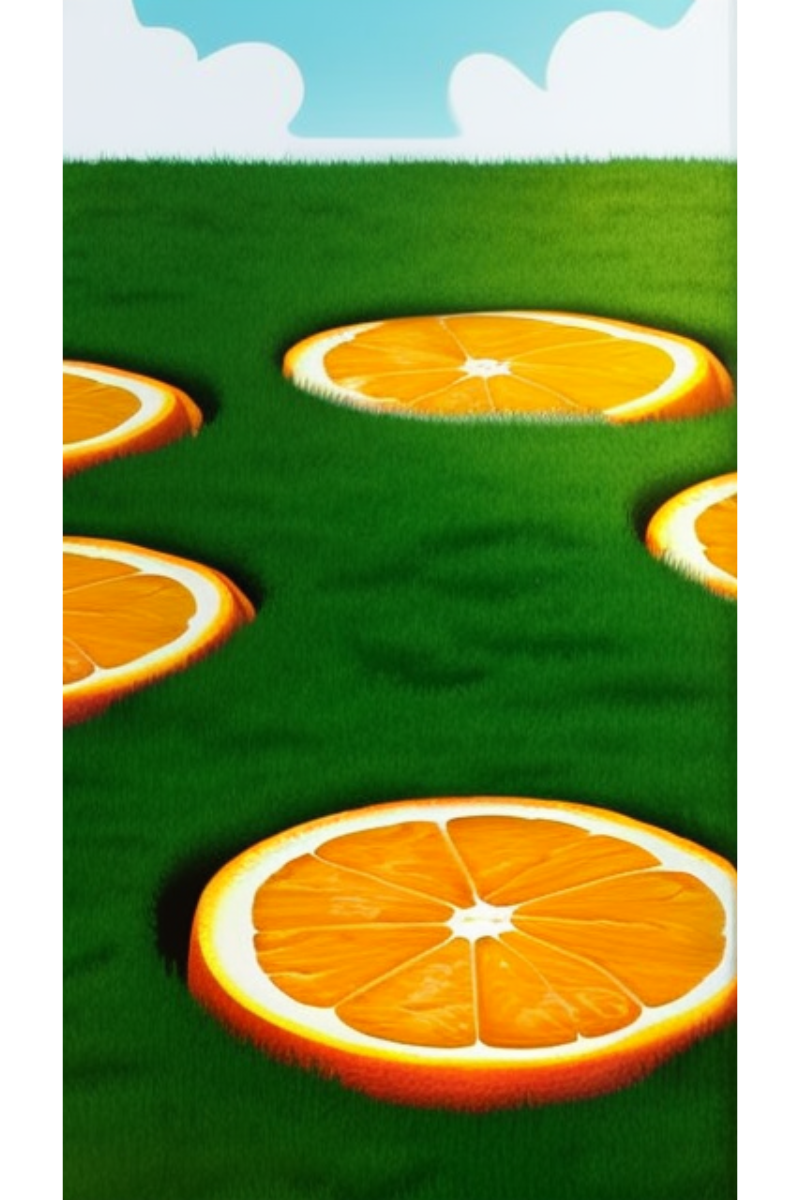
Prompt 7 - Make a maze of a slice of an orange in color

Canva  oranges in the lawn

Slices of oranges embedded in the grass ?

Prompt 8 - Make a maze integrated on top of a photograph of a king sitting on his throne looking cantankerous beside his beautiful queen

Canva queen looking at a tower

Not even close. Take a moment to imagine the inside of the castle. That is a steep hillside. Are there really steep steps up ? I mean that looks legit terrible to climb to the top of.

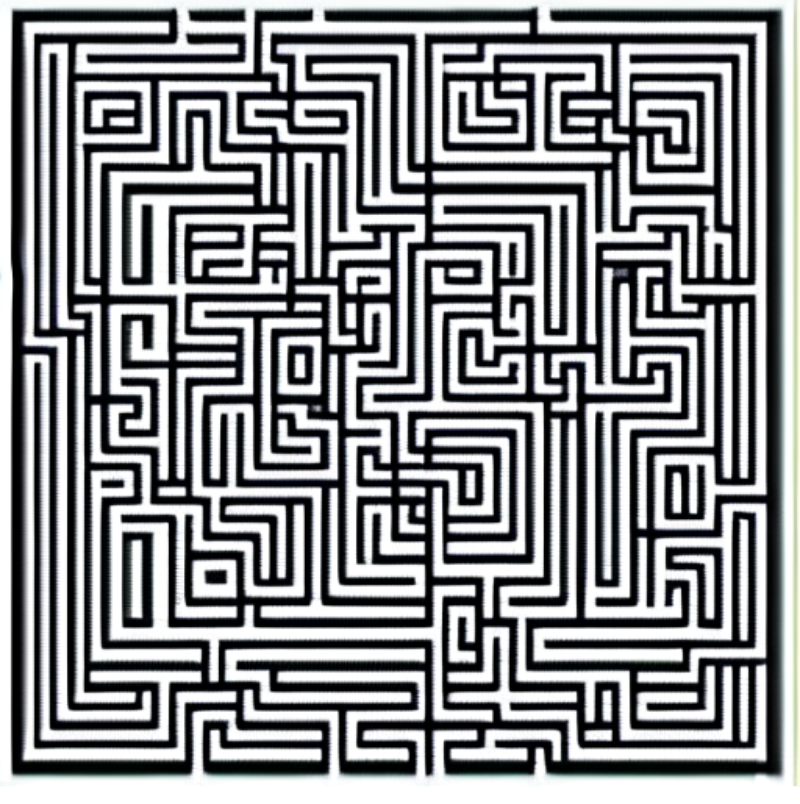
Prompt 9 - Make a solvable maze that is very large and very difficult to solve because it is so complex

Canva  maze

Do we have a winner ? Only if you don’t try to solve it. So much first glance potential ! Gotta love first glance potential !

Prompt 10 - Make a 3d render of a red and blue glossy cube maze

Canva 3D glossy maze

Interesting that the maze is in white on top of the cube-like structures. I like the out of focus portion in the back for some reason.

How did Canva do ? Ok. You take the good, you take the bad, you take them both and there you have how Canva did. How Canva did. It certainly had a large variety of output styles along the way !

Coming Next: AI Image Generator