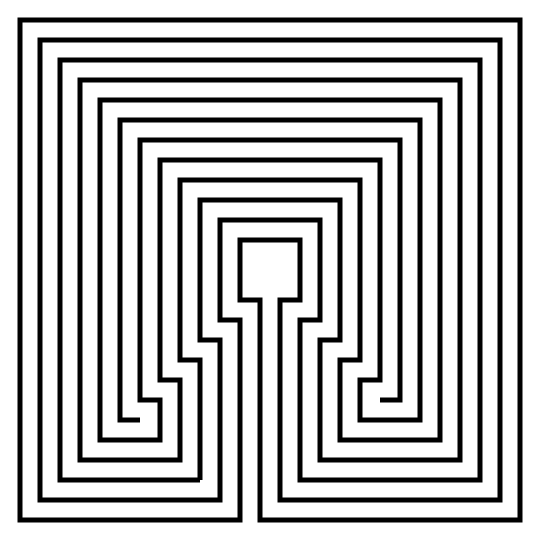
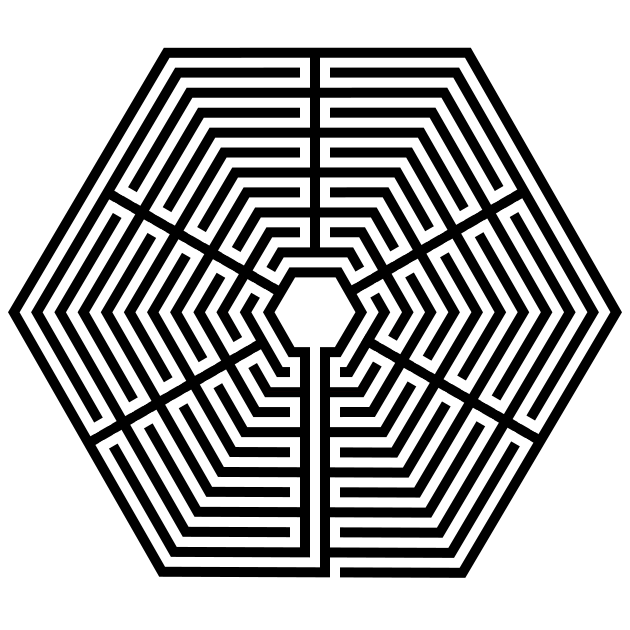
In this post I will show you how to draw a 7 circuit Caerdroia Labyrinth. I first became aware of this type of labyrinth, a variation of the Cretan labyrinth, when I saw it in the film, The Night House, which has a maze theme weaved into the storyline. This type of labyrinth is Welsh and they were used for gatherings of singing and dancing. To learn more about them check out Wikipedia.
How to Draw a 7 Circuit Caerdroia Labyrinth
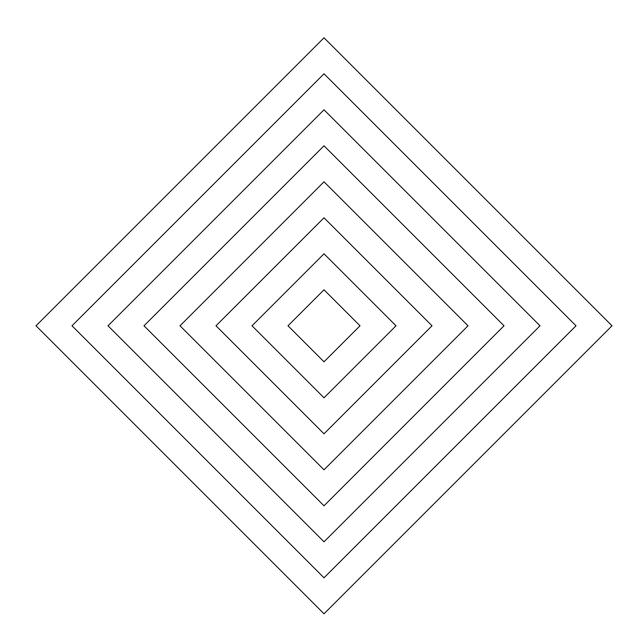
Step 1 Draw the seed pattern
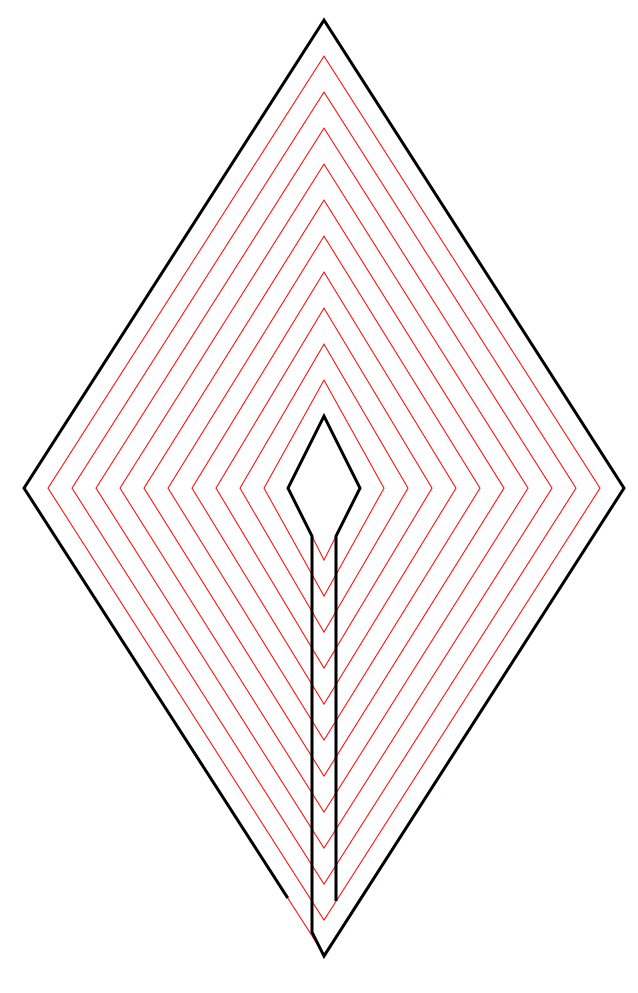
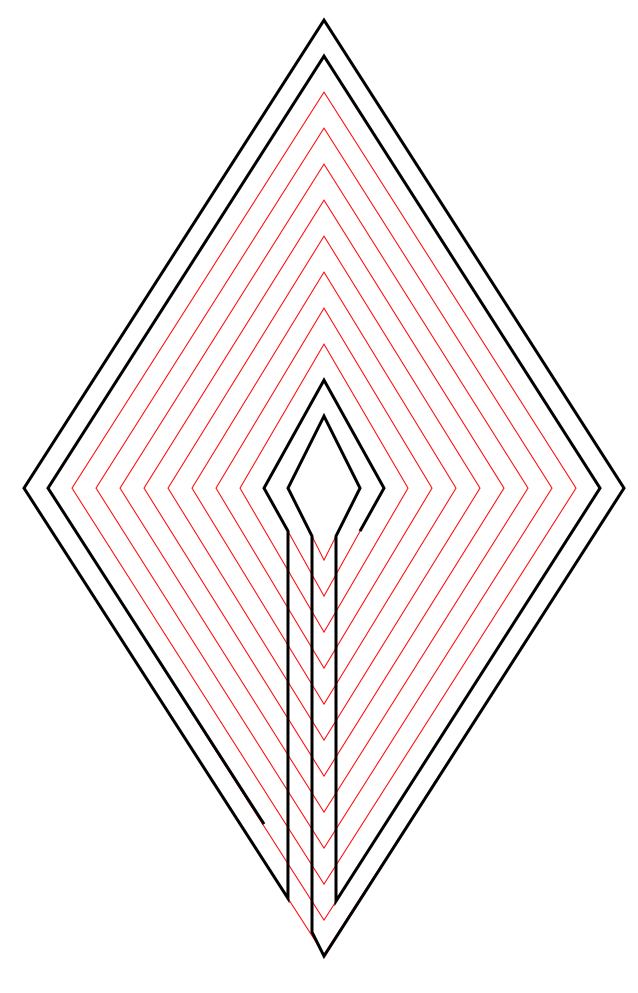
I came up with 2 possible seed patterns for this. The first is based on the classical 7 seed labyrinth and adjusted for the unique shape of this labyrinth. You can see this below in black overlaid onto the complete labyrinth in red. It uses a center cross (in this case offset), 4 L’s and 4 dots just like that seed uses.
The step by step instructions will use this seed, however there is another seed option I will review below.

Step 1 - Draw the seed pattern
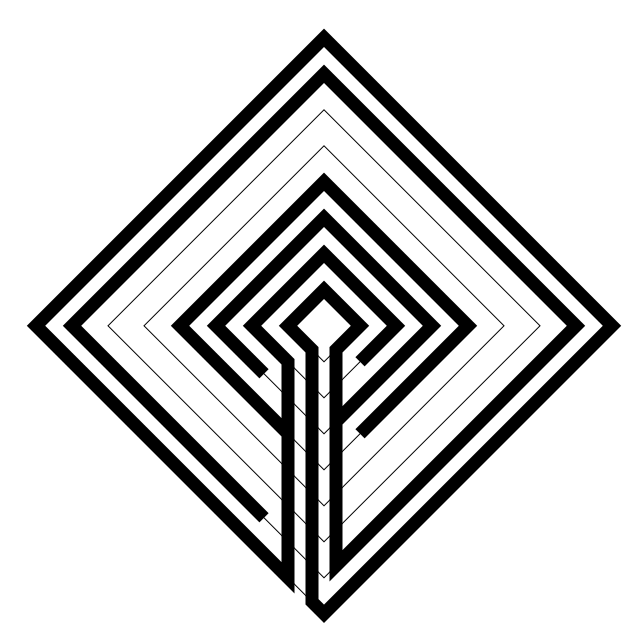
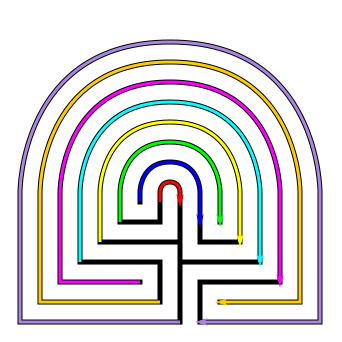
Step 2 Note the Connection points
All seeds become labyrinths by connecting one point to another around the entire shape. For a 7 circuit you will need to make 8 connections as labeled below.

Step 2 Note the connections
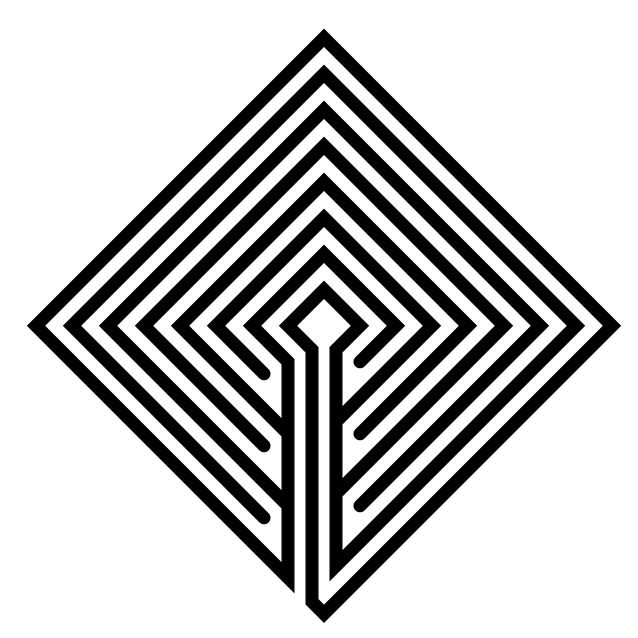
Step 3 Note the location of the peaks and shape changes
In the northern part of the labyrinth, you have all circular pathways, and all of them have a peak that is centered between the first connection points (also centered above the center goal).
In the southern part of the labyrinth you have a square labyrinth. This portion of the labyrinth fills bottom half and a half step above the seed (this is an aesthetic choice by me - you may also use the seed as the point of shape change if you prefer)

Step 3 Location and shape changes
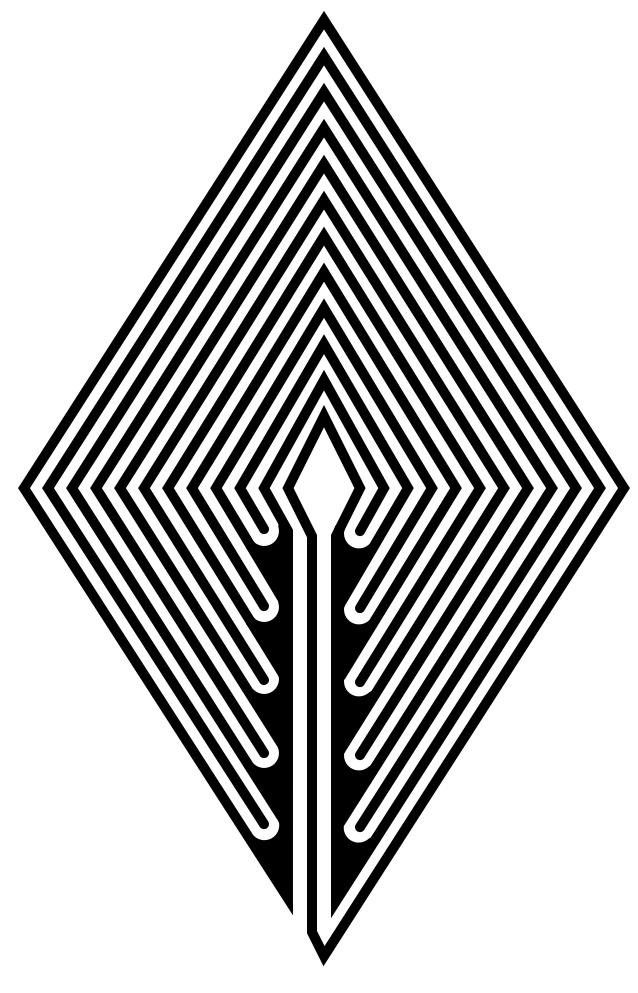
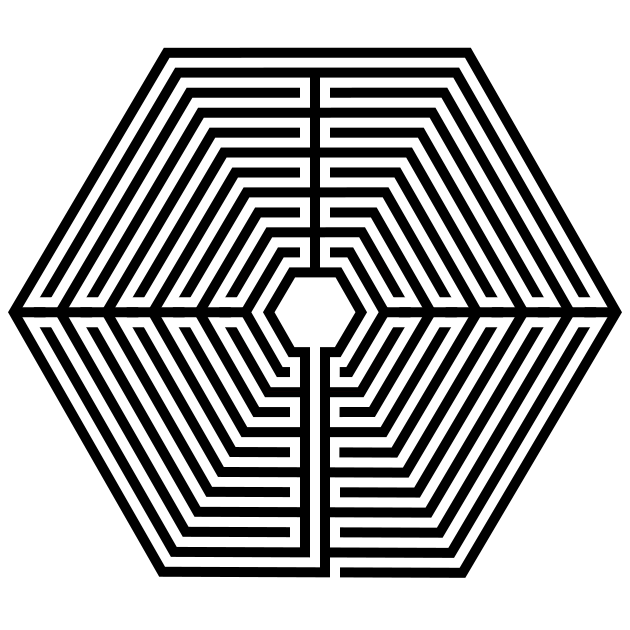
Step 4 Draw and connect the pathways to create the labyrinth
After all the explanation above, connect the same numbered pathways to create the labyrinth. Connections 1-5 require (mostly) the drawing of semi-circles, while 6-8 require pathway extensions before drawing the semicircles.
Connect the pathways in order from left to right.
That completes the labyrinth, BUT let’s look at the other seed I mentioned above.
ALTERNATIVE Step 1 Draw the seed pattern
To simplify the connection drawing this seed requires only the drawing of semicircles, but a much larger seed which looks more like a very wide tree. There are still 8 connections to make, but they are more uniform. Just make sure you align all of their transition points from square shaped to circular shaped.

All other step are basically the same, with just the drawing of your walls changing since you did more upfront work !

OPTIONAL STEP 5 Make any Aesthetic Changes
You have options for the wall.to pathway ratio. Below I made them equal. The display of corners ( I chose soft below vs. sharp corners), and how the ends of lines will look (I chose rounded vs squared).

That concludes our instructions. Good luck in making your own design !
Additional posts you might like:
Maze Construction - 5 Maze Design Decisions Make All the Difference