In a series of posts I will show you how to make a maze in a wide variety of maze design constructions. The best place to start this topic is with the standard maze construction. Let’s define what I mean, then get into the example. Every how-to will use a simple square so you can compare the differences between each maze construction type. I will also show a consolidated secondary how-to using an irregular shape (the state of Ohio).
Here is an outline for this blog post with jump links if you want to skip ahead to a section:
HOW TO MAKE A MAZE WITH STANDARD MAZE PATHS
HOW TO MAKE A MAZE WITH STANDARD MAZE PATHS (OHIO VERSION)
STANDARD MAZE DEFINITION
Standard Maze Paths - By standard I mean a maze made with paths based off of a grid framework. The wall width is smaller than the pathway width. This includes wall widths that are less than half the width of the pathways.
THE 5 RULES OF MAZE DESIGN:
These 5 rules apply to any maze you make so we start with them !
1. Always keep an open pathway for the solution
While drawing a maze you will need to juggle multiple open pathways each of which could become the solution. One of them will become the solution. Keep track of it. This is especially important if you are designing pathways in both directions (from the start and from the goal).
2. Clearly mark the start and goal, or the objective of the maze
A maze should have a start and a goal that you can assess just by glancing at it. There are many ways to start and end a maze I review in this blog post: Options for Starting and Ending a Maze
3. Ensure the difficulty matches the intended audience
Most people want to solve a puzzle/maze that is just slightly below or slightly above their skill level. Many things help determine the difficulty of a maze. Size, number of branches, the length of dead ends, the number of choices, the complexity of the rules (if the maze has them).
4. Ensure your maze has a solution
When your maze is complete, solve it to determine the difficulty level and to ensure it is a real, solvable maze. Depending on the complexity of the maze you may want to do this right away or wait so you can properly assess the difficulty.
5. Explain anything that needs explaining
Some mazes have rules or conditions. Explain them with directions. If it isn't obvious, make it so.
HOW TO MAKE A MAZE WITH STANDARD MAZE PATHS
Step 1 - Draw the Outline
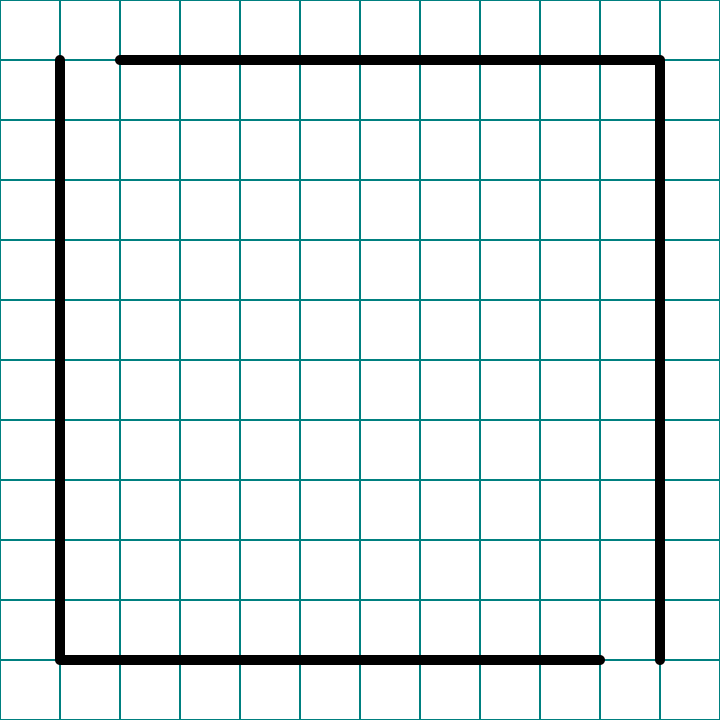
The outline of the maze makes the outer wall of the maze. It can be anything from a simple shape like a square, to a complex picture. The outline should be thicker than the internal lines to give the maze definition. In the example below I show the grids and I made a 10 x 10 grid square.
Step 1.5 - Choose the Start and Goal
For the below example I left gaps in 2 corners for the start and the goal. If drawing a maze digitally you could choose this later, but for a hand drawn maze the maze outline will need to have gaps for the start and goal.
Step 2 - Start Drawing the Maze Walls
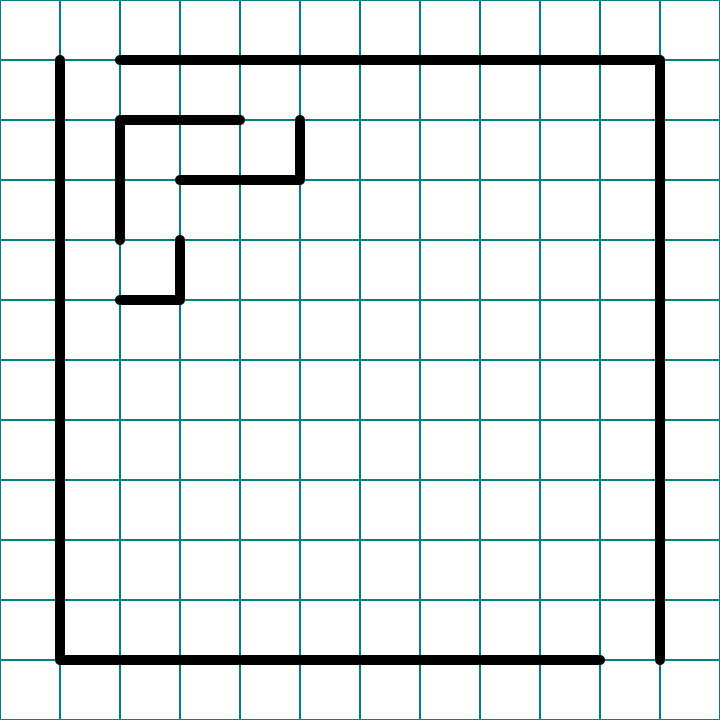
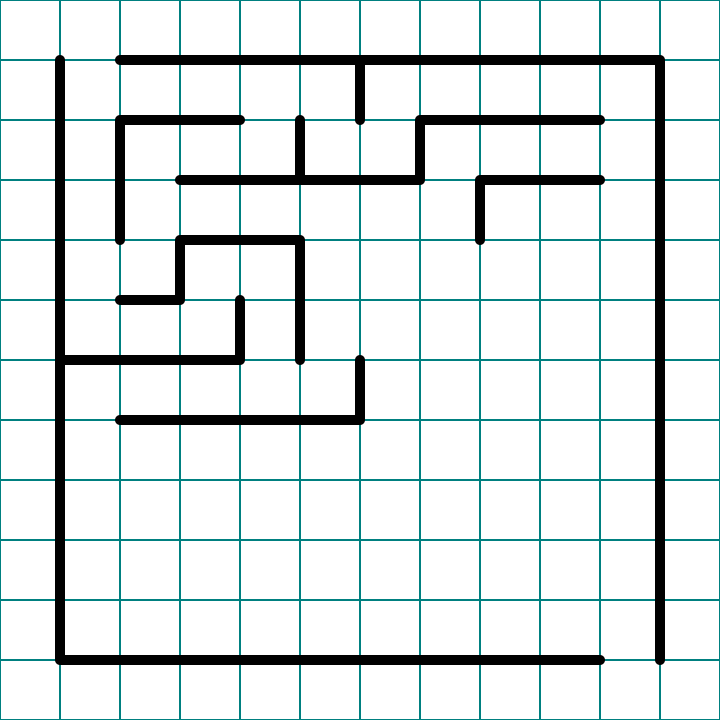
Using a grid pattern, begin drawing the maze walls starting at the entrance of the maze. The smaller the size of the grid you use, the more difficult the maze can become. This is because a small grid will need more pathways to fill the space you are mazing. As you make the maze decide how difficult you want to make it based on your preference or your intended audience. A low amount of path choices, and short dead end paths will make an easy maze. Longer dead ends and lots of path choices make a more difficult maze. The below example is starting off as an easy maze.
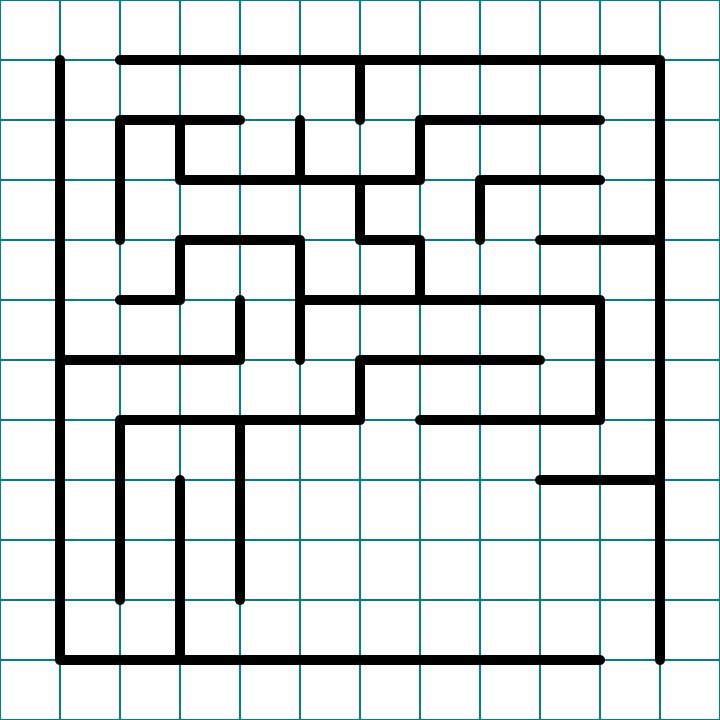
Step 3 - Keep Drawing the Maze Walls
Like most mazes the middle part of design is a lot of keep doing what you are doing and draw more walls. There is nothing too complicated in the below example. The solution is not difficult to follow so far as there are still multiple possible solves still available to use. When I design a maze of any type I like to have multiple options open for most of the design process. When I get near the goal of the maze, that is where I decide which path works better. Take a quick moment to solve these mazes using your eyes. Notice the length of the dead ends and how quickly you find the wrong turns. The more novice the target audience for the maze, the shorter the dead ends should be.
Step 4 - Complete the Maze
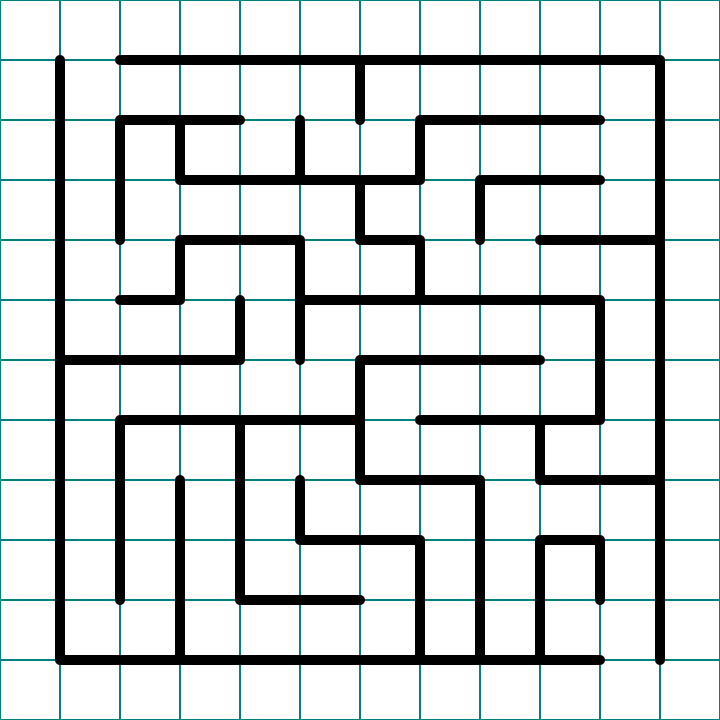
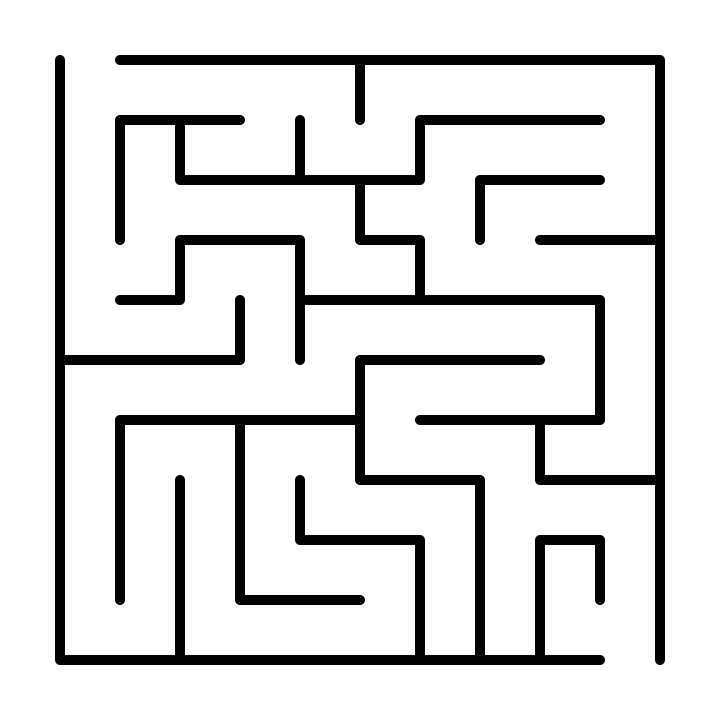
Draw the final walls and draw the exit (if you are making your maze digitally). You have completed the drawing of a standard maze ! As I mentioned above, I reviewed the possible pathways as I was reaching the goal and chose the one that best fit what I wanted to achieve (in terms of difficulty). Just a quick note if you were hand drawing your maze the goal was already drawn in step 1.5. In this case you have the option to complete your maze by drawing from your exit goal to the mostly completed maze. Below I took an extra step to delete the background grid.
Step 5 (Optional) - Draw the Solution
You have two options here - Option 1 - While the correct pathway is fresh in your mind, draw the solution to the maze. This is especially important with more complex mazes. It can also be a check to make sure your maze has a solution. This example maze is easy. Option 2 - Let the maze sit for a few days and try solving it yourself. Was it the difficulty you thought as you were designing it ? Did you enjoy it or did it frustrate you in any way ? Using option 2 means you are more likely to go back and make adjustments to improve the maze. Think of it as proofreading for mazes.
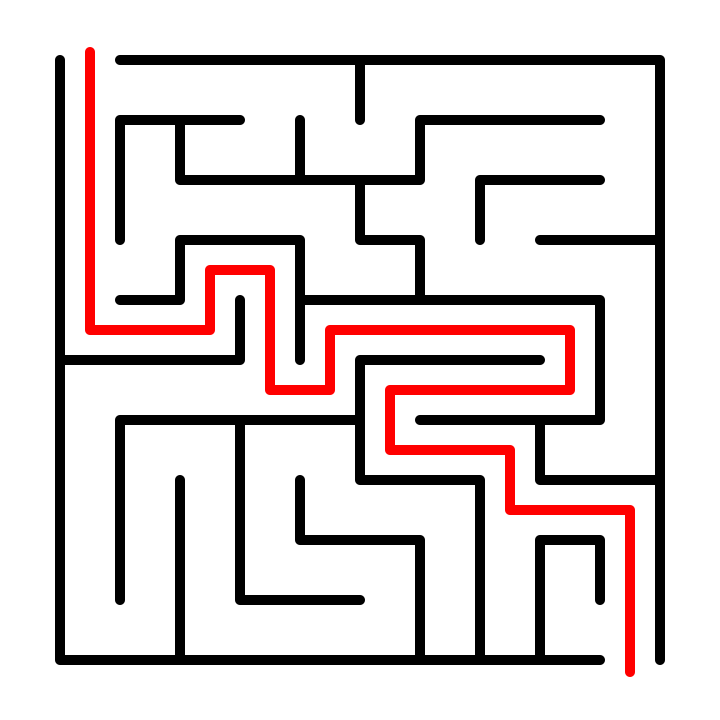
HOW TO MAKE A MAZE WITH STANDARD MAZE PATHS - abbreviated writing & using a different shape
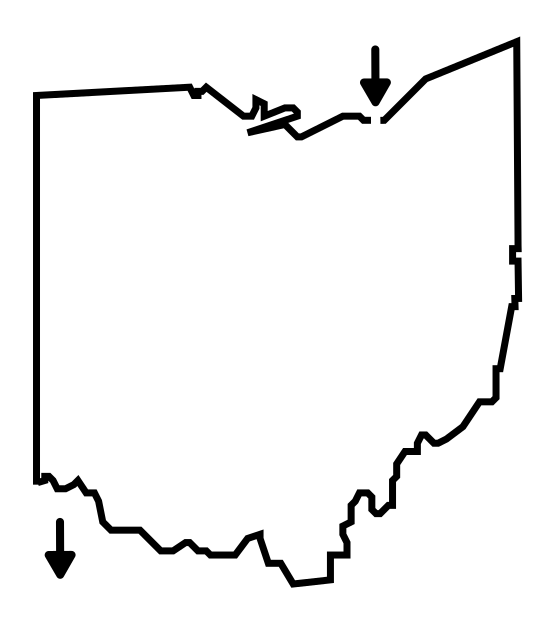
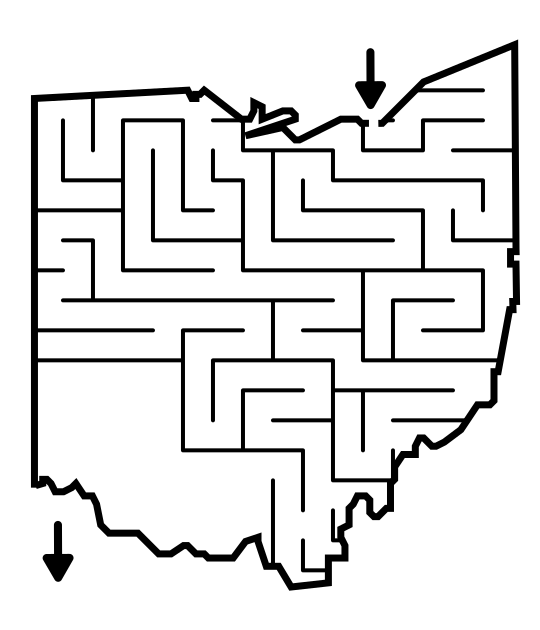
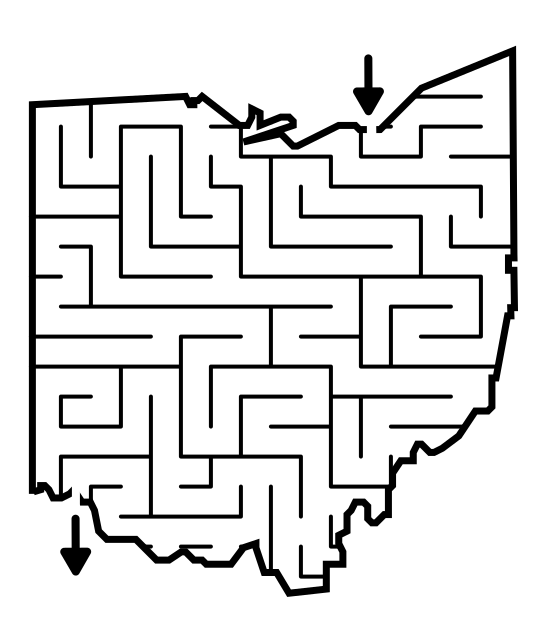
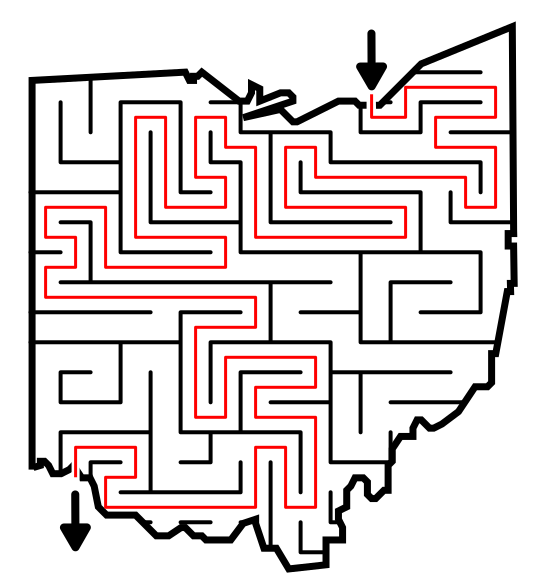
Here is the original step by step maze done in the shape of Ohio. Use the next controls to watch the maze get made, then see the solution.
Step 1 - Draw the Outline - I drew Ohio and added a start at Cleveland. I put an Arrow near Cincinnati but did not officially make that the goal until I draw the maze.
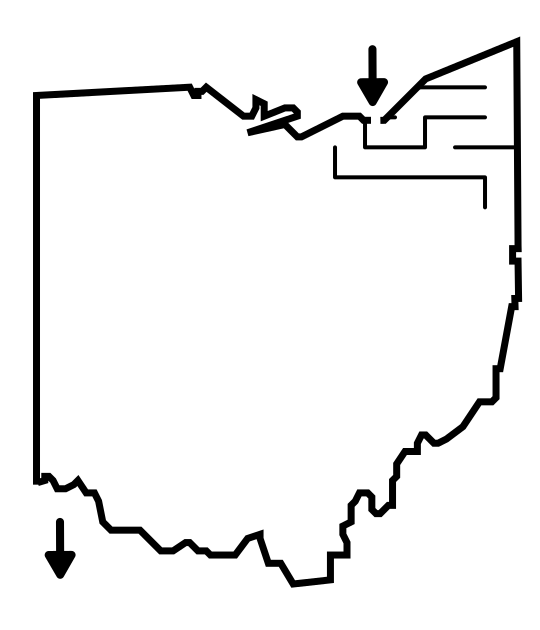
Steps 2&3 - Drawing the Maze - Nothing too special. I drew in the maze from start to finish.
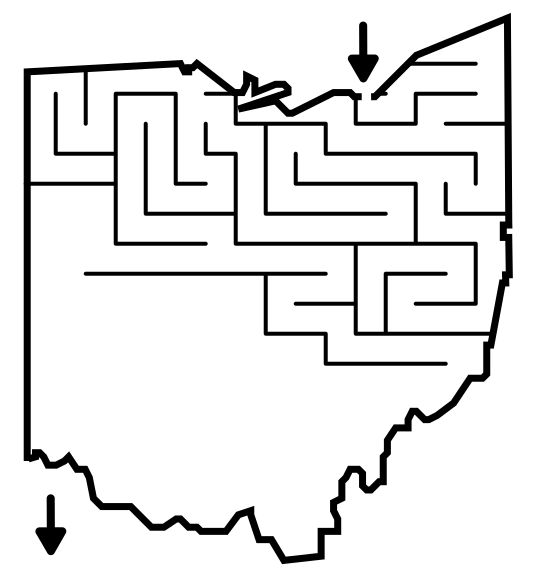
Step 4 - Complete the Maze - The maze determined where the goal would be placed and I finished the maze.
Step 5 - Draw the Solution - I added a solution, ensuring I made no mistakes in my design.
4 ADDITIONAL EXAMPLES OF STANDARD MAZES
The Cheeseburger maze happens to be in full color and uses a smaller scale (the grid is 10x10 with walls at a 1.5 width) but it is a standard maze. Difficulty is medium because the pathways that are false tend to be longer then normal, so if you take a wrong turn early there may be a delay until you realize it with a longer backtrack to get on the correct path.

The standard maze is the default for most maze makers because it works well with just about any subject you are making a maze of. Like this full-color Pug maze. A medium difficulty maze. Was made on 16x16 grid with wall widths of 2.5

In the first two examples you can see how this maze construction works with irregular shapes. Now let’s look at how it works on more structured shapes like rectangles. The Zipper maze below, and there are not many zipper mazes out there, has a very rectangular structure that naturally fits with the grid pattern. Yes there are some rounded corners but they are easy to navigate as a designer ! I think you can tell by the scale this is a 4x4 grid with walls of 1.2.

Next we have another maze a natural fit for a standard maze because of it’s shape, the Barn maze. The entire lower portion fits perfectly with the grid. It was made on a 4x4 grid with walls of 1. I think this maze is medium hard, and definitely not for kids. One of the main reasons I included this maze was because of a specific detail I like. Do you know what it is ? It is the rooster on the roof. I like adding little details, even if they do not effect the solve of the maze.

START AND GOAL OPTIONS
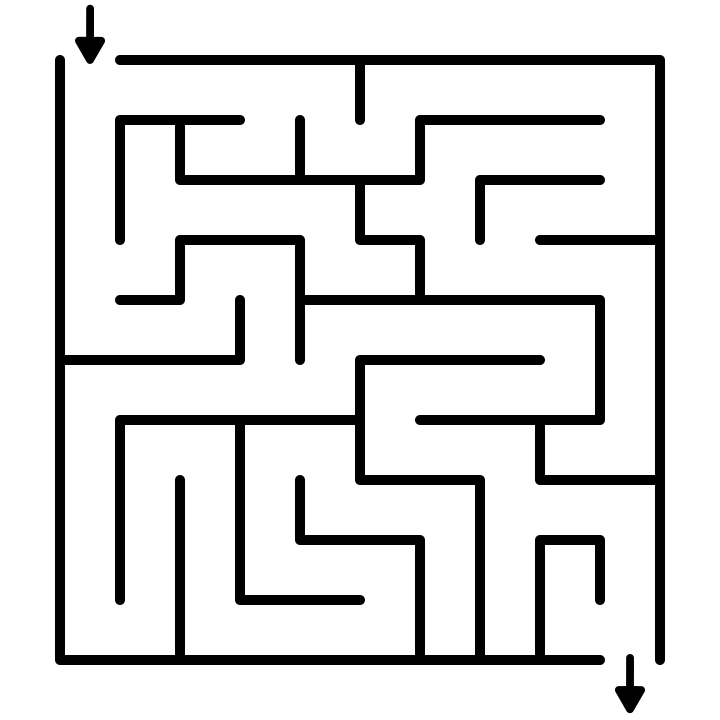
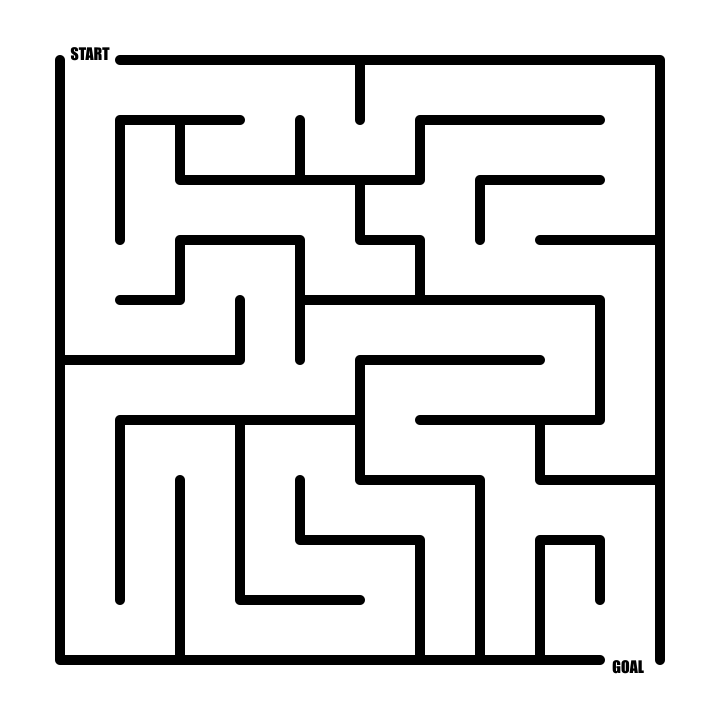
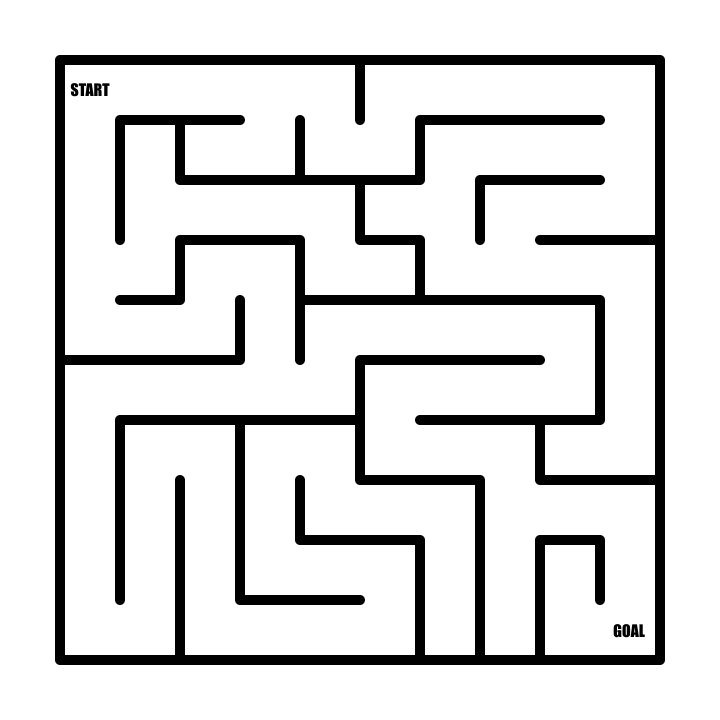
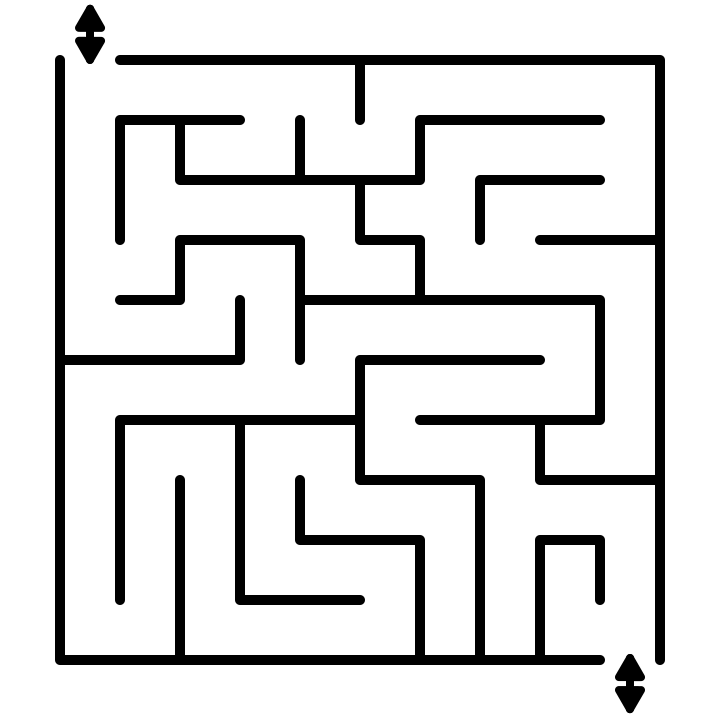
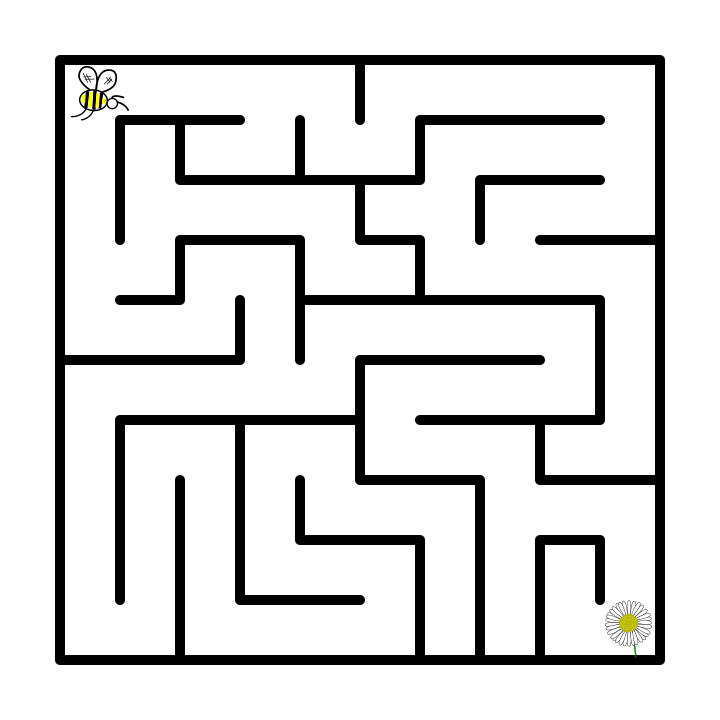
I want to take the time to show you some of the many options you have for starting and ending the maze. I did not use any labels above, but arrows are pretty standard. You have other options as I outline in Options for Starting and Ending a Maze. Here is the above maze but using 5 different choices to for the start and goal. You have options !
FREE STANDARD MAZES TO SOLVE
If you want to solve some of this type of maze, check out the Regular Maze Section that features 40 different mazes available for free download ! They are all rectangular but are divided into sections by difficulty level.
STANDARD MAZE TEMPLATES
If you want to try making a standard maze with a bit of help, try one of these downloadable templates. Just add lines between dots to create the maze walls !
RELATED MAZE CONSTRUCTIONS
There are 3 constructions that are very similar to a standard maze construction. The standard equal has thicker pathways, while the horizontal and vertical maze constructions are the same as above but exaggerate the maze design in a particular direction (so the maze looks horizontal or vertical).
Interested in learning how to make or draw other types of digital mazes ? I have step by step instructions on how to make over 40 different maze types HERE.
If you prefer making labyrinths, you can find step by step instructions HERE.