From Crete to Hogwarts: 7 Famous Mazes in Literature

Today we explore the fascinating world of mazes in literature. From the ancient labyrinth of Crete to the magical maze of Hogwarts, mazes have captured the imagination of readers for centuries. In this post, we'll take a closer look at seven famous mazes in literature and the stories behind them. Let's explore the twists and turns of these literary labyrinths.

7 Famous Mazes in Literature:

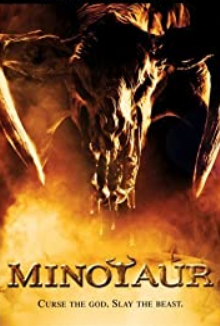
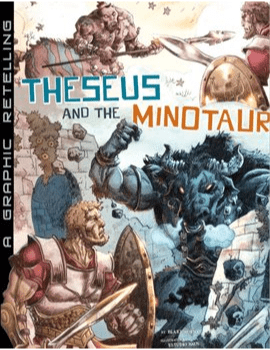
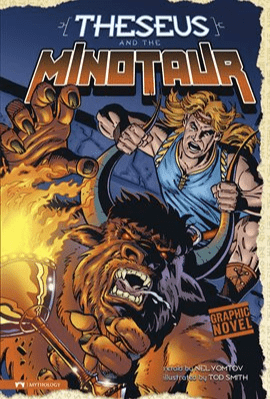
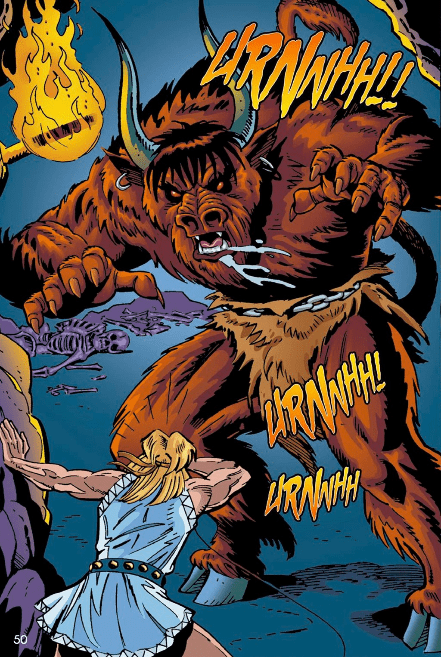
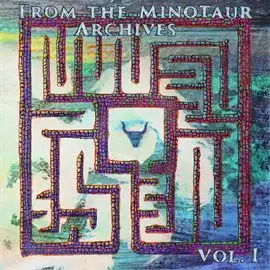
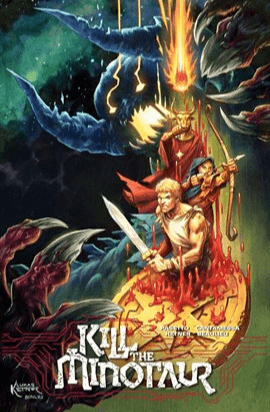
1. Greek Mythology (AMZN): All discussions of mazes in literature must start in Greece. The ancient Greek myth of Theseus and the Minotaur took place in a labyrinth. King Minos was upset because his son, Androgeus, did so well at the Pan-Athenian games, he was assassinated. He sent his fleet to Athens, and demanded the assassins be turned over, but nobody knew who did it. Theseus volunteered to go to Crete as one of the sacrifices to the Minotaur. The king's daughter (Ariadne) fell in love with Theseus and gave him a clue to the labyrinth so that he would succeed, which of course he did. In addition to books the story has been made into movies and graphic novels.
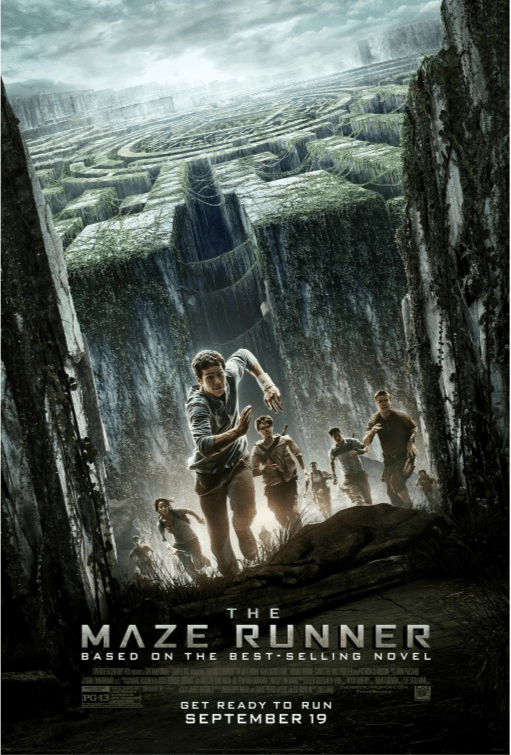
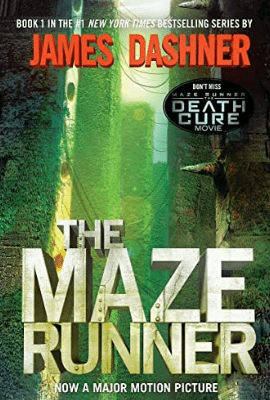
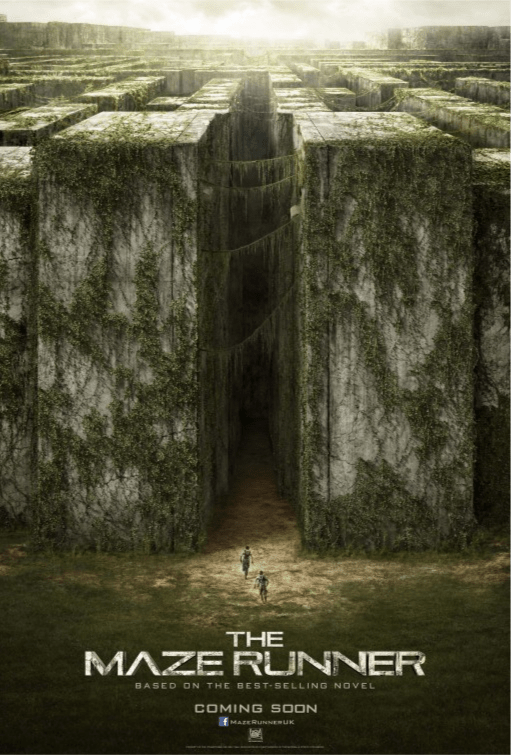
2. The Maze Runner (AMZN): The Maze Runner series by James Dashner starts with an elevator bringing a teenage boy to the middle of plain surrounded by a very high walls. We soon learn that the walls actually house a massive maze, which a group of trapped teenage boys must escape. The maze is filled with dangerous creatures and constantly changing walls and serves as the central plot device in the story first part of the series. The movies have some of the best maze themed movie posters.

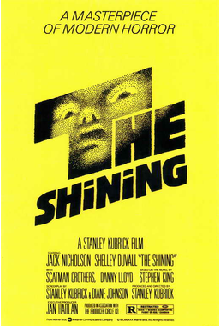
3. The Shining (AMZN): I consider this the best maze movie of all time, directed by the great Stanley Kubrick and starring Jack Nicholson. The book was released in 1977 it was written by the great Stephen King, giving him his first major bestseller. The story features a hedge maze at the end that serves to increase the panic of the characters and the suspense for the audience.

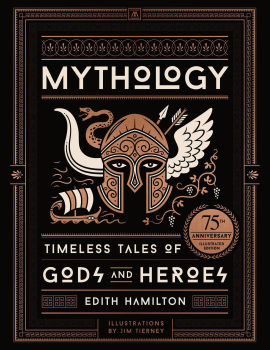
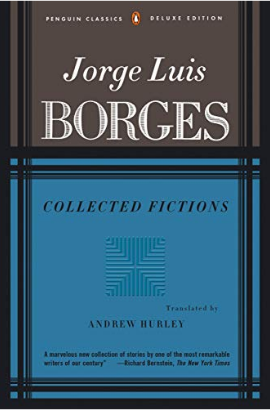
4. Jorge Luis Borges' works (AMZN): Jorge Luis Borges, a blind Argentinian librarian, is known for his mind-bending micro-fictions that play with the concept of mazes and he probably deserves his own blog post on the topic. He chose Labyrinths as the descriptive title for this English-language selection of his best stories and essays, where he imagines tortuous labyrinths, metafictional labyrinths, and a vast labyrinth without walls; ‘The Library of Babel’ presents a maze-like universe, and ‘The Garden of Forking Paths’ imagines infinitely dividing parallel universes. I also like the use a mirror maze on his Labyrinth book cover:
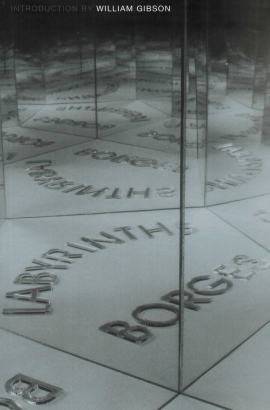
5. The Palace of Laughter (AMZN): I knew I just had to include a book for children. Written by Jon Berkeley, The Palace of Laughter is a children's book about a boy named Miles Wednesday who enters a magical world called Eldritch City. In Eldritch City, there is a maze that is said to lead to a palace of laughter. Miles and his friends must navigate the maze to find the palace and save the city from an evil ruler. Good news - if you enjoy the book it i spart 1 in a series of 3 !
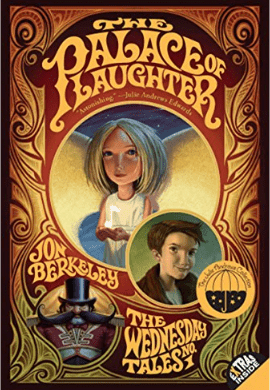
The Palace of Laughter book cover

6. House of Leaves (AMZN): Written by Mark Z. Danielewski, House of Leaves is a horror novel that tells the story of a family who moves into a house that is larger on the inside than it is on the outside. The house contains a maze-like structure that is constantly changing and growing, and the characters must navigate it to uncover the secrets of the house. I like that the book cover is a mix of maze imagery with the spiral shell.
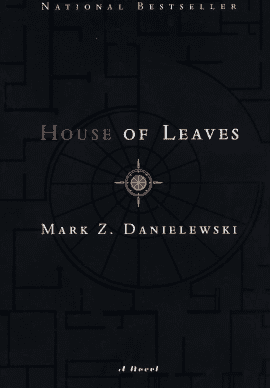
House of Leaves book cover

7. Harry Potter and the Goblet of Fire (AMZN). By J.K. Rowling. Harry Potter and the Goblet of Fire is the fourth book in the Harry Potter series. The novel begins with Harry having a dream about the murder of a Muggle by Voldemort. Harry, Ron, and Hermione then return to Hogwarts School of Witchcraft and Wizardry for their fourth year. Harry's name is mysteriously entered into the Triwizard Tournament, a dangerous competition between three wizarding schools. And one of those challenges is the Triwizard maze. As Harry competes in the tournament, he discovers a plot to bring Voldemort back to power. The book is filled with action, adventure, and mystery as Harry and his friends try to uncover the truth and stop Voldemort's return.


The books above were written over many centuries and many have been adapted into successful movies. Whether you're a fan of ancient mythology or modern literature, there's no denying the allure of a good maze. So the next time you find yourself lost in a book, remember the twists and turns of these literary labyrinths and enjoy the journey.

You may also like:

THE BEST BOOKS ABOUT MAZES AND LABYRINTHS (THAT AREN'T ACTUALLY MAZE BOOKS)

5 BOOKS ABOUT THE SPIRITUAL ASPECT OF LABYRINTHS

Maze Construction - 5 Maze Design Decisions Make All the Difference

I’ve taken the time to look at 40 different maze constructions, giving you step by step Instructions on how to make each type. I had a fun time with the project but wanted to expand on the subject with a more detailed look at what the key differences are between each type. Also, in my old job I spent like 90% of my time making spreadsheets and this is a perfect time to break one out ! No V or XLOOKUPS though.

First let’s define a few common maze terms:

  • Start - Where you begin a maze from.

  • Goal - Where you need to arrive at to properly solve the maze.

  • Wall - The portion of the maze that creates uncross-able boundaries

  • Pathway / Paths - What you travel along in the maze to solve it, typically the place between walls

  • Outline - The outer wall of the maze or border. Can be a simple shape or something more complex like a picture.

So what are the key items that set the Maze constructions apart from one another ? I believe there are 5.

5 Maze Design Decisions that Differentiate Maze Constructions:

  1. Where the maze starts

  2. What type of pathways/walls the maze uses

  3. Does the maze have an outline

  4. Are there any conditions you need to follow to solve it

  5. What is the purpose/goal of the maze

While there are other things that differentiate between mazes, these are the core 5 items. Let’s take a look at each one with some examples.

  • Where the Maze Starts

    I believe there are 5 categories of how you might start a maze:

  1. Border Start

  2. Internal Start

  3. Undefined location

  4. Multiple locations

  5. Specialty options

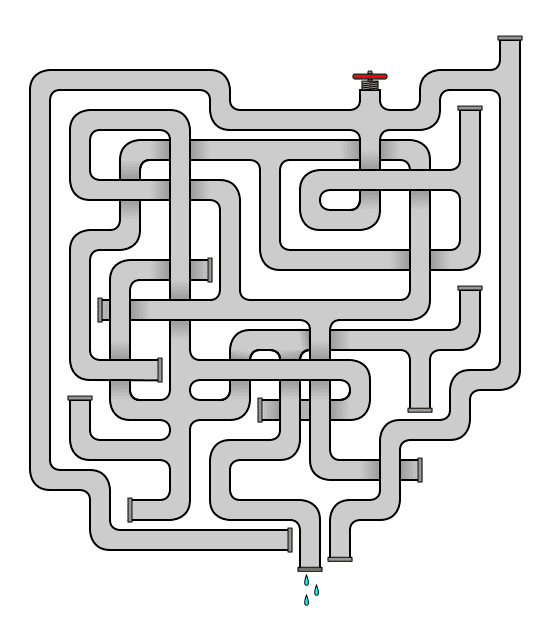
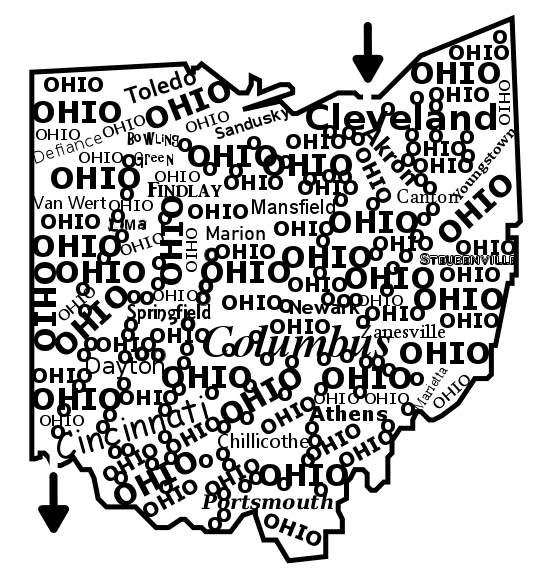
I would say that most mazes start at the border of the maze on the outside of the main maze structure. Essentially at the border you find an Arrow directing you into the structure or the word Start. But, there are more options. The internal start is the next most common. Escape mazes, by definition start inside the maze, but Arrow Mazes and Slide Arrow Mazes also start internally within the maze border. Block Arrow Mazes. Number Mazes, and Letter Mazes can also start internally depending on how you structure your maze. The third main start is the undefined start, usually with an undefined goal, meaning the start is either not known to you or it is selectable. A good example is the Dual Entrance/Exit Maze where you select the direction you wish to solve the maze in. While a Start/Goal type Arrow Maze gives you 2 options and you need to discover which is the start and which is the goal ! Finally we have 2 special cases, the Line Leads Maze where the start is a variety of multiple options, and the Pipe Maze construction where the start is the faucet handle (not really internal or border, but kind of both). Read about 9 common Options for Starting and Ending a Maze.

Here are examples of each type:

Ohio state maze

Start at the border of the maze

escape maze

Internal start

dual emtrance maze

Undefined Start - You choose the start and the goal

arrow maze

Undefined Start - Start / Goal Arrow Maze - You determine which is which !!

Ohio state shaped pipe maze

Specialty Start - Faucet Start

Line leads spider maze

Multiple starting options - Line Leads Maze

  • What type of Paths/Walls it Uses

I believe there are 5 categories of how you might construct pathways and walls:

  1. Walled Pathway

  2. Gridded Specialty

  3. Grid Walls

  4. On line Pathway

  5. Specialty pathways

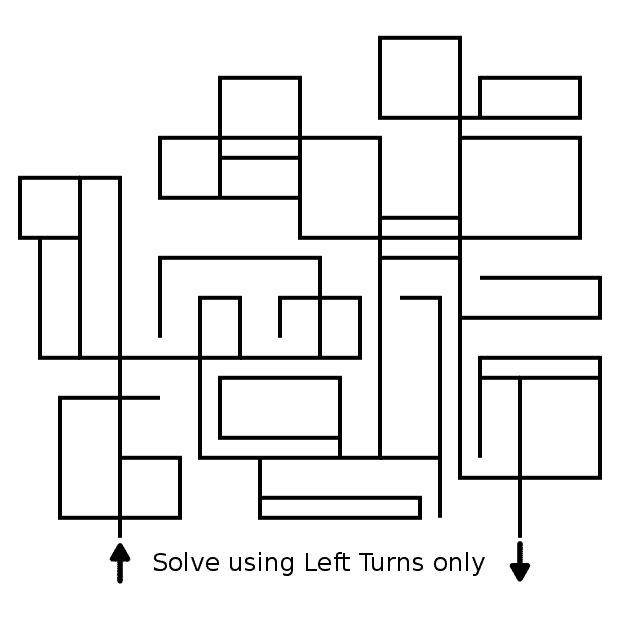
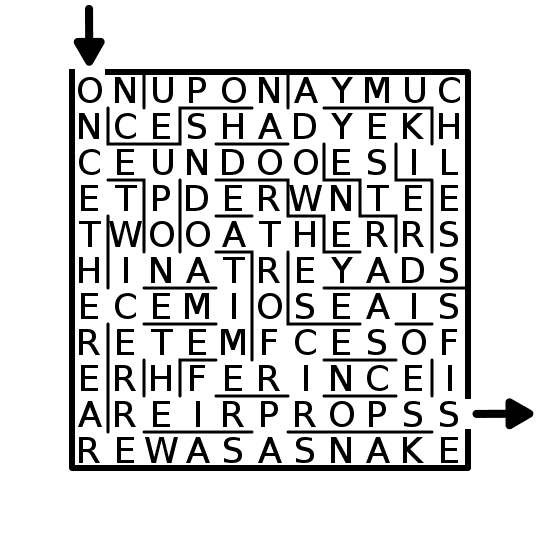
The paths are integral in the construction of any maze. The thing about paths is they are created usually by drawing walls. They really don’t exist without the other. The maze you are picturing in your head is probably the most popular pathway, the walled path, typically a line. Those lines create walls that you travel between. The next most popular pathway is the gridded specialty structure. It encompasses all of the maze types that use box grids to house the maze. Think of Arrow, Slide Arrow, Number, Letter and Puzzle Mazes. Each uses a grid pattern to house specialty symbols/items that dictate how you may move. Finally, the standard grid wall structure. A regular grid wall structure allows movement in a more typical way, through cuts in the walls to create a pathway. The last common pathway is the on line pathway. In this type you travel on the line, so that there are no walls. This exists for On-Line, Line Leads, Conditional Path, and Directional Mazes. The last group are a variety of specialty paths each unique to 1 or 2 maze types. 2 specialty paths share the common design of weaving, the Pipe maze and the Weaving maze., each which allow the solver to move over and under the other pathways! Additional specialty mazes include Pattern Mazes which will vary in their pathways based on the pattern you are mazing. Object Mazes use objects for walls, creating unique pathways. Draw and Cut mazes are similar in that the pathways reflect whatever is is you have drawn. For additional reading, I did a blog post about the 12 most common pathway types: Maze Pathway options.

Let’s look at some examples for each:

Ohio maze

Walled Path

Puzzle Maze

Gridded Specialty - Puzzle Maze

Grid maze

Grid Path

Left Turn Only  maze

On Line Path

Pipes Ohio maze

Specialty Path - Weaving

Smile maze

Specialty Path - Weaving

Ohio names maze

Specialty Pathway - Objects (words in this case)

Square cut maze

Specialty Pathway - Draw and Cut

  • Does the Maze Have an Outline

As far as constructions go this is pretty simple because it is a Yes/No answer. Bordered mazes are the standard with defined outer edges common to determine the shape and size of the solvable maze. However, some mazes have less structure. Think about a Weaving Maze and a Pipe Maze. Neither has a defined border as you travel in pathways which create the structure of the maze. Non-bordered mazes are also easy to see with Line Leads Mazes, where the squiggly lines make the structure chaotic. Some Mazes have defined structures, but no real border like a Math maze. You could make a math maze in a defined bordered structure, but it is not pertinent to solving.

ohio maze

Yes -it has a border

Ohio pipe maze

No border

Left Turn Only  Maze

No border

Escape maze

Yes it has a border

  • Are there any Conditions you need to follow to solve it

Most mazes are rather straightforward in how they are solved, but there can be a LOT of variety in the conditions. So the answer is either Yes or No, but the Yes has a huge amount of different conditions ! Let’s start with a standard maze which has No conditions to solving. The solver enters the maze, travels in it, then exits at the goal. That is the normal flow of most mazes. But sometimes there are conditions. A common clue is that if the maze comes with directions it is most likely conditional. Let’s look at a few: Solve the Puzzle to Move can describe many conditional mazes generally like a Block Move Maze. A Block Move Maze requires you to find a path between the start and goal by finding and moving the appropriate blocks to create a path. There are rules on how those blocks may move. A Puzzle Maze requires you to solve the puzzle to move correctly. A Number Maze requires you to choose the correct given numbers to move correctly. Same for a Letter Maze. A Conditional Path maze is by definition part of this as the puzzle you need to solve determines your movement. Likewise a Directional Maze (like a left turn only maze). Next is the Non Repeating Path condition. This is commonly used in a Find Items Maze and a Go & Return Maze. Each or these maze constructions require you to visit places in the maze before exiting, but the path you take may not backtrack from the way you came. Finally there is the Allowable Movement maze types. For me this includes Arrow Mazes and Slide Arrow mazes where movement thru the maze includes options on WHERE to go, but not HOW you may move. For more examples check out my blog on the 11 most common conditions: Conditional Pathway options

Let’s look at some examples:

Puzzle Maze

Solve the Puzzle to Move

Left Turn Only  Maze

Solve the Puzzle to Move - Left Turn Only

Go and Return Ohio maze

Non-repeating Path

Arrow Maze

Allowable Movement - Arrow Maze

  • What is the purpose/goal of the maze

I believe there are 5 categories for the purpose of a maze

  1. Reach the Goal

  2. Escape the Maze

  3. Solve a Puzzle

  4. Specialty purposes

  5. Unsolvable mazes

This answers the question - What are you trying to do in order to solve the maze ? The most basic purpose of a maze is also the most common, to reach the goal. While you may think this is the case for all mazes, here are a few other options: Escape the maze - this is of course used for the Escape Maze, where you start inside the maze and your goal is to escape the outer border. There are also instances where the purpose of the maze is to Solve a Puzzle. This includes a Hidden Trail Message Maze where the act of solving the maze creates a message for the solver. It also includes the Find Items Maze type where reaching the goal is only half of correctly solving the maze, you must also find certain items along the way ! Finally there are some Specialty purposes that only apply to 1 or 2 maze types per instance. Like the Math Maze whose purpose isn’t really to reach the goal or solve the puzzle, but you do each in order to learn mathematics ! And there is the specialty maze that should be used only for April Fool’s Day, the Unsolvable Maze. Or you made a mistake when you designed it, oops.

Ohio maze

Reach the Goal

Escape Maze

Escape the Maze

Hidden Trail Maze

Solve a Puzzle - Hidden Message Trail Maze

Ohio maze

Solve a Puzzle - Find items, then exit

Math Maze

Specialty - Math Maze

Hidden message maze

Specialty - Hidden Message Maze

So these are my 5 Maze Design Decisions that Differentiate Maze Constructions with examples. I have taken the time to summarize each of the 40 maze constructions based on these 5 criteria. Check out the chart below. Yellow highlights are on things that are not typical for a particular category.

Maze Construction comparison chart

Of the 40 mazes construction types, if we select the most common type for each of the 5 most common characteristics how many maze types are included ? So this would mean a maze that:

  1. Starts at the border

  2. Has walled pathways

  3. Has an outline

  4. Is NOT conditional to solve

  5. And whose purpose is simply to reach the goal

That leaves us with 12 closely related mazes out of 40. And, if we wanted to add a 6th differentiator, the differences between these 12 mazes are generally HOW the walls/pathways are drawn. Happy maze designing !

You may also like:

I did a 3 part blog series on maze constructions if you want to design your own type of maze.

Part 1 - Starting and Ending a Maze - Speaks to the 9 most popular ways to start and stop a maze

Part 2 - Maze Path options - Explores the 12 different pathway options for a maze

Part 3 - Conditional Path options - Speaks to 11 different conditional options to add to a maze to make it more enjoyable

How to Draw a Circular Hopi Tapu'at Labyrinth

I have previously shown how to make a Square Hopi Tapu'at Labyrinth and today I will show you step by step how to make the circular version. Let’s look at the 2 side by side and compare them.

Circular Hopi Tapu'at Labyrinth

Circular Hopi Tapu'at Labyrinth

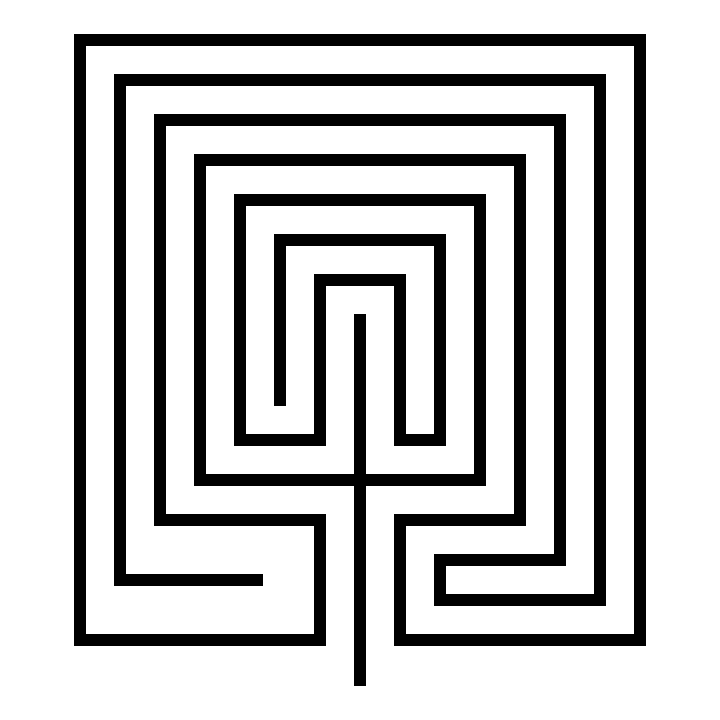
Square Hopi Tapu'at Labyrinth

Square Hopi Tapu'at Labyrinth

The interesting thing about these is that they are so different. The square version has 2 entrances and 2 goals, while the circular has one of each. Obviously there is also the overall shape and corner shapes apparent in the individual names.

When I made my circular version I noticed that it did not fit into the typical labyrinth making process. I have a potential usable seed pattern, but each step is more complex than normal. I also noticed that the labyrinth is a series of (mostly) vertical straight lines and half and quarter circles. Let’s explore this with a diagram I made to show what makes up the labyrinth and compare it to the 7 circuit classical labyrinth:

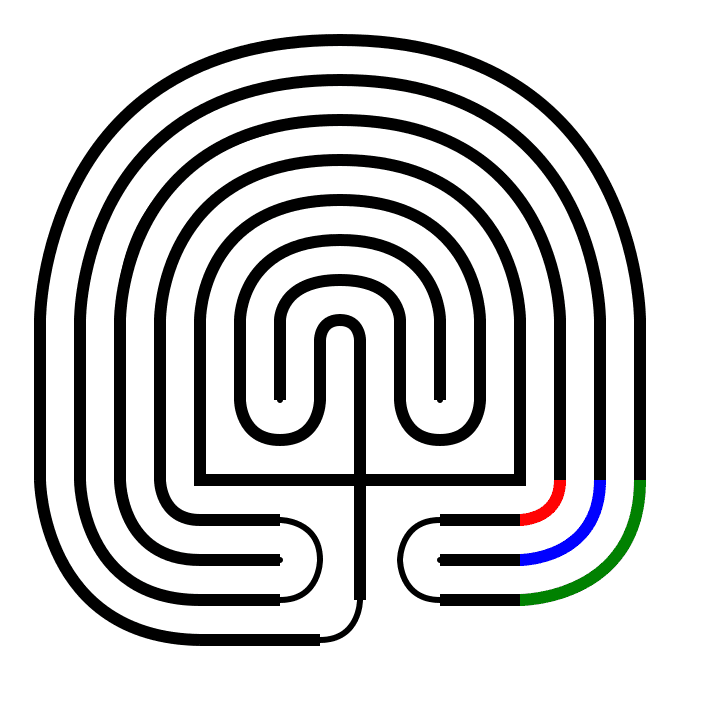
Hopi Tapu'at Labyrinth: Everything in red is a straight line. Everything is black is either a half circle or a quarter circle. This is a right handed labyrinth (first turn is to the right).

Classical Labyrinth: Everything in red is a straight line (basically just the seed portion minus the dots). However the black portions are not perfect circles. When you make this labyrinth you are connecting points with curved lines. This is a left handed labyrinth (first turn is to the left). This can be made right handed, but left handed is typical.

Circular Hopi Tapu'at Labyrinth seed pattern  ?

I trial and errored the making of this labyrinth. It is complicated. So, while it is not ideal, I am going to use this very large seed pattern. Otherwise, each step is complicated. So the most difficult part of this is creating the seed pattern correctly. Smooth sailing from there !

For this labyrinth I will be drawing each step in red on top of a completed labyrinth with thin lines to show you where that step is located in relation to the completed labyrinth. After each step the previous steps lines change to black from red.

Step 1: Draw the starting seed pattern.

I included the grid in this example to show you how to draw this seed pattern. It is the most complicated I have ever used. Start with a plus sign. The horizontal is 8 units long, while the vertical line is 6.5 units long, 3 units below and 3.5 units above that line. At the end of each side of the horizontal line draw a 4 unit vertical line. Beside the left line you just made add 4 lines to the left, all 4 units long. Make sure they are equidistant apart. On the right side do the same thing but with only 3 additional lines instead of 4. Now you can fit 3 vertical lines on the right side, 2 grids long and aligned t the top of the just made 4 grid lines. Moving to the left side you will do the same thing with 1 exception, the line just to the left of the top of the plus sign should aligh with it at the top (1.5 grids instead of 2). Next under the horizontal line, aligned to each end you will draw three 2 unit long horizontal lines ( 6 total lines). And finally the last line of this complicated seed is a horizontal line on the left side, aligned with the previously 3 on the left but draw 3 grids long instead of 2.

Circular Hopi Tapu'at Labyrinth seed pattern

Step 1 - Circular Hopi Tapu'at Labyrinth

Step 2: Draw the Goal

Between the two short lines in the center draw and arch to connect them. Teh top of the arch should align with the top of the vertical lines on its left and right.

Hopi Tapuat Mother Child Birth Circular Labyrinth step 2

Step 2 - Circular Hopi Tapu'at Labyrinth

Steps 3-9: Create the top arches

These are all the same maneuver and so they get bunched into 1 explanatory step. Create a semi circle to connect the top of the end of the next inner line on the left to the line on the right. The peak should align to the peak of the goal. Essentially you do this 7 times to create the top of the labyrinth ! Shown here as a rainbow; start with purple, then blue, etc.

Hopi Tapuat Mother Child Birth Circular Labyrinth steps 3-9

Steps 3 - 9 - Circular Hopi Tapu'at Labyrinth

Steps 10/11: Connect the internal turns

You should have 2 empty spaces to fill in the center of the labyrinth on either side below the goal, each has 3 vertical lines. Take the end of the 2 outside lines on each side and connect them with an upside down arch. Shown in red and blue below.

Hopi Tapuat Mother Child Birth Circular Labyrinth steps 10 & 11

Steps 10/11 - Circular Hopi Tapu'at Labyrinth

Steps 12-15: Draw the left corners

On the bottom left connect the end of each vertical line with the end of each horizontal line working you way from inside out. Each of these is a quarter of a circle, or arch. In order, red, blue, green, yellow below.

Hopi Tapuat Mother Child Birth Circular Labyrinth steps 12-15

Step 12-15 - Circular Hopi Tapu'at Labyrinth

Steps 16-18: Draw the right corners

Same as above but on the right side, and only 3 times, shown as red, blue and green below.

Hopi Tapuat Mother Child Birth Circular Labyrinth steps 16-18

Step 16-18 - Circular Hopi Tapu'at Labyrinth

Steps 19 - 21: Close the outer pathways

On the bottom left you should have 3 horizontal lines of the same length (the southernmost line is slightly longer). Connect the 1st and third with a semi-circle to create a turnback pathway (shown below in red). Do the same thing on the right side opposite (in blue). And our final step is completing the labyrinth by connecting the bottom of the plus sign with the end of the horizontal line on the left with a quarter circle (shown in green).

Hopi Tapuat Mother Child Birth Circular Labyrinth steps 19-21

Step 19-21 - Circular Hopi Tapu'at Labyrinth

That completes the labyrinth.

Circular Hopi Tapu'at Labyrinth

Circular Hopi Tapu'at Labyrinth

How to Draw a Square Hopi Tapu'at Labyrinth

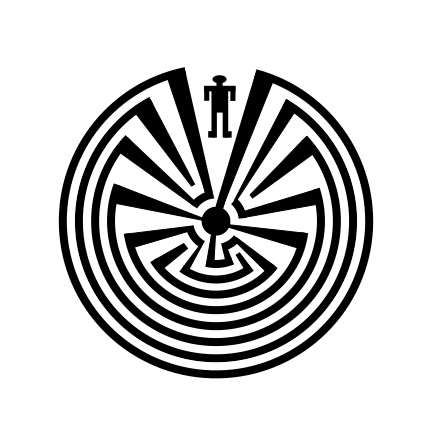
You might have noticed on my How to Make a Labyrinth section of the site I have a section titled Other /Experimental Labyrinths. The first labyrinth included in this section is the Man in the Maze labyrinth, a Native American symbol from the Tohono O'Odham nation. Learn details about it on this blog, or on Wikipedia, or from this article. Below is one I made digitally.

Man in the Maze Labyrinth

I wanted to do a step by step How - to for creating it, but realized as I made it…there was not an easy way to do that. Essentially it is a “copy what you see and good luck” situation. My trial and error included a lot of both. Today I want to explore the making of another Native American Labyrinth, the Hopi Tapu'at Labyrinth, and specifically the square version. As I researched how to explain this labyrinth I realized an expert could do it much better, here is Julie Bounford, from her website.

The mythology of the Hopi of northern Arizona features labyrinths. Most well-known is the Tapu’at, the “Mother and Child” symbol. Both the circular and square forms represent the womb of Mother Earth, the divine birth-giver. The circular in particular is said to represent the road of a human life. In following it, one attains spiritual rebirth. From early on, the labyrinth has been associated with death and rebirth. In death, one returns to the earth (the eternal mother), from which one is reborn.
— Julie Bounford

This is a 9 step process, and while I will make it digitally, giving it a ‘clean’ look, it is typically hand drawn and so more natural looking. Let’s get started.

For this labyrinth I will be drawing each step in red on top of a completed labyrinth with thin lines to show you where that step is located in relation to the completed labyrinth. After each step the previous steps lines change to black from red.

Step 1: Draw the starting seed pattern.

The starting seed pattern for this labyrinth is an off-center plus sign. The horizontal line is 7 units on a grid, 4 on the left 3 on the right of the vertical line made of 9 units, 4 above the horizontal, and 5 below.

Square Hopi Tapu'at Labyrinth seed pattern

Step 1 - Square Hopi Tapu'at Labyrinth

Step 2: Draw the first layer

Above the top of the plus sign create an upside down U shape that extends out to the left and right 1 unit less than the horizontal lines. See below.

Hopi Tapu'at Labyrinth step 2

Step 2 - Square Hopi Tapu'at Labyrinth

Step 3: Create the Inner Goal

Create the inner goal by drawing from the previous steps right side around the structure counterclockwise making an upside down square shaped U. There are actually 2 goals in this labyrinth which I will discuss below.

Hopi Tapu'at Labyrinth step 3

Step 3 - Square Hopi Tapu'at Labyrinth

Step 4: Draw the next level

Connect the right side of the horizontal line in the plus sign counterclockwise to the end of the northernmost horizontal line (created in Step 2) to close off the pathway. Again you have just made an upside down square shaped U.

Hopi Tapu'at Labyrinth step 4

Step 4 - Square Hopi Tapu'at Labyrinth

Step 5: Draw the next level

This time we are drawing clockwise, connecting the left end of the initial plus sign around the outside creating our familiar upside down square U shape but continuing it to left ( but not closing it off completely). See below.

Hopi Tapu'at Labyrinth step 5

Step 5 - Square Hopi Tapu'at Labyrinth

Step 6: Draw the next level

This is a long one. Start with an upside down reverse L shape in the lower right plus sign that starts one units or grid up from the bottom of the plus sign. Then continue by drawing your familiar U shape clockwise. End the line on the right side with a horizontal line that stops one unit or grid before the end of the line just inside it. That’s a long one. See below.

Hopi Tapu'at Labyrinth step 6

Step 6 - Square Hopi Tapu'at Labyrinth

Step 7: Draw the outer goal

The next layer starts equal to the end of the bottom left corner and follows clockwise all the way around to the bottom right corner. Continue the line left until it moves north 1 unit to close off the previous section and create the outer goal.

Hopi Tapu'at Labyrinth step 7

Step 7 - Square Hopi Tapu'at Labyrinth

Step 8: Draw the outer wall

This step completes the outer wall, but not the total labyrinth. Draw a line starting in the bottom right side centered in the last gap to complete the right entrance. Then follow the outside wall around…until you get to the bottom left corner. Here you need to draw the final wall equal to the wall on the right side. This creates a larger gap than normal above it.

Hopi Tapu'at Labyrinth step 8

Step 8 - Square Hopi Tapu'at Labyrinth

Step 9: Complete the labyrinth
This last step creates a pathway and walls that is not equidistant like the previous steps. The final L shape you draw should be centered between the 2 bottom walls and connect to the end of the last line.

Hopi Tapu'at Labyrinth step 9

Step 9 - Square Hopi Tapu'at Labyrinth

That completes the labyrinth.

Square Hopi Tapu'at Labyrinth

Square Hopi Tapu'at Labyrinth

2 Entrances - 2 Goals

This labyrinth has 2 entrances and 2 goals. The left entrance, the Mother, is the outer labyrinth, which encapsulates the inner Child section that is reached from the right entrance. I have colored the two labyrinths sections to better show this concept, in blue and yellow below:

Square Hopi Tapu'at Labyrinth Mother and Child shown

Alternative Seed Pattern: I hesitate to call this a seed pattern since it is complicated. But it works similar to other seed patterns for labyrinths. IF you start with this pattern the next 7 steps are connecting points to points. Here it is in Red.

Square Hopi Tapu'at Labyrinth alernative seed pattern

If you are interested in how to make the circular version drop me a note. It is difficult but not Man in the Maze difficult ! Here is my digital drawing of it.

Hopi Tapuat Mother Child Birth Circular Labyrinth

Circular Hopi Tapu'at Labyrinth