I spent an entire month creating and reviewing AI text to image generators. You can read the 15 part series here (link is to Part 1 of the 15) where I look at 12 different AI’s and see how they do generating the same prompts. I learned which sites I liked the most and after playing around I learned how to write better prompts. While sites cannot actually make solvable mazes (yet), they can make wonderful looking scenes and objects with maze and labyrinth themes. Today I am going to share with you the 15 different prompts and 31 total images that I created using StarryAI. In Part 2 I will use other AI text to image generators to create images.
For all images I include the prompt that I used. These prompts are shown in order and you can see how I got better with my asks as I went along !
StarryAI - A 3D hedge maze shown from above in the garden
The hedges are a bit too perfect. Imagine a gardener being that good and nature cooperating with perfect consistent green throughout the plants. I like the building in the background. Notice the maze is not actually a passable maze.

StarryAI - Hedge maze in the style of MC Escher
I find that even if a prompt is not followed well it can still produce interesting outputs. This is an example of that. Not really hedge or MC Escher IMO. I like the mazelike structure moving off into the distance.

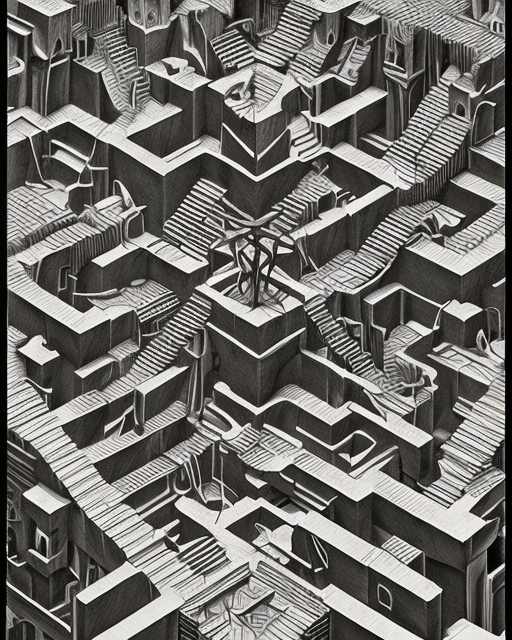
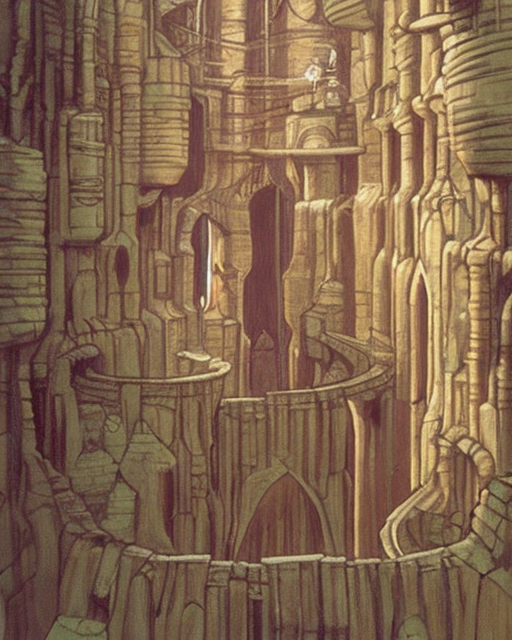
StarryAI - MC Escher Fantasy Labyrinth
I find that long and detailed prompts work well, but sometimes so do short ones where the AI fills in it’s own blanks and uses it’s own creativity. This looks much more like MC Escher than the prompt above!
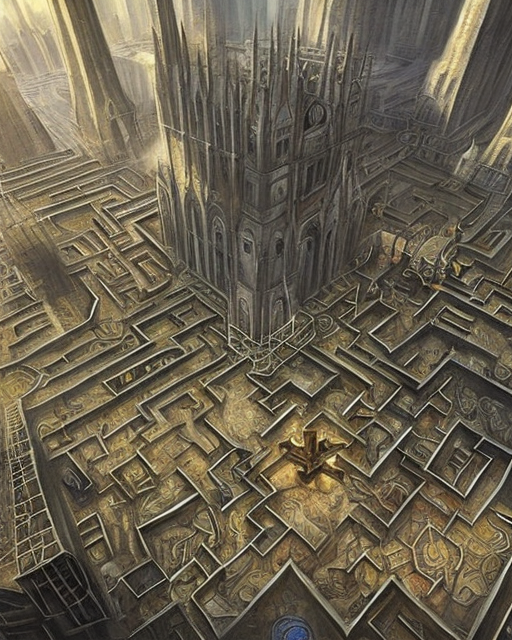
StarryAI - Labyrinth, Concept Art
And here I went ultra-simple prompt and got 4 interesting outputs. These are not places I would want to go into without a map and a guide.

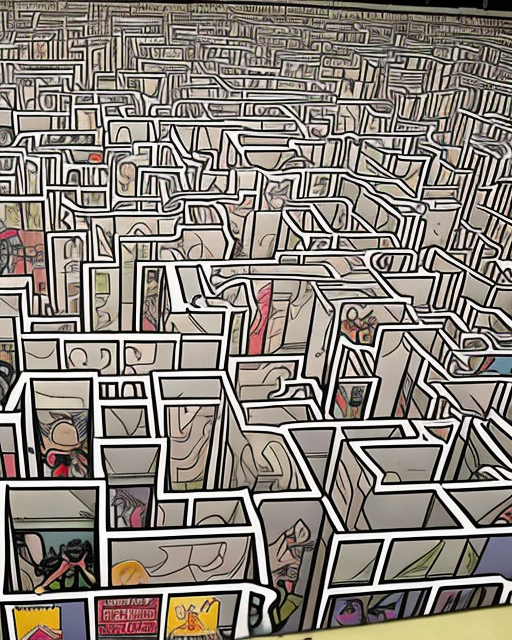
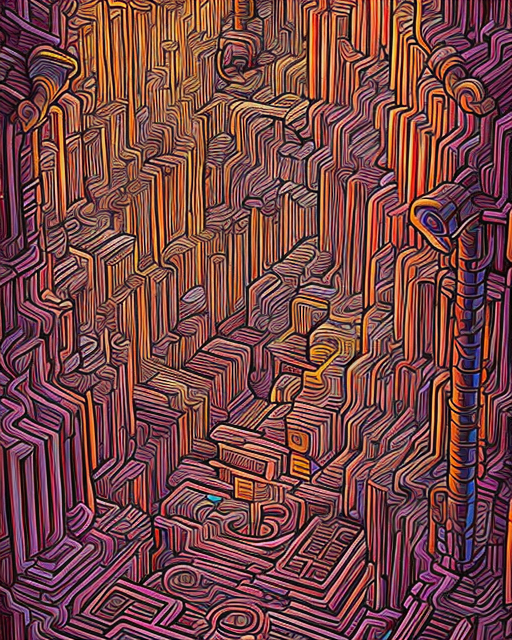
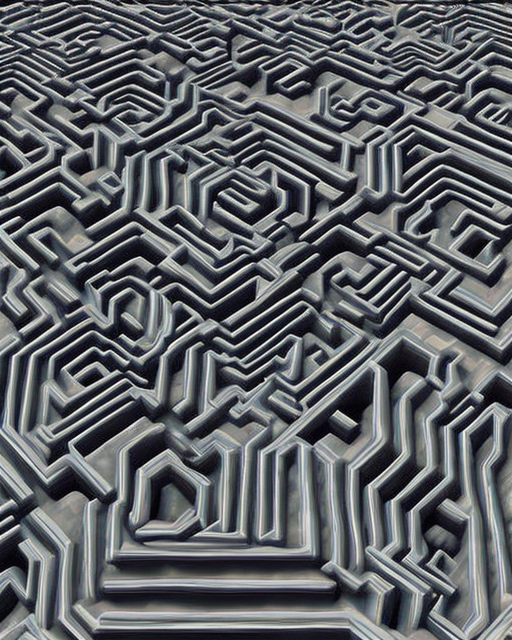
StarryAI - Comic Book maze
What this looks like to me, despite the prompt given is a maze of cubicles on the floor of an endless office building. For those of you who sit an a cubicle this is some clown level horror. No thanks.
StarryAI - Office Cubicles make a maze
And 2 minutes later I wanted to see what would happen if I put that prompt in…not perfect but so terrifying.

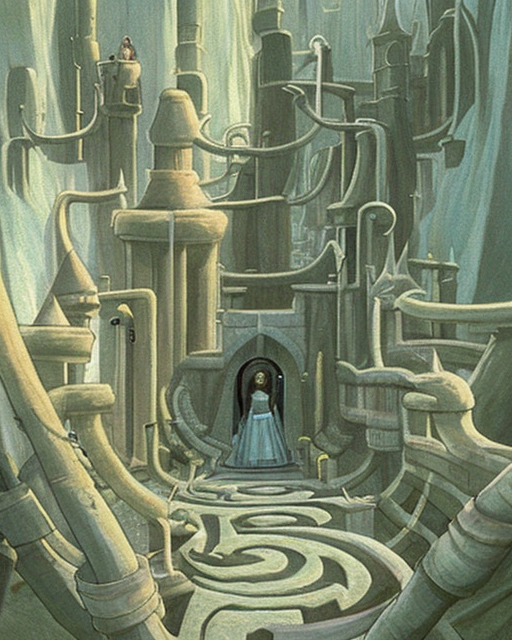
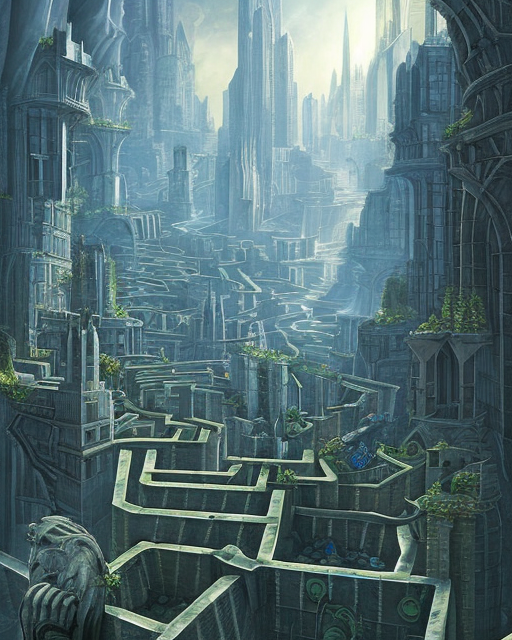
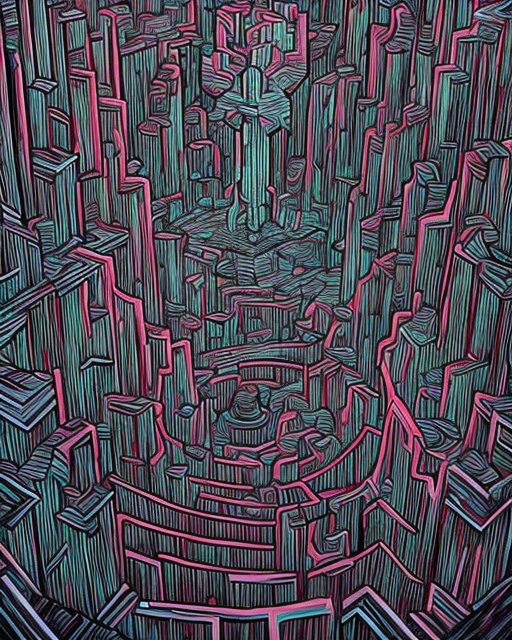
StarryAI - A Labyrinth in the City of Metropolis
Again, not really what I asked for, but cool looking anyway. If you are flexible with what is generated you get some really interesting images like this one !

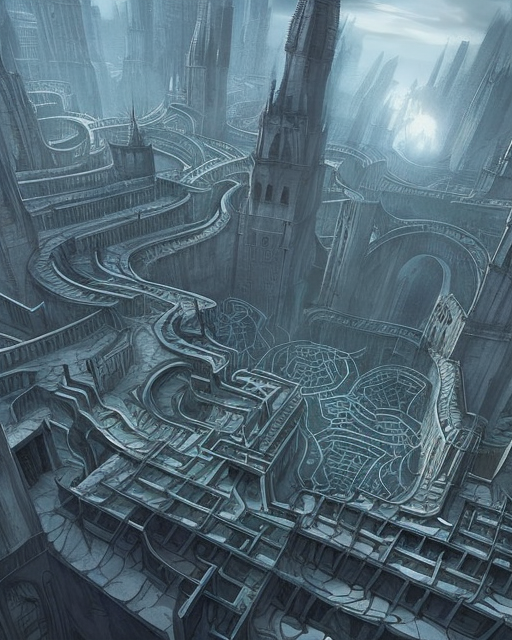
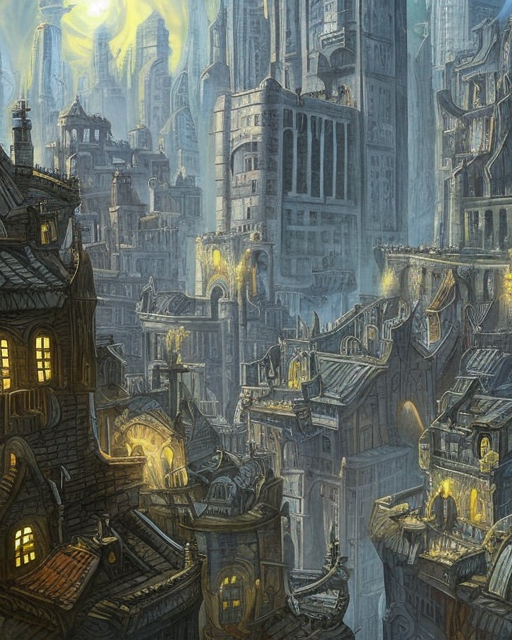
StarryAI - A Labyrinth in the City of Gotham
You can see how my mind works base on the prompts. I was looking for a dark moody feel using Gotham. I had to include all 4 because i liked them so much !
StarryAI - A Labyrinth, Dan Mumford style
I went simple here and did not note anything particular. Once again less was more with 4 nice images generated !
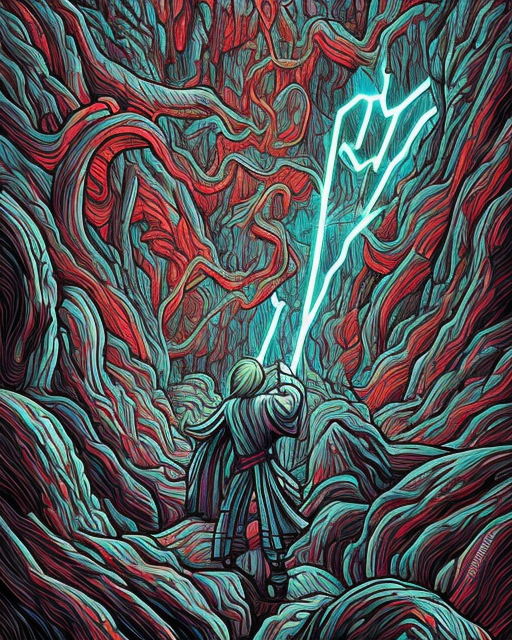

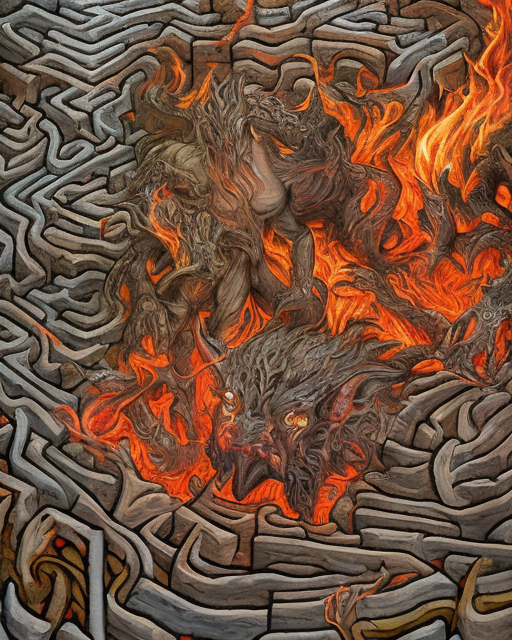
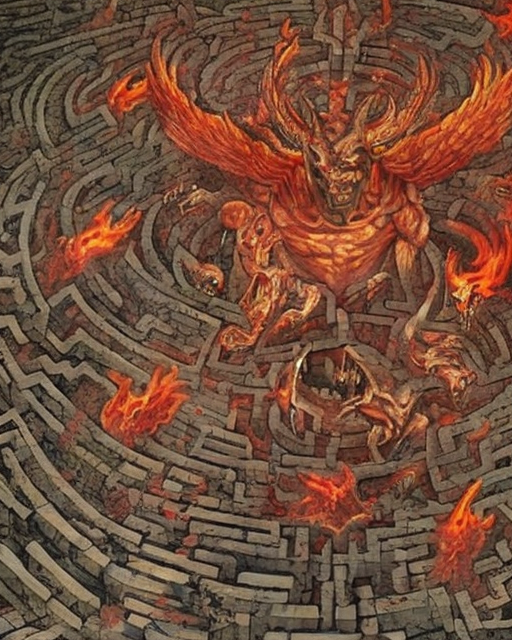
StarryAI - A battle between evil demons in hell taking place in a maze, Fantasy Art, Hyper detailed.
Just what I was looking for. Not a place you want to be.
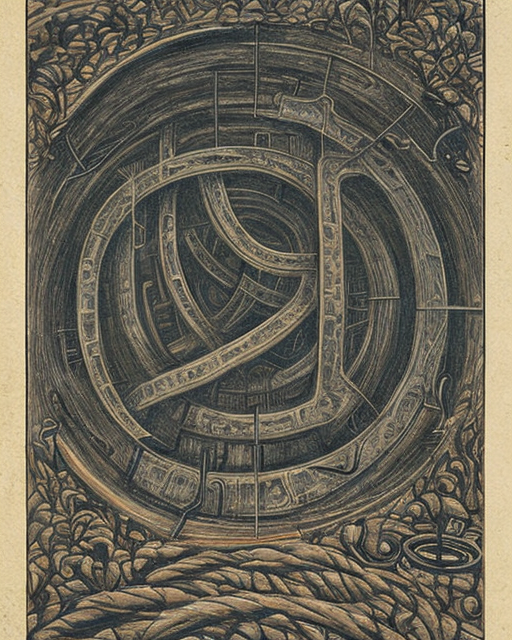
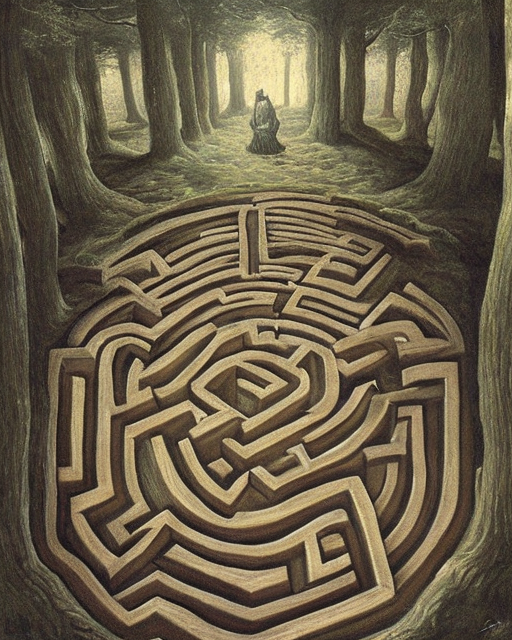
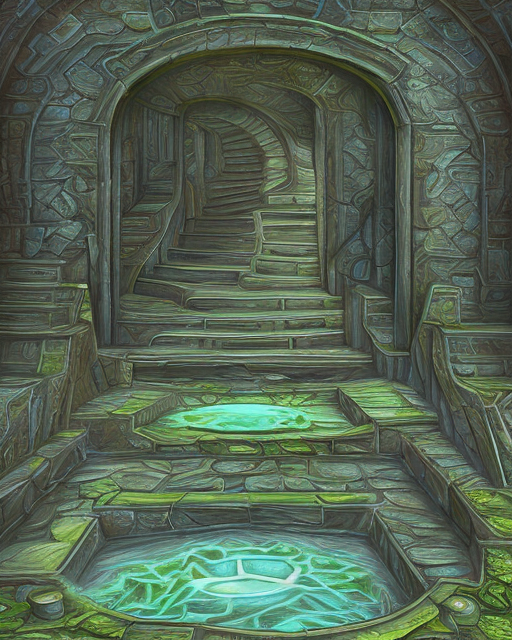
StarryAI - A Medieval Labyrinth, Johan Grenier style
The second one what what I expected, but the first, the circular one shown from above it very interesting. Let’s say you are in a movie and you come upon this hole in the forest with labyrinth pathways leading down into the darkness. I think we have the start of a fantasy/adventure quest or maybe a horror movie on our hands.
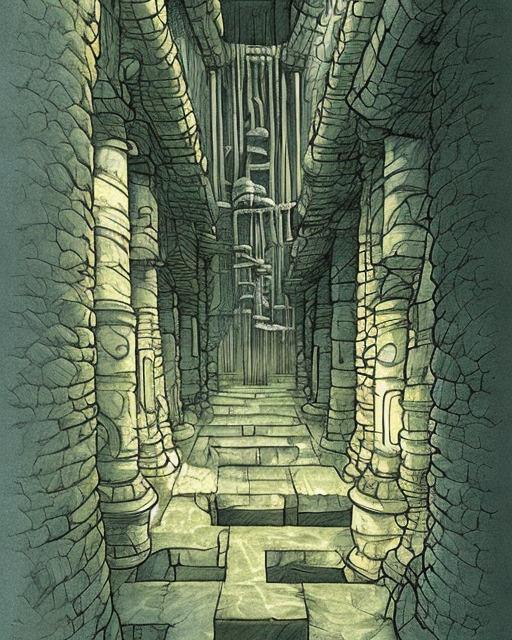
StarryAI - A Labyrinth in ancient Japan, Victo Ngai style
Perfect styling a colors IMO.

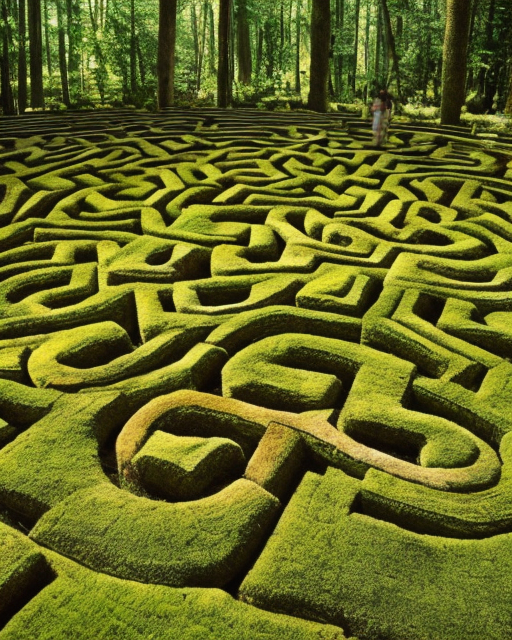
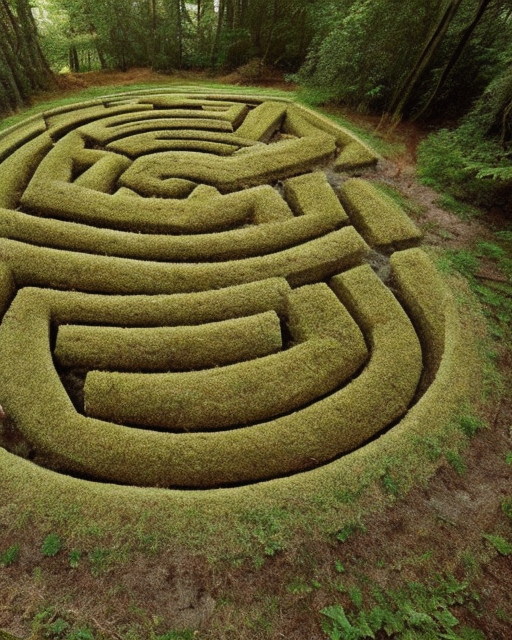
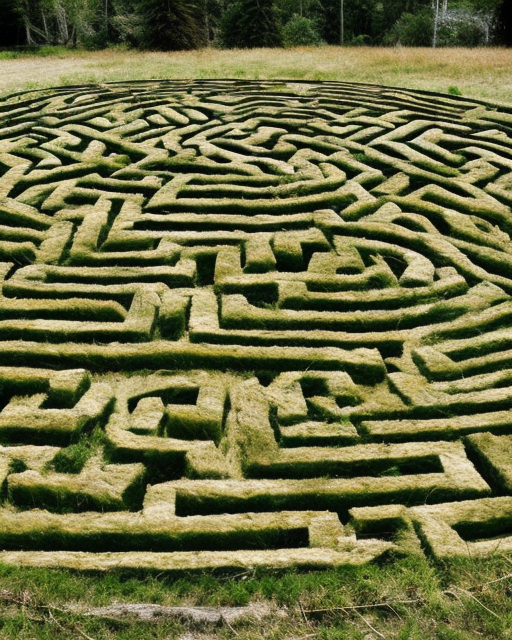
StarryAI - A Labyrinth constructed from natural materials
3 of the 4 generations were interesting to me.
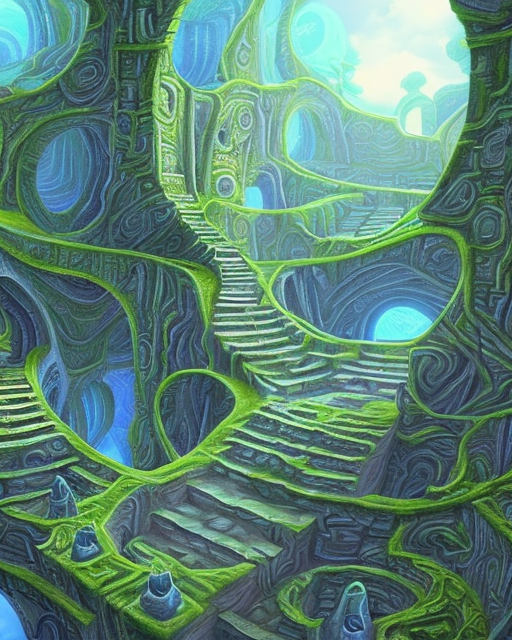
StarryAI - MC Escher Labyrinth in 3D on another planet
I went back to MCE to see what I could finagle from the AI. And this one the one I like the best. It makes me want to make a maze based on this concept
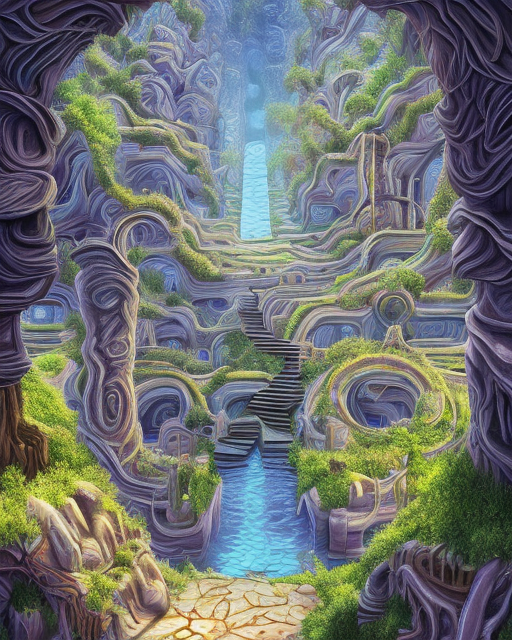
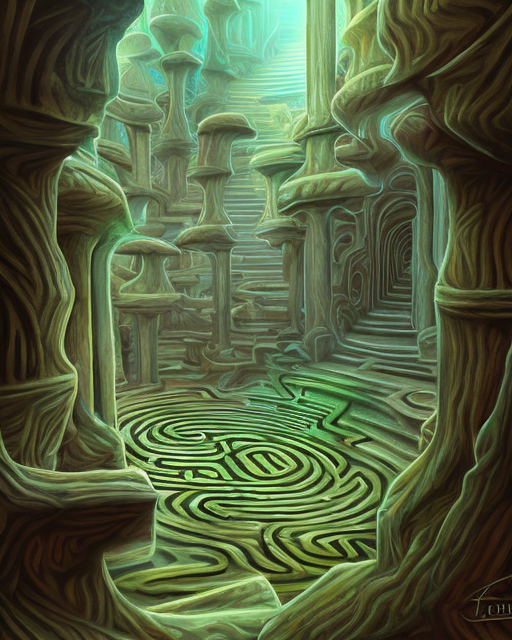
StarryAI - Fantasy Labyrinth, hyper detailed, digital painting
I absolutely love these !
I hope you enjoyed this exploration of using StarryAI to create maze and labyrinth images. Come back for Part 2 where I use other AI’s to generate cool images !