Welcome to the 11th in a series of posts where I will test AI image generators and see how they handle making maze art. I will be asking 10 prompts and seeing what gets generated. My goal is to evaluate different AI image sites against each other to see how they perform. If you need to catch-up here is the series so far:
An exploration into Al Image Maze Generation
Making mazes with AI: Stable Diffusion
Making mazes with AI: Dream by Wombo
Making mazes with AI: Nightcafe

Making Maze Art with ToolBaz
Today I test out ToolBaz. You can access the website here. You can just go to the website and start using it , there is no sign-in or anything. Each prompt, or generation will generate 1 image. You may also choose between 3 size outputs (Small, Medium, Large). When you generate an image you see similar ones below it - check them out as you work ! All prompts I use are the same for each site !
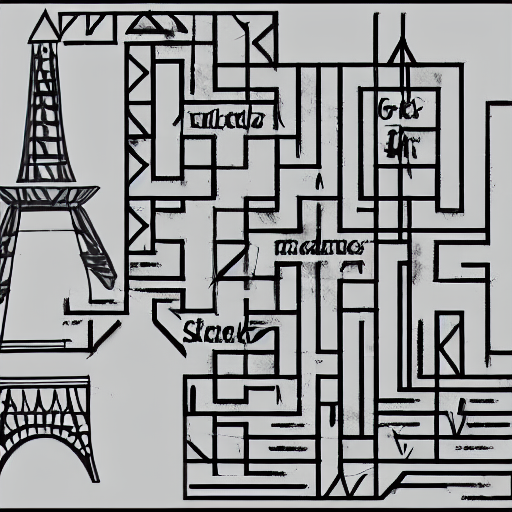
Prompt 1 - Make a medium difficulty maze of the Eiffel Tower in black and white with arrows at the start and finish

2 half Eiffel Towers. I see an arrow ! and maybe a lamp that looks like an arrow !
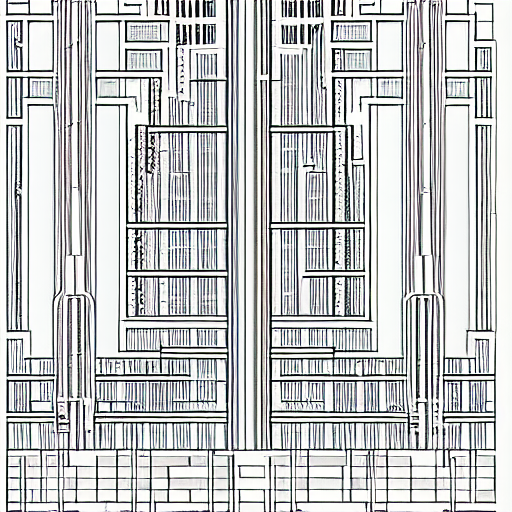
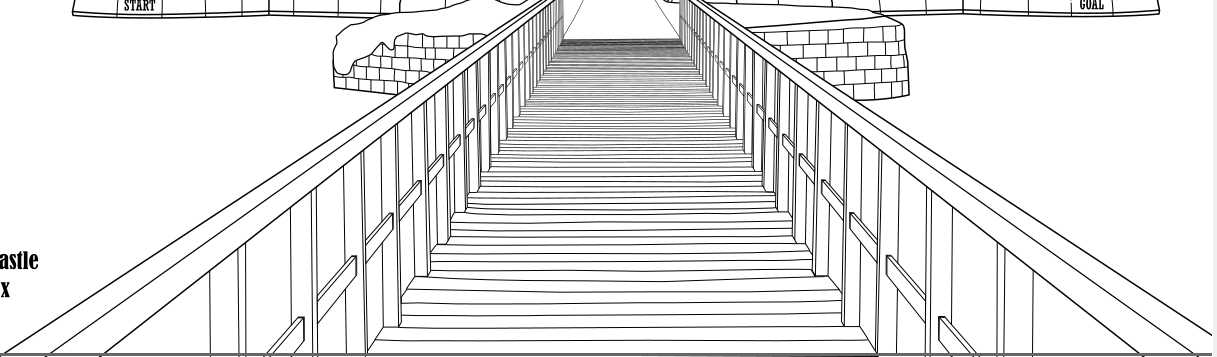
Prompt 2 - Draw a medium difficulty large maze of the Empire State Building with the start and goal embedded in the structure
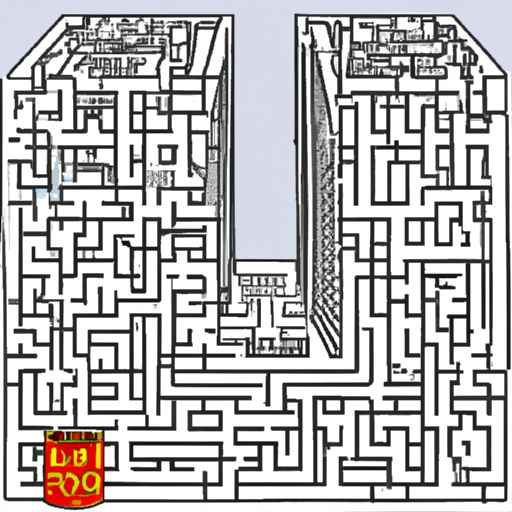
A U shaped building with a red trashcan out front ?
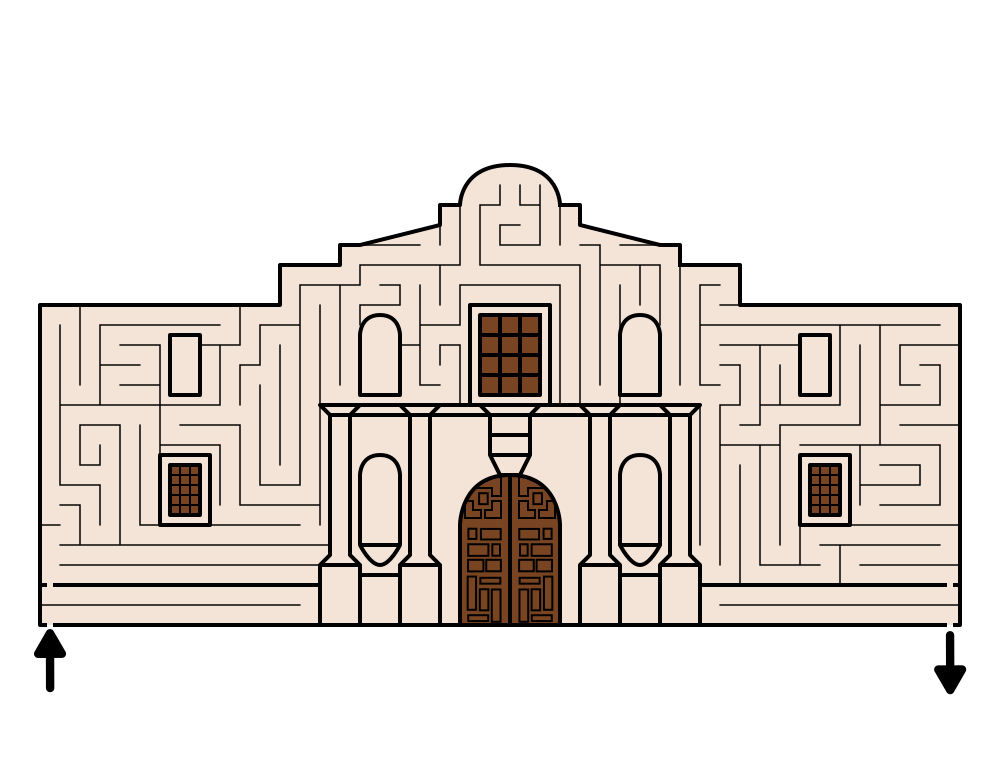
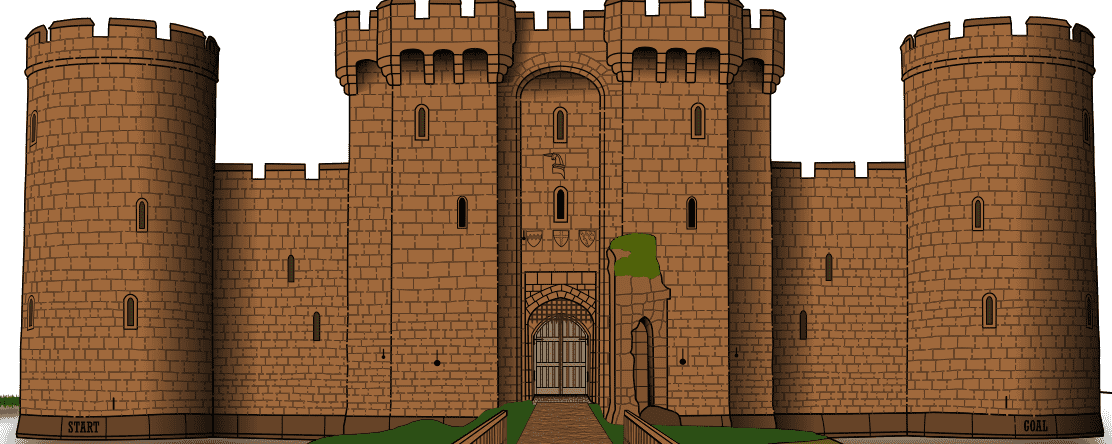
Prompt 3 - Draw a difficult maze of the White House pixel art style
Maybe that is a white house in the middle with a brown door. And the maze is technically a maze I think - I can move from a border opening to another border opening.
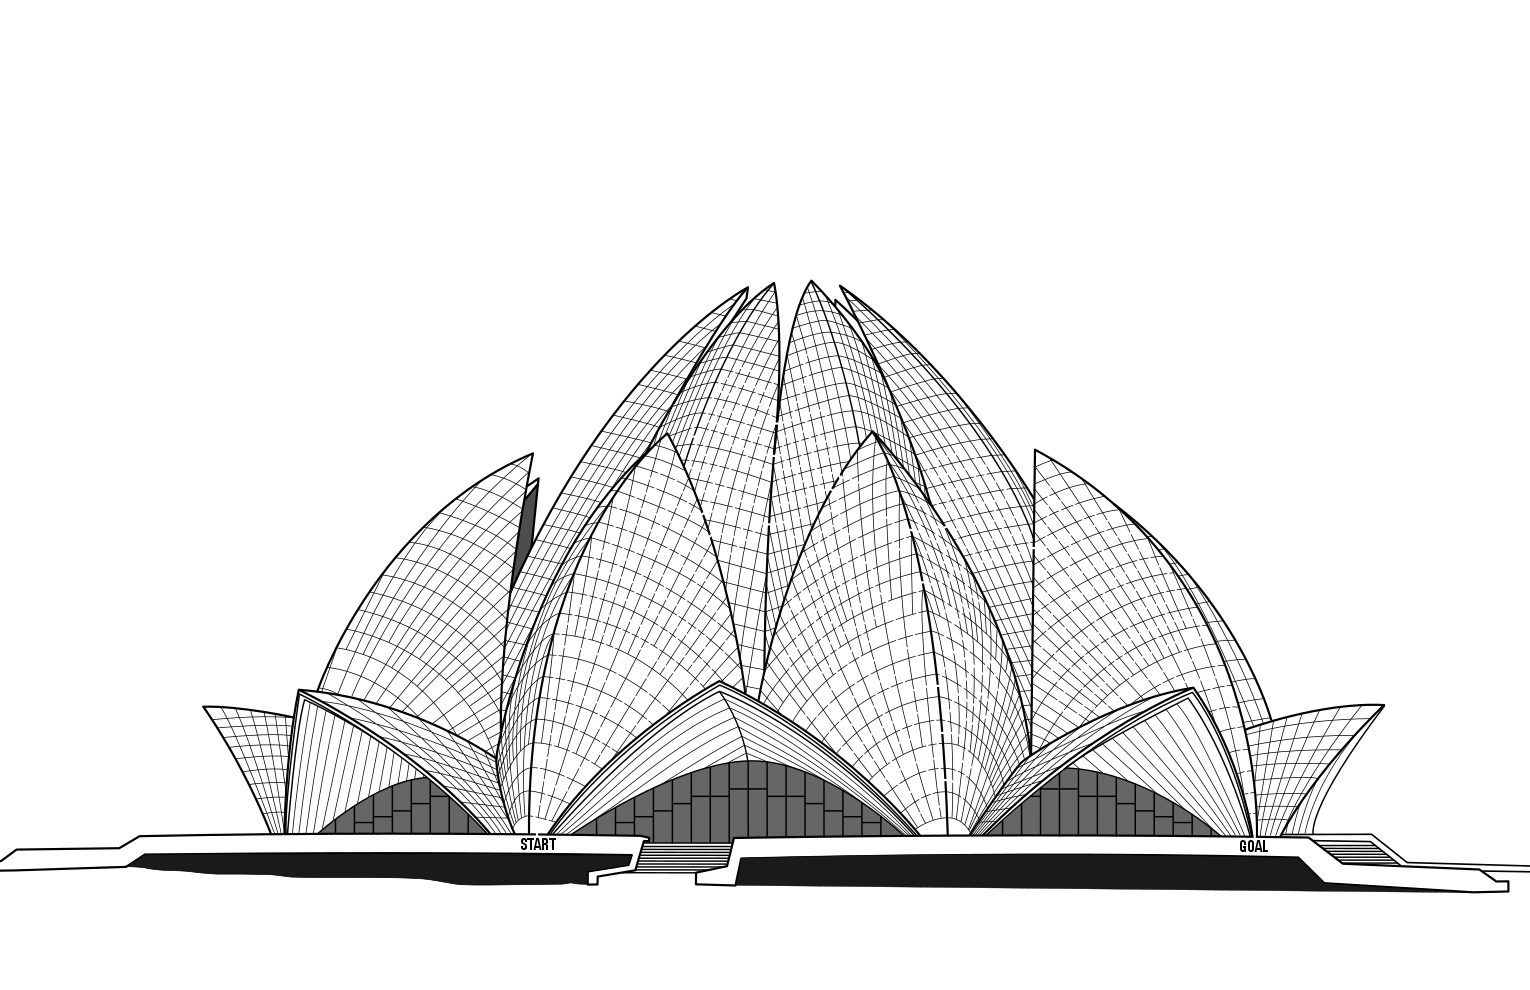
Prompt 4 - Draw a difficult maze that looks like a drawing of a famous building in sketch style

I see a door ! There were like a dozen related images that others made with different prompts that I really liked. Maybe the problem is me ?
Prompt 5 - Draw a maze in the style of doyoumaze.com of a skyscraper in NYC

I thin kthe caption captures the essence of this better than anything I could ever write: “Maztet Lojze !”
Prompt 6 - Draw a maze in the style of Sean C Jackson of a scene from a large outdoor market

It has potential. The coloration, a maze intermixed with (not quite) a scene.
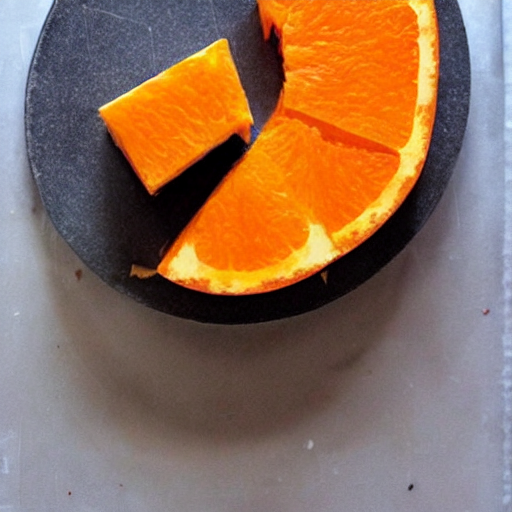
Prompt 7 - Make a maze of a slice of an orange in color
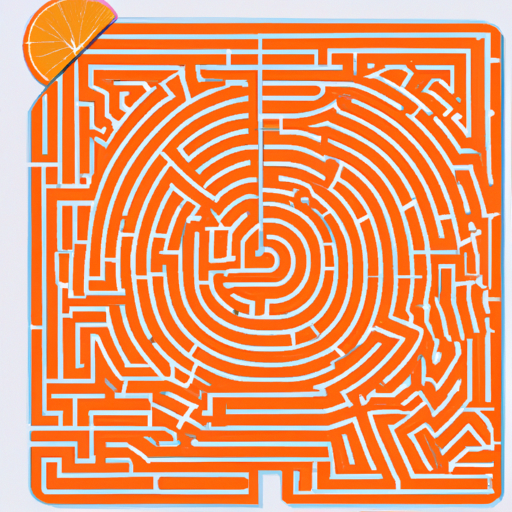
Better than most.
Prompt 8 - Make a maze integrated on top of a photograph of a king sitting on his throne looking cantankerous beside his beautiful queen

This is close to the directions even if it looks blah. The widows peak on the king is……….special.
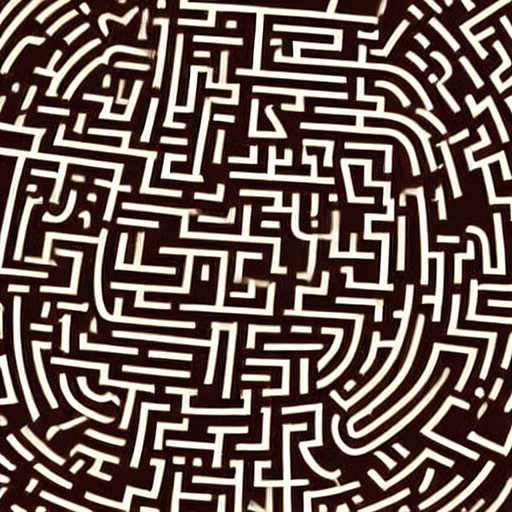
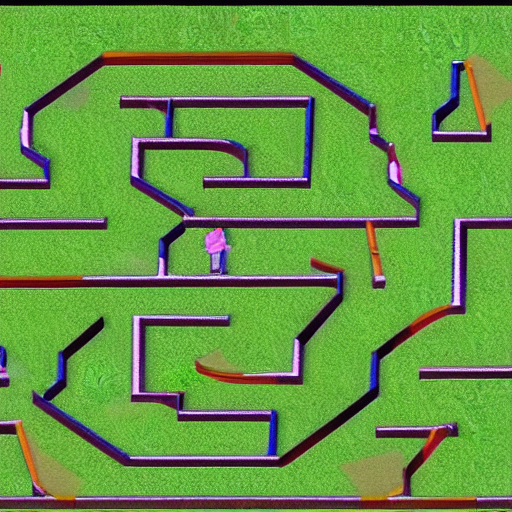
Prompt 9 - Make a solvable maze that is very large and very difficult to solve because it is so complex

Not so good.
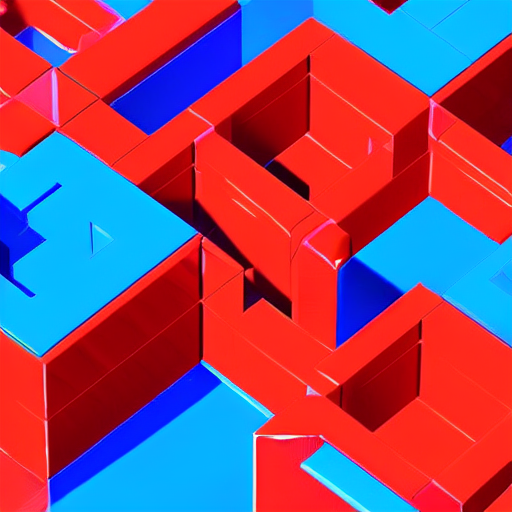
Prompt 10 - Make a 3d render of a red and blue glossy cube maze

Interesting. I like it.
How did ToolBaz do ? Well, I have to say I found many images that I liked that were made from related but different prompts. That was not what this project was about, but those options were excellent. It is as if the AI was saying I can’t make your prompt into something cool but here are examples of great generations and the prompts that made them. So if you are not looking for something specific this seems excellent.
Coming Next: Photosonic