The Collection (2012) IMDB Prime Video
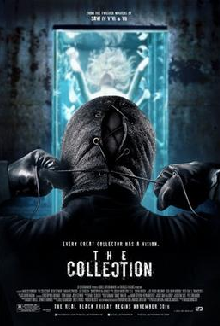
The sequel to the 2009 movie The Collector, each directed by Marcus Dunstan.
After escaping from a serial killer known as The Collector a man is sent back to the serial killer’s hideout to rescue a kidnapped girl. The only problem is that hideout is a booby trapped maze he needs to get thru to save the girl. And by booby trapped, I mean Saw levels of pain and creativity. Can he save her in time ? If I told you I would need to write spoiler and then give you the answer. But I didn’t so you’ll need to watch this on your own to get the answer.
If there is one thing I disagree with the critics on is that this movie is more poorly reviewed than the first installment The Collector. I completely disagree. While that movie is fine, this sequel is a much better movie. I give The Collection a 7.5 / 10. See this movie and enjoy the carnage !
Other Movie posts you may like:
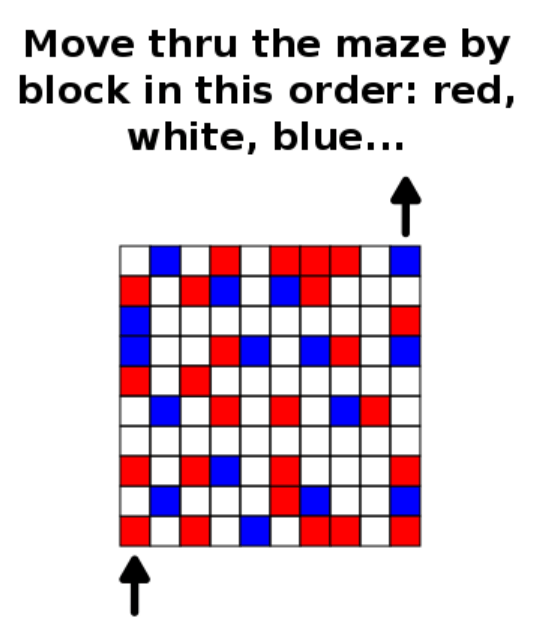
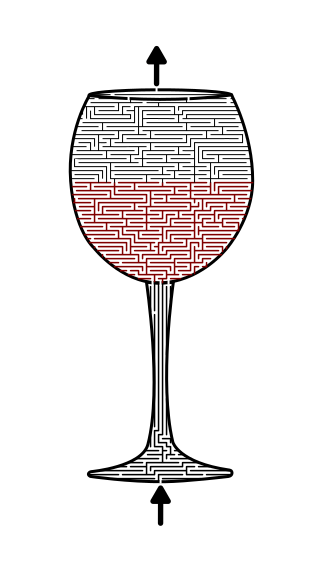
A Collection of Maze and Labyrinth Movies
Other Maze horror movies:
Hellbound: Hellraiser II Movie Review (1988)
It: Chapter 2 Movie Review (2019)
The Shining Movie Review (1980)