Maze Art Case Study - Bodiam Castle Maze Coloration & Improvement

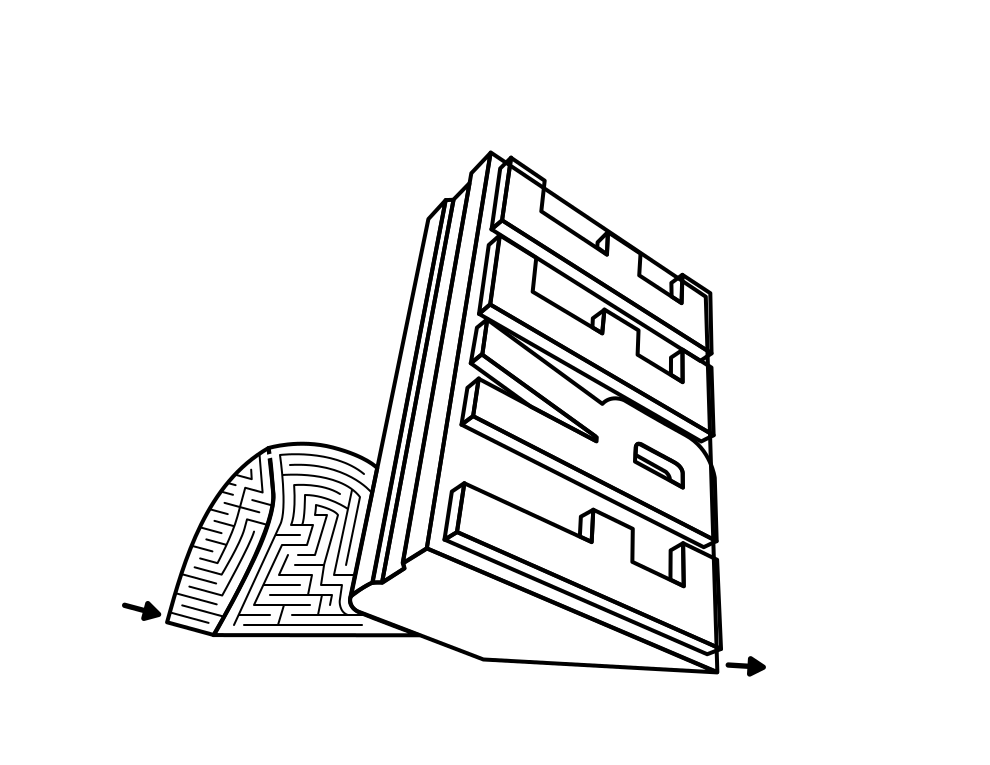
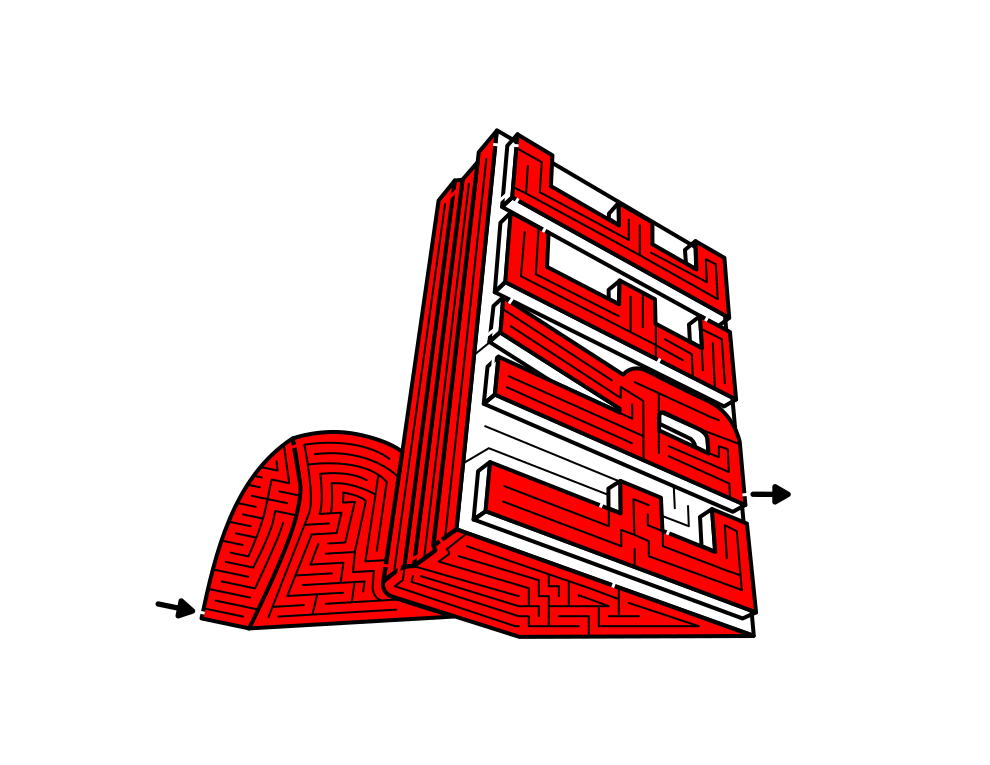
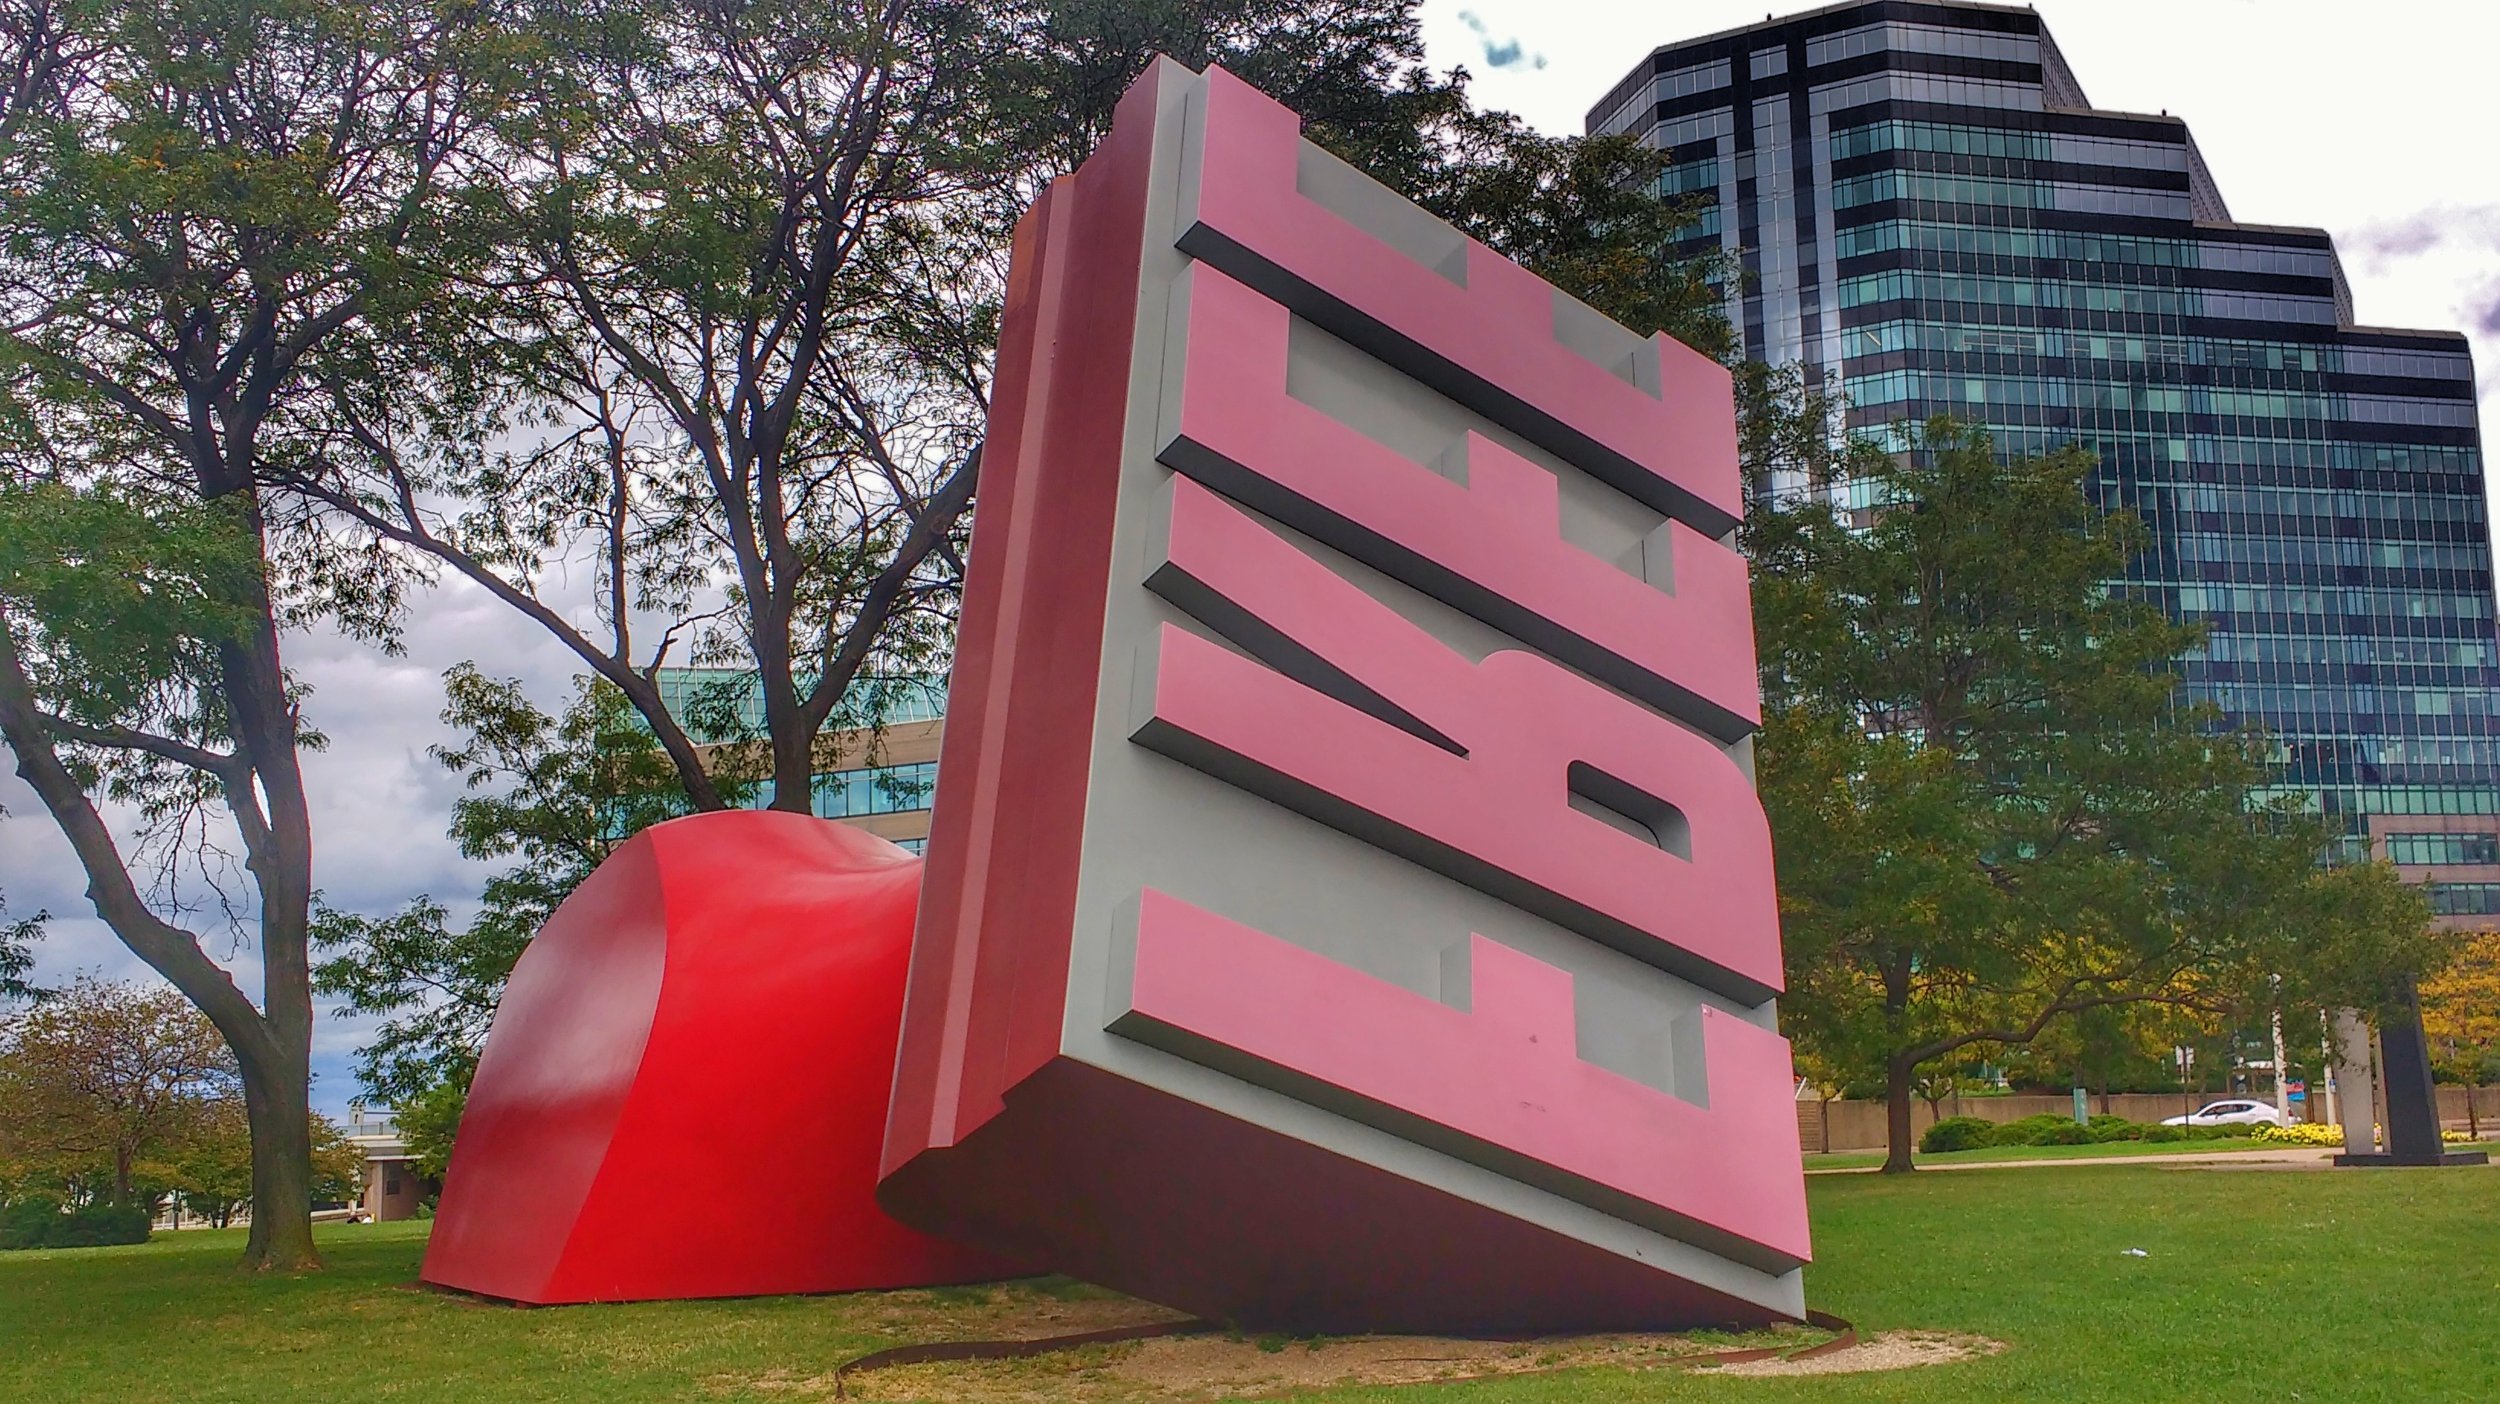
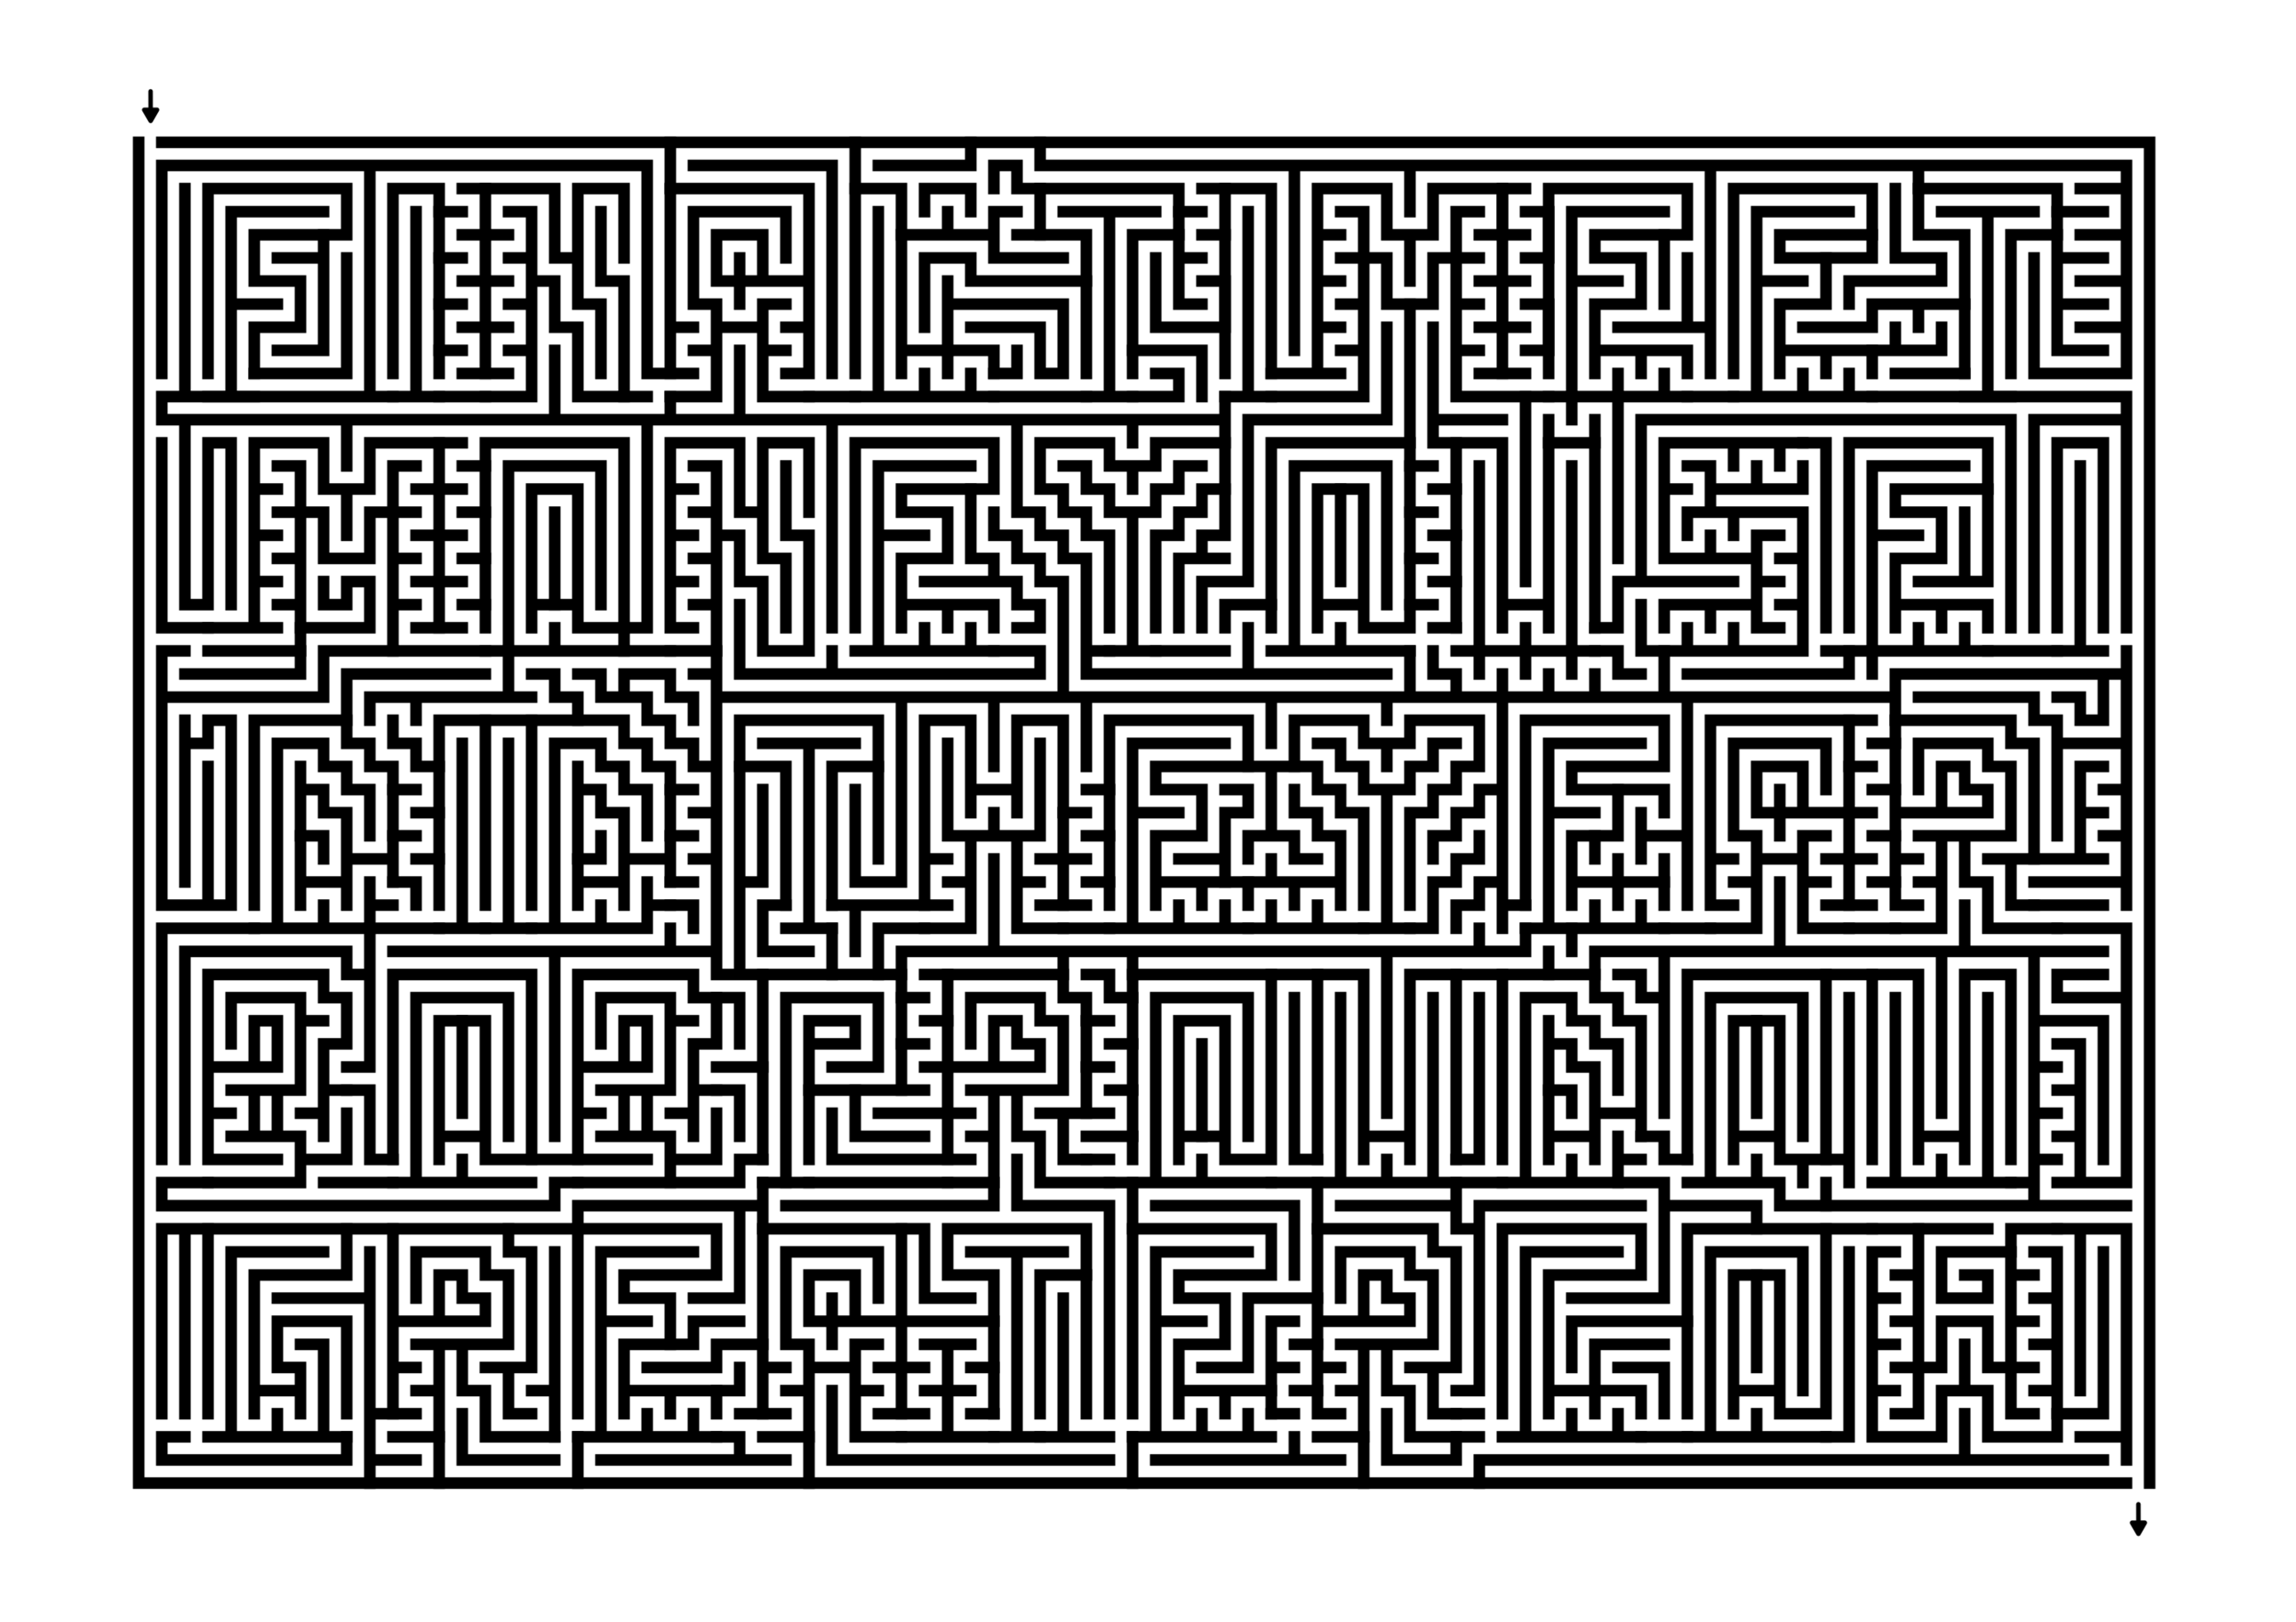
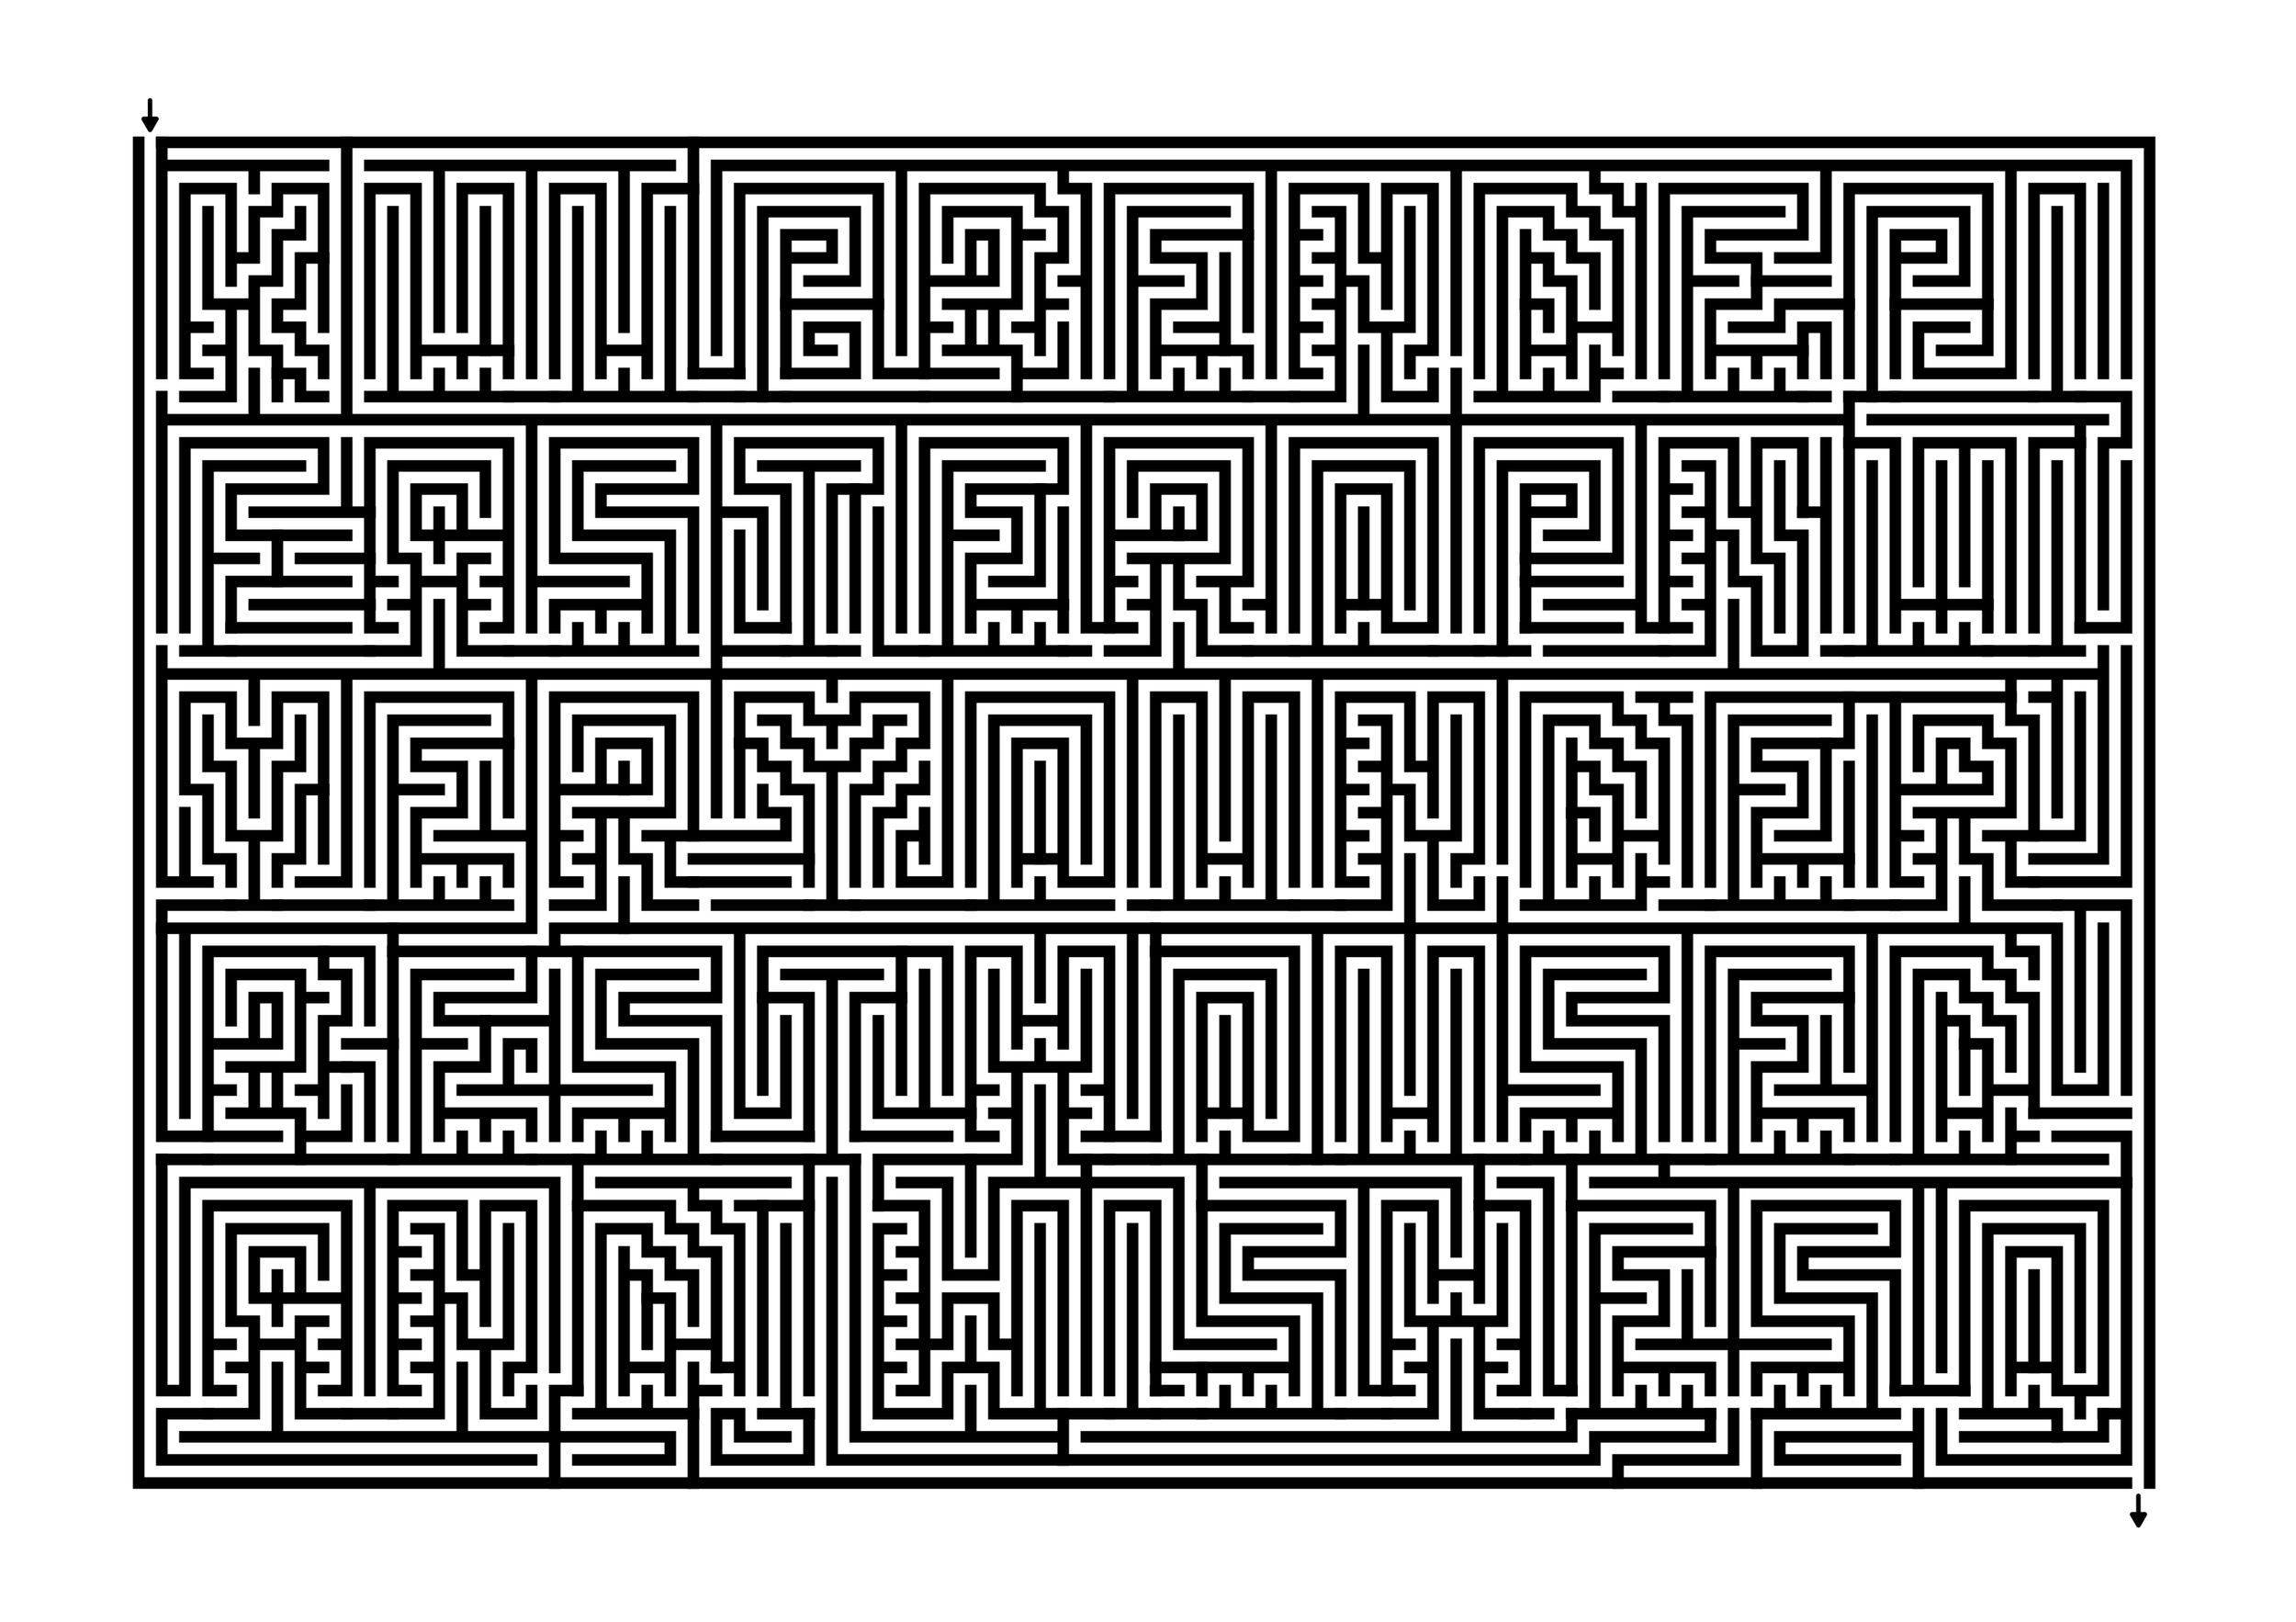
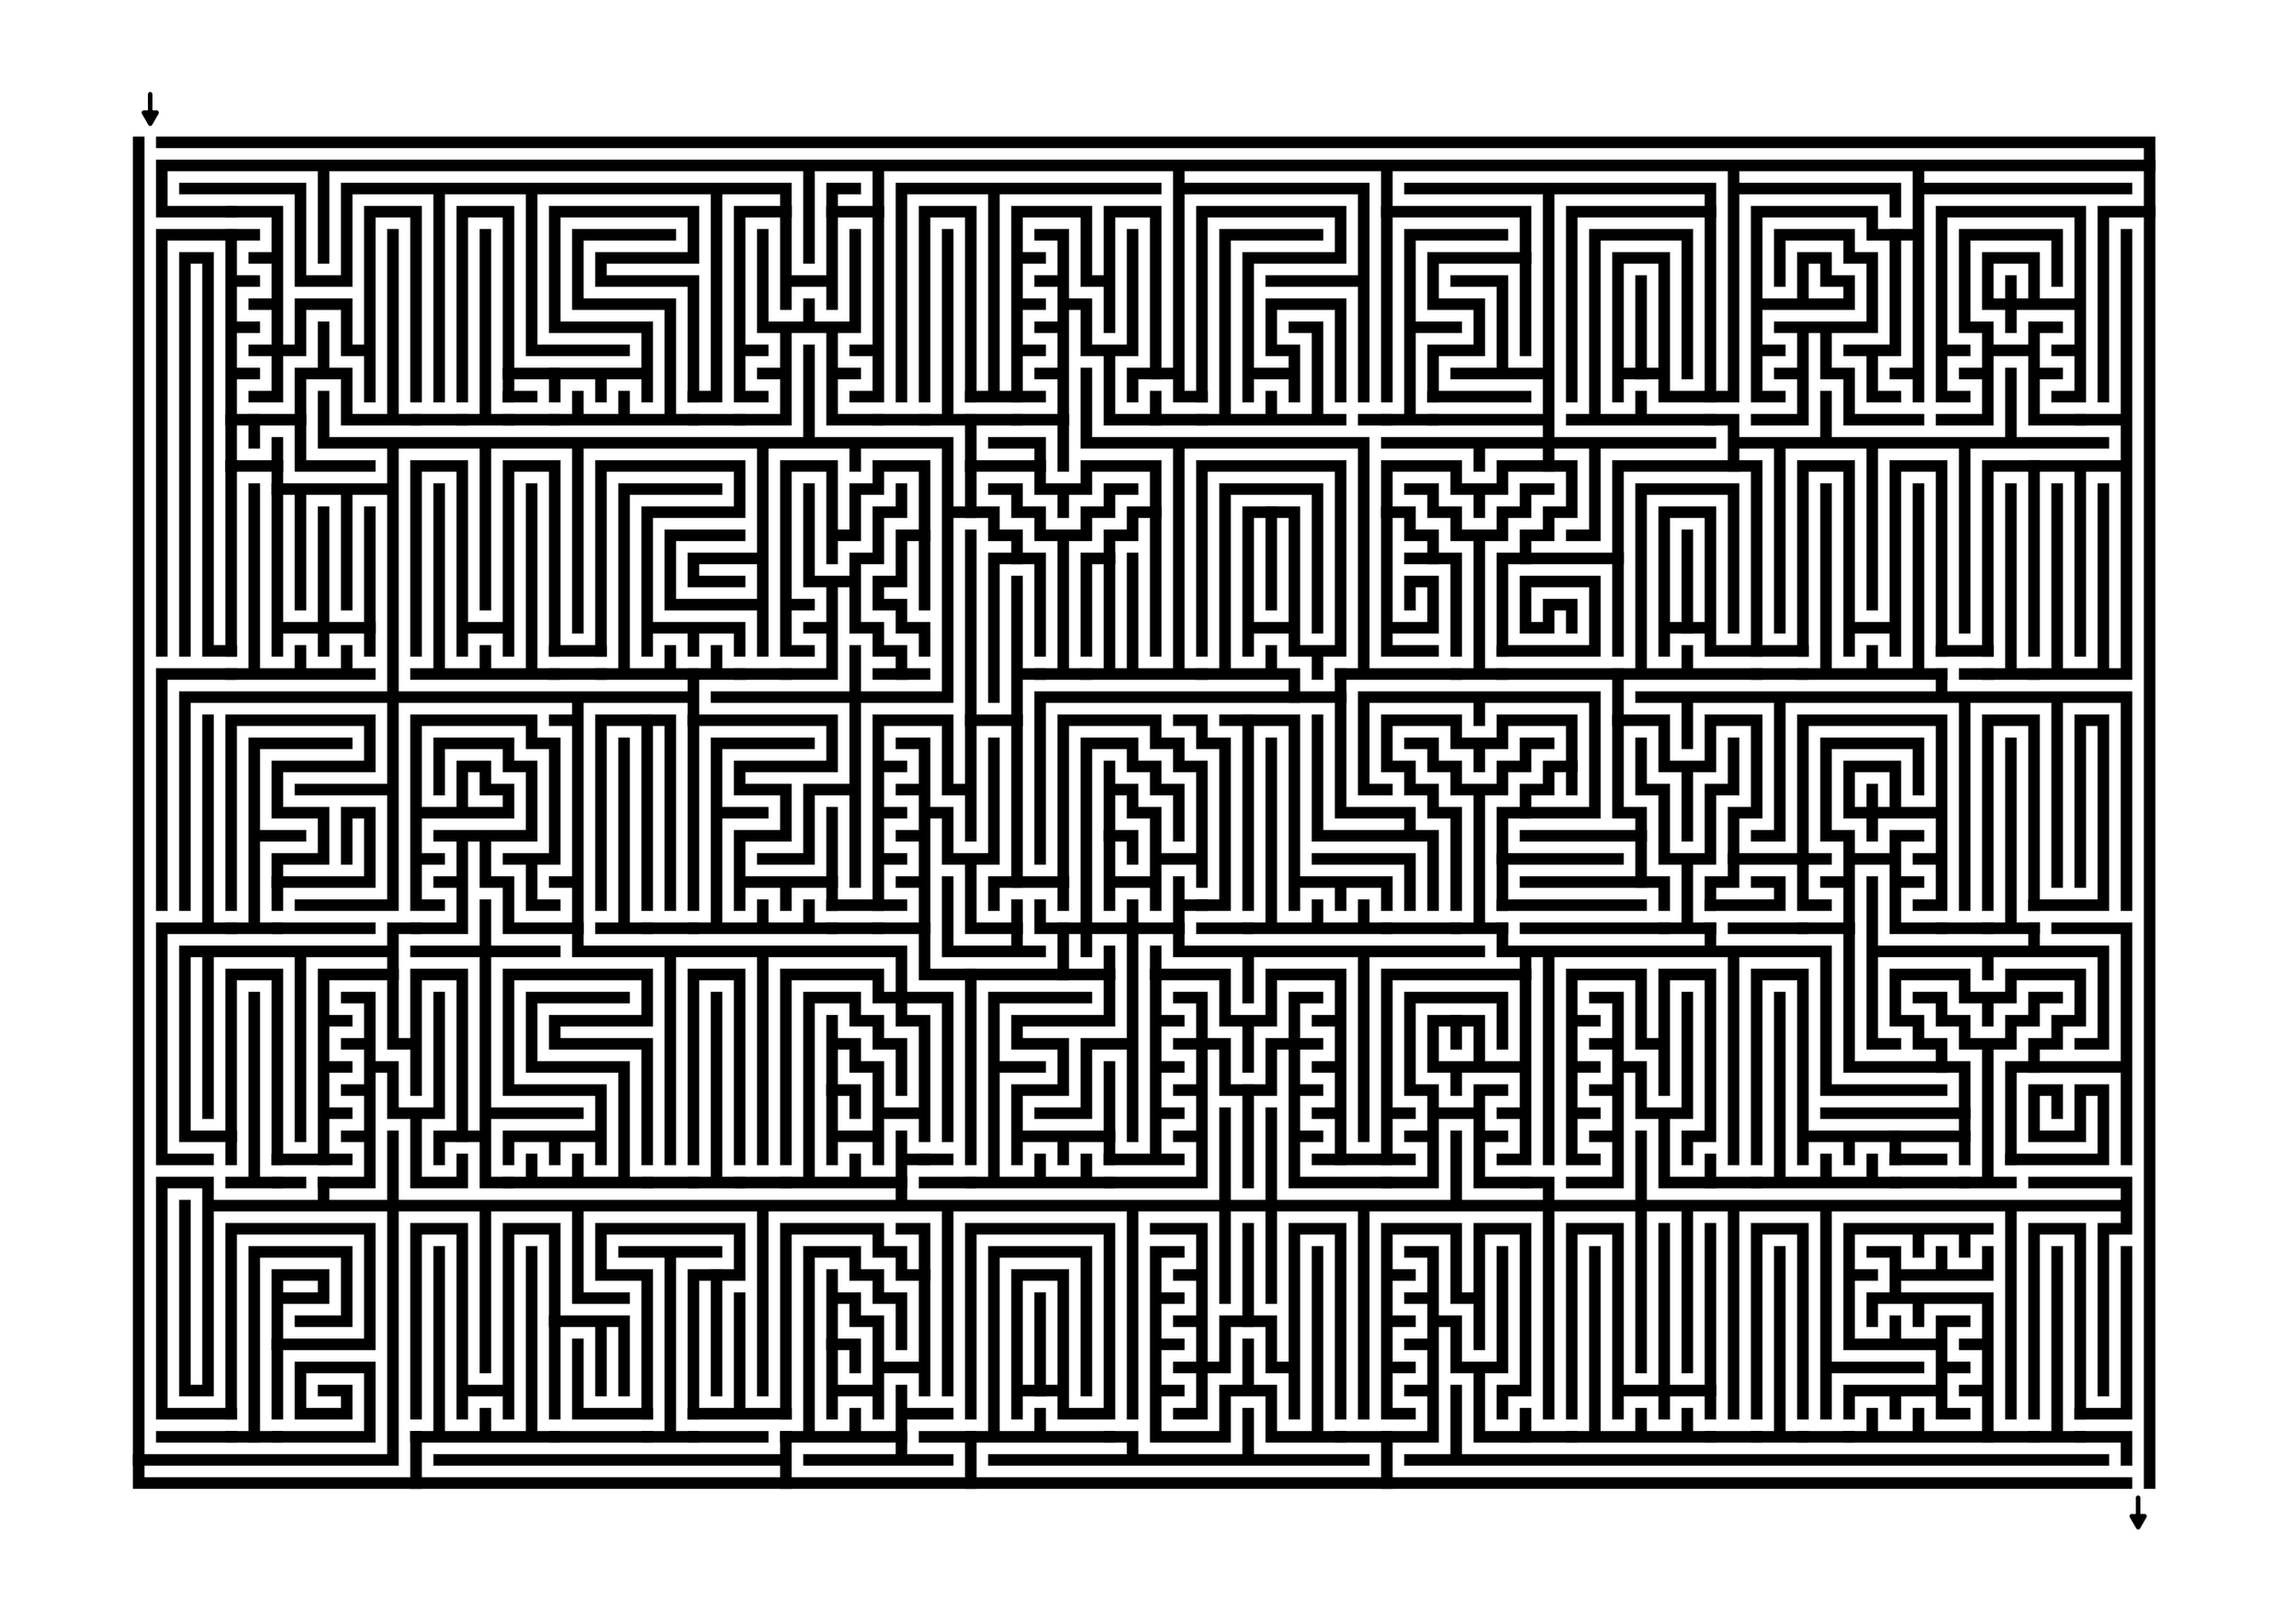
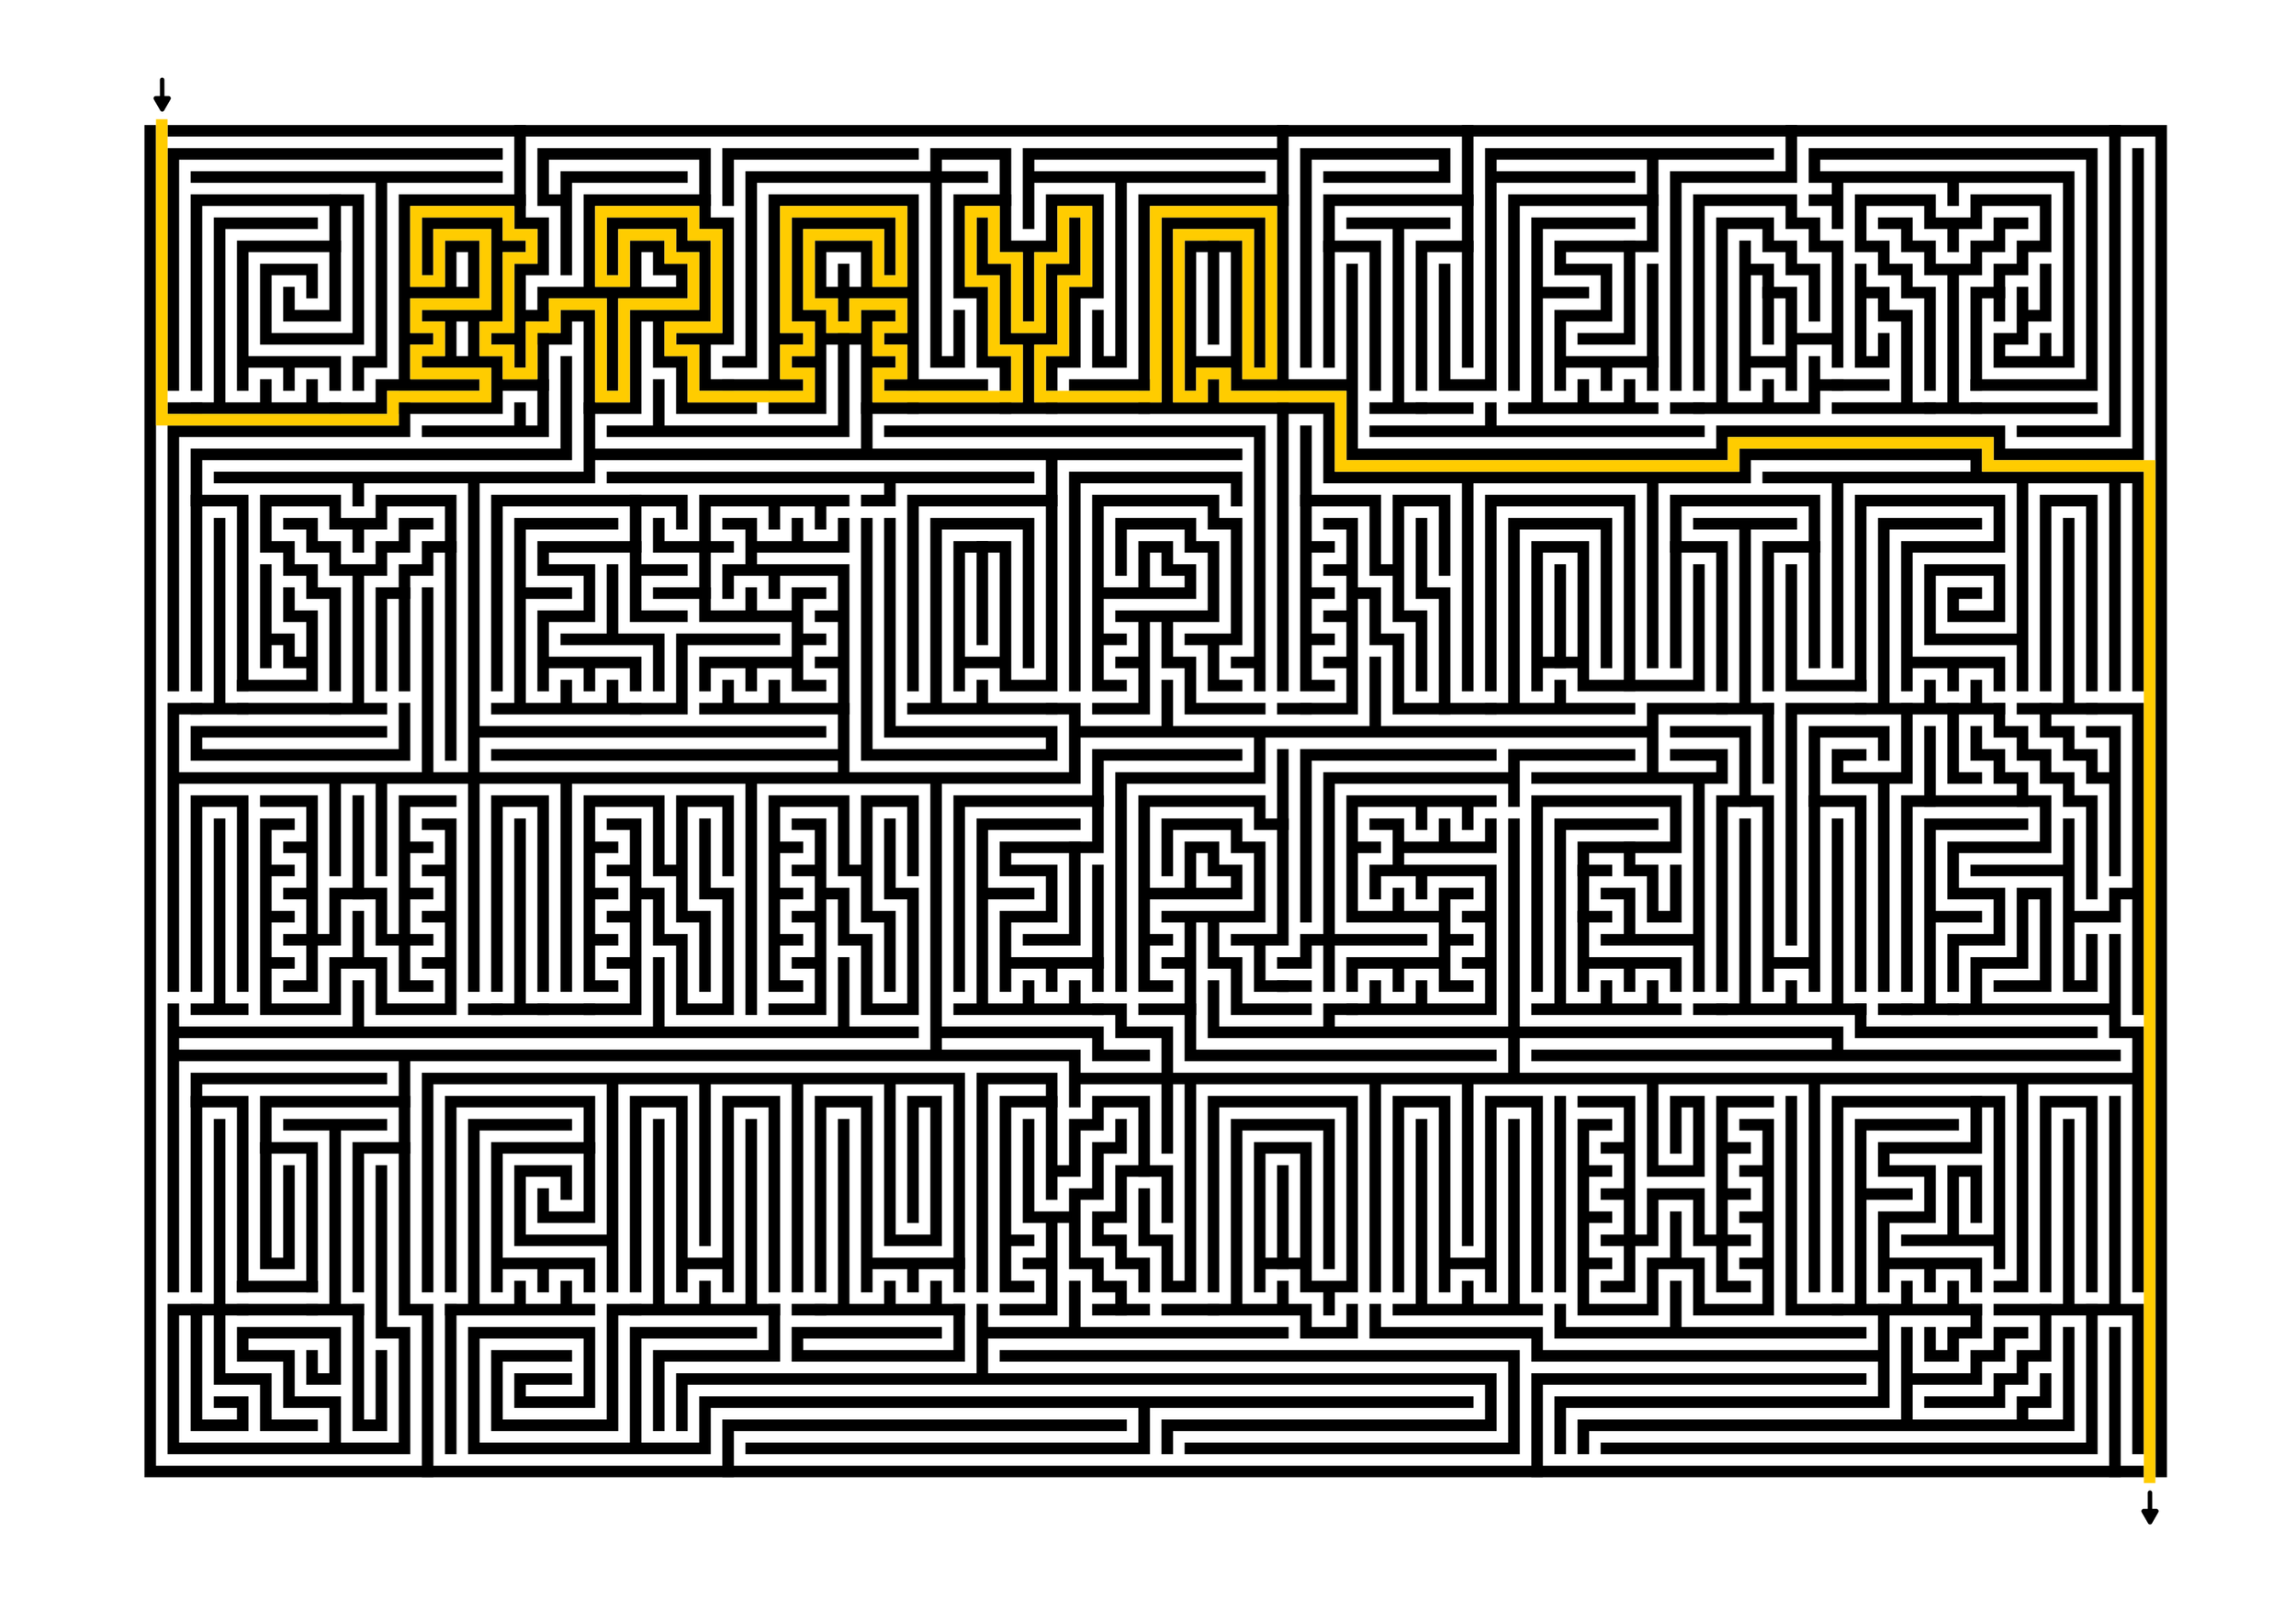
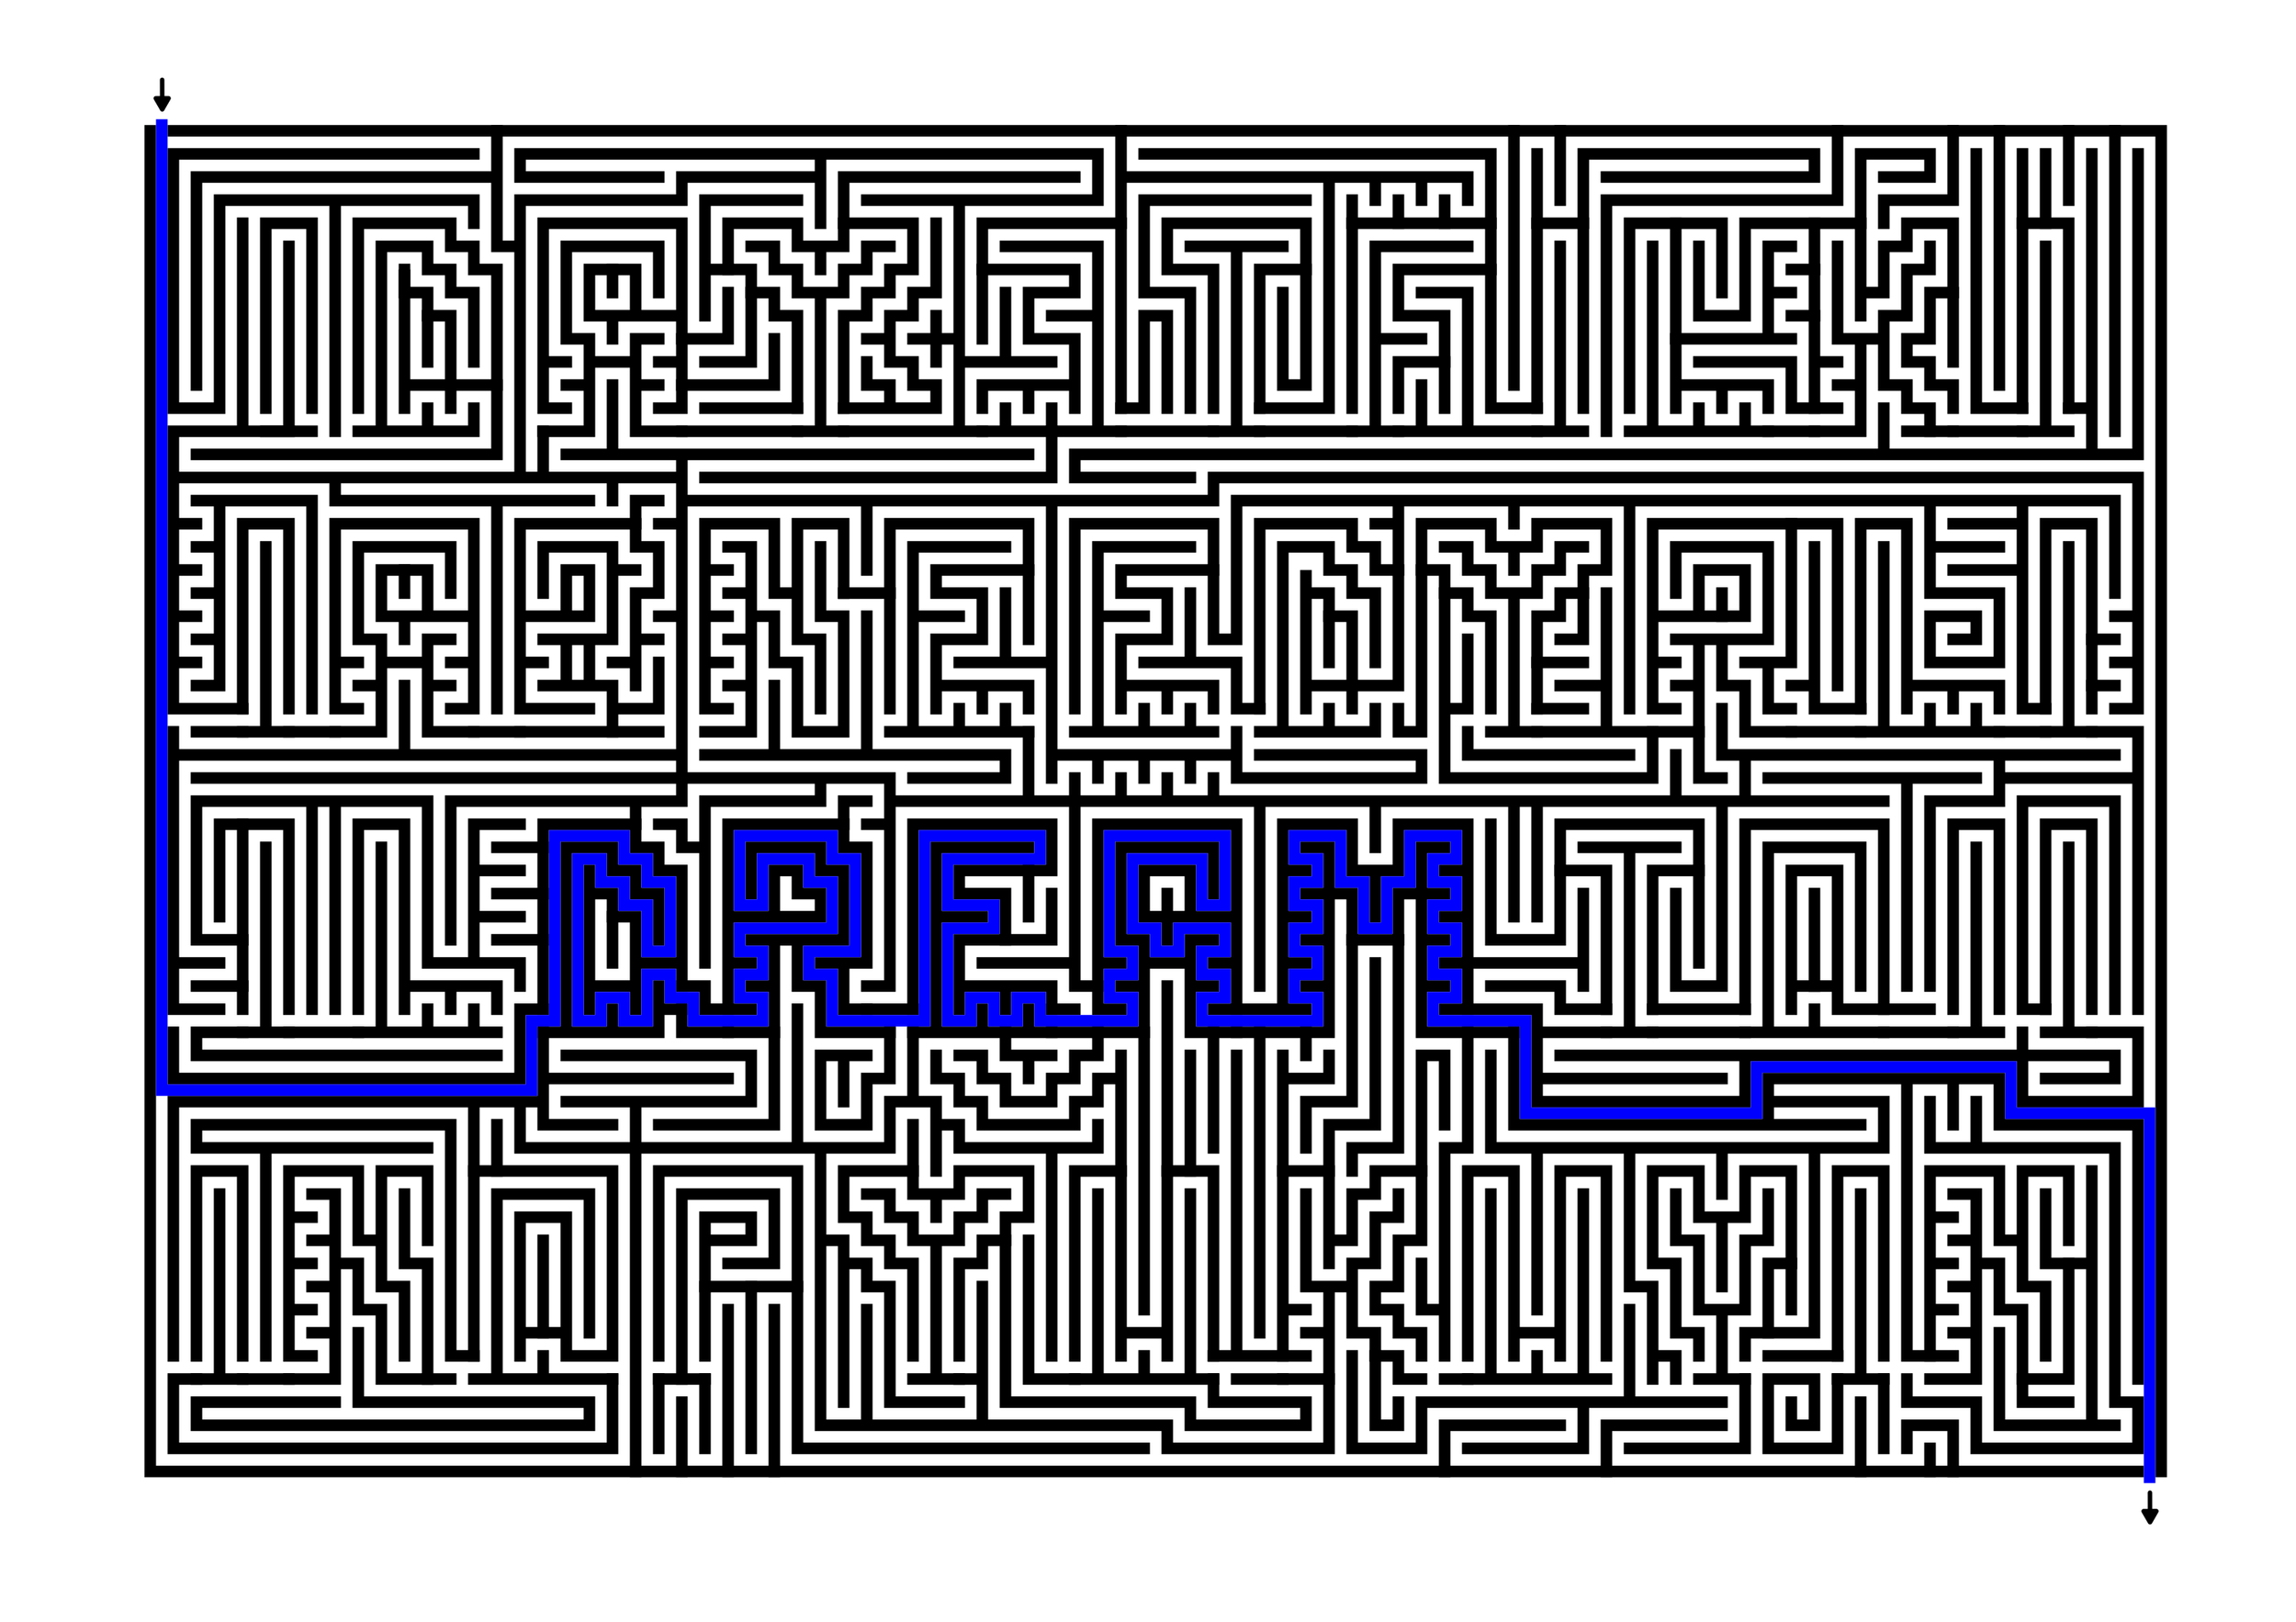
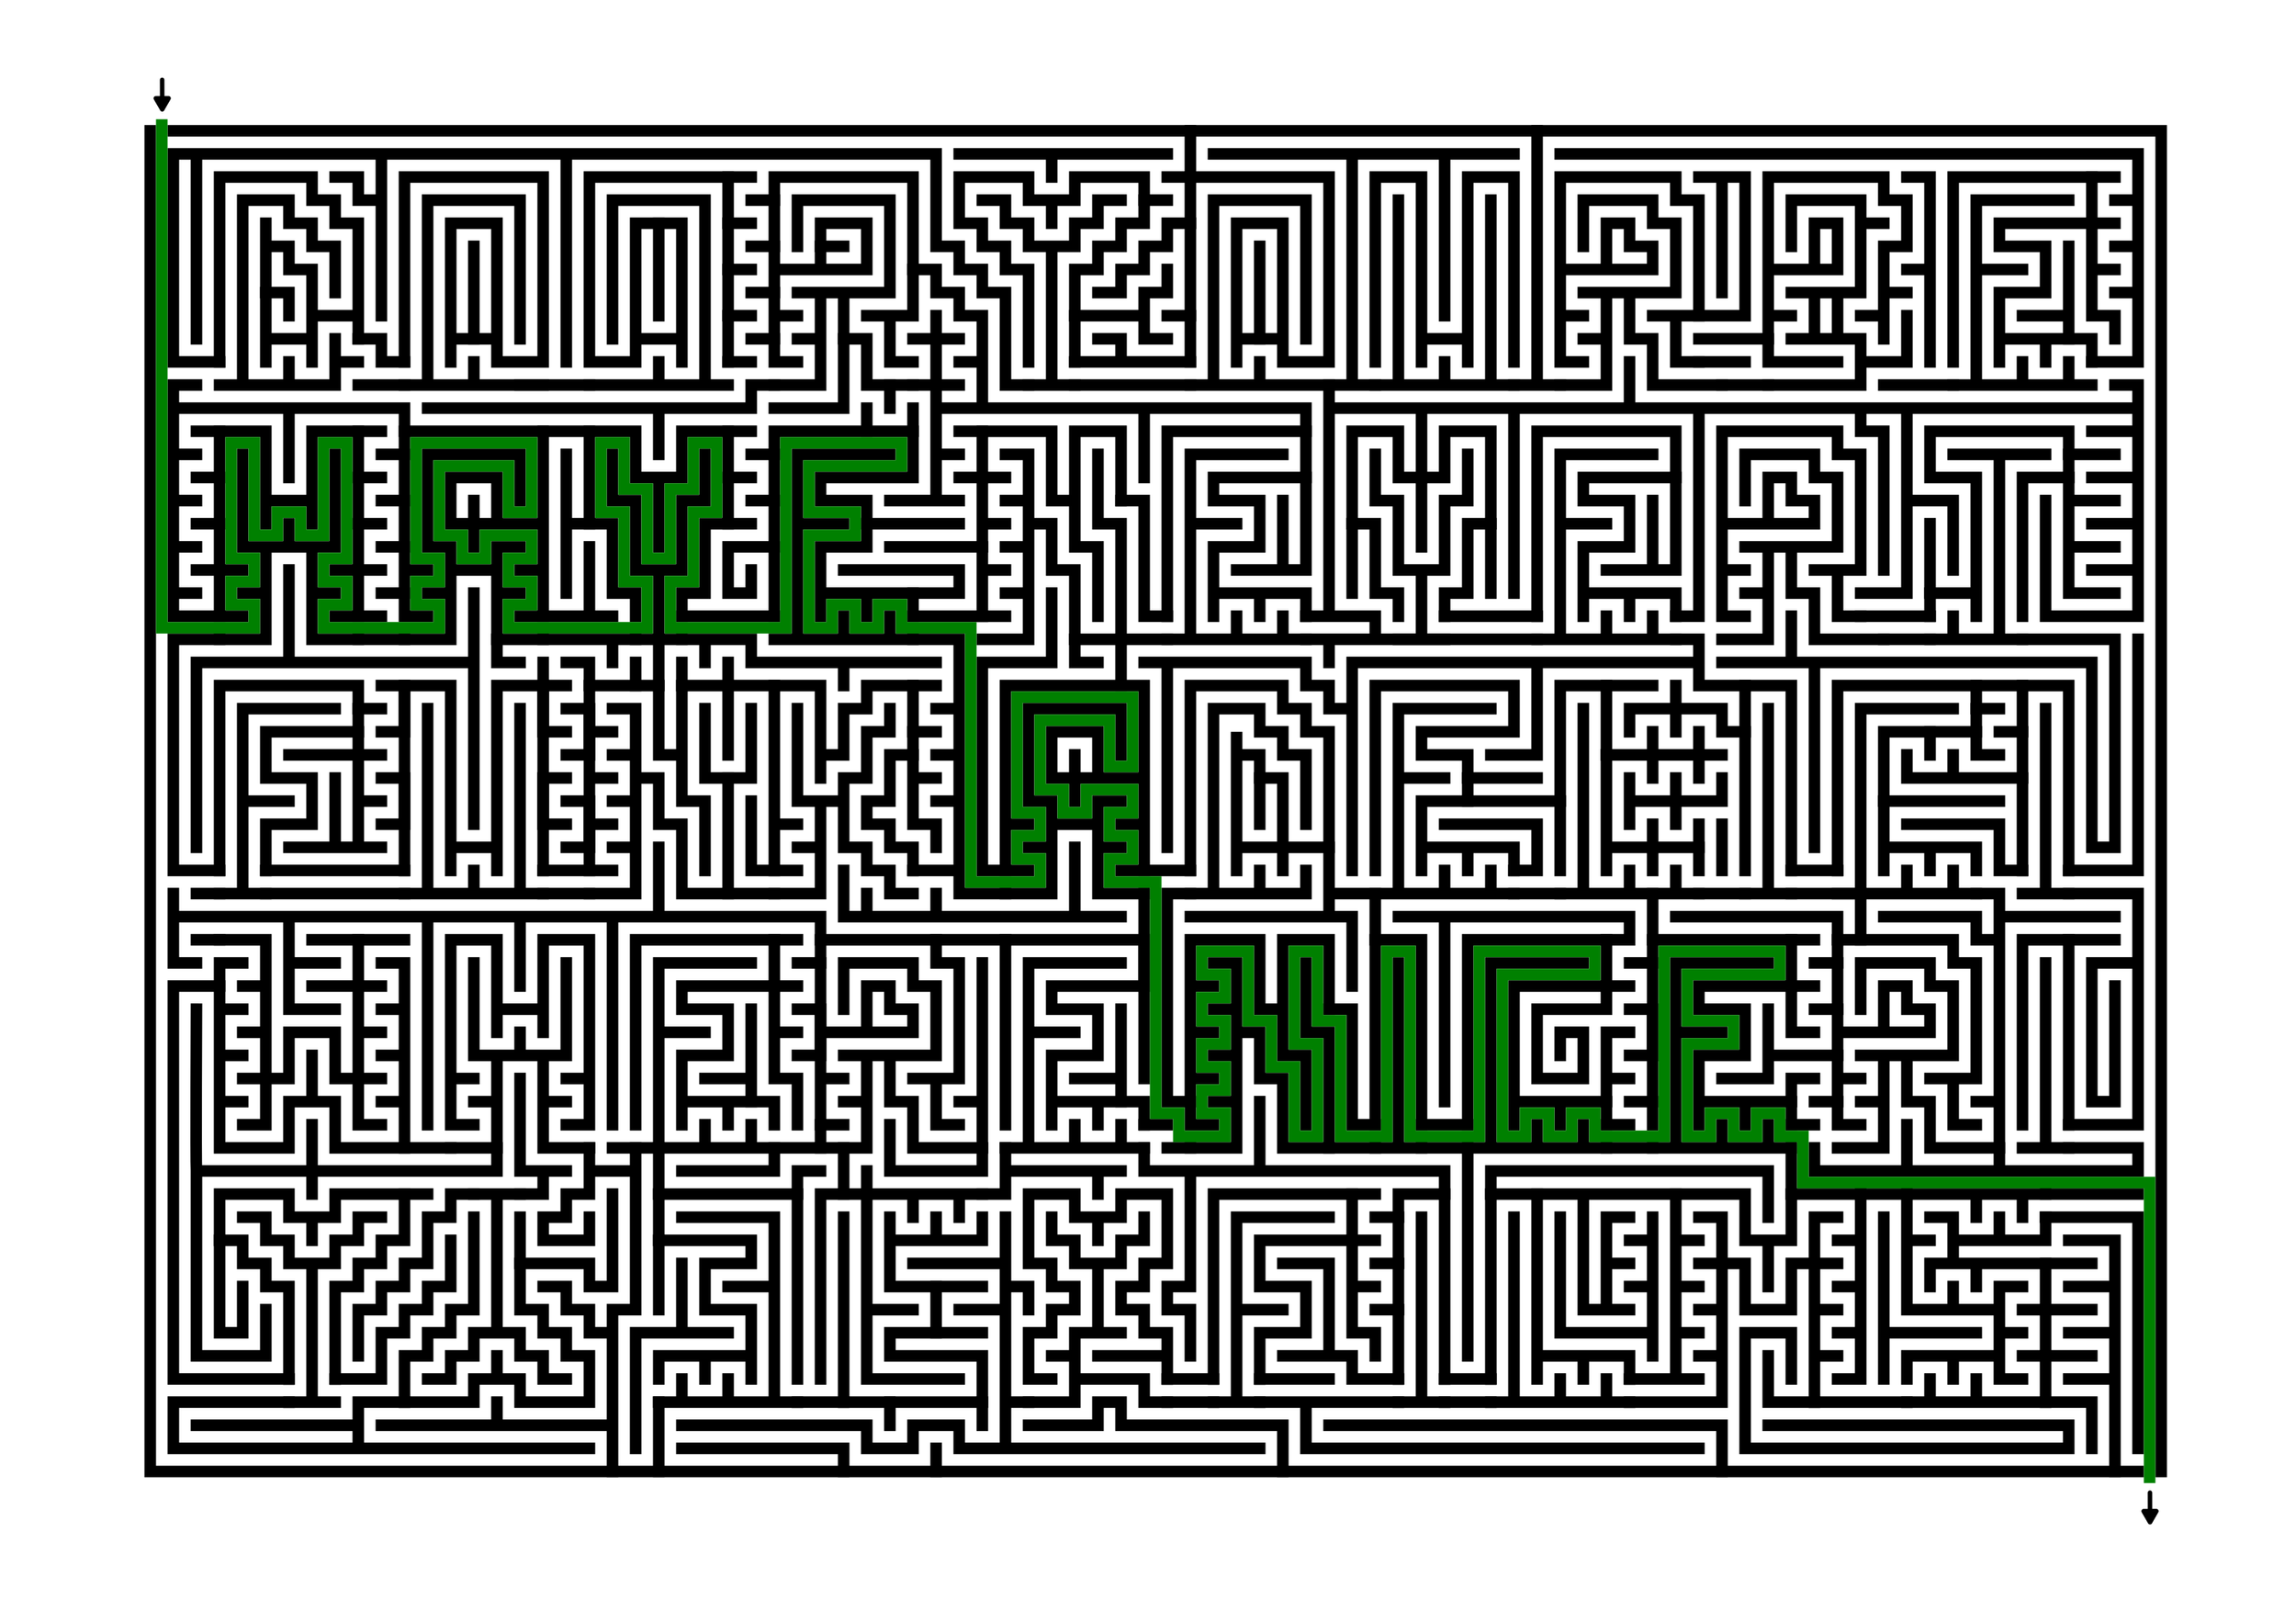
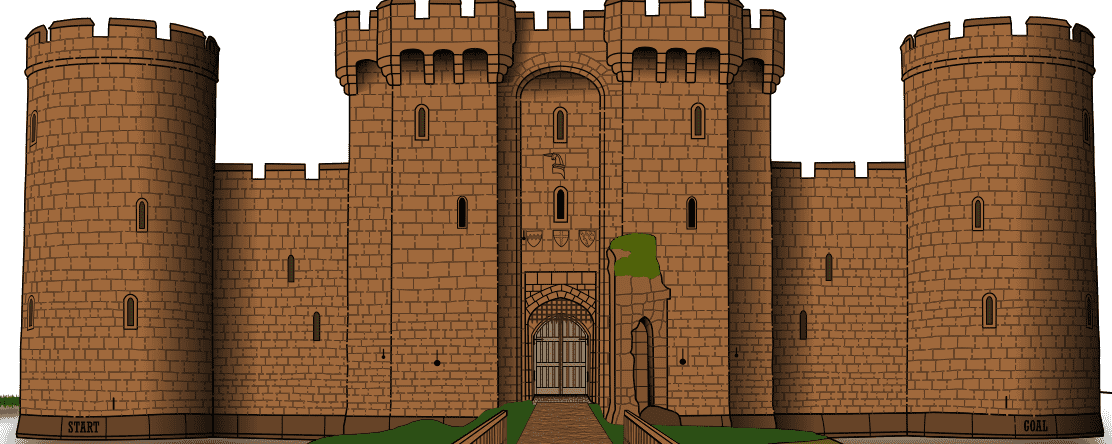
I wrote a blog post about improving existing maze art, Maze Art: Advanced Tips to Creating Your Own Masterpiece. I wanted to use my own writing to see if I could improve one of my own mazes. The maze in question is Maze of the Week #69 of Bodiam Castle in England. It is my second maze of a castle in England and this one I made only in black and white. When I was finished with the maze I didn’t really feel finished. I wanted to do more but was frustrated because the last section of the maze I worked on was a complicated. The parts that I could add would not have any bearing on the actual maze or maze solving so I moved to my next maze. Now I go back and try to improve the maze. Will work ?

Here are my 8 advanced tips for making maze art:

Tip #1 - Make lots of experimental mazes - DONE

Tip #2 - Get feedback - need to do !

Tip #3 - Famous landmarks/locations/objects get more interest - DONE.

Tip #4 - Leverage your unique skills - DONE , I make many building mazes !

Tip #5 - Don’t worry about “fitting” the maze into a particular size - DONE

Tip #6 - Slow down and take your time - I was rushing onto the next project…thus the case study !

Tip #7 - Add as many small details in the maze as possible ( & Consider adding shadows) - What I need to do.

Tip #8 - Take lots of detailed pictures of your subject - I do not live nearby but will search for as many details as I can find.

So 4 of the 8 tips apply to this maze. I will work my way through these and see how things go.

Tip #2 - Get feedback - I am going to send this to 2 friends to get some feedback and see what they say and include that in my changes.

Tip #6 - Slow down and take your time. I will be done when I complete the details I want to try and not before !

Tip #7 - Add as many small details in the maze as possible - This will be the core of what I do based off of additional pictures I find (Tip #8)

Here is my own evaluation of the small details that are missing in the current maze:

  • You can’t tell that there is a moat around the castle. I can try a few things to potentially fix this.

  • What is behind the castle on the landscape (it is not nothing) ?

  • The island includes grass although that is not clear in black and white.

  • Different sections of the maze bricks have different colors.

  • The structure on the island blends into the castle just to the right of the door.

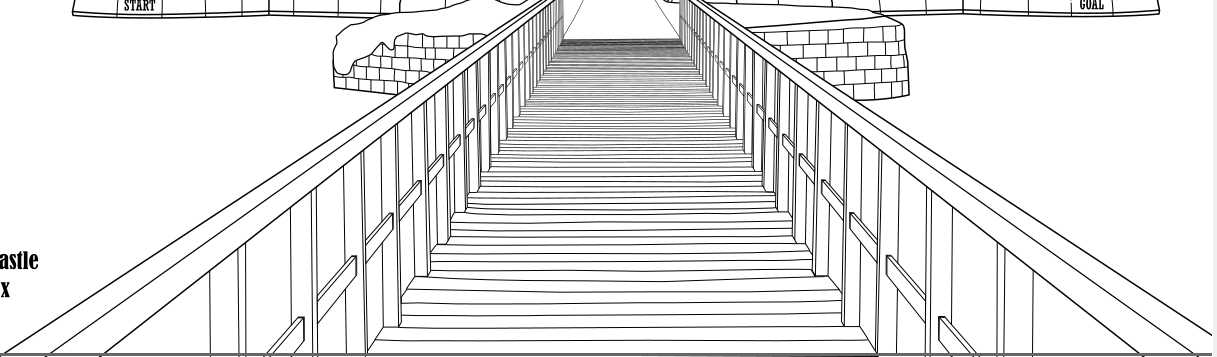
  • The boards on the walkway leading to the entrance have additional details that can be added (like nails)

  • How about adding some shadows to give the castle some shape

  • The sky is empty

  • Moss and small plants cover a portion of the structure

As I sat down to enhance this maze I decided to start in the center with the wooden walkway and work my way from there. Let’s look at the changes I made:

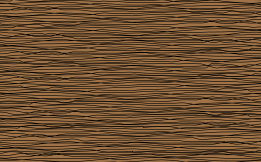
1 - Walkway - added color - different shades based on shadows; added shadow between the boards; added nails; added lines to show ‘grain’ in the wood. Made over a dozen small fixes to extend/shorten lines and clean up the picture.

Walkway before
Walkway after

2 - Dirt Walkway - directly behind the wooden walkway it appears to be made of dirt and small stones. I gave it some detail to reflect that and colored it. I used lines closer together in the center where people would walk more.

3 - Island Bricks - I noticed that the bricks that make up the island have grout that it light colored, so as I colored the bricks, I changed the black grout to the lighter color with black accents.

4 - Island Moss - added color, including dead grass on the edges in a lighter color. I added some moss over the bricks.

Island before
Island after

Here is a close-up of 2 of the changes I made, the new bricks and the new walkway:

bricks view
pebble walkway illustration

5 - Island fix - I actually did not finish the portion of the island that goes behind the walkway. And this was not finished on either the left or right side, so I added the portion of the island in the background between the wood. I also colored them and added grout as appropriate. Here is the section on the left side with the island added. Go back and compare the before and after’s. Most people don’t notice the missing island in black and white !

bridge with background bricks illustration

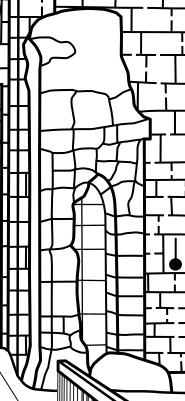
6 - Door area - Added stone detail in front of the front door (and behind the pebbles) and colored it. Adjusted this from 2 sections to 1 and added shadow area near/under the door. Changed the door panels to be smaller with more accurate depiction based on the pieces of wood that make up the door. Added bolts that hold the panels together on both doors. Added a door handle on the left door. Changed the iron parts of the door to be a more accurate shape. Changed the color of the gate and added the bolts at the intersections that hold it together.

Door before
castle Door before

7 - Castle fixes - There are remnants of a building in front of the main castle on the right side. It has moss on the top and a door. I made the bricks the same as the island. There is a rock in front of the door. You’ll notice that later I made additional changes to this section (darker moss, doorway shadows).

Extra building before
Extra building after

The main castle has a shape that includes sections with some depth so I added color and shadows to account for that. The bricks were not as strong in the pictures I saw so I softened them just as I did on the island with the lighter cement color. The bottom stones near the boat were colored darker.

Castle illustration before
Castle illustration after

8 - Water fixes - I went for it on this section. I created relections of the castle and island in the water. Obviously I colored the water a nice blue color. I also added the reflection of the shore items (trees and grasses) after they were added.

9 - Shore fixes - Added some trees near the shore and some small hills in the background. Near the shore coming from the water I added reeds/grasses in the transition area. All items were later reflected into the water !

To show more detail I will only show the right side of the picture.

moat illustration before
moat illustration after

10 - Final touches - Added a sky. Changed the color of some moss (darker) to better reflect reality. Re-worked some layers to improve the maze. Enlarged the name of the castle in the bottom left corner larger than the location.

Considered but did not ultimately add: Clouds in the sky. I practice these often but have not perfected a good enough cloud yet. Ripples in the water. I experimented with this but decided it looked forced. Something to practice ofr future mazes. Ducks in the water and birds in the sky. Not needed, but if I could make it well enough it would be fun little added touch.

Here is the Before:

Bodiam Castle Maze in black and white

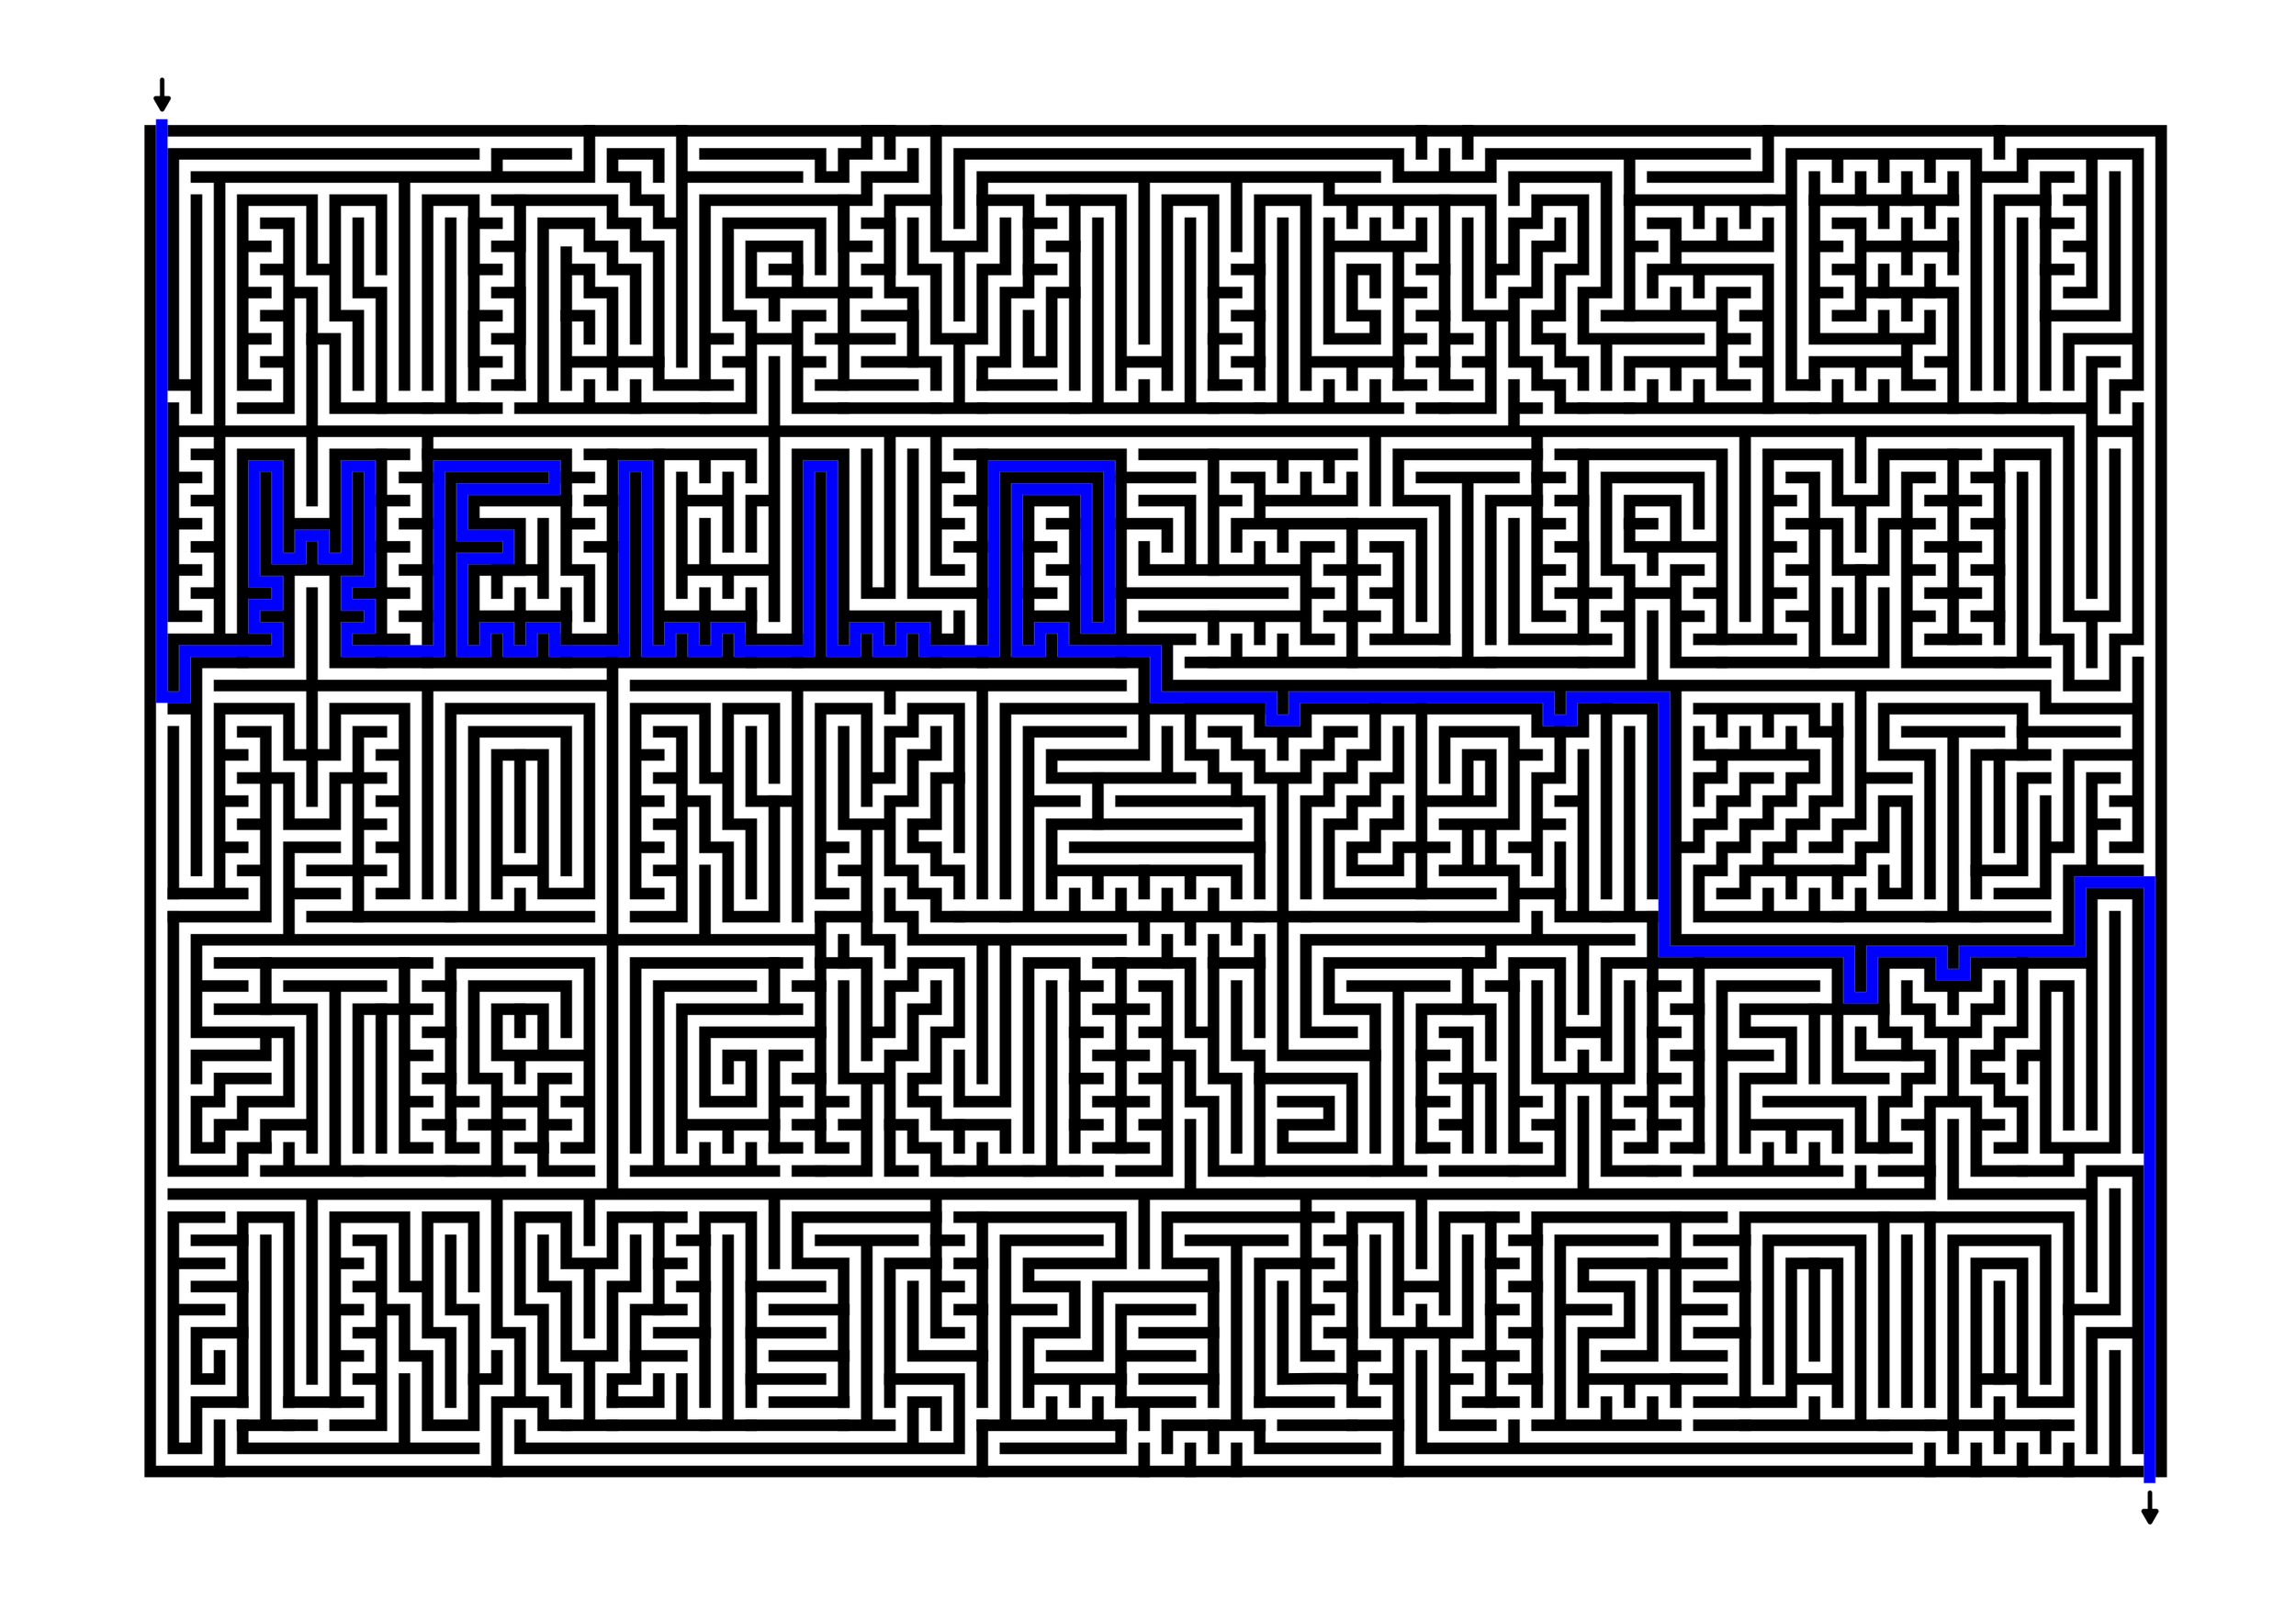
And here is the After: I had some trouble saving this as a PNG and keeping all the reflections, So I went with a screenshot. The full maze as intended is shown in the saved and downloadable pdf file.

Bodiam Castle Maze in color

How long did the changes take to add?

Changes took me almost 4 full days to complete, working on and off most of each day. I did not work on any other mazes during this time.

How much bigger is the new file than before ?

I added a lot of small details that really add up. The PDF file went from 149KB to 1,886 KB (12.6x larger) while the PNG file grew from 422 KB to 1,048 KB (2.5x larger).

Was it worth it ?

Yes, I think it was. But what do you think ?

How to Create Maze Art in 6 Easy Steps + CASE STUDY

Have you ever wanted to create a maze ? What about a maze that has enough detail and complexity that it could be considered art ? I love creating maze art and I want to share with you my process. Let’s start with a definition of what exactly I mean by maze art. OK maybe a few possible definitions.

Maze Art - A solvable maze of a subject that is good enough that someone would consider hanging it on the wall as an art piece.

Maze Art - A piece of art that just so happens to contain a solvable maze.

Maze Art - A solvable maze made to look like something that is not a maze, like an object/thing/person/place/landscape.

Maze Art - A solvable maze made to look aesthetically pleasing or interesting and not just to be solved.

All of my definitions includes solvability. I do not include pictures that have design elements of mazes and labyrinths in them but are not solvable. Also, I think when you look at maze art you see the picture first and the maze is secondary (when looking at it, certainly this is not the case when designing it !!!).

One place you will not find help on defining this is in the Image Search section of your favorite browser. The majority of what you will get back a variety of renderings of boring maze clipart. Well unless you are looking for maze clip art - then you have a very efficient search !!! Every time I do the search I am disappointed with very few exceptions. For awhile I thought AI hasn’t been trained on what is considered art yet (Maybe that’s a good thing?), but we all have seen the new AI art tools by now, so that is not it. Here is what I found from 3 different searches:

Bing: About half of the results are of basic clip art. Nothing I would consider putting on my wall except result #2 and the skateboarder in row #2. You also get some cool 3D renderings of mazes but none of them are solvable since they include no start/goal and are not fully viewable.

Maze Art search results on Bing

Google: Much better results. A few clip art images are mixed in. This also includes a mix of art pieces that include maze and labyrinth elements but they are not solvable. But this is closer to what I would hope for from the search at least.

Maze Art search results on Google

DuckDuckGo: More majority clip art of basic mazes. Generally a very similar look to the Bing results in a different order.

Maze Art search results on DuckDuckGo

Here are some examples that I have made that I believe would be considered maze art. They are examples that I think should show up in the searches above. If you are interested in solving them, downloads of all of these mazes can be found on this site.

Building Maze art:

The Alamo Mission Maze

The Alamo Mission Maze art

Lotus Temple Maze

Lotus Temple Maze art

And here are 2 Sign maze art examples:

Spillway Lanes Sign Maze

Spillway Lanes Sign Maze Art

Chicago Theatre Sign Maze

Chicago Theatre Sign Maze Art

You can also find on the site examples of landscape maze art, scene maze art, animal maze art and monument maze art. Take some time to look around !

So that is what I think maze art is, with many other examples and styles possible.

Today is first in a series of posts that will take you through how to make maze art step by step. Now this could mean converting a picture, or drawing something you think of free hand. One thing I can’t help you with is your drawing skills. If I say “Draw me a picture of Abraham Lincoln”, some of you have the skills to do that and some of you don’t, and even those with the skills will have different levels of detail and realism to their finished product. I can’t teach the skill of drawing. Sorry. But, regardless of your skill level, I hope you enjoy the process and consider trying to make some art yourself. Let’s get started.

How to create maze art in 6 “easy” steps:

Step 1 - Choose your maze subject

Seems easy right ? If you are going to make a maze you need to pick what the subject of the maze is first. But I don’t suggest you grab the first photograph you have. Here are some things to consider when making a maze:

  • Objects with right angles are a natural thing to make into mazes. Think about architecture. Buildings are a natural subject to make a maze of. They are made of geometric shapes and are filled with right angles whether it is a house or a skyscraper.

  • Consumer goods make good subject matter also, but chances are you won’t want to invest time in making them. A Bike, lamp, radio, television, desk, and chair could all become maze art. I’m not sure anyone gets very excited about them, but they are possible.

  • Faces are possible, but very difficult for most people (If they are easy for you congratulations !). Any maze art includes a drawing of the subject matter first and foremost, so doing a maze of a friend means you have the ability to draw your friend and it to be recognizable as them. This can be easier if your friend has an extremely recognizable look, say someone like Abraham Lincoln - a large beard and hat with a gaunt face gets you relatively close.

  • Ideally, the picture you choose should not be too busy. Too much detail can be difficult to make into a maze. You do have the option to ignore the detail. But think about a picture of 4 faces vs a picture of 1 face. 4 faces in a picture with all of their individual detail will be very difficult. 1 face is enough.

Step 2 - Take a photograph of the subject (OPTIONAL)

  • If you don’t already have a photograph of your subject matter, take one. Remember from step 1 to make the picture as minimalistic as you can.

  • Taking the photograph also means prepping it as a “before” photo if you are doing a before and after version of the subject. Crop as needed, adjust the brightness, etc.

  • If you are doing something from memory or doing fictional subject matter, no photo is needed obviously.

  • And finally, you can find a photograph to base your maze off of if taking a photo yourself is not feasible. For presentation purposes, having the rights to a photograph will help you to display it in the future.

Step 3 - Draw the Main outline of the subject

  • Determine how you will deal with an object’s perspective. By this I mean if you are making a maze of an object that is square or rectangle in real life it is likely the photograph will not be perfectly square/rectangular. Do you want to represent a building as it is (perfect angles), or how you see it (your perspective - the building is slightly smaller at the top). Maze lines are easier to make without perspective, but either can be done.

  • Use the photograph to draw the major outline of the maze. If you are doing this digitally (As I assume you are) you do not need to leave openings for the paths/entrance/exit.

  • The outer walls of the maze should be done with a thicker maze line to give the picture definition. Inner walls that define the picture should be a smaller thickness (with some exceptions based on the subject).

Step 4 - Begin the design of the maze

  • If you aren’t sure what maze construction you are going to do, check out this section for some ideas. I will say with maze art you will find it looks best when done with free drawn or standard pathways. I also like to use the natural features of the subject as the maze walls where possible - see the Alamo Mission maze above - the bricks naturally became the walls; and the Museum of the North Maze above where the metal panels naturally created a grid maze format.

  • Choose the start and goal, ideally on opposite sides of the picture.

  • Choose the wall design you will use to make the maze walls. Regardless of the design you choose the walls will need to be a smaller width than the previous outer and inner walls. There are many types of pathways you can use from a standard pathway to hand drawn, vertical, horizontal and many more.

  • Consider how difficult you want to make the maze for the solver. For most mazes you don’t want to discourage the solver by making it too difficult.

Step 5 - Draw the maze

  • It took 5 steps to get here, now do the actual work. Funny this is the shortest step to write but typically the longest to complete !

Step 6 - Make any aesthetic changes to complete the maze - Color, Size, Border, Title

  • Black and white is the standard coloring of most mazes, but some mazes will look even better if they are in color. Consider coloring your maze to enhance the way it looks.

  • Some mazes work best in larger/smaller scales. Consider changing the size of your maze to fit the desired presentation you are looking for. This is the advantage of digital mazes vs hand drawn mazes.

  • Consider adding a title and border depending on how your maze will be presented.

Congratulations on creating a piece of maze art !!

Making Maze Art - Case Study #1 - The Largest FREE Stamp in the World

Now I’m going to take you behind the scenes in my making of some Maze Art. Here is a real life example from a maze I made for the site, of the sculpture that is The Largest FREE Stamp in the World. Using the steps I outlined before here is how the Maze got made !!

Step 1 - Choose your maze subject

While previously living in Cleveland, Ohio I found my inspiration in the park. If you walk to the Rock and Roll Hall of Fame (and if you are ever in Cleveland that is probably why you are here) you will pass the FREE Stamp on your walk. The stamp is located in Willard Park on the northwest corner of East 9th Street and Lakeside Avenue, having been installed there in 1991. It has an interesting history that involves Standard Oil (Sohio) and their purchase by BP.

Step 2 - Take a photograph of the subject

I took many photos of the stamp from different angles so I would be able to narrow them down later.

Free Stamp photo - Cleveland Ohio

Eventually, I chose photograph #3, which I cropped and adjusted the color on to account for the overcast day. Here is the final version I used to make the Maze art:

Free Stamp photo - Cleveland Ohio

Step 3 - Draw the Main outline of the subject

Using the photograph in the background I made the maze outline. Here are some points in time during that outline process. You will notice that because this is a digital drawing so I can fix the FREE overlap you see later using layers.

Drawing Free Stamp step 2
Drawing Free Stamp step 3
Drawing Free Stamp step 4
Drawing Free Stamp step 5

Step 4 - Begin the design of the maze

I did not want much difficultly in this maze so I intended to make the dead ends obvious more quickly and have the maze spacing be wide. It seemed natural to make the internal maze lines somewhat match the shape of the sculpture. A typical left to right maze start to finish seems to fit the sculpture. So a relatively simple maze design. I used essentially a free drawn maze construction.

Step 5 - Draw the maze

Below are a few of the points in time in making the stamp maze. Notice that I sometimes rotate the maze in order to make the lines easier to draw at the correct angle. Also notice that the goal of the maze changes late in the process (panel 4) as I have a better idea of how I want the maze solver to maneuver through the maze as I make the internal maze lines. Also in Panel 4 I add a layer to raise the FREE part of the maze above the remaining drawing (most easily seen at the bottom of the last E which no longer has a line thru it).

Drawing Free Stamp step 6
Drawing Free Stamp step 7
Drawing Free Stamp step 8
Drawing Free Stamp step 9

Step 6 - Complete the Maze

Here is the final black and white version of the FREE Stamp maze.

Free Stamp Maze black and white

I like how it came out, but I think this particular subject matter deserves to be tried in color, to see if it will enhance the maze.

Color the Maze (Optional)

Initially I did a basic 2 color approach. Sometimes less is more. Here is the simple red and white version of the maze:

Free Stamp Maze red and white

Not bad. But I thought I could do better with a more detailed coloring similar to what you would see in Willard Park. Here is my preferred and final version in full color:

Free Stamp Maze in color
Free Stamp in Cleveland, OH

I do need to mention that the inclusion of the black pathways changes the way you see the colors you select. If you were to try and color match the photo using the tools in your drawing program the result would look off (usually darker). Better to select the colors and adjust them on your own. Also, in order to see the pathways well, it is important to not make the shadowy underbelly of the stamp too dark !!

All three maze versions work, which do you prefer ? Would you have added the ground underneath, or some background ?

If you like this Making Maze Art Case Study, I will be doing more in the future !

Some other interesting post you may like:

Hidden Message Maze challenge - Part 3

Here we are again. Part 3 of my hidden maze message challenge. It is the final section unless you want to try your skill (luck?) at some Spanish versions! By now now you know the drill. Let’s get started and good luck !

Hidden Message Maze 21

hidden message maze
Scroll Down
hidden message PROUD

“proud”. Like many of my mazes this one was inspired as the front of a greeting card.

Hidden Message Maze 22

hidden message maze
Scroll Down
hidden message - THINKING OF YOU

I would love to receive this card from someone and I’m sure you would too !

Hidden Message Maze 23

hidden message maze
Scroll Down
hidden message - BEST WISHES

Another nice sentiment ! Best Wishes !

Hidden Message Maze 24

hidden message maze
Scroll Down
hidden message - WISHING YOU

Another greeting card where you complete the phrase...Wishing you……well something nice !

Hidden Message Maze 25

hidden message maze
Scroll Down
hidden message FARWELL

Any time I see hear or think about this word I get this bittersweet feeling in my gut. Farewell

Hidden Message Maze 26

hidden message maze
Scroll Down
hidden message PEACE LOVE AND JOY

A nice long message ! Peace Love and Joy !

Hidden Message Maze 27

hidden message maze
Scroll Down
hidden message GET WELL SOON

Unfortunately this message is needed sometimes.

Hidden Message Maze 28

hidden message maze
Scroll Down
hidden message ONE MORE TIME

I sing this when I read it like I’m in the club.

Hidden Message Maze 29

hidden message maze
Scroll Down
hidden message THINKING OF US

I had to sneak this one in far from the Thinking of YOU above… I only changed the last word.

Hidden Message Maze 30

hidden message maze
Scroll Down
hidden message BYE

And where else could that hidden maze be placed but last ? Bye !

For a higher degree of difficulty try these mensajes en Español !!!!!

Laberinto De Mensajes Ocultos

Hidden Message Maze challenge - Part 2

So you decided to come back for more of my hidden message challenge ! If you missed Part 1, I suggest you start there, but if you are back you know what to expect. I will show you 10 hidden message mazes. Try to figure out what it says by solving with your eyes (or any other method you want). When you are ready, scroll down and find the answer. Good Luck !

Hidden Message Maze 11

hidden message maze
Scroll Down
hidden message Friday

“Friday”. Not sure how I would use this maze. I think the word is well hidden.

Hidden Message Maze 12

I need to tell you I constructed this differently than other mazes as a test.

hidden message maze
Scroll Down
hidden message YES

“Yes”. Looking back on this experiment, I would say this does not work the way I intended, If you missed this one, sorry, my bad.

Hidden Message Maze 13

hidden message maze
Scroll Down
hidden message - SEE YOU SOON

I like this maze a lot. Tons of false letters and words. SEE YOU SOON is the answer and this would make a nice card for someone (especially someone you haven’t seen in a long time).

Hidden Message Maze 14

hidden message maze
Scroll Down
hidden message BRAVO

Bravo.

Hidden Message Maze 15

hidden message maze
Scroll Down
hidden message - DREAM

Dream.

Hidden Message Maze 16

hidden message maze
Scroll Down
hidden message GOOD VIBES

Another maze where I packed the maze with letters and possible words

Hidden Message Maze 17

hidden message maze
Scroll Down
hidden message HELLO

I tried to trick you on HELLO by placing it in a new place in the maze.

Hidden Message Maze 18

hidden message maze
Scroll Down
hidden message - HAVE A NICE

I made this to be used as a greeting card, Have a nice… and then you fill in the rest with your word of choice. Day, Wedding, Vacation, Trip, Weekend, Summer…you get the idea !

Hidden Message Maze 19

hidden message maze
Scroll Down
hidden message SURPRISE

Surprise ! Are you ready for the final maze ?

Hidden Message Maze 20

hidden message maze
Scroll Down
hidden message BELIEVE

Did you believe you could solve that one ? How did you do ? Ready for Part 3 ? Spanish ? Or do you want to try some maze mistake observations ?

If you enjoyed it there are a total of 2 more hidden message challenges for you to try:

Hidden Message Maze challenge - Part 1

Hidden Message Maze challenge - Part 3

For a higher degree of difficulty try these mensajes en Español !!!!!

Laberinto De Mensajes Ocultos

And if you are good at spotting things you might also enjoy a collection of my maze mistakes !