How to Make a (drawn) Laser Maze

In a series of posts I will show you how to make a maze in a wide variety of design constructions. The 20th type of maze construction is the Laser maze. Let’s define what I mean, then get into the example. This particular maze type was brought to my attention on the reddit maze page by user naveedurrehman. It is a puzzle type drawn maze and unique in that the pathways are invisible initially and created by the maze solver !

Here is an outline for this blog post with jump links if you want to skip ahead to a section:

LASER MAZE DEFINITION

HOW TO MAKE A LASER MAZE

ADDITIONAL LASER MAZE EXAMPLES

ADDITIONAL LASER MAZE DESIGN DISCUSSION

FREE LASER MAZES TO SOLVE

LASER MAZE TEMPLATE

LASER MAZE DEFINITION:

LASER Maze - A type of PUZZLE maze where THE SOLVER USES PHYSICS TO DETERMINE WHERE A LASER beam WILL BOUNCE in order TO SOLVE THE MAZE.


I want to mention there is a physical version of this maze type, and it may make you think of the movie Entrapment starring Sean Connery and Catherine Zeta-Jones. Also, Mr. Beast featured one on his channel.

And there is also a physical kids game version of this maze made by Thinkfun where you use mirrors to solve challenges. The game was the winner of the Good Housekeeping Best Toys Award !

How to Make a LASER Maze (DRAWN)

Step 1 - Draw the Outline and Possible Goals

The outline of a laser maze includes 3 sides with an opening for the initial laser to move through. It is possible to do multiple shapes but the most basic is 3 sided for this example. Goals, or possible goals line the outside of the walls. I suggest nothing less than a 4x4 grid, meaning 8-12 possible goals around the border. I like using pink blocks to highlight and guide where mirrors can be placed during maze creation. I could have added goals on the bottom had I chosen.

Make a laser maze step 1

Step 2 - Draw the Initial Laser and Mirror

Draw a laser, at the top reflecting off the first mirror/wall. This is essentially your “START”.

Make a laser maze step 2

Step 3 - Draw the Solution

Add mirrors (walls) that the laser will bounce off of to make the maze solution. In my example below, I fill most of the maze.

Make a laser maze step 3

Step 4 - Add the Unused Mirrors (walls)

If the solver followed the physics of the laser and bounced in the correct directions, any walls you add will never be used. Be mindful to not block any used pathways that would re-direct the solution. I also deleted my pink block guides. PRO TIP: The block guidelines can be kept, and probably should be for larger versions. The blocks help make it easier to solve on screen.

Make a laser maze step 4

Step 5 - Add the Directions

This is a type of maze that needs instructions to solve. Add them to the maze. I used simple directions.

Step 6 - Create the Solution (OPTIONAL)

Make the solution to the maze.

ADDITIONAL LASER MAZE EXAMPLES

Each laser does not need to bounce 1 level or block, it can move across larger distances. There is no need to fill each block with a mirror, gaps are interesting ! Here is a 5x5 version that includes gaps:

Kids 5x5 Laser Maze

For my next example, I used some comic book characters I had made mazes of to make a Halloween version. The goals can be fun and are only limited by your imagination !
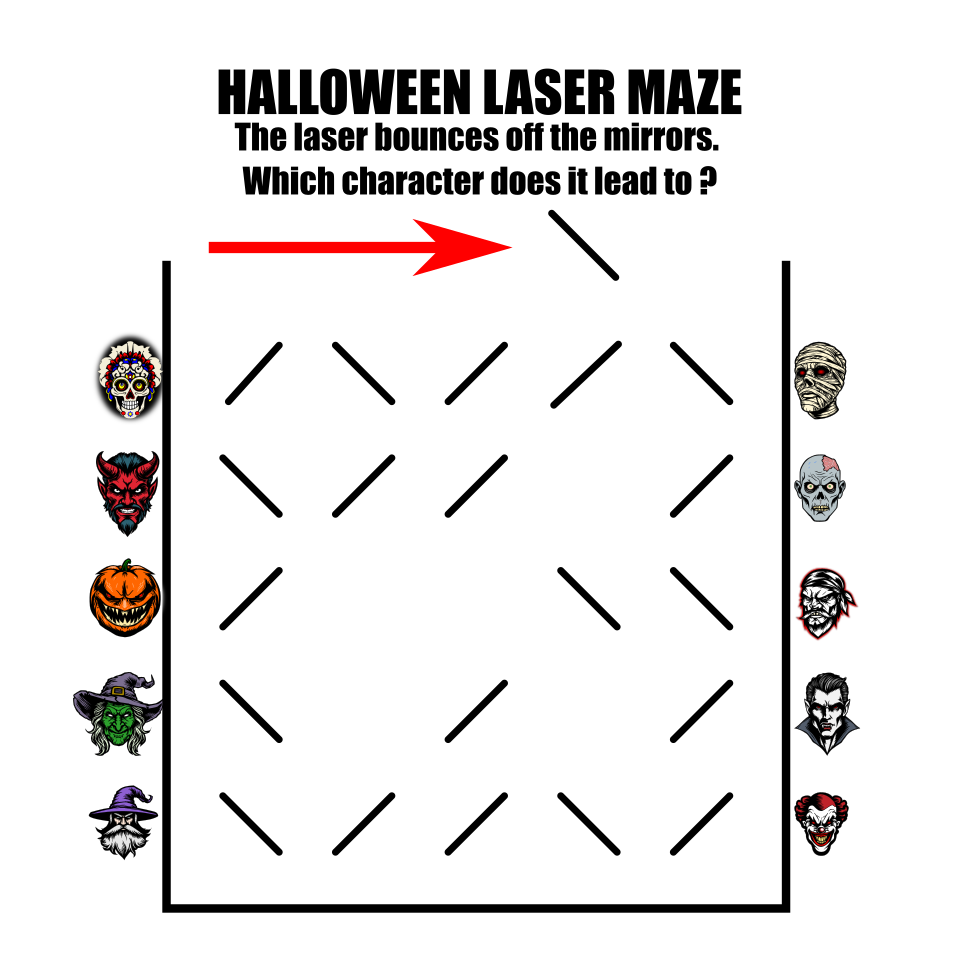
Halloween Laser Maze Characters

ADDITIONAL LASER MAZE DESIGN DISCUSSION:

Do they need to be square/rectangular ? No. But the use of right angles makes solving easiest. There is no question which direction the bounce is going to go to. A triangle, hexagon, and other geometric shapes would also work, with some complications to work through.

How big can they be ? As large as you can imagine.

Only right angles ? You can use other angles, but they complicate the design for both the creator and solver.

Ready to make your own laser maze ? Good Luck !

FREE LASER MAZES TO SOLVE

I have a section of 10 free laser mazes that you can solve on screen. I also made the Largest Laser Maze with 159 possible goals if you want a challenge. If you click on the largest you will notice there are many large gaps in the maze - not so many mirrors, so the laser can bounce across larger distances. I also left the background cubes to help you solve the maze easier on screen. I also mix these in with my Christmas, Halloween and other themed mazes.

LASER MAZE TEMPLATE

I made this free downloadable template to help you make your first drawn laser maze. Drawn items in the boxes, or number/letter them. Draw the mirrors. Enjoy !
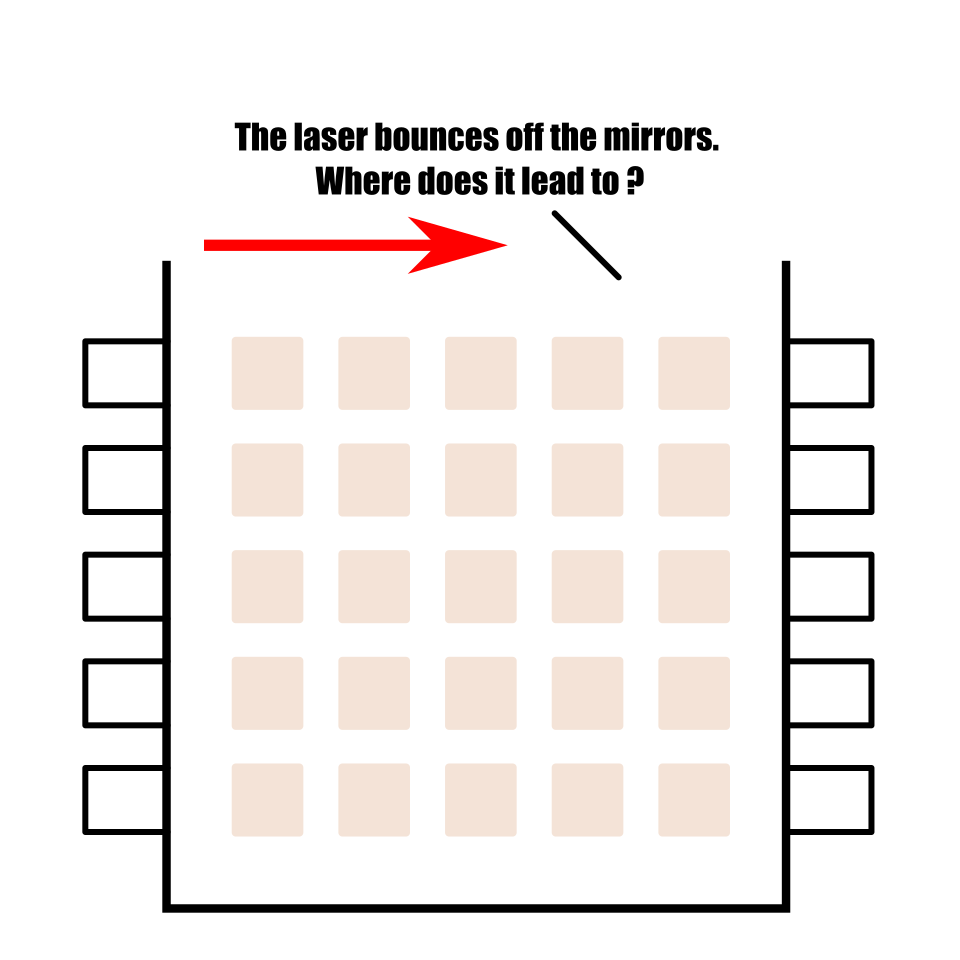
Laser Maze template

Interested in learning how to make or draw other types of digital mazes ? I have step by step instructions on how to make over 40 different maze types.

If you prefer making labyrinths, you can find step by step labyrinth making instructions.
Weekly Hard Maze #34

Each Saturday I post a new hard maze with all of them sitting in the Hard Maze Archive. I will try to post a variety of maze types to keep things interesting.

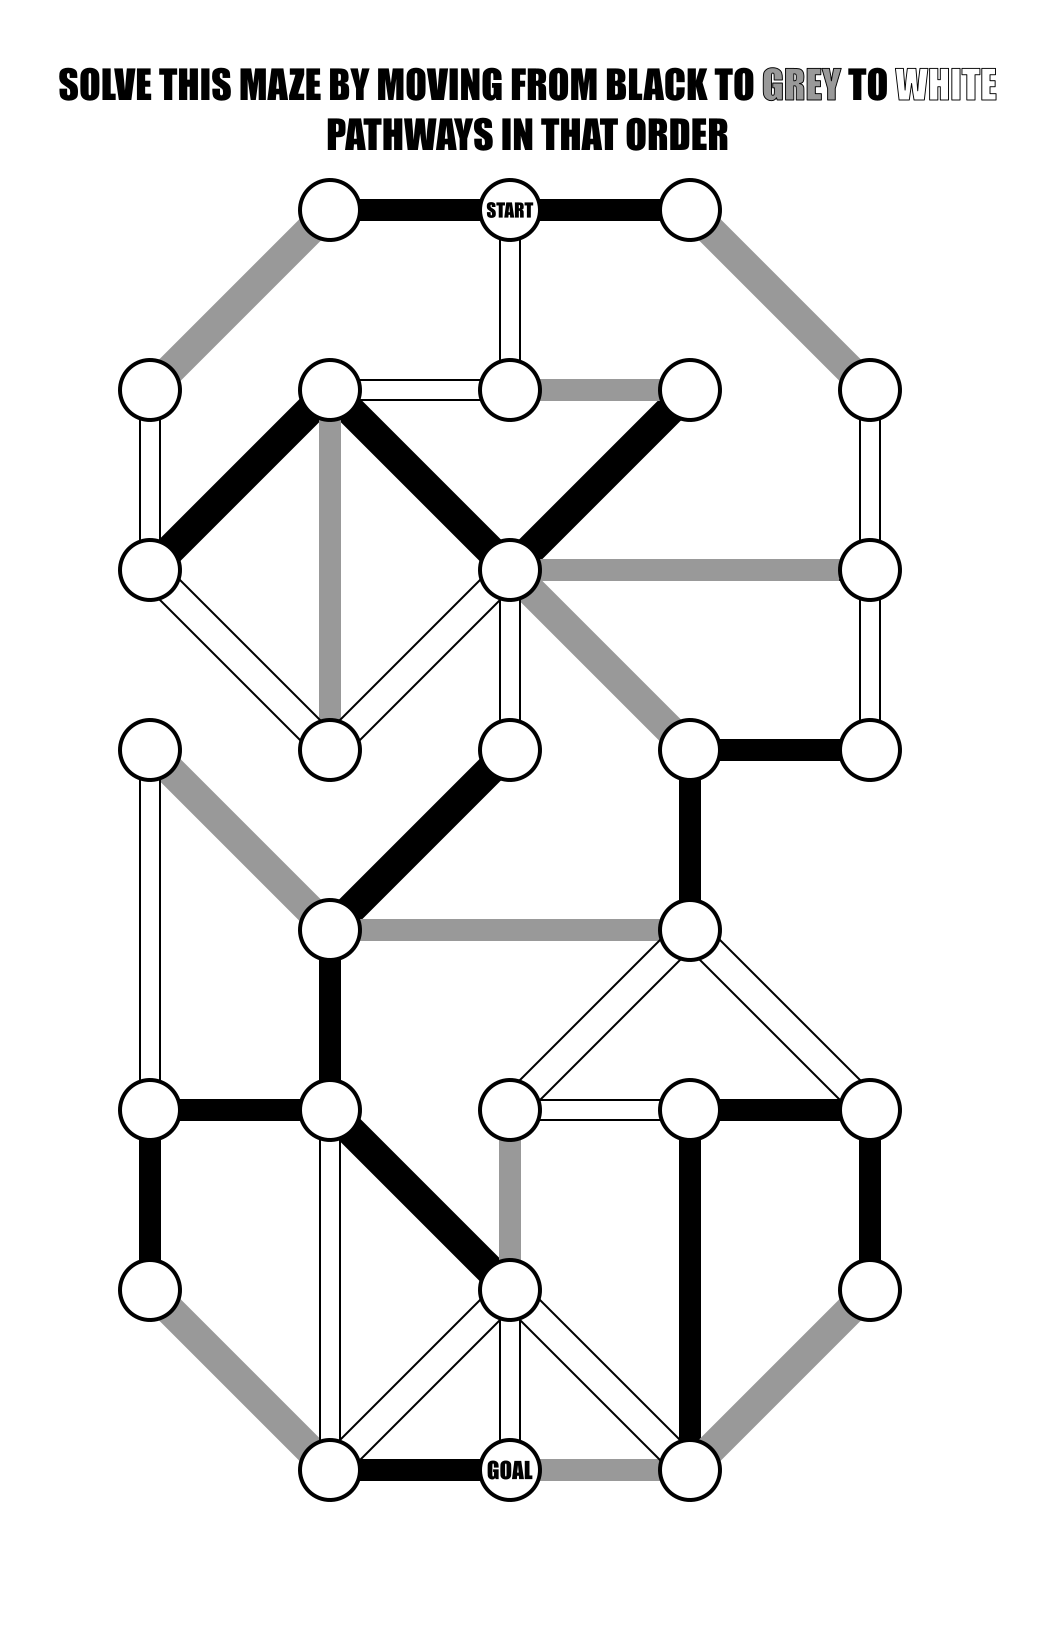
Weekly Hard Maze #34 - Conditional Maze

Solution will be in the archive. Download is below.

Weekly Hard Maze #34 - Conditional Maze

If you solved that maze quickly and want to try some of my archival hard mazes, these posts should do the trick:

How to Make a Pipes Maze

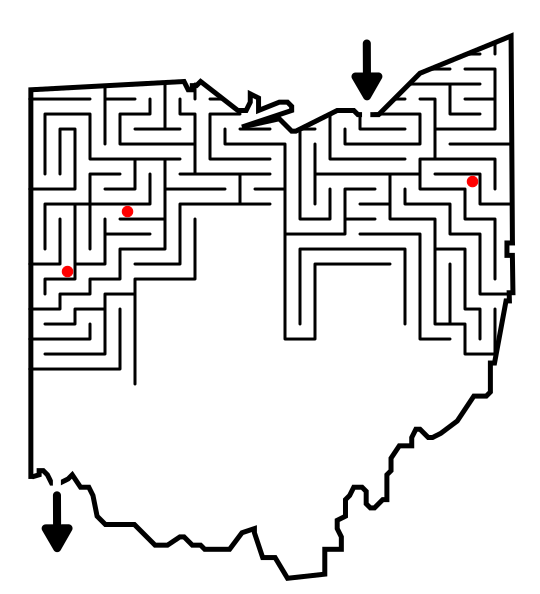
In a series of posts I will show you how to make a maze in a wide variety of design constructions. The 19th type of maze construction is the Pipes maze. Let’s define what I mean, then get into the example. This example will use the basic outline of the state of Ohio, but it can be made in any shape !
Here is an outline for this blog post with jump links if you want to skip ahead to a section:

PIPES MAZE DEFINTION

THE 5 RULES OF MAZE DESIGN

HOW TO MAKE A PIPES MAZE

ADDITIONAL PIPE MAZE EXAMPLES

FREE PIPE MAZE SECTIONS

THE PIPE MAZE BOOK

FURTHER DESIGN READING - WEAVING MAZES


PIPE MAZE DEFINTION:

Pipes Maze - A maze where the pathways are represented by pipes. The use of pipes allow the maze to take on an extra dimension beyond the paper as the pipes can weave around one another.

THE 5 RULES OF MAZE DESIGN:

These 5 rules apply to any maze you make so we start with them !

1. Always keep an open pathway for the solution

While drawing a maze you will need to juggle multiple open pathways each of which could become the solution. One of them will become the solution. Keep track of it. This is especially important if you are designing pathways in both directions (from the start and from the goal).

2. Clearly mark the start and goal, or the objective of the maze

A maze should have a start and a goal that you can assess just by glancing at it. There are many ways to start and end a maze I review in this blog post: Options for Starting and Ending a Maze

3. Ensure the difficulty matches the intended audience

Most people want to solve a puzzle/maze that is just slightly below or slightly above their skill level. Many things help determine the difficulty of a maze. Size, number of branches, the length of dead ends, the number of choices, the complexity of the rules (if the maze has them).

4. Ensure your maze has a solution

When your maze is complete, solve it to determine the difficulty level and to ensure it is a real, solvable maze. Depending on the complexity of the maze you may want to do this right away or wait so you can properly assess the difficulty.

5. Explain anything that needs explaining

Some mazes have rules or conditions. Explain them with directions. If it isn't obvious, make it so.

HOW TO MAKE A PIPES MAZE

Before we get into the step by step process I want to note that this is one of the longer maze types to make. Even a short, easy maze takes a good amount of time to complete. It is also the maze type (along with it’s sister type the Weaving Maze) that is most likely to have design problems that are difficult to catch.

  • Step 1 - Draw the Outline (optional)

Because this is a Pipes maze there is no requirement to make any outline, in fact 99% of the time there will not be an outline as the pipes naturally make a self contained border. However, to be consistent with my project I have included my standard Ohio outline for comparison which I will use to guide the shape of my pipe maze (then delete).

  • Step 1.5 - Draw a Guide Grid

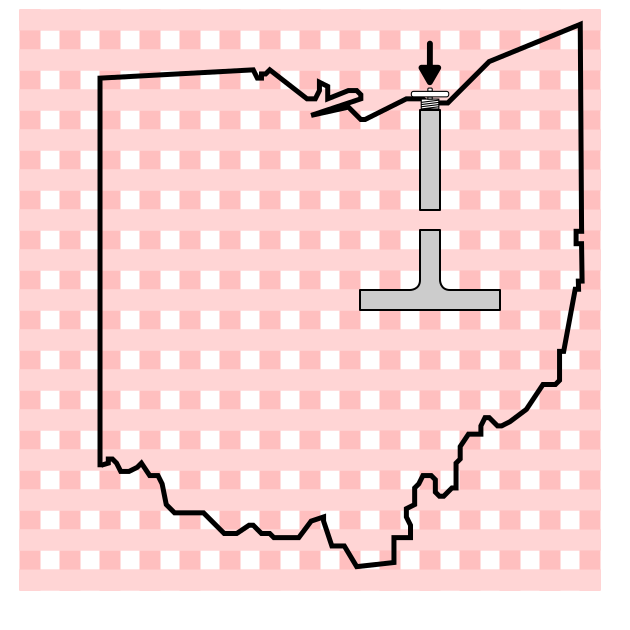
To help give your Pipe maze some structure add a picnic blanket grid to guide the drawing of your pipes. Add a start location on the edge of your outline with an arrow (optional) and a turning knob. This grid will guide where you can and can’t draw pipes. Do not draw any pipes in the white grid of the “picnic blanket”, while filling the colored portion (in this example pink) with piping.

210 Pipes - Draw the Grid guide.png
  • Step 2 - Start Drawing Pipes

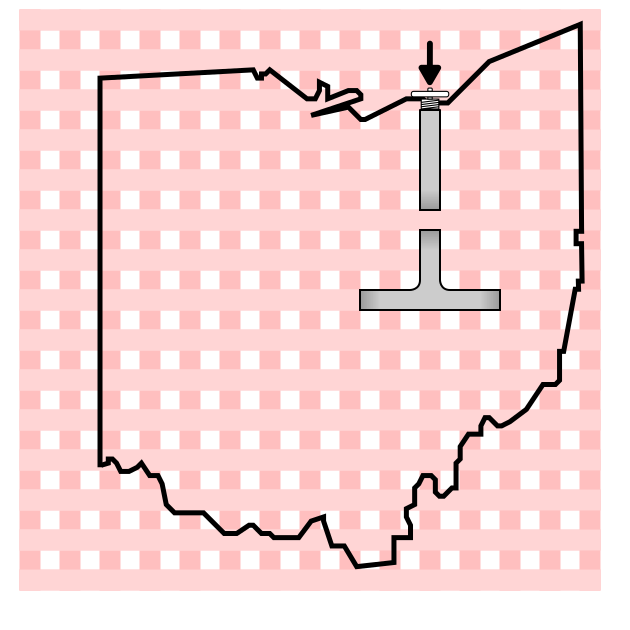
Starting from the entrance, begin drawing pipes. As you create the pipes remember you can loop and weave the pipes around one another. As you draw if you want to loop a pipe back you will need to stop a path (it will look like a dead end) and start it again leaving a gap for the future crossing. You can see an example the initial the gap will have a pipe thru it as the pipes continue to be drawn ! Also, I color the pipes grey as I go so they look like pipes !!

IMPORTANT RULES : Never end a pipe under another pipe. Never split a pipe under another pipe. Basically, anytime a pipe goes under another pipe it must come out the other side to avoid confusion !

211 Pipes - Start the Pipes.png
  • Step 3 - Add Shadows to the Pipes (timing optional)

I add shadows to the end of any section of pipe that will go under another pipe in the maze. While you can do this at the end of the mazes construction also, I find it is easiest to do this as you draw the pipes (it is VERY easy to miss some!).

212 Pipes - Add shadows as you go.png
  • Step 4 - Keep Drawing the Pipes

Weave your pipes around one another, occasionally splitting the pipe into different sections. I believe that compared to other maze constructions this is the easiest one to lose track of your open pathways during the design. You also have the challenge of filling in all the gaps you have made along the way,

213 Pipes - More pipes.png
214 Pipes - More pipes.png
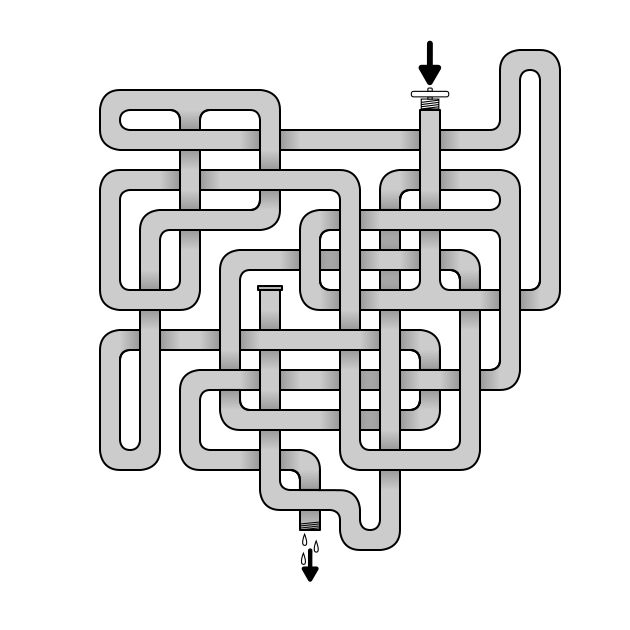
  • Step 5 - Finish the Pipes and add the Spigot

End the final pipe you have chosen as a solution with a spigot (with an additional arrow and water drips optional). Notice that the dead ends get capped just as a pipe would, although this maze has many loops versus dead ends ( see below for additional examples with more dead ends! )

215 Pipes - Finish Pipes add spigot.png
  • Step 6 - Delete Your Guides

The Final Pipe Maze !

216 Pipes - Delete the guides.png
  • Step 7 - Make the Maze Solution

Highlight the correct path in the final version of the maze to create the final maze solution (shown here in red). One other thing I have noticed when creating this type of maze is that while the making of it has a lot of complexity, sometimes the solve does not. Just look at this example. It really is a bit of an easy maze, or at least a maze that if you take a wrong turn you can still solve quickly,

Ohio Maze made with Pipes - solution

ADDITIONAL PIPE MAZE EXAMPLES

Below is a more typical version of a Pipes Maze, but with no outline used (notice the large gaps without the guide to help), and a start and goal that are befitting of a pipe maze ! Also, there are lots of dead ends in this version vs loops.

Pipe Maze example

I made a second Ohio Pipes maze below. Without context you might not know it is Ohio, but you could easily add a title or similar to convey that. Anyway, instead of an outline I used dead end pipes to make a kind of outline of Ohio, just to see how it would turn out.

Ohio shaped Maze made with Pipes

My fourth example is a large size poster version of a Pipes Maze. I did not use any shadows so this looks a bit more bland than the other examples. IMO this also makes it more difficult to solve, but not necessarily in a good way, only because it is more difficult to see the crossings.. This also features more false pathways and crossing pipes. I think this is a fun maze to solve. Try it !

Large pipes maze

FREE PIPE MAZE SECTIONS

I start with a link to the largest pipe maze in the world (probably) if you want to challenge yourself. It has no dead ends (pipe caps) and uses loops throughout for the wrong pathways. Definitely a challenge.

I spent some time to make multiple pipe maze sections on the website. The beginner section, Kids Pipe Mazes features 10 mazes on screen and a free book to download of 40 different pipe mazes !

THE PIPE MAZE BOOK

And if you really like this type of maze and want more of a challenge, I made a book of 100 Pipe Mazes that I sell on Amazon. Clicking on the cover will take you to my Amazon author page.

FURTHER DESIGN READING - WEAVING MAZES

To go deeper on this subject I suggest the following. Explore the 10 different types of weaving maze styes, including pipes mazes and see which you prefer:

What is Your Preferred Weaving Maze Style ?

I also created a method to help create a complicated weaving maze that I found very helpful when making this maze type for adults. It applies for Pipe Mazes.

Creating a complicated Weaving Maze - an updated method

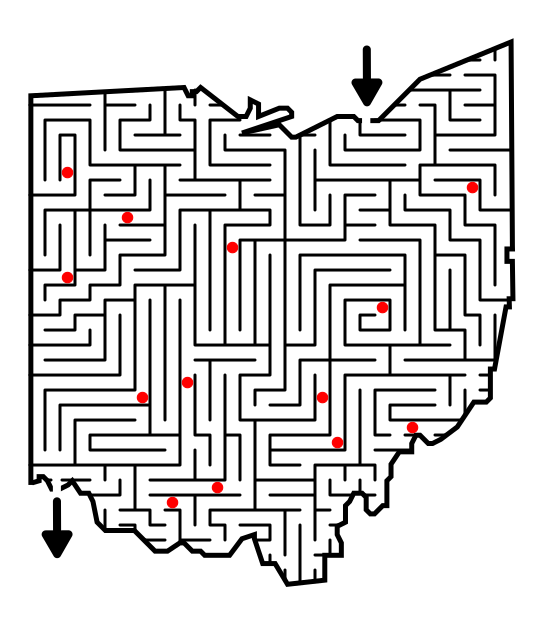
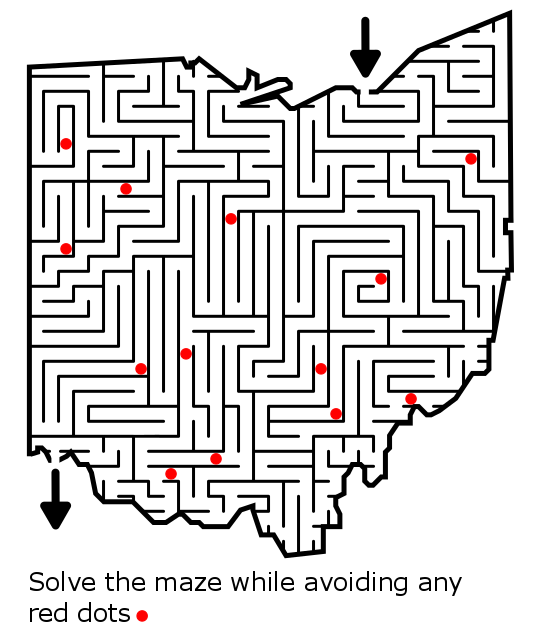
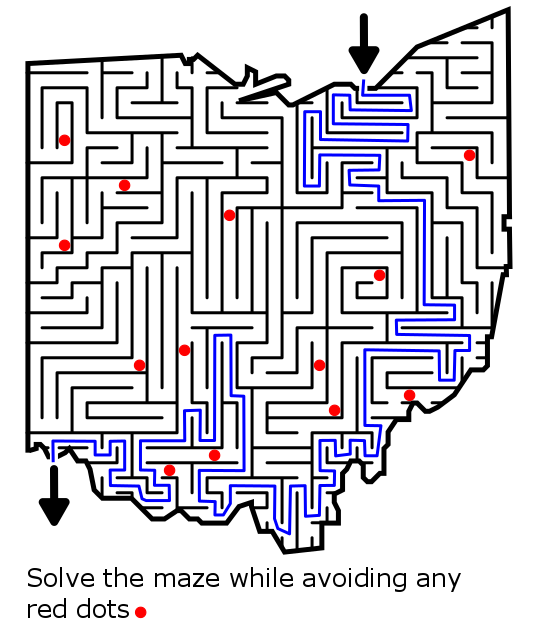
How to Make a Find Items and an Avoid Items Maze

In a series of posts I will show you how to make a maze in a wide variety of design constructions. The 17th and 18th type of maze constructions are the Find Items maze and the Avoid Items maze. Let’s define what I mean, then get into examples. These mazes are opposites and make sense to discuss together. Every how-to will use a simple square so you can compare the differences between each maze construction type. I will also show a consolidated secondary how-to using an irregular shape (the state of Ohio).
Here is an outline for this blog post with jump links if you want to skip ahead to a section:

MAZE DEFINITIONS

THE 5 RULES OF MAZE DESIGN

FIND ITEMS:

HOW TO MAKE A FIND ITEMS MAZE

HOW TO MAKE A FIND ITEMS MAZE - abbreviated writing & using a different shape

ADDITIONAL FIND ITEM MAZE EXAMPLES

AVOID ITEMS:

HOW TO MAKE AN AVOID ITEMS MAZE

ADDITIONAL AVOID ITEM MAZE EXAMPLES

FIND/AVOID MAZE MAKING TEMPLATE

MAZE DEFINITIONS:

Find Items Maze - A maze that requires the solver to visit specific places within the pathways or find items along the way before reaching the goal. To properly solve the maze restrictions may exist on where the solver goes first, second, etc.

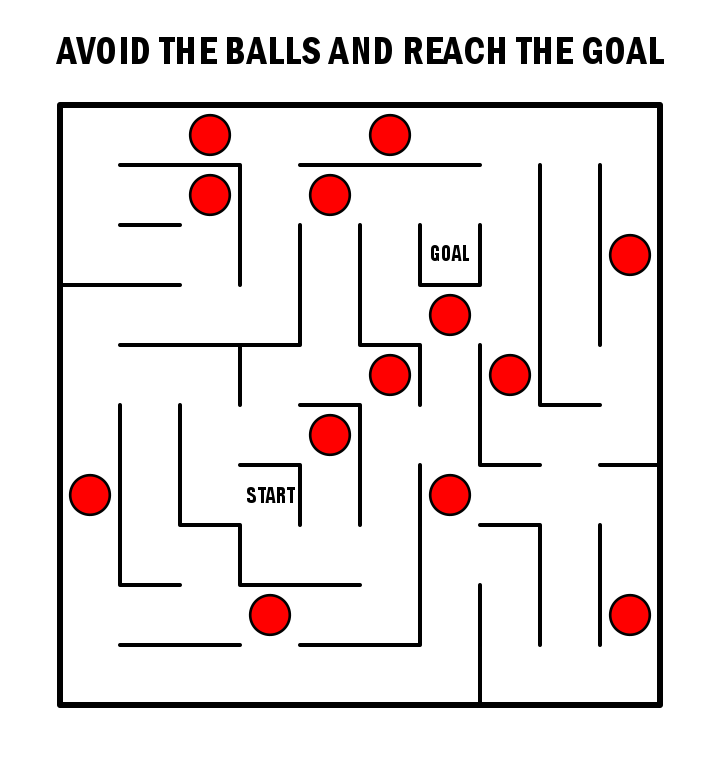
Avoid Items Maze - A maze that requires the solver to avoid specific places within the pathways or avoid items along the way before reaching the goal. This can be considered the opposite of the Find Items Maze.

THE 5 RULES OF MAZE DESIGN:

These 5 rules apply to any maze you make so we start with them !

1. Always keep an open pathway for the solution

While drawing a maze you will need to juggle multiple open pathways each of which could become the solution. One of them will become the solution. Keep track of it. This is especially important if you are designing pathways in both directions (from the start and from the goal).

2. Clearly mark the start and goal, or the objective of the maze

A maze should have a start and a goal that you can assess just by glancing at it. There are many ways to start and end a maze I review in this blog post: Options for Starting and Ending a Maze

3. Ensure the difficulty matches the intended audience

Most people want to solve a puzzle/maze that is just slightly below or slightly above their skill level. Many things help determine the difficulty of a maze. Size, number of branches, the length of dead ends, the number of choices, the complexity of the rules (if the maze has them).

4. Ensure your maze has a solution

When your maze is complete, solve it to determine the difficulty level and to ensure it is a real, solvable maze. Depending on the complexity of the maze you may want to do this right away or wait so you can properly assess the difficulty.

5. Explain anything that needs explaining

Some mazes have rules or conditions. Explain them with directions. If it isn't obvious, make it so.
HOW TO MAKE A FIND ITEMS MAZE

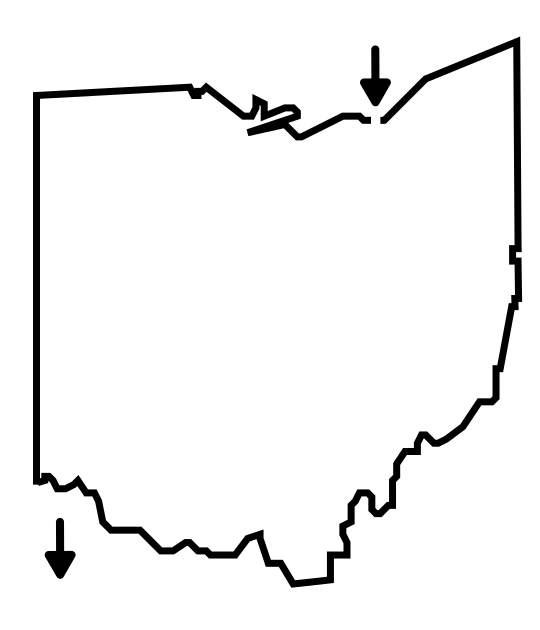
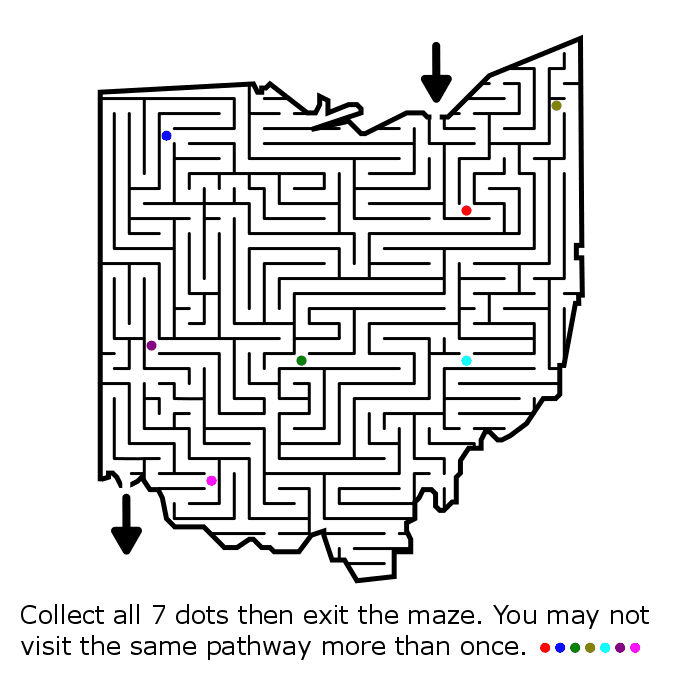
Step 1 - Draw the Outline

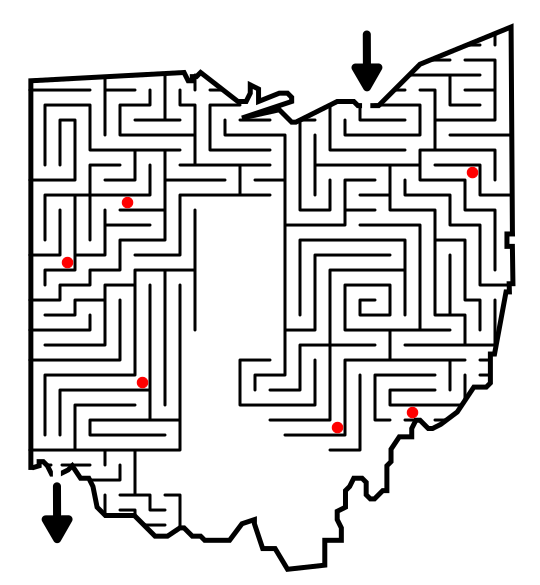
The outline of the maze makes the outer wall of the maze. It can be anything from a simple shape like a square, to a complex picture. The outline should be thicker than the internal lines to give the maze definition. In the example below I chose the state of Ohio.

Step 1.5 - Choose the Start and Goal

For the below example I chose the start of Cleveland and the goal of Cincinnati.

How to make a find items maze step 1

Step 2 - Draw An Open Maze Structure

For this kids version draw an open maze with no dead ends. The maze is created by how the items are placed rather than by dead ends for this type of maze (although there is no rule about no having dead ends).

How to make a find items maze step 2

Step 3 (any time step) - Add Directions for the Solver

This step can be completed at any time. Ask the solver to find the items in the maze. Let them know of any conditions - Do they need to collect them in order ? Can they backtrack and visit a path more than once ?

How to make a find items maze step 3

Step 4 - Add the Find Items

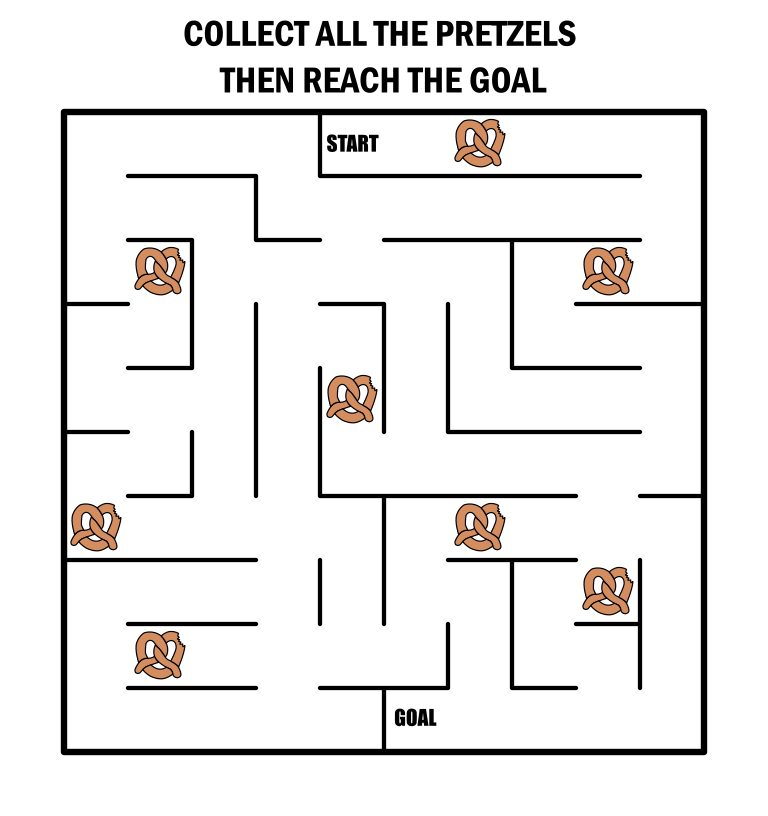
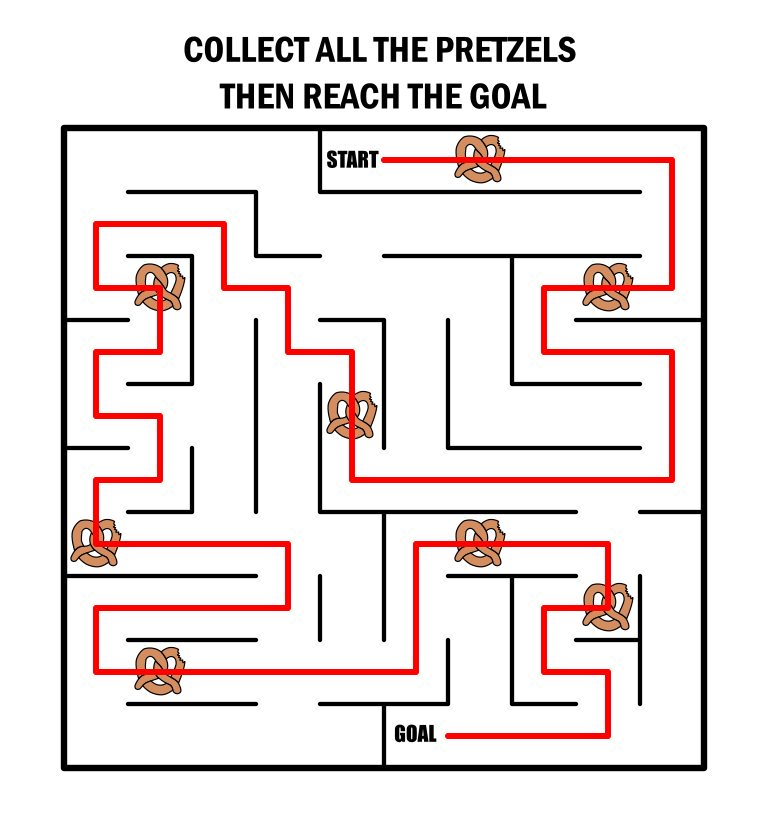
In this example I added the pretzels that the solver must collect before reaching the goal. IF you add a condition that a solver can only visit a location once, you will need to map the solution out, then add the items.

How to make a find items maze step 4

Step 5 - Make the Maze Solution

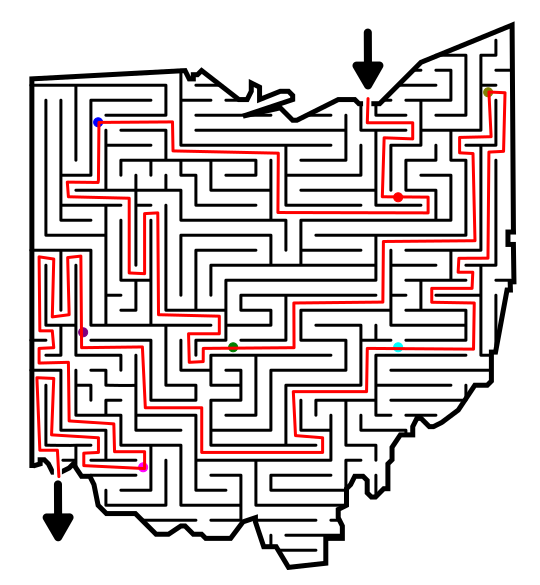
Highlight the correct path in the final version of the maze to create the final Maze solution (shown here in red). Although not said in the instructions this maze can be made more difficult by adding the phrase “you may not visit a spot more than once” and the solution reflects that !

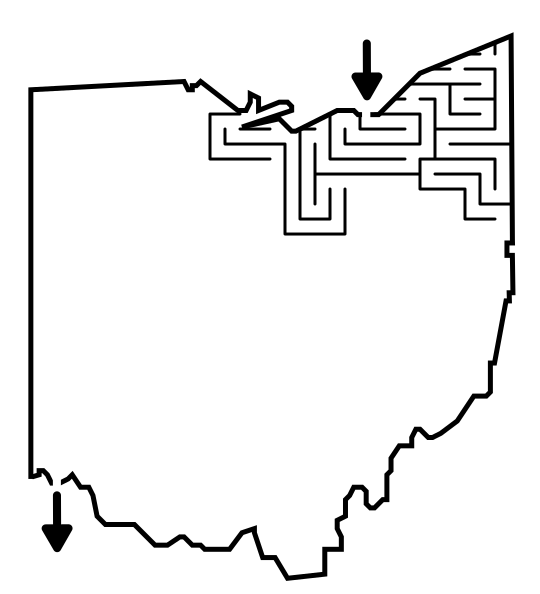
HOW TO MAKE A FIND ITEMS MAZE - abbreviated writing & using a different shape

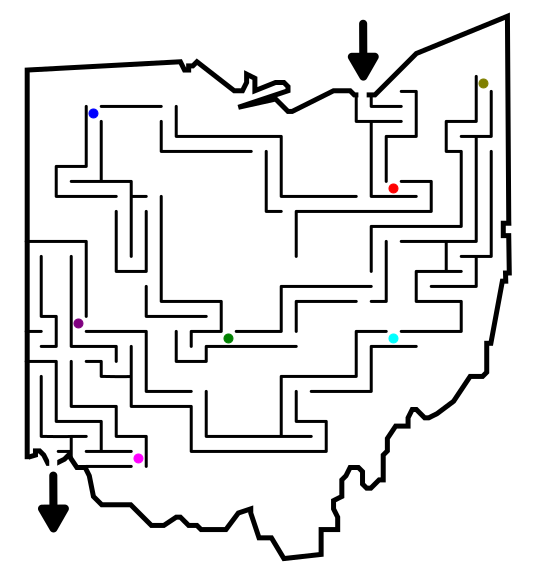
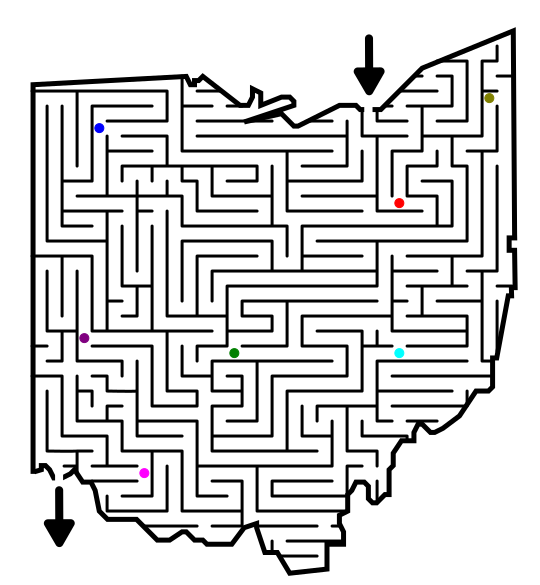
This maze uses a different, but similar how-to as shown in the gallery.

Step 1 - Draw the Outline

Step 2 - Draw the Solution with Items

Step 3 - Complete the False Paths - This more difficult maze version does include dead ends.

Step 4 - Add Directions for the Solver

Step 5 (Optional) - Make the Maze Solution

ADDITIONAL FIND ITEM MAZE EXAMPLES

Another example of the Find items maze is the map of France below from my Countries of Europe maze book. Each country requires the solver to visit cities along the way to the goal, the capital of the country, in this case Paris. Maps work well for this maze type. Here the directions are on top are link the items to specific cities on the map.

France Map Maze

For my second example I have made a Find Items maze for an older child. The format works very well for mazes meant for kids, including the use of fun objects/animals to create more enjoyable mazes. In this case a grasshopper and leaves.

Grasshopper find the leaves maze

HOW TO MAKE AN AVOID ITEMS MAZE

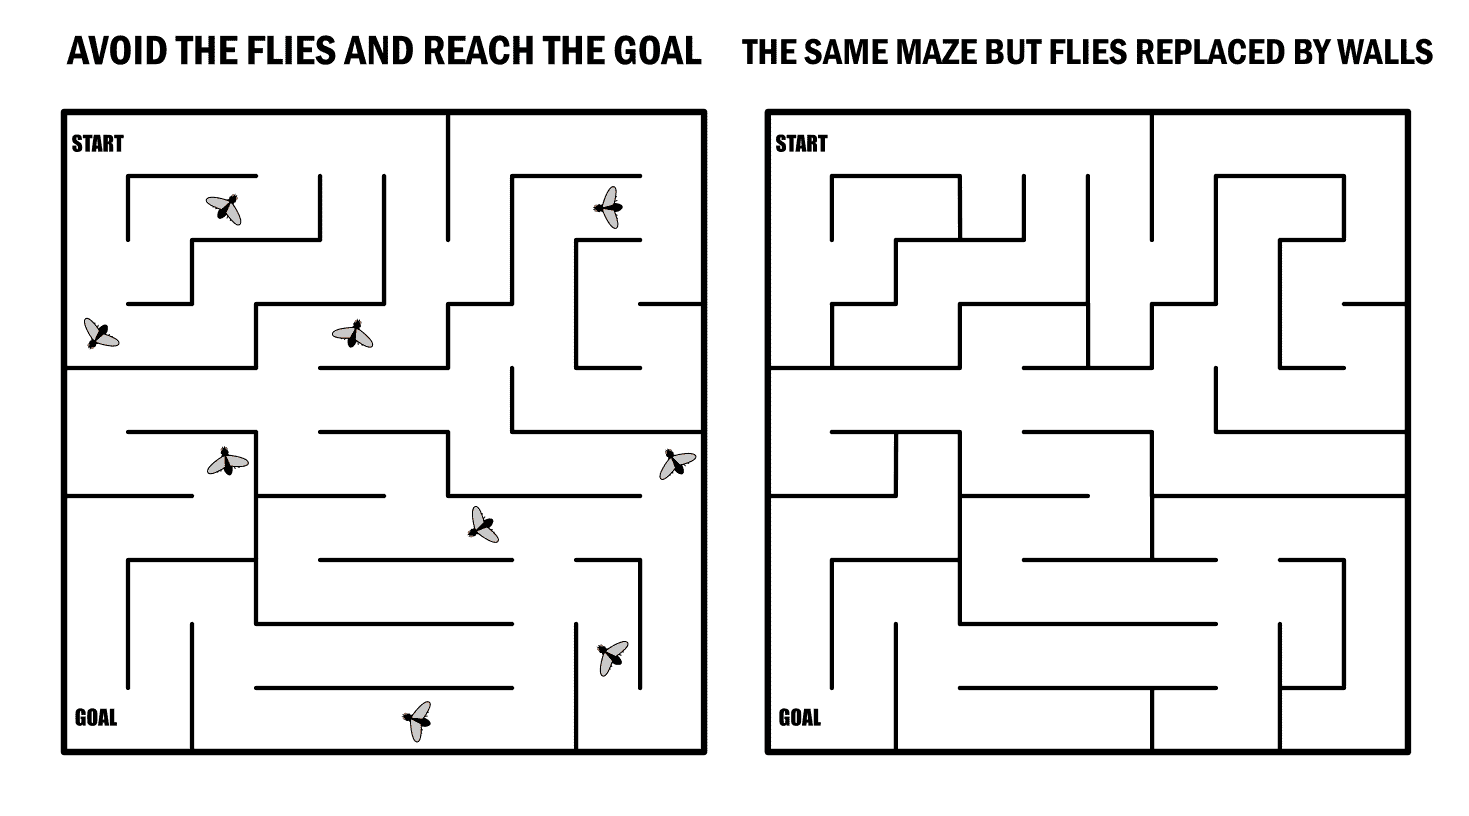
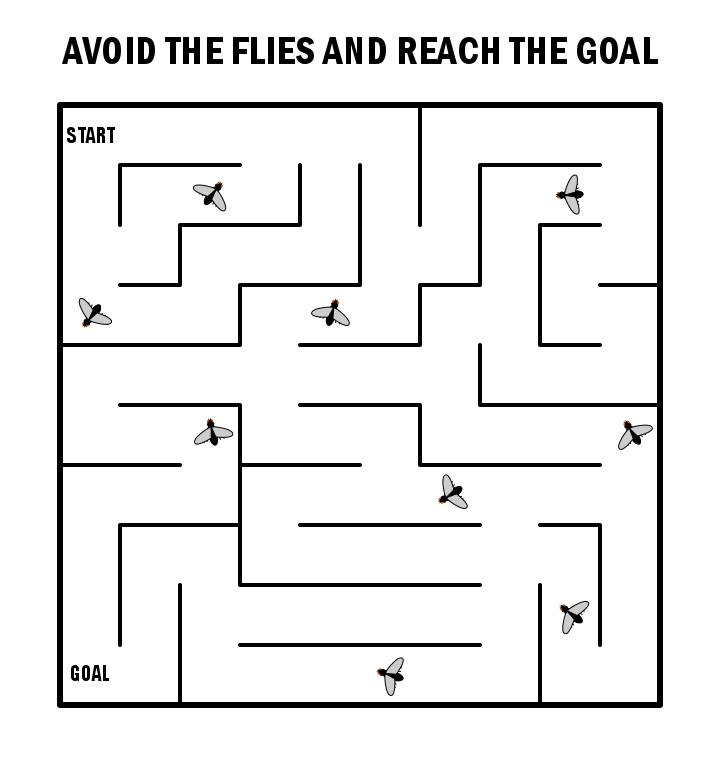
I did another abbreviated how-to for this. Nothing complicated. Watch the maze being made by clicking through the gallery. But I want to make this super easy to understand. The avoid item acts as a wall. Design a maze as you normally would and instead of drawing a wall add an avoid item. These 2 mazes are the same for an example:

Kids Maze Avoid Flies vs Wall comparison

Step 1 - Draw the Outline

Step 1.5 - Choose the Start and Goal

Step 2 - Start to Draw the Maze Walls

Step 3 - Continue Drawing Paths, Adding Avoid items

Step 4 - Complete the Maze

Step 5 - Add Directions for the Solver

Step 6 (Optional) - Make the Maze Solution

ADDITIONAL AVOID ITEM MAZE EXAMPLES

3 more avoid maze examples.

FIND/AVOID MAZE MAKING TEMPLATE

This free downloadable basic template will work for either version.