In a series of posts I will show you how to make a maze in a wide variety of design constructions. The 31st type of maze construction is the Puzzle maze. Let’s define what I mean, then get into the example. Every example will use the sample basic outline (the state of Ohio) to better illustrate the differences between each maze type.
Puzzle Maze - A type of conditional maze that is solved by following a key that explains conditions to solve the puzzle. In a Simple puzzle maze there are no choices for the solver to make, only conditions of movement that must be followed to correctly solve the maze. In a Complex puzzle maze there is a puzzle to solve to create possible pathways for solving.
How to Make a Puzzle Maze
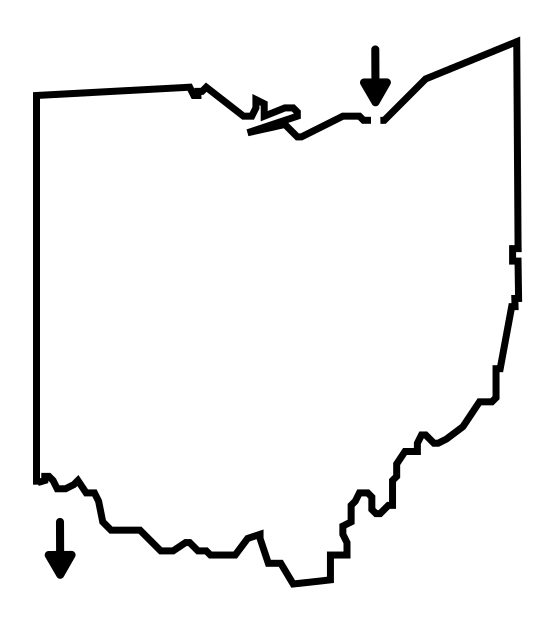
Step 1 - Draw the Outline
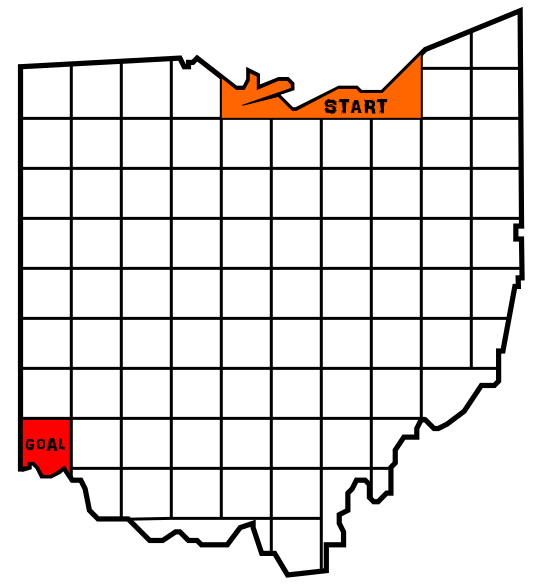
The outline of the maze makes the outer wall of the maze. It can be anything from a simple shape like a square, to a complex picture. The outline should be thicker than the internal lines to give the maze definition. In the example below I chose the state of Ohio.

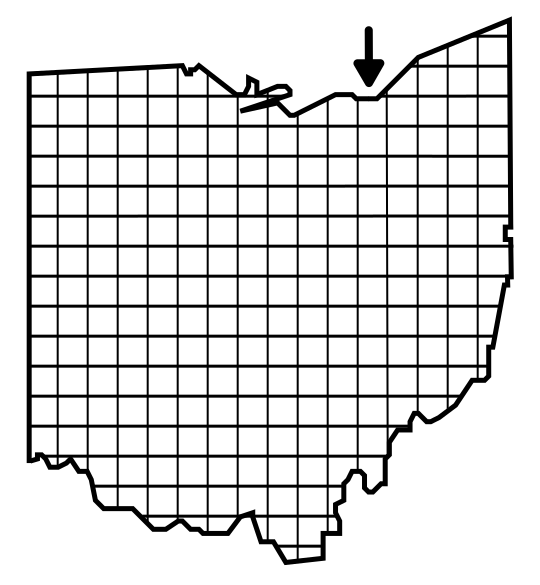
Step 2 - Draw a Grid
Draw a grid to fill the outline of the maze.
Step 2.5 - Choose the Start and Goal (optional now)
For the below example I chose the start of Cleveland and the goal will be picked as I complete the solution. As with any grided maze the start and goal can be either internal or external to the outline. In my example I used external.
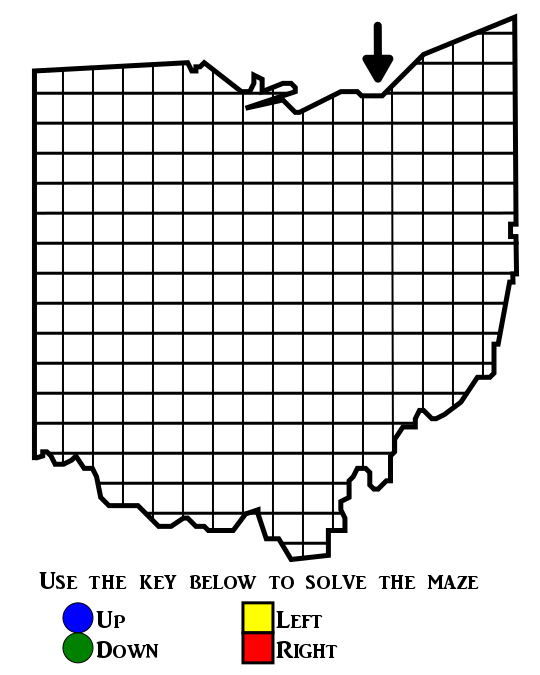
Step 3 - Add the Key the Puzzle
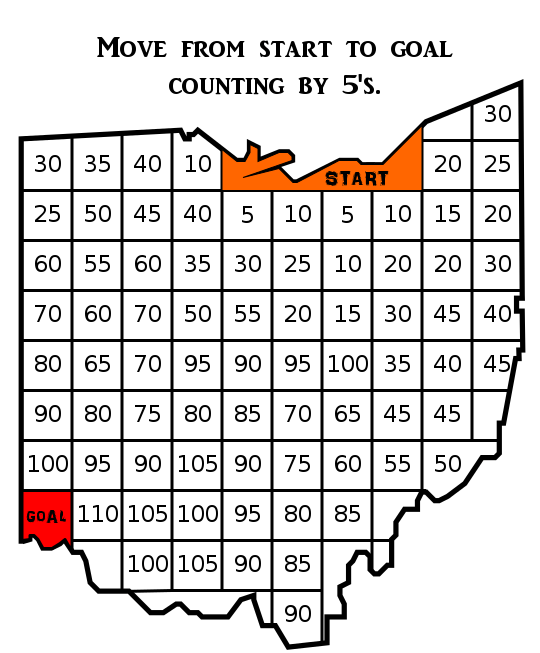
Decide the key that will move the solver through the maze. In my example I did this with 4 simple movements in 4 directions, but you may use any number of symbols and movements.
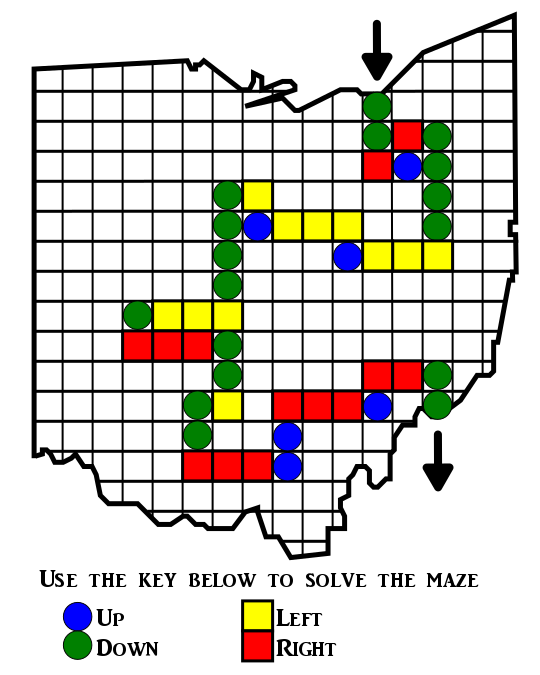
Step 4 - Create the Solution
Make the solution to the maze based on the key and symbol system you have chosen. For my simple puzzle maze there are not actually any decisions to make on the pathways, you need only follow the key to solve the puzzle maze.
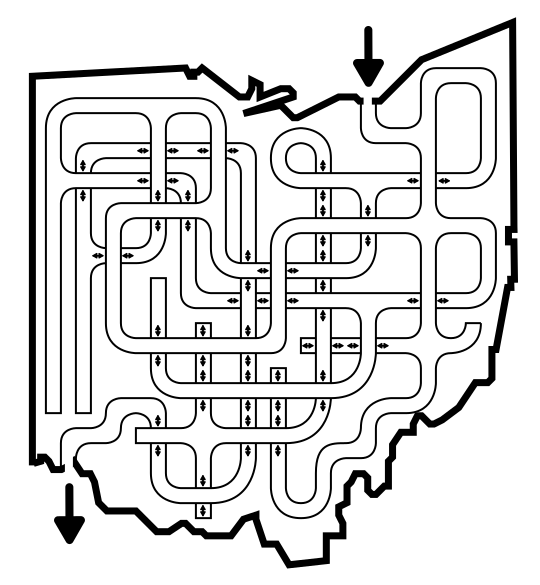
Step 5 - Create False Pathways
Fill in any remaining blocks with incorrect options. These are grid blocks that the solver should never reach if they follow the key correctly.

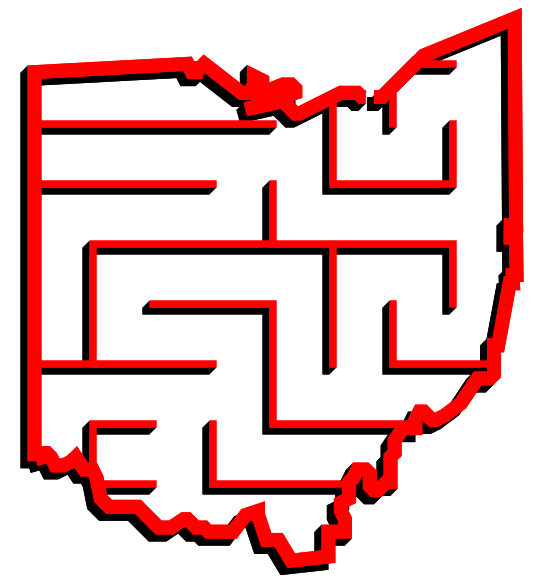
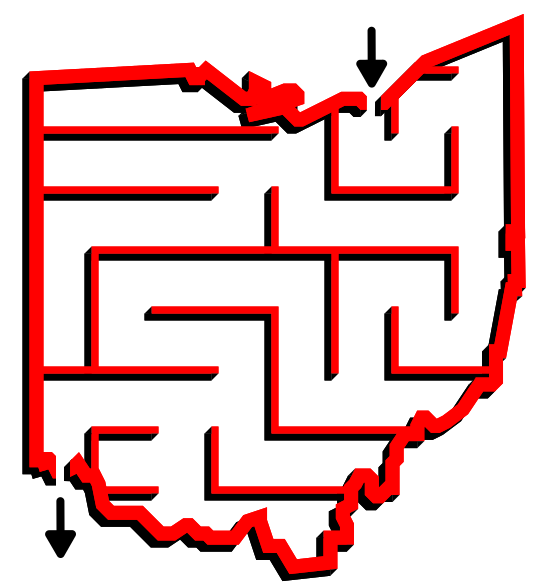
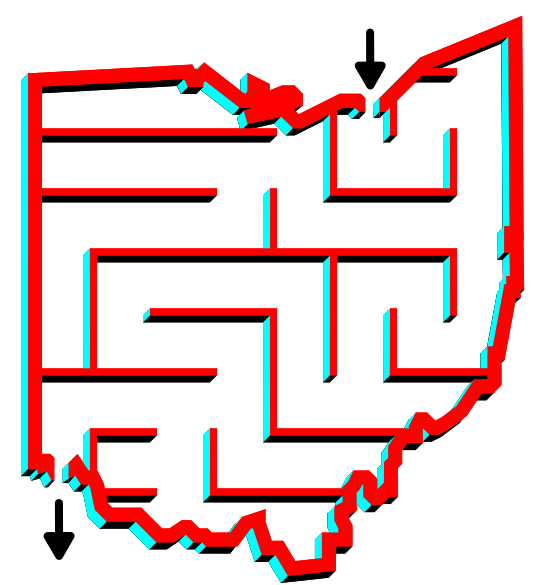
Step 6 - Create a Final Solution
Highlight the correct path in the final version of the maze to create the final maze solution (shown here in aqua).

Additional Puzzle Maze Examples
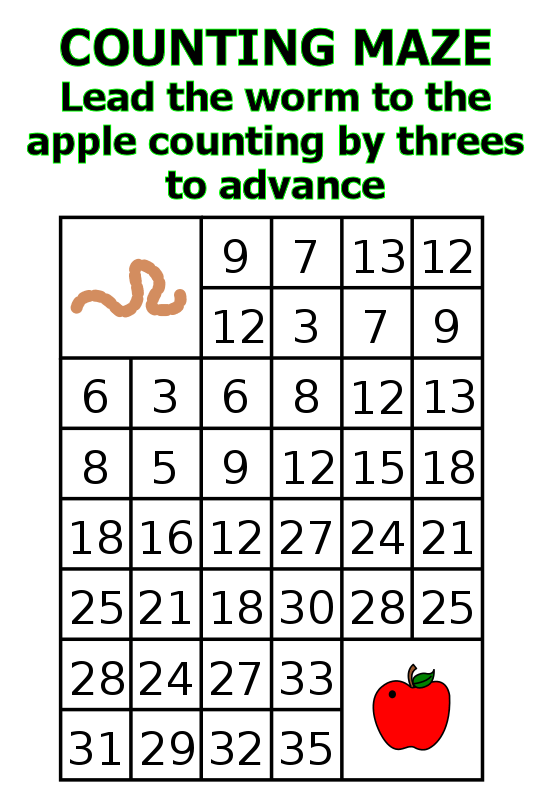
This first extra example is in a more standard square shape. The nice thing about a simple puzzle maze is that despite it being “just” a puzzle that requires following directions, you can enhance the complexity. Below I have added 2 additional aspects to do this: the first is I have repeated all colors for both shapes, and the second is adding more complex moves where landing on the navy color which moves you 3 steps instead of one.

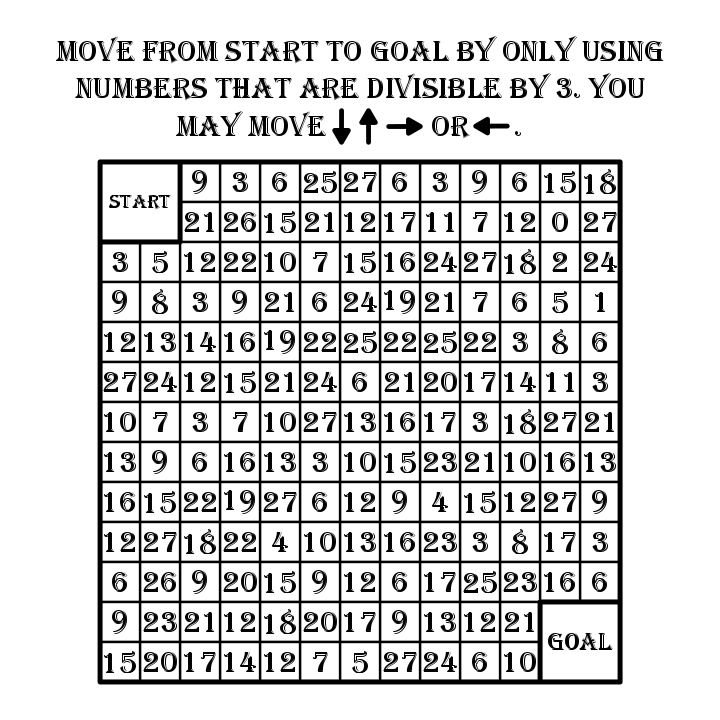
The second example below is a more complex puzzle maze. Not every circle can be moved onto, only the ones that meet the stated conditions. Once you have which circles can be moved to, they create pathways, one is the solution while others lead to dead ends. So for this construction following directions is not enough, that is what makes it complex.

One way to solve a large puzzle maze like the above is to eliminate the false answers, in this case grids with Red odd numbers or Blue even numbers by filling them in with black marker (or an covering with an X). This will leave only the possible grids that could create a pathway leaving the solution apparent (most likely).
My third example uses an even more complex key, with many rules to follow. Using changes to the 3 main options: color, shape and number you can make this a maze where each grid square must be considered. This particular example also gives some variety with an X shape.

Free downloadbale puzzle Maze book
Of all the free books I have available this is one of my favorites. I like the cover and the colors of the mazes make the book look great.
THE PUZZLE MAZE BOOK
30 pages, 30 puzzle mazes
File Size: 847 KB
Features each daily maze from April 2020. Puzzle mazes are all about following directions to determine which directions are possible, THEN reaching the goal based on those possible moves !
Making of a Puzzle Maze Video
Here is a quick video of a Puzzle Maze being made.
Interested in learning how to make or draw other types of digital mazes ? I have step by step instructions on how to make over 40 different maze types.
If you prefer making labyrinths, you can find step by step labyrinth making instructions.