
In a series of posts I will show you how to make a maze in a wide variety of design constructions. The 29th type of maze construction is the Weaving Path maze. Let’s define what I mean, then get into the example. Every example will use the sample basic outline (the state of Ohio) to better illustrate the differences between each maze type. I have 2 different step by steps for this maze type depending on how you want the maze to look.
Weaving Paths Maze - A Maze WHERE paths are allowed to weave around each other creating an extra plane for the maze solver to work in.
How to Make a Weaving Path Maze
Step 1 - Draw the Outline (optional)
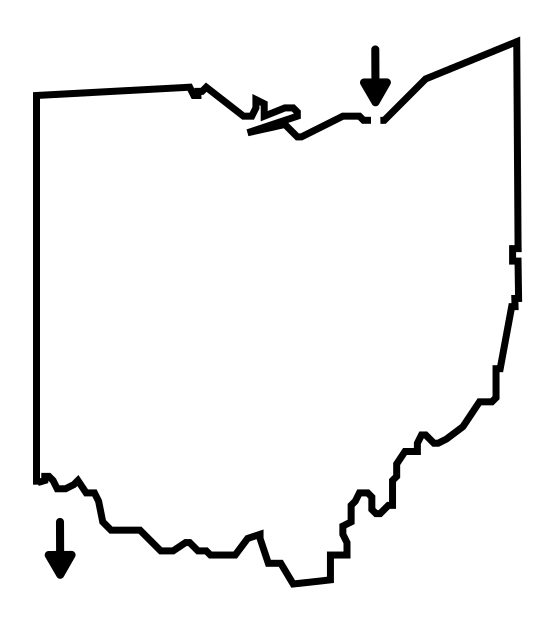
The outline of the maze makes the outer wall of the maze. It can be anything from a simple shape like a square, to a complex picture. The outline should be thicker than the internal lines to give the maze definition. In the example below I chose the state of Ohio. For this type of maze the outline is optional because the outline can be created by the actual paths.
Step 1.5 - Choose the Start and Goal
For the below example I chose the start of Cleveland and the goal of Cincinnati.
Step 2 - Start Drawing the Pathways
While most mazes are built by individual walls, in a weaving maze you design a pathway by virtue of the parallel walls you are drawing. A weaving pattern is achieved by controlling the direction of paths rather than the building of walls. Subtle, but important to understand. In the example below I start from the entrance and begin making pathways in multiple directions, leaving gaps along the way to later cross over and weave thru.
There are a few rules to follow when making weaving pathways. Never end a pathway underneath another path. Never split a pathway or make it change directions under another pathway. Dead ends should always happen in open spaces to avoid confusion. Basically if you have a pathway weaving under another pathway do not get fancy - make it intuitive where it comes out the other side !

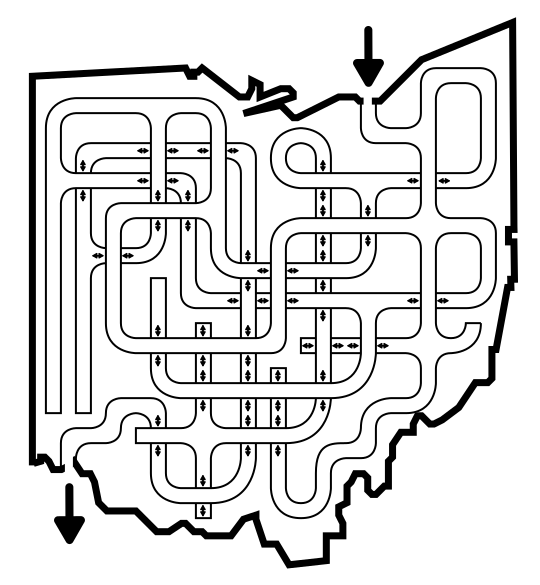
Step 3 - Complete the Maze
Continue drawing pathways until you have filled the outline and created a pathway that reaches the maze goal.

Step 4 - (Optional) Add Arrow Help (or shadows)
If you believe the final version of the Weaving path maze you have made has paths that might confuse the solver you have the option to add arrows at any dimensional intersection to clarify the path can be taken. As you can see below the arrows are dual-sided to prevent hinting the correct solution path. You could use one way arrows, which will change the thought process of the solver, giving them hints on the correct paths to take. It is also possible to add small shadows on any path going under another path at the intersection (best seen in my Pipes Maze example)
Step 5 - Draw the Solution
Highlight the correct path in the final version of the maze to create the final maze solution (shown here in red, with alternative solutions in pink and aqua). In my example there are 3 possible solutions. I should have made a more difficult maze.

Additional Weaving Maze Examples
Explore the 10 different types of weaving maze styes, including pipes mazes and the 2 below and see which you prefer:
What is Your Preferred Weaving Maze Style ?
The below example of a weaving path maze is a more conventional weaving path maze with no outline and the extra paths make it more difficult to solve. This also uses square corners.

And another example of a Weaving Paths maze. This one also has no border, but has a point-to-point structure with weaving paths. A Weaving path can look many different ways, with the consistent portion being the ability to solve using another plane. This construction would have a different step by step, but have the same general rules. A quick step by step could be - draw a collection of spaced dots, connect them with pathways (including weaving pathways).

I also created a method to help create a complicated weaving maze that I found very helpful when making this maze type for adults:
Creating a complicated Weaving Maze - an updated method
Interested in learning how to make or draw other types of digital mazes ? I have step by step instructions on how to make over 40 different maze types.
If you prefer making labyrinths, you can find step by step labyrinth making instructions.