In a series of posts I will show you how to make a maze in a wide variety of design constructions. The 20th type of maze construction is the Object as Goal maze. Let’s define what I mean, then get into the example. Every example will use the sample basic outline (the state of Ohio) to better illustrate the differences between each maze type.
Object as Goal Maze - A maze of any construction that has a goal of an object. The object can be within the maze or at the end of the maze.
How to Make an Object as Goal Maze
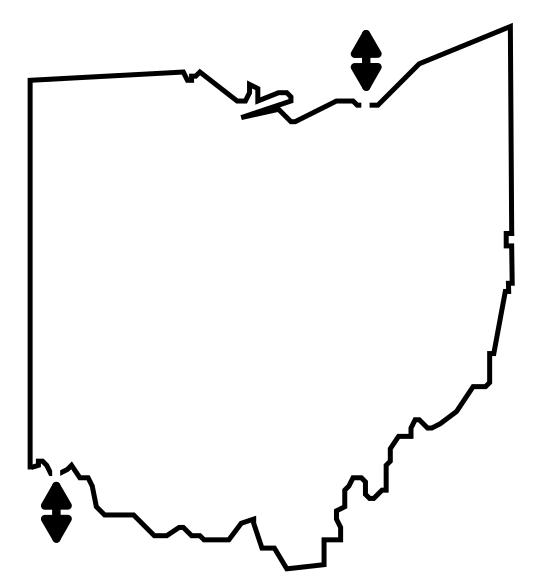
Step 1 - Draw the Outline
The outline of the maze makes the outer wall of the maze. It can be anything from a simple shape like a square, to a complex picture. The outline should be thicker than the internal lines to give the maze definition. In the example below I chose a simple square.
Step 1.5 - Choose the Start and Goal (The object)
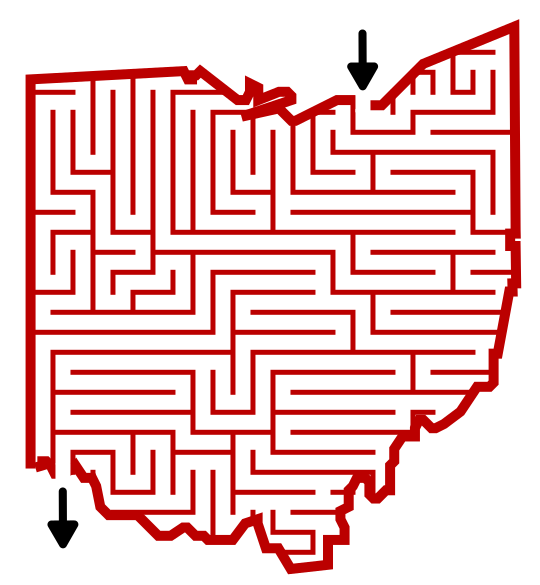
For the below example I chose a corner start and a goal of Ohio, the Object as Goal. In this case I made the goal in the center, but it could have also been after a typical maze exit with the object placed there.

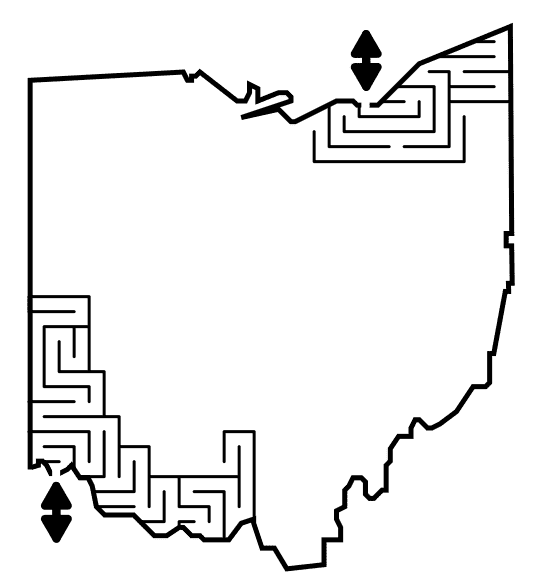
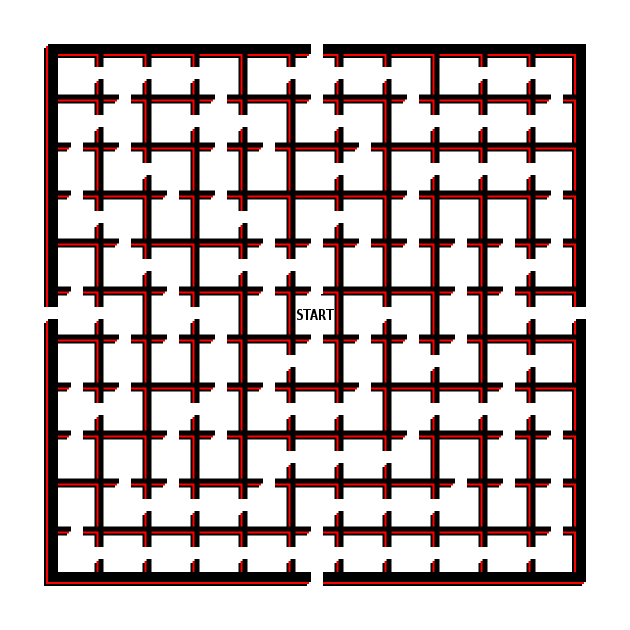
Step 2 - Draw the Maze Paths
Draw the walls starting from the entrance and working towards the goal. Remember to keep at least one pathway open as a possible solution. The maze design can be of any type, in this example I used a standard path maze, as long as the goal is an object.

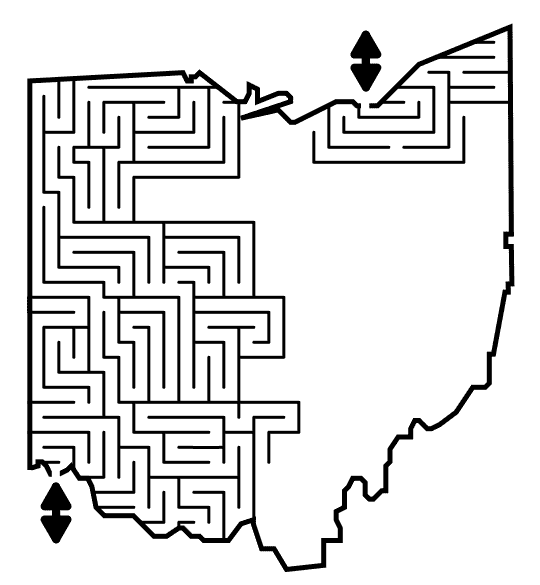
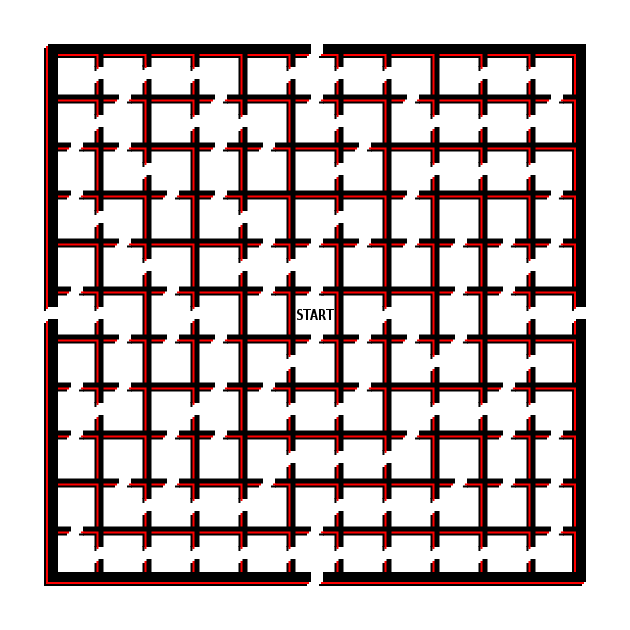
Step 3 - Complete the Maze
Connect the solution pathway to the goal object to complete the construction of the maze.

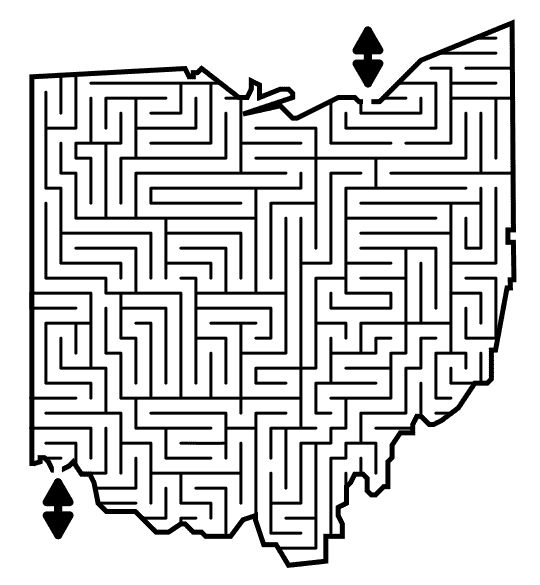
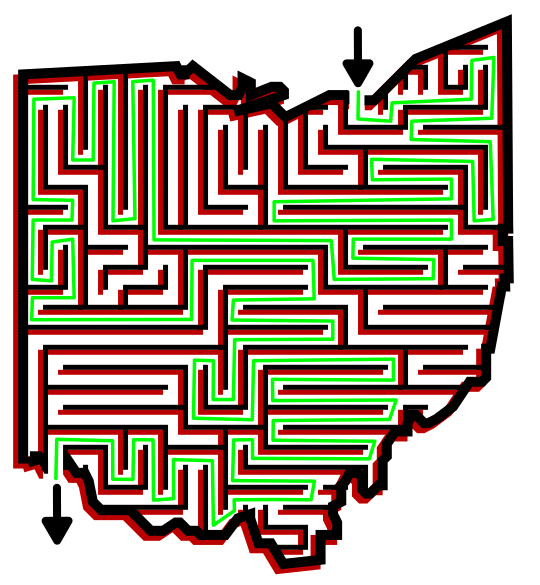
Step 4 (Optional) - Make the Maze Solution
Highlight the correct path in the final version of the maze to create the final Maze solution (shown here in red).
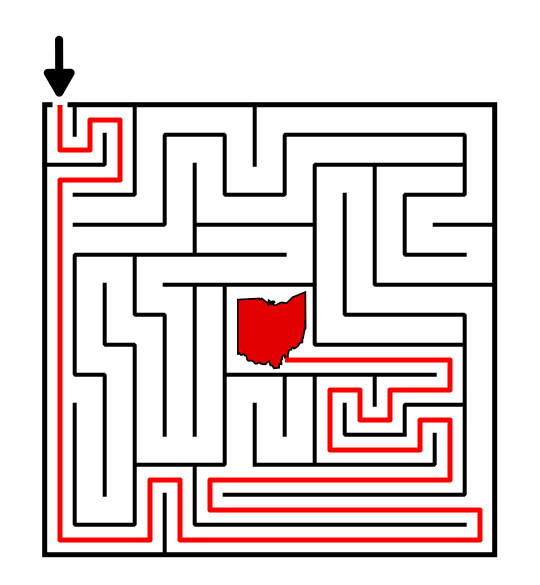
In many ways the Object as Goal maze is a sibling of the Escape Maze when the object is placed inside the outer walls. Instead of working from an internal start to the outside goal in and Escape maze you reverse it and move from an External start to an internal Goal.
Additional Object as Goal Maze Examples
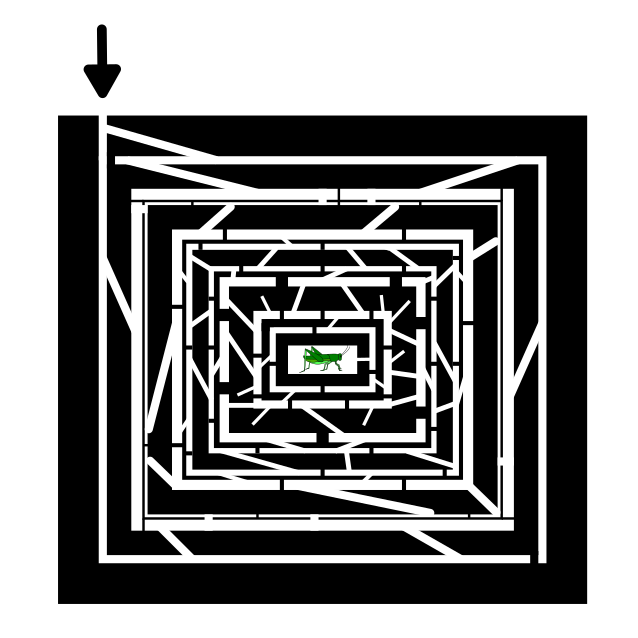
Another example of the Object in Goal maze can be seen below where the solver must reach the grasshopper in center of the maze. This is also an example of a Draw and Cut construction where the pathways are created by cutting thru the walls of a series of boxes within boxes.
And here is an example of a more traditional Object as Goal maze. This is also a good example of a Kids maze with a simple solution and subject matter appropriate for children. Here the Object Goal is a flower. But this example also has an object as Start !!

And my third example is another easy maze made for children. This Walrus maze has an object as both the Start and Goal, each also enclosed inside the outline of the maze,

Interested in learning how to make or draw other types of digital mazes ? I have step by step instructions on how to make over 40 different maze types.
If you prefer making labyrinths, you can find step by step labyrinth making instructions.