In a series of posts I will show you how to make a maze in a wide variety of design constructions. The 11th type of maze construction is the Objects maze. Let’s define what I mean, then get into the example. Every how-to will use a simple square so you can compare the differences between each maze construction type. I will also show a consolidated secondary how-to using an irregular shape (the state of Ohio).
Here is an outline for this blog post with jump links if you want to skip ahead to a section:
HOW TO MAKE A OBJECTS MAZE - abbreviated writing & using a different shape
OBJECTS MAZE DEFINITION
Objects Maze - Really an “Objects as Walls Maze.” Walls are created by adding objects to avoid almost like barriers. Objects can be anything that isn’t the traditional maze wall line. The object used will typically reflect the subject matter of the maze.
THE 5 RULES OF MAZE DESIGN:
These 5 rules apply to any maze you make so we start with them !
1. Always keep an open pathway for the solution
While drawing a maze you will need to juggle multiple open pathways each of which could become the solution. One of them will become the solution. Keep track of it. This is especially important if you are designing pathways in both directions (from the start and from the goal).
2. Clearly mark the start and goal, or the objective of the maze
A maze should have a start and a goal that you can assess just by glancing at it. There are many ways to start and end a maze I review in this blog post: Options for Starting and Ending a Maze
3. Ensure the difficulty matches the intended audience
Most people want to solve a puzzle/maze that is just slightly below or slightly above their skill level. Many things help determine the difficulty of a maze. Size, number of branches, the length of dead ends, the number of choices, the complexity of the rules (if the maze has them).
4. Ensure your maze has a solution
When your maze is complete, solve it to determine the difficulty level and to ensure it is a real, solvable maze. Depending on the complexity of the maze you may want to do this right away or wait so you can properly assess the difficulty.
5. Explain anything that needs explaining
Some mazes have rules or conditions. Explain them with directions. If it isn't obvious, make it so.
How to Make an Objects Maze
Step 1 - Draw the Outline
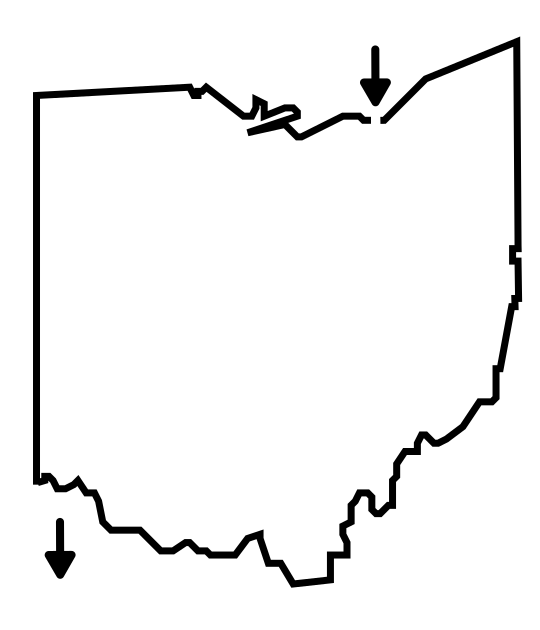
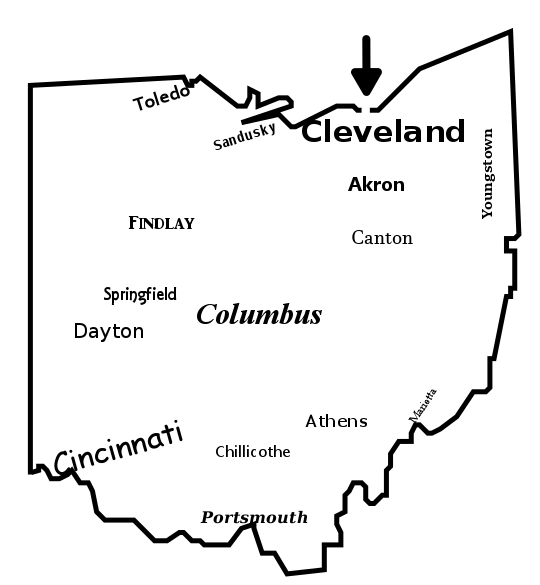
The outline of the maze makes the outer wall of the maze. It can be anything from a simple shape like a square, to a complex picture. The outline should be thicker than the internal lines to give the maze definition. In the example below I chose the state of Ohio.
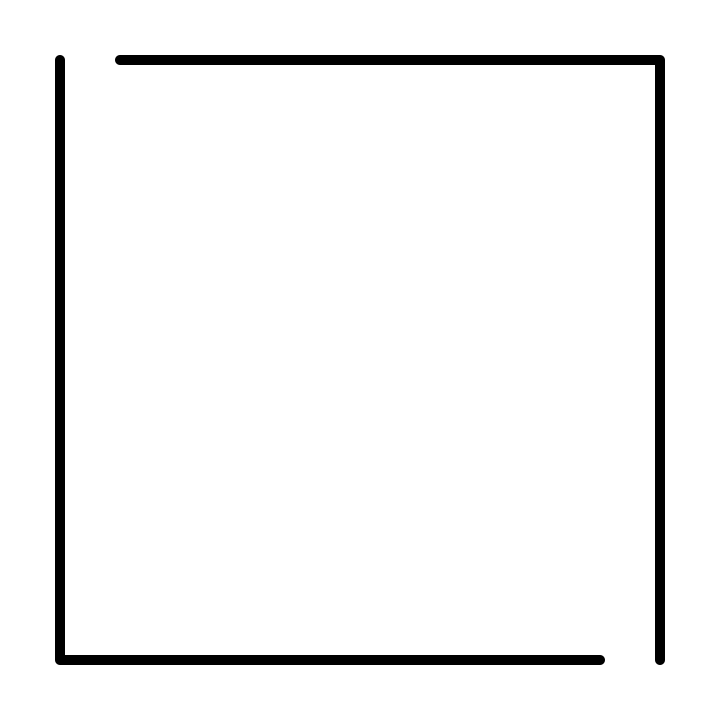
Step 1.5 - Choose the Start and Goal
For the below example I chose a simple square.
Step 2 - Start Filling the Maze with Objects
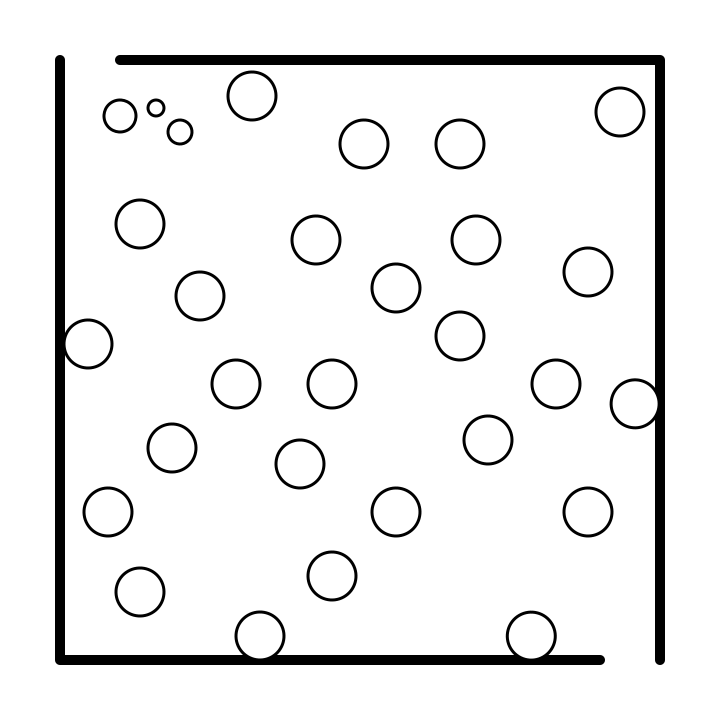
I decided to fill the box with bubbles. I drew 4 sizes near the start, then selected the largest one and randomly placed it around the structure.
Step 3 - Add More Objects
Continue adding more bubbles (or your selected object). Here I did a medium bubble.
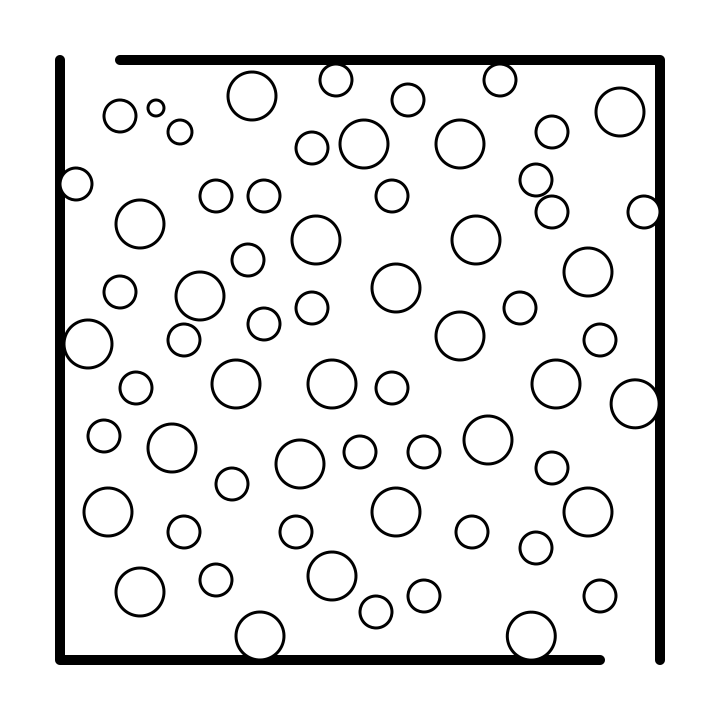
And then a smaller bubble.
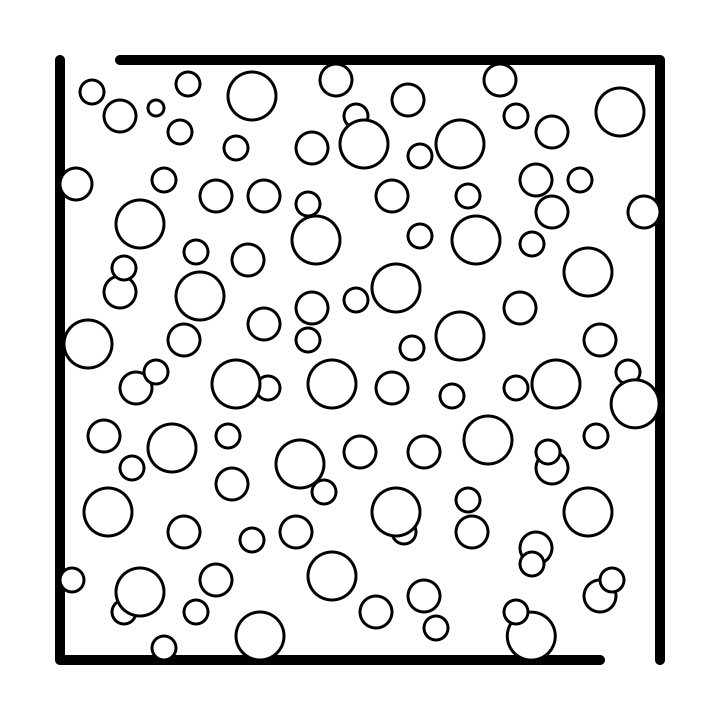
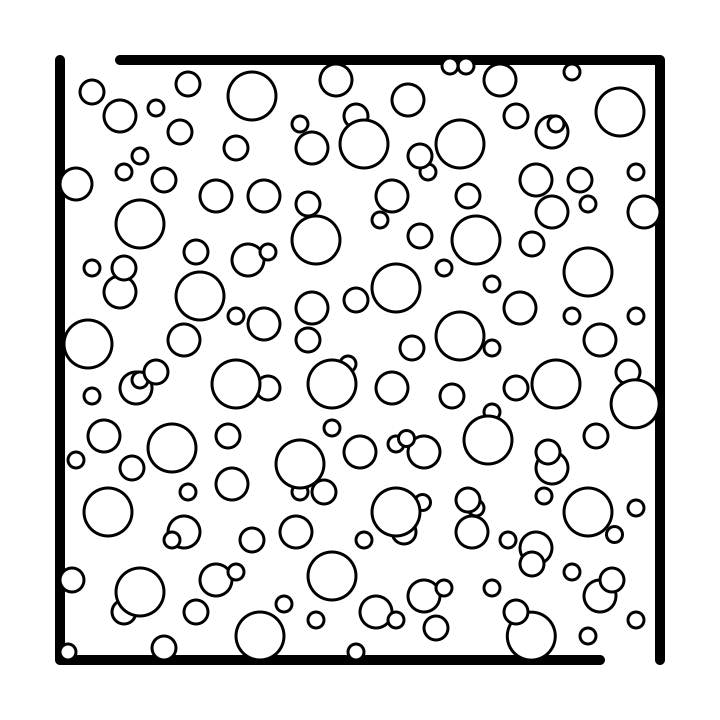
And the smallest bubble was next. I have not created walls/pathways yet, but things are forming.
Step 4 - Draw the Solution
Now that the objects have given the maze some form, draw the solution you want. This will guide where you place the final objects to create walls and pathways for the maze.
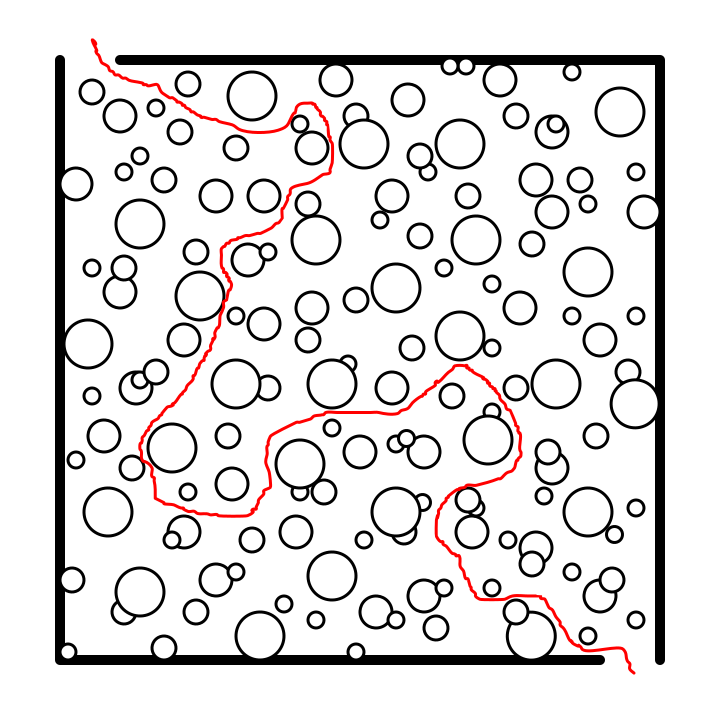
Step 5 - Complete the Maze Walls
Object mazes are some of the most difficult to make as they are made from so many individual parts. Creating the example took a significant amount of time. I completed the walls and deleted the guide to make this final maze version !
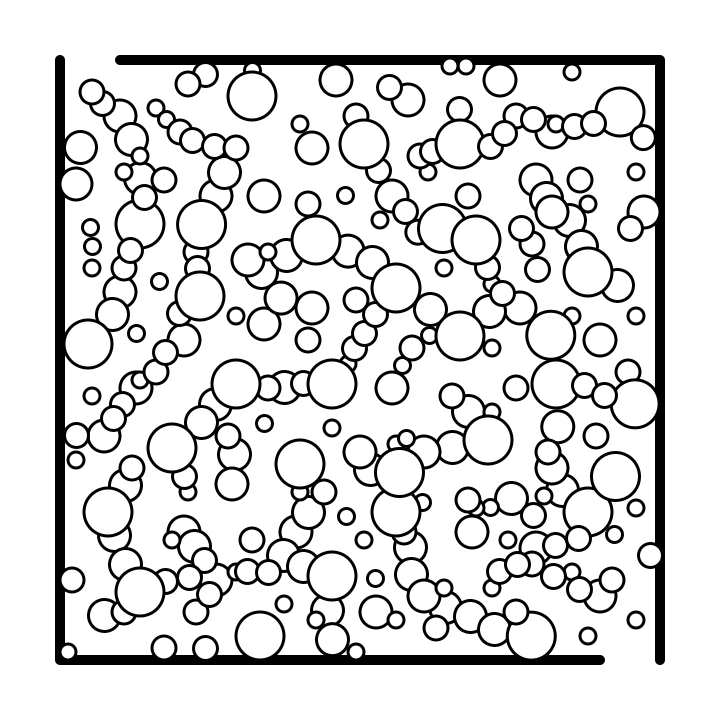
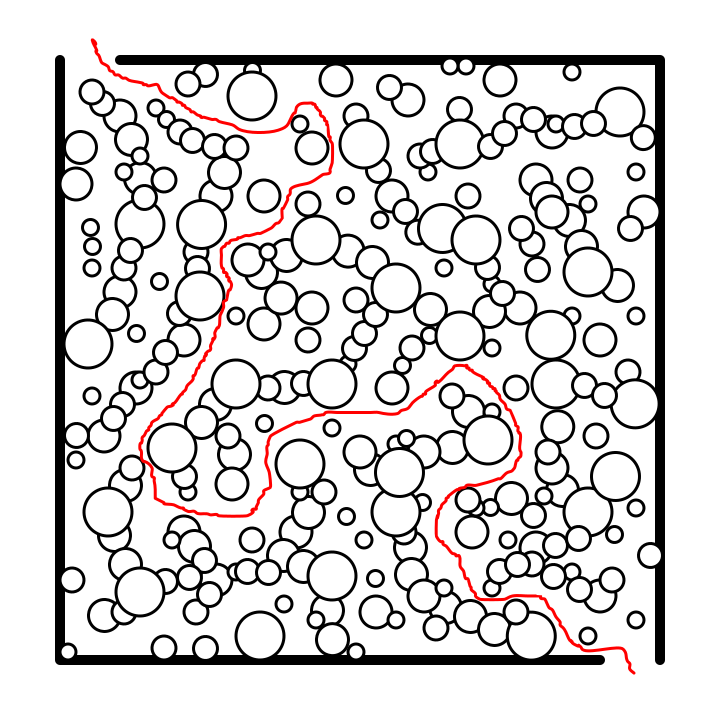
Step 6 - Make the Maze Solution
If we are being honest this is step 5, then you delete it to get the final maze in step 6.
HOW TO MAKE A OBJECTS MAZE - abbreviated writing & using a different shape
Step 1 - Draw the Outline
Step 1.5 - Choose the Start and Goal
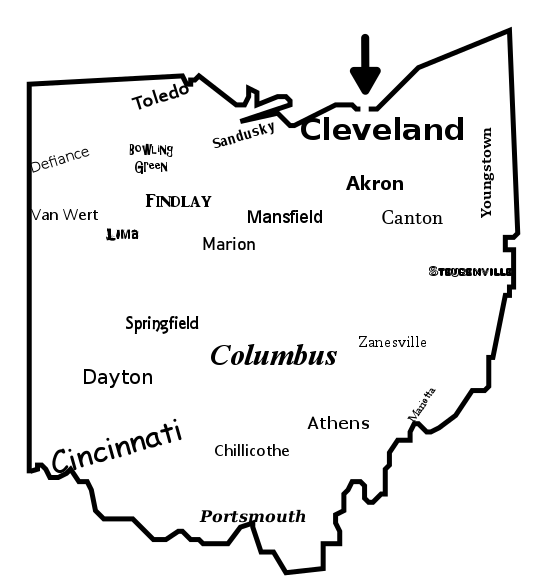
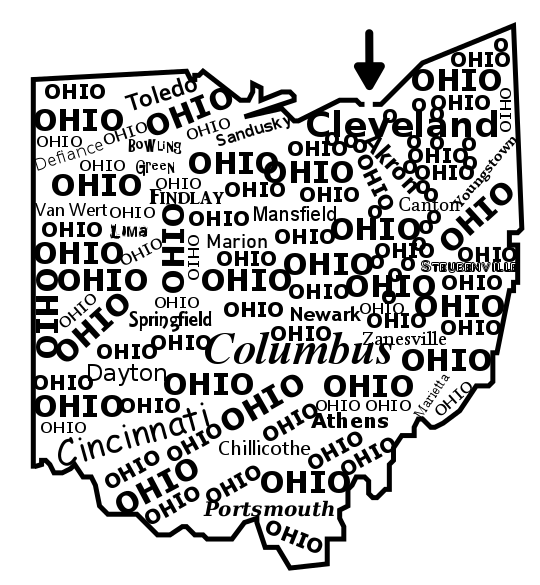
Step 2 - Start Filling the Maze with Objects - With the theme you have chosen, begin filling the outline with objects. For my Ohio example I decided to start with the major city names. This is where you can get very creative in your design.
Step 3 - Add More Objects
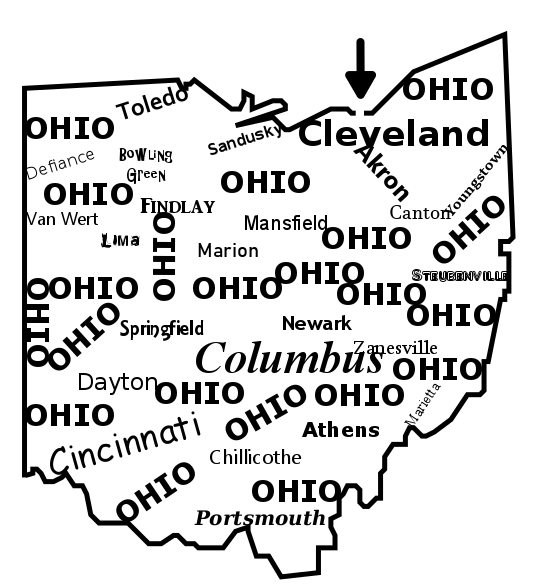
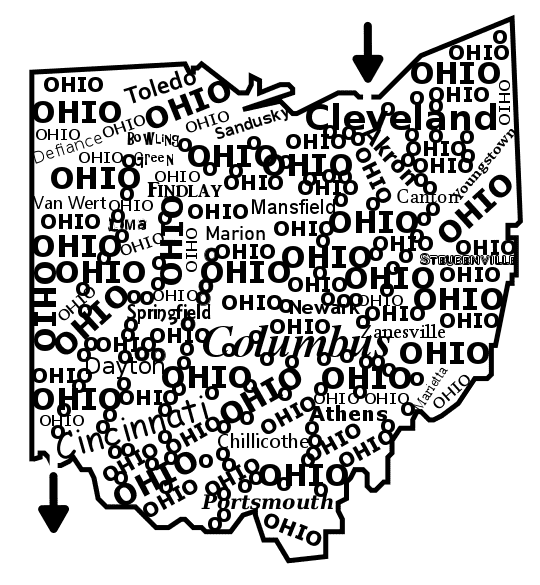
Step 4 - Make Maze Walls with Objects - Because the objects in this example are words there are a lot of gaps to close. I used the letter O as you can see in Northeast Ohio.
Step 5 - Complete the Maze Walls
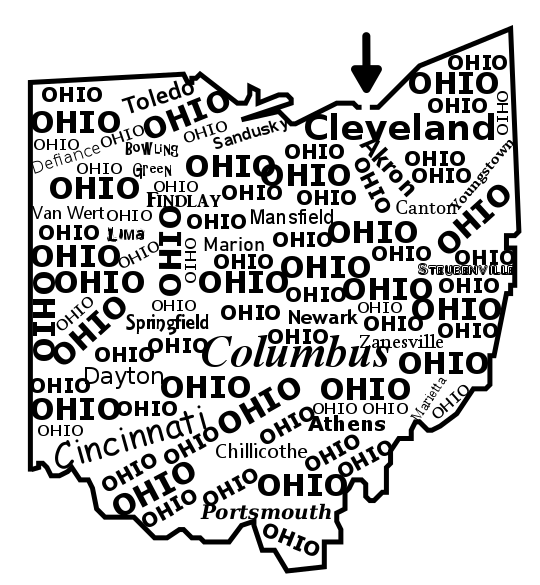
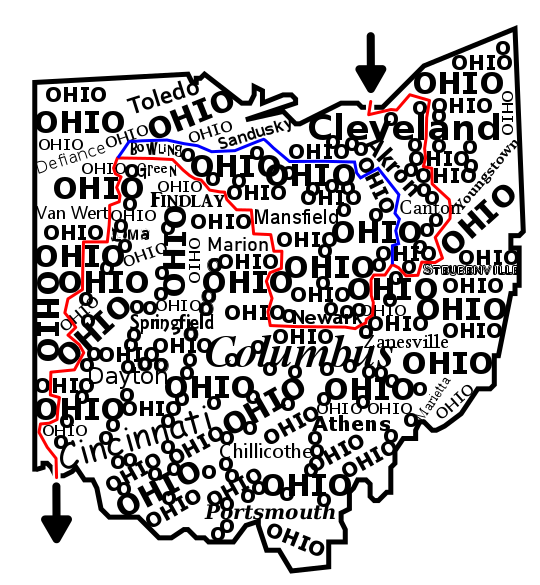
Step 6 - Make the Maze Solution - Because there were so many gaps to close I left some open intentionally so you could go on either side of a letter, but I also found an additional possible solution (in blue).
ADDITIONAL OBJECT MAZE EXAMPLES
Here are two additional examples of Objects mazes. The left uses boxes to create pathways (a box of boxes), while the maze on the right uses balls or circles as the objects.


For my third example I wanted to show how this maze type can be made more complex, just by adding additional boxes to this Box maze.
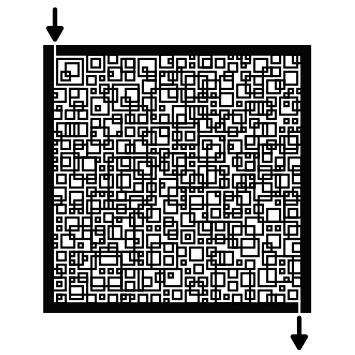
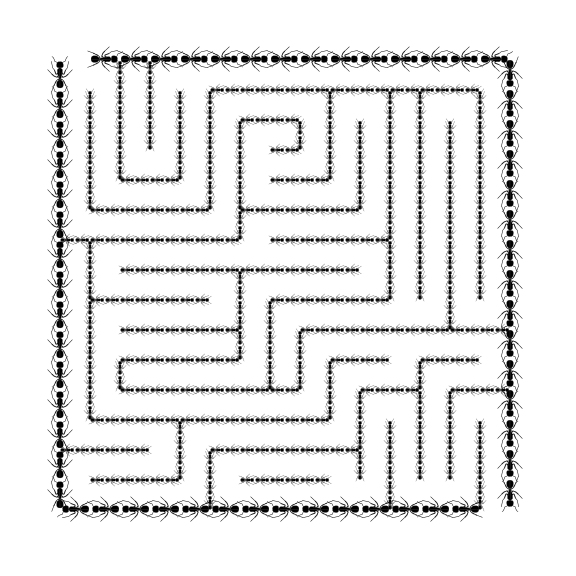
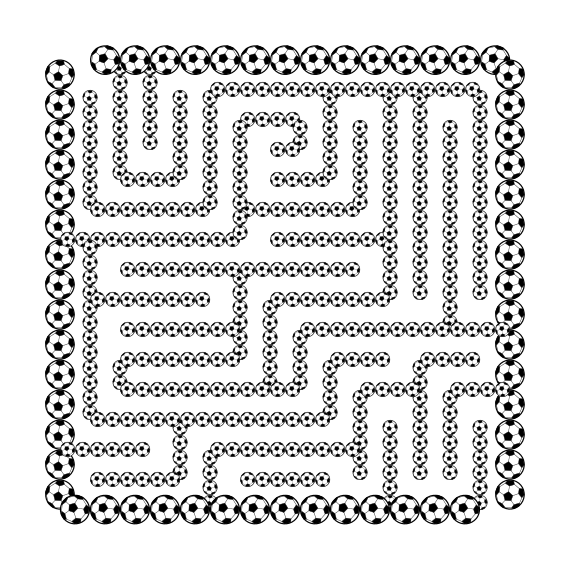
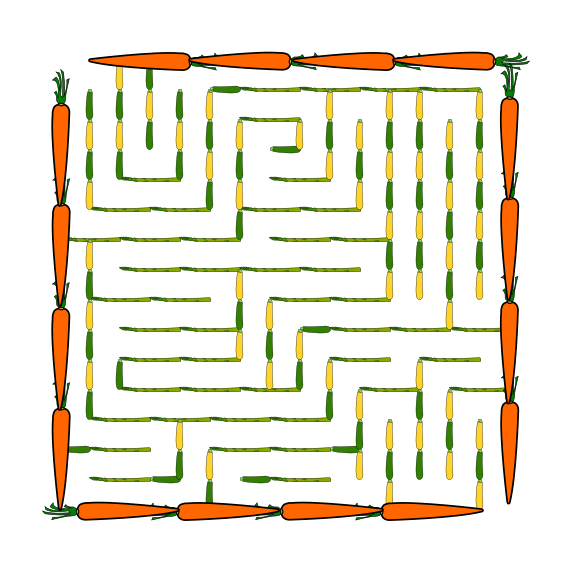
Here are 3 variations that are standard mazes that were made using objects. This was part of an experiment I did where I made one maze in many styles. Object mazes are usually more randomly placed, but they can be structured:
FREE OBJECT MAZE BOOKS
I have 2 free downloadable books that feature a bunch of object mazes. The Box Maze Booklet, Volume 1 &2. 60 total mazes. Find them in the free book section of the site.
Interested in learning how to make or draw other types of digital mazes ? I have step by step instructions on how to make over 40 different maze types.
If you prefer making labyrinths, you can find step by step labyrinth making instructions.