
In a series of posts I will show you how to make a maze in a wide variety of design constructions. The 15th type of maze construction is the Escape maze. Let’s define what I mean, then get into the example. Every example will use the sample basic outline (the state of Ohio) to better illustrate the differences between each maze type. At the end of the post I have included a free downloadable Escape Maze book.
Escape Maze - A maze that starts internally and requires the solver to escape the mazes outer edge. While the below example uses a square-like approach for it’s design, the walls can be circular, or any other number of constructions.
HOW TO MAKE AN ESCAPE MAZE
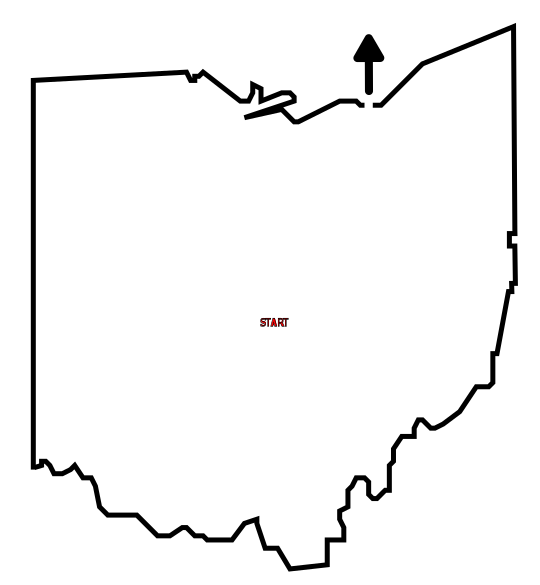
Step 1 - Draw the Outline
The outline of the maze makes the outer wall of the maze. It can be anything from a simple shape like a square, to a complex picture. The outline should be thicker than the internal lines to give the maze definition. In the example below I chose the state of Ohio.
Step 1.5 - Choose the Start and (Option) Goal
For the below example I chose the start of Columbus, signified by the word START and a goal of Cleveland at the edge of the maze. NOTE: There is a variation of this maze which shows multiple possible exits from the maze and the solver needs to figure out which one is correct. In fact, I would say that is the most popular version of the maze !
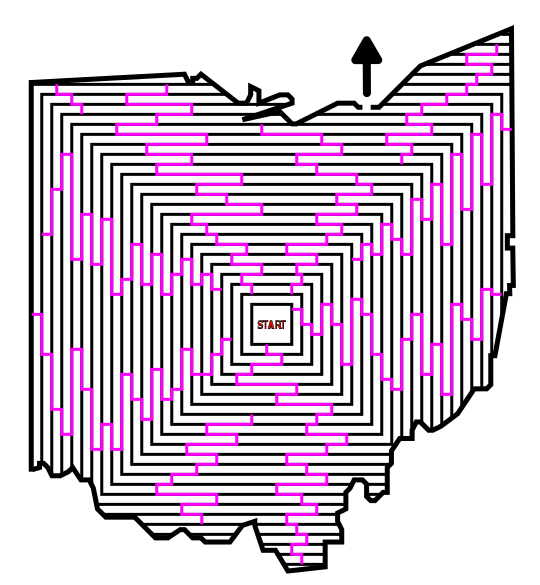
Step 2 - Draw the Internal Walls
Inside the entire outline draw internal walls. While the below example uses a square-like approach for it’s design, the walls can be circular, or any other number of constructions. You will create breaks in the walls later to escape through. You could design the maze as you would any other standard maze, drawing walls and possible pathways from the START and leading to your goal, but I prefer the layered approach since you are attempting to escape after all.

Step 3 - Draw Additional Walls
Like constructing a vertical or horizontal maze, split the internal walls into sections drawing lines perpendicular to the current walls. The more internal lines, the more possible paths and the higher the difficulty. To better illustrate this step I drew the lines in pink (some of which overlap with the original walls solely for the simplicity of drawing them).
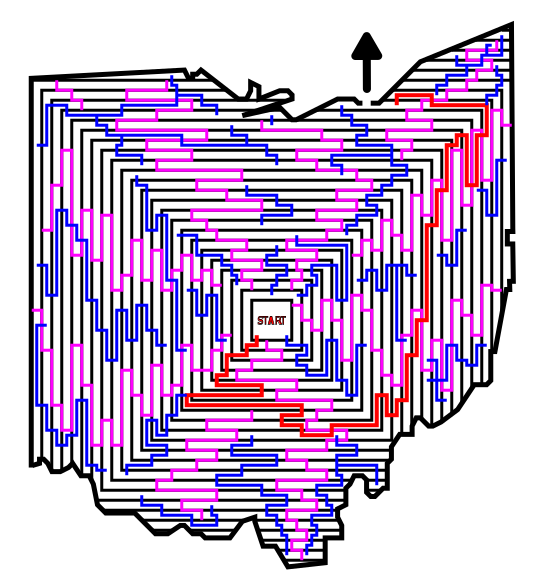
Step 4 - Draw the Maze Solution
Draw the solution to the maze as in example below in red. I choose a rather simple solution for this example.

Step 5 - Draw the Dead Ends
Make branches off the solution path to create dead end paths. The longer the paths, the more difficult the maze. In the example below the false paths are blue.
Step 6 - Convert Paths to White
Completing the maze means converting all paths you made to white. I also converted the pink walls to black although they were only pink to illustrate what they were back in step 3. Also take some time to evaluate your maze. If I were to design this differently I would make the breaks thru the walls wider to help solvers on small screens.

Step 7 (Optional) - Make the Maze Solution
Highlight the correct path in the final version of the maze to create the final Maze solution.

Additional Escape Maze Examples
In this other example of an escape maze. Notice that the maze structure looks completely different with a series of circles that are cut-thru to create pathways. However, the progress and goal for the solver remains the same, break thru walls to exit the outer edge of the maze.
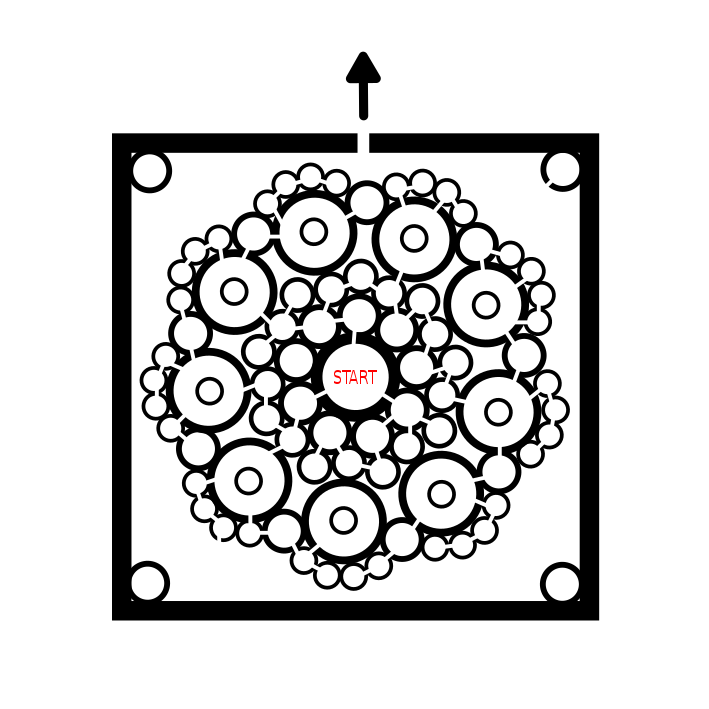
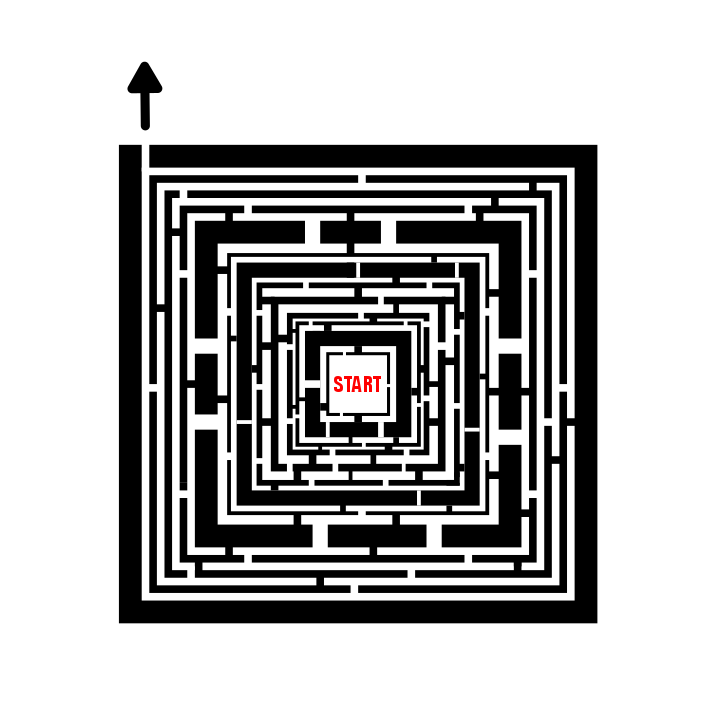
And this second example of an Escape maze is a more typical construction with a center start and an escape to a goal on the edge of the outline, in this case a square. I never said the walls needed to be the same width !
And here is an example of an Escape Maze with multiple possible exits, but of course only 1 works !!! I actually have gravitated to preferring this option the most because it helps prevent backwards solving. The actual size of this maze is small, but the complexity is greater than it seems. Notice how the START of the maze has 4 possible starting pathways, so you have only a 25% chance of getting that right. With 4 possible exits if you decide to backwards solve you have the same odds of picking correctly ! I like how this example feels like a fortress.

My final example is meant to illustrate that this type of maze construction can be versatile and used with many shapes. Check out this Hexagon Escape Maze.

FREE DOWNLOADABLE ESCAPE MAZE BOOK

THE ESCAPE MAZE BOOK
33 pages (includes 3 solutions pages), 30 Escape mazes
File Size: 388 KB
Features each daily maze from September 2020. In an Escape Maze you start within the walls of the maze and your goal is to escape to the outer wall. Often Escape mazes have multiple outer wall exits (although only 1 is the real solution).
Interested in learning how to make or draw other types of digital mazes ? I have step by step instructions on how to make over 40 different maze types.
If you prefer making labyrinths, you can find step by step labyrinth making instructions.