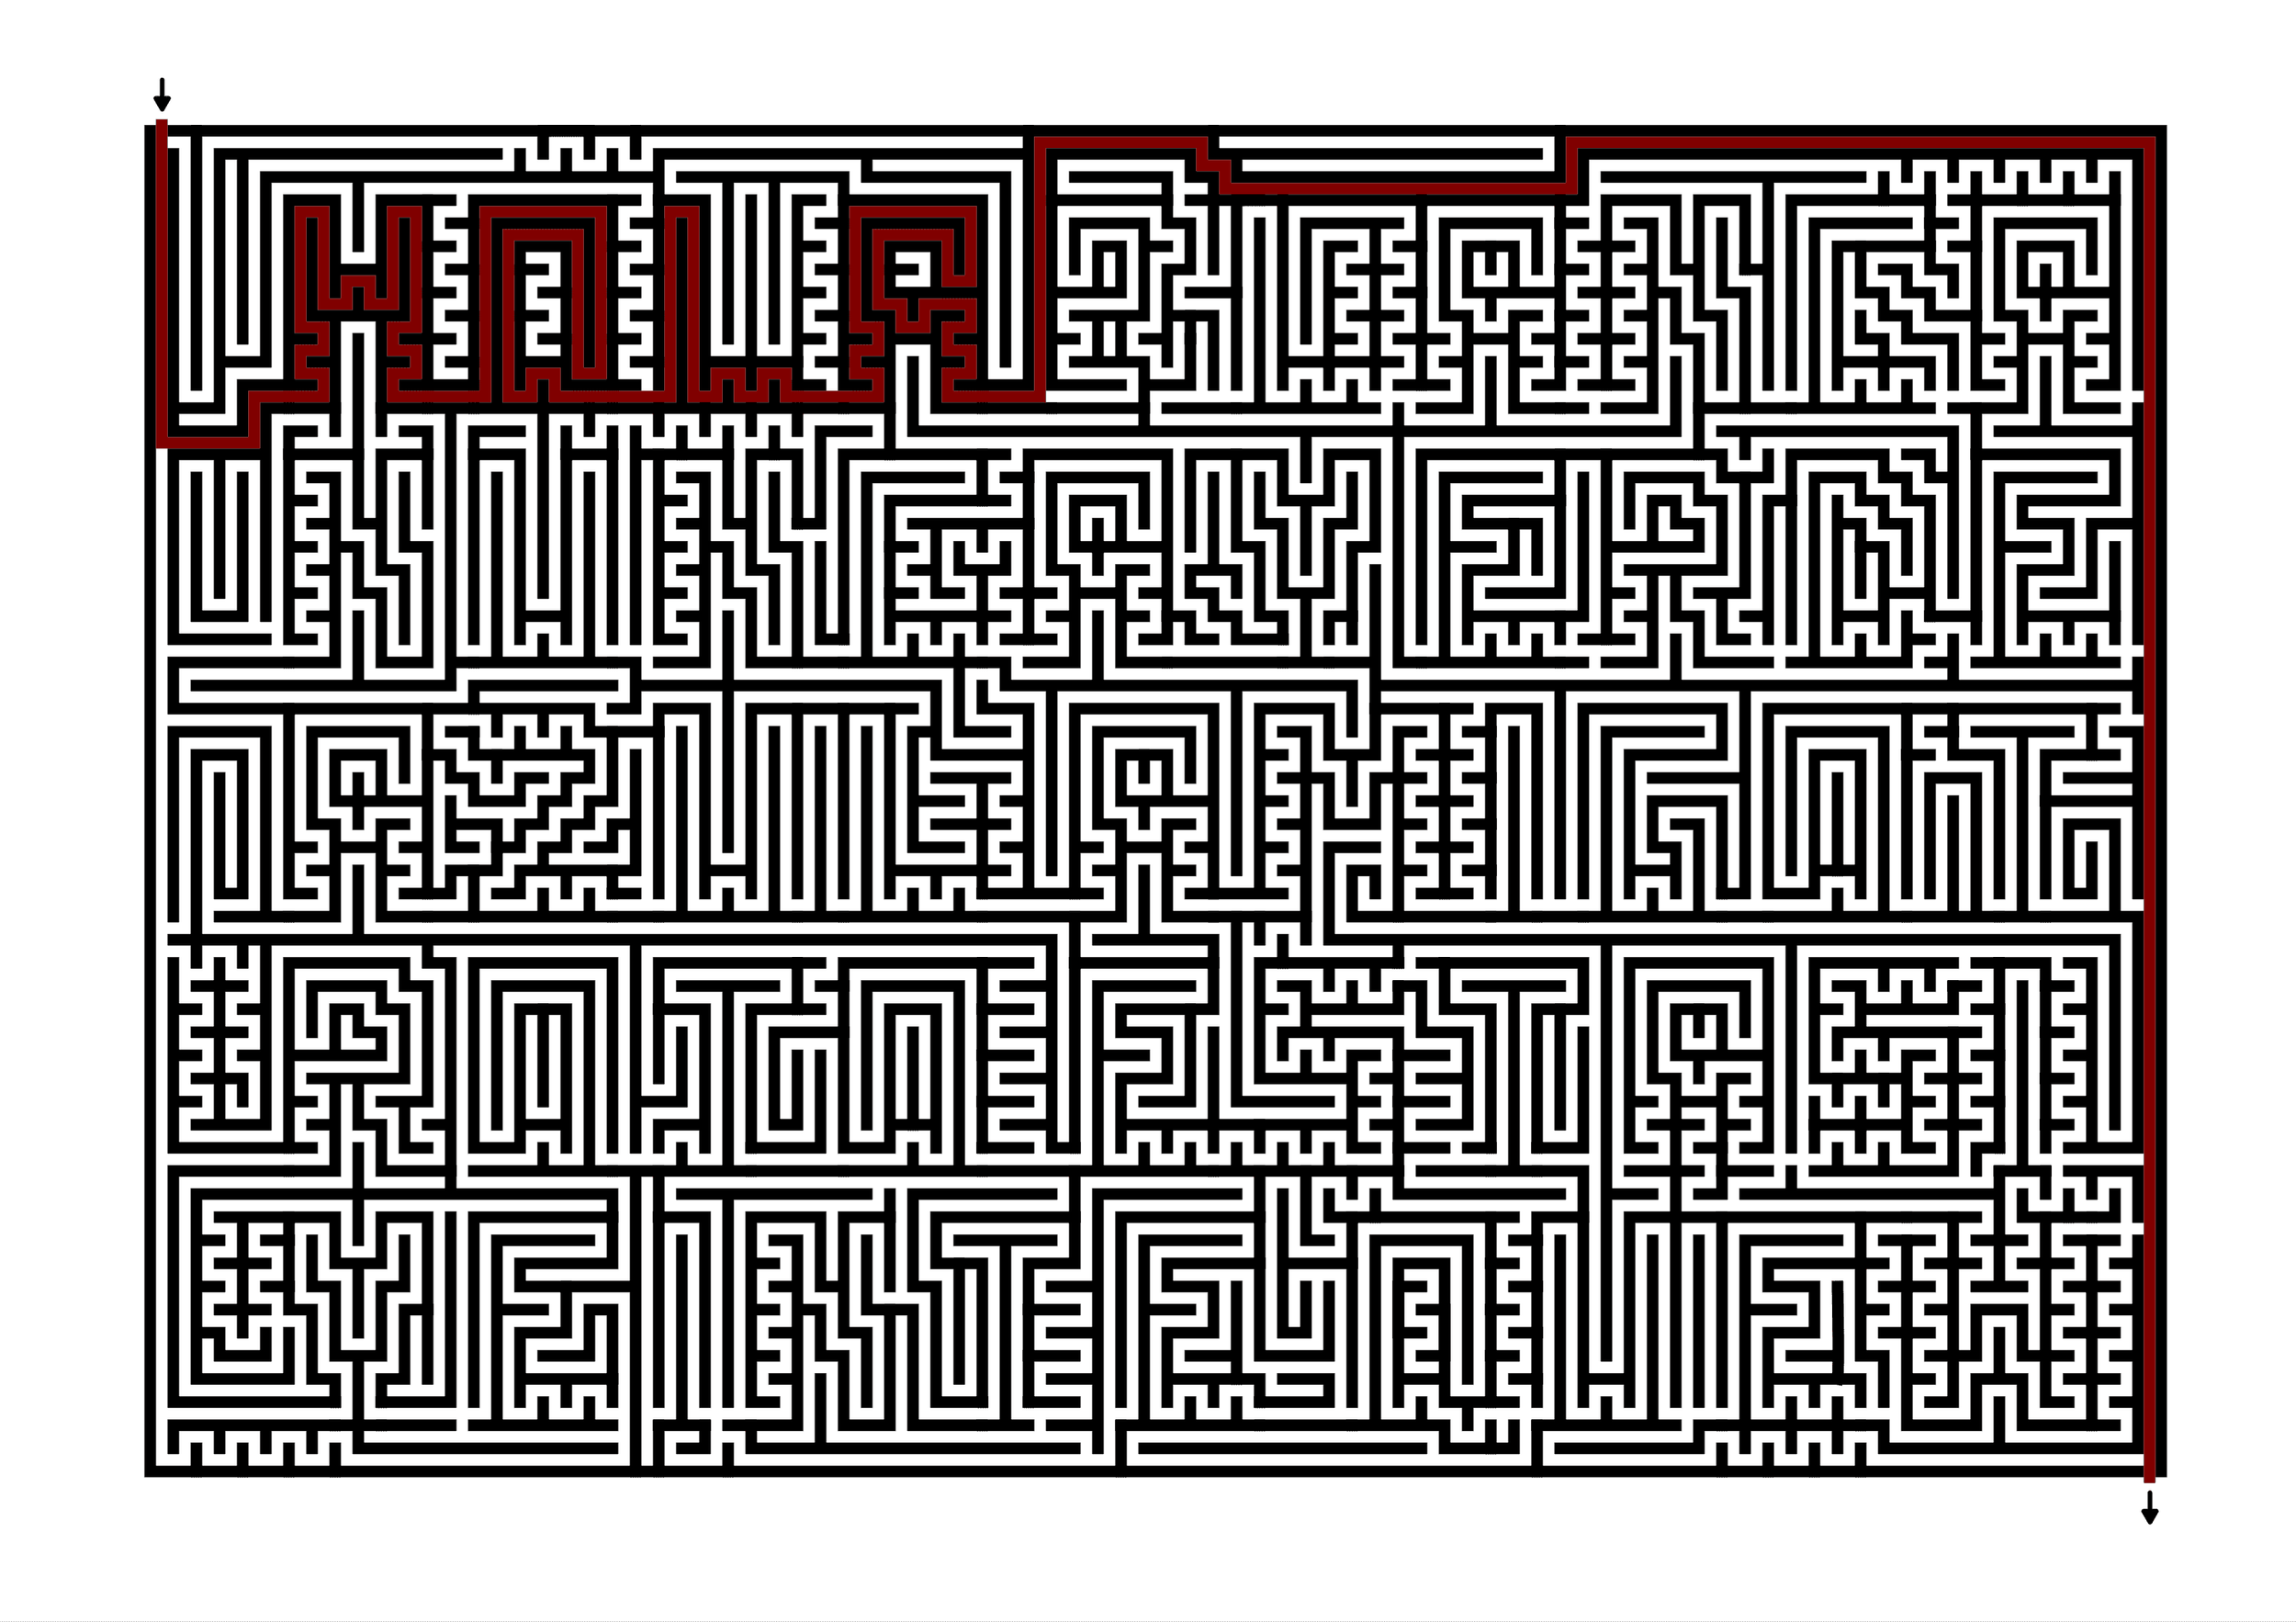
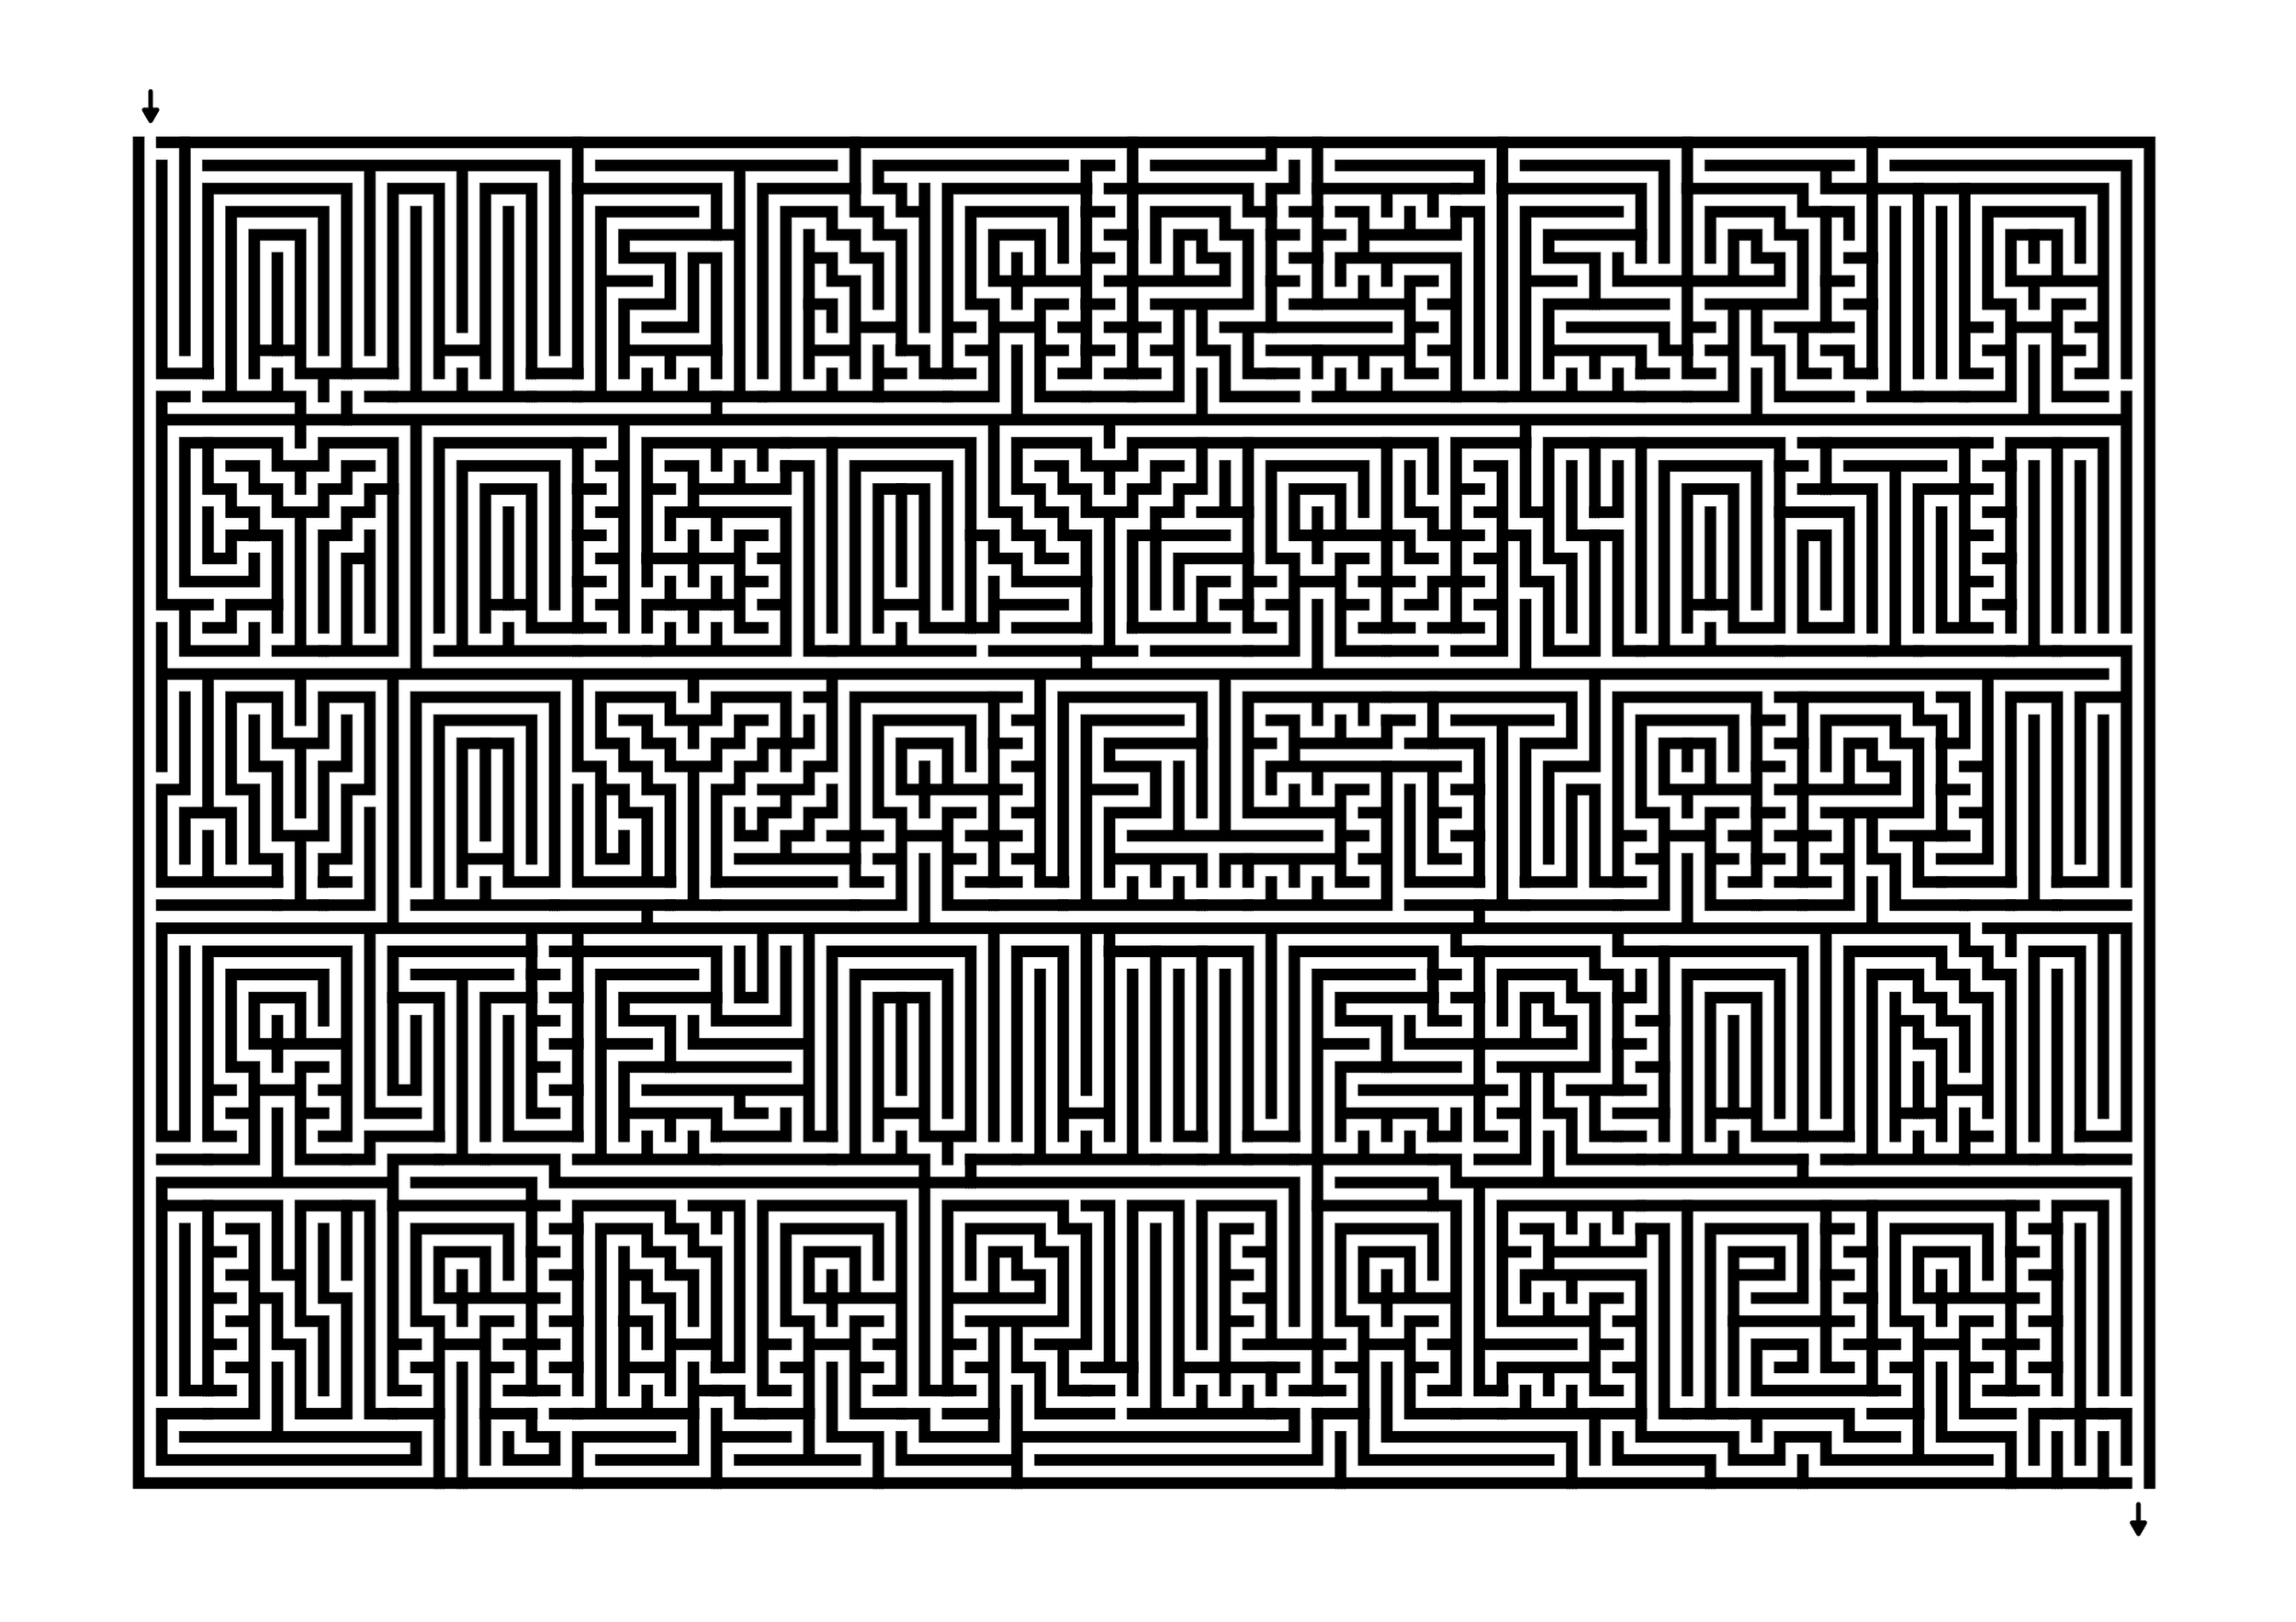
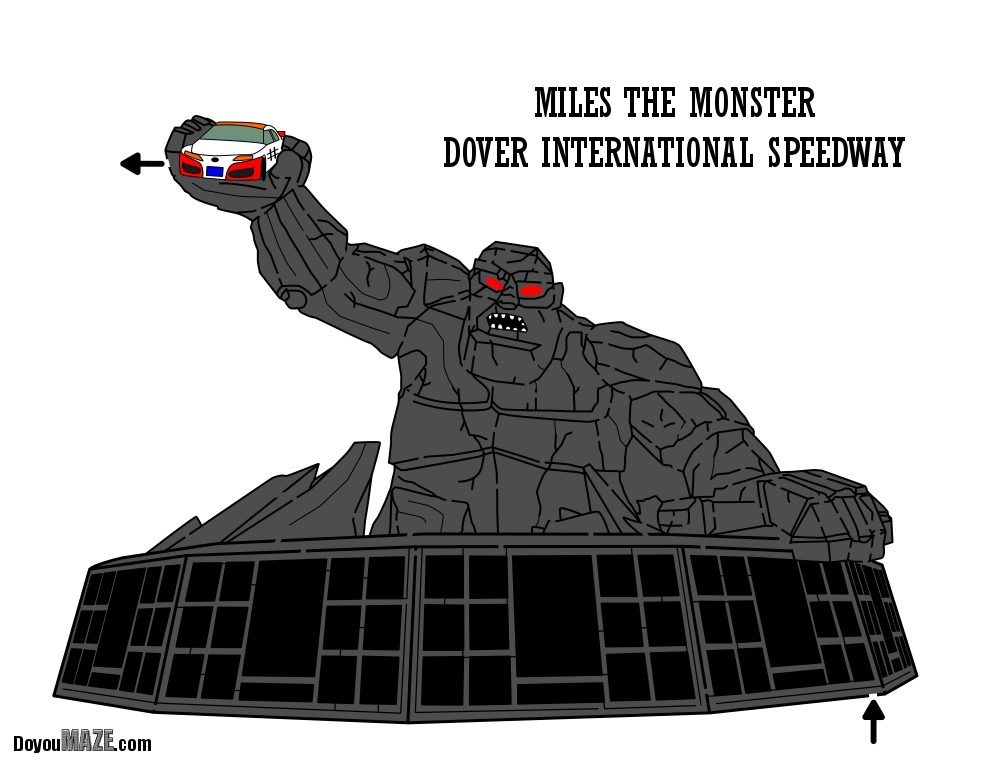
It is race season. This week I am featuring a maze of Miles the Monster from Dover International Speedway in Dover Delaware. The maze construction is a draw and cut. I originally made this maze in black and white (with the exception of the red eyes), but went back and made a a color version.
Some information about Miles the Monster
Built in 2008, Miles is the mascot of Dover International Speedway. It is 46 feet high and made of fiberglass. He holds a car in his raised right hand (and it changes). According to Roadside America: “Miles' circular base is lined with granite plaques paying tribute to the winners of every Dover NASCAR race since the track opened in 1969. The base is so large that it has room for winners until 2035.”
Here is an old video that shows the construction of Miles the Monster.
The mazes:
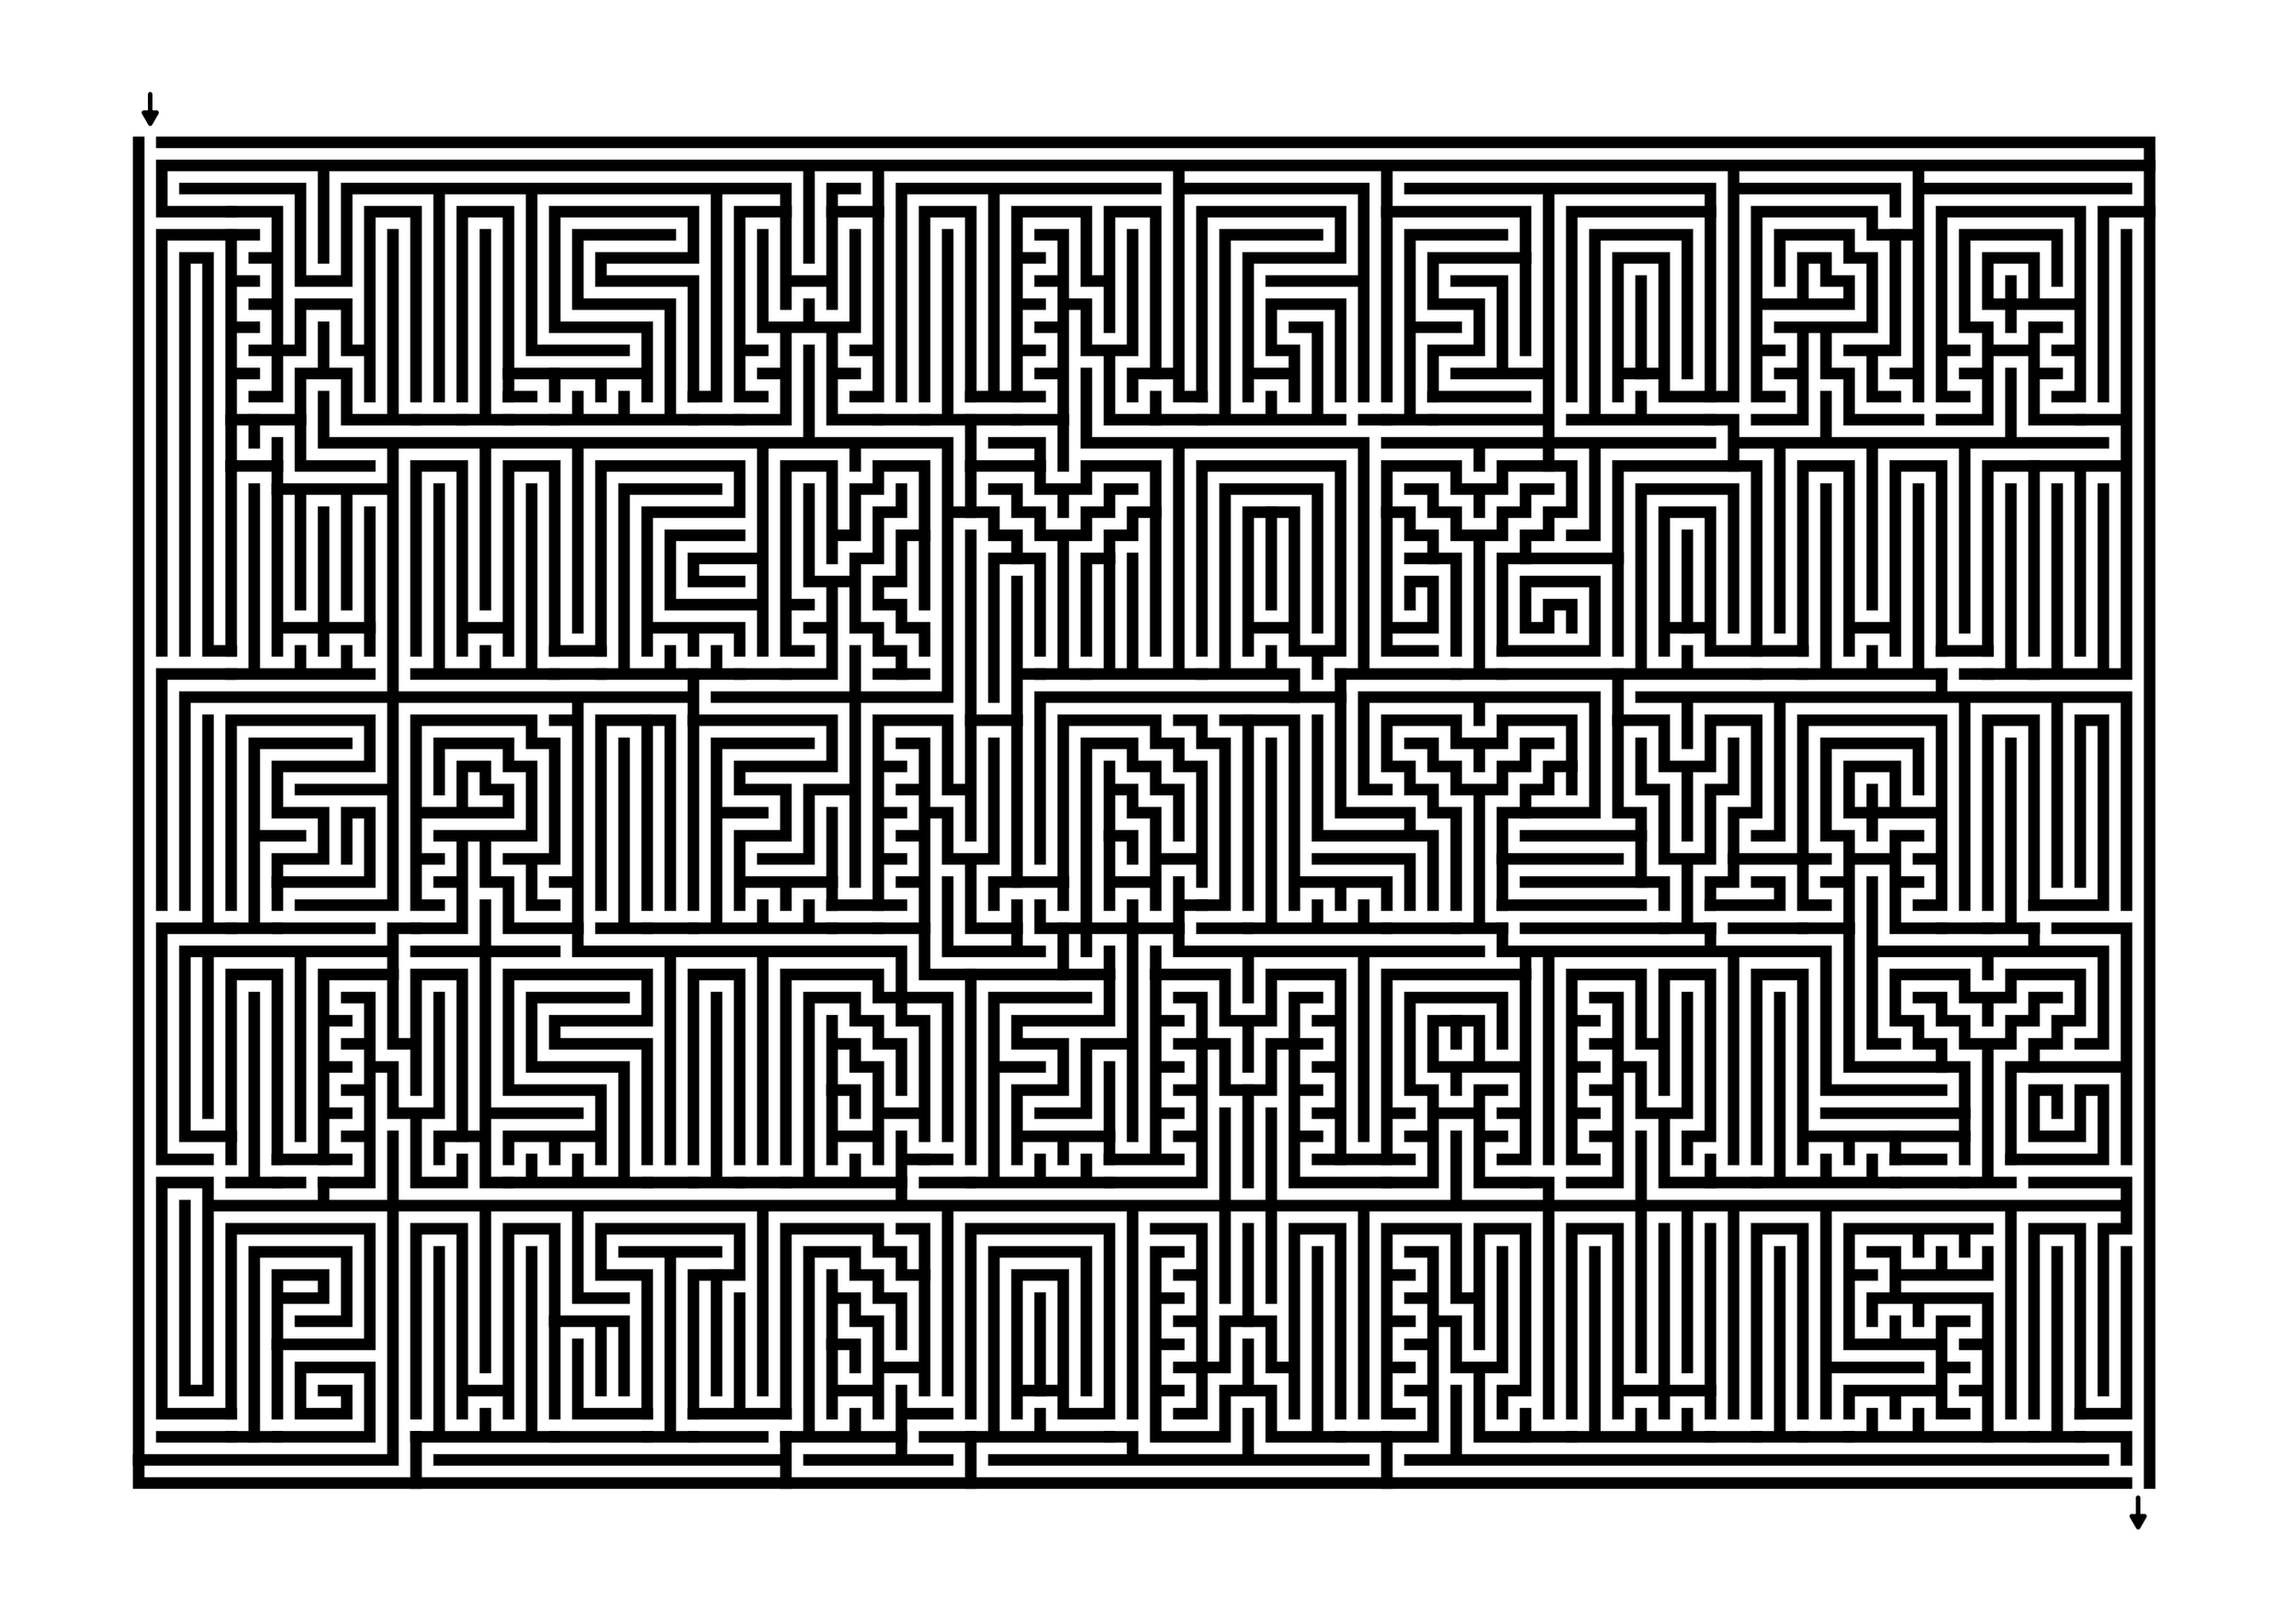
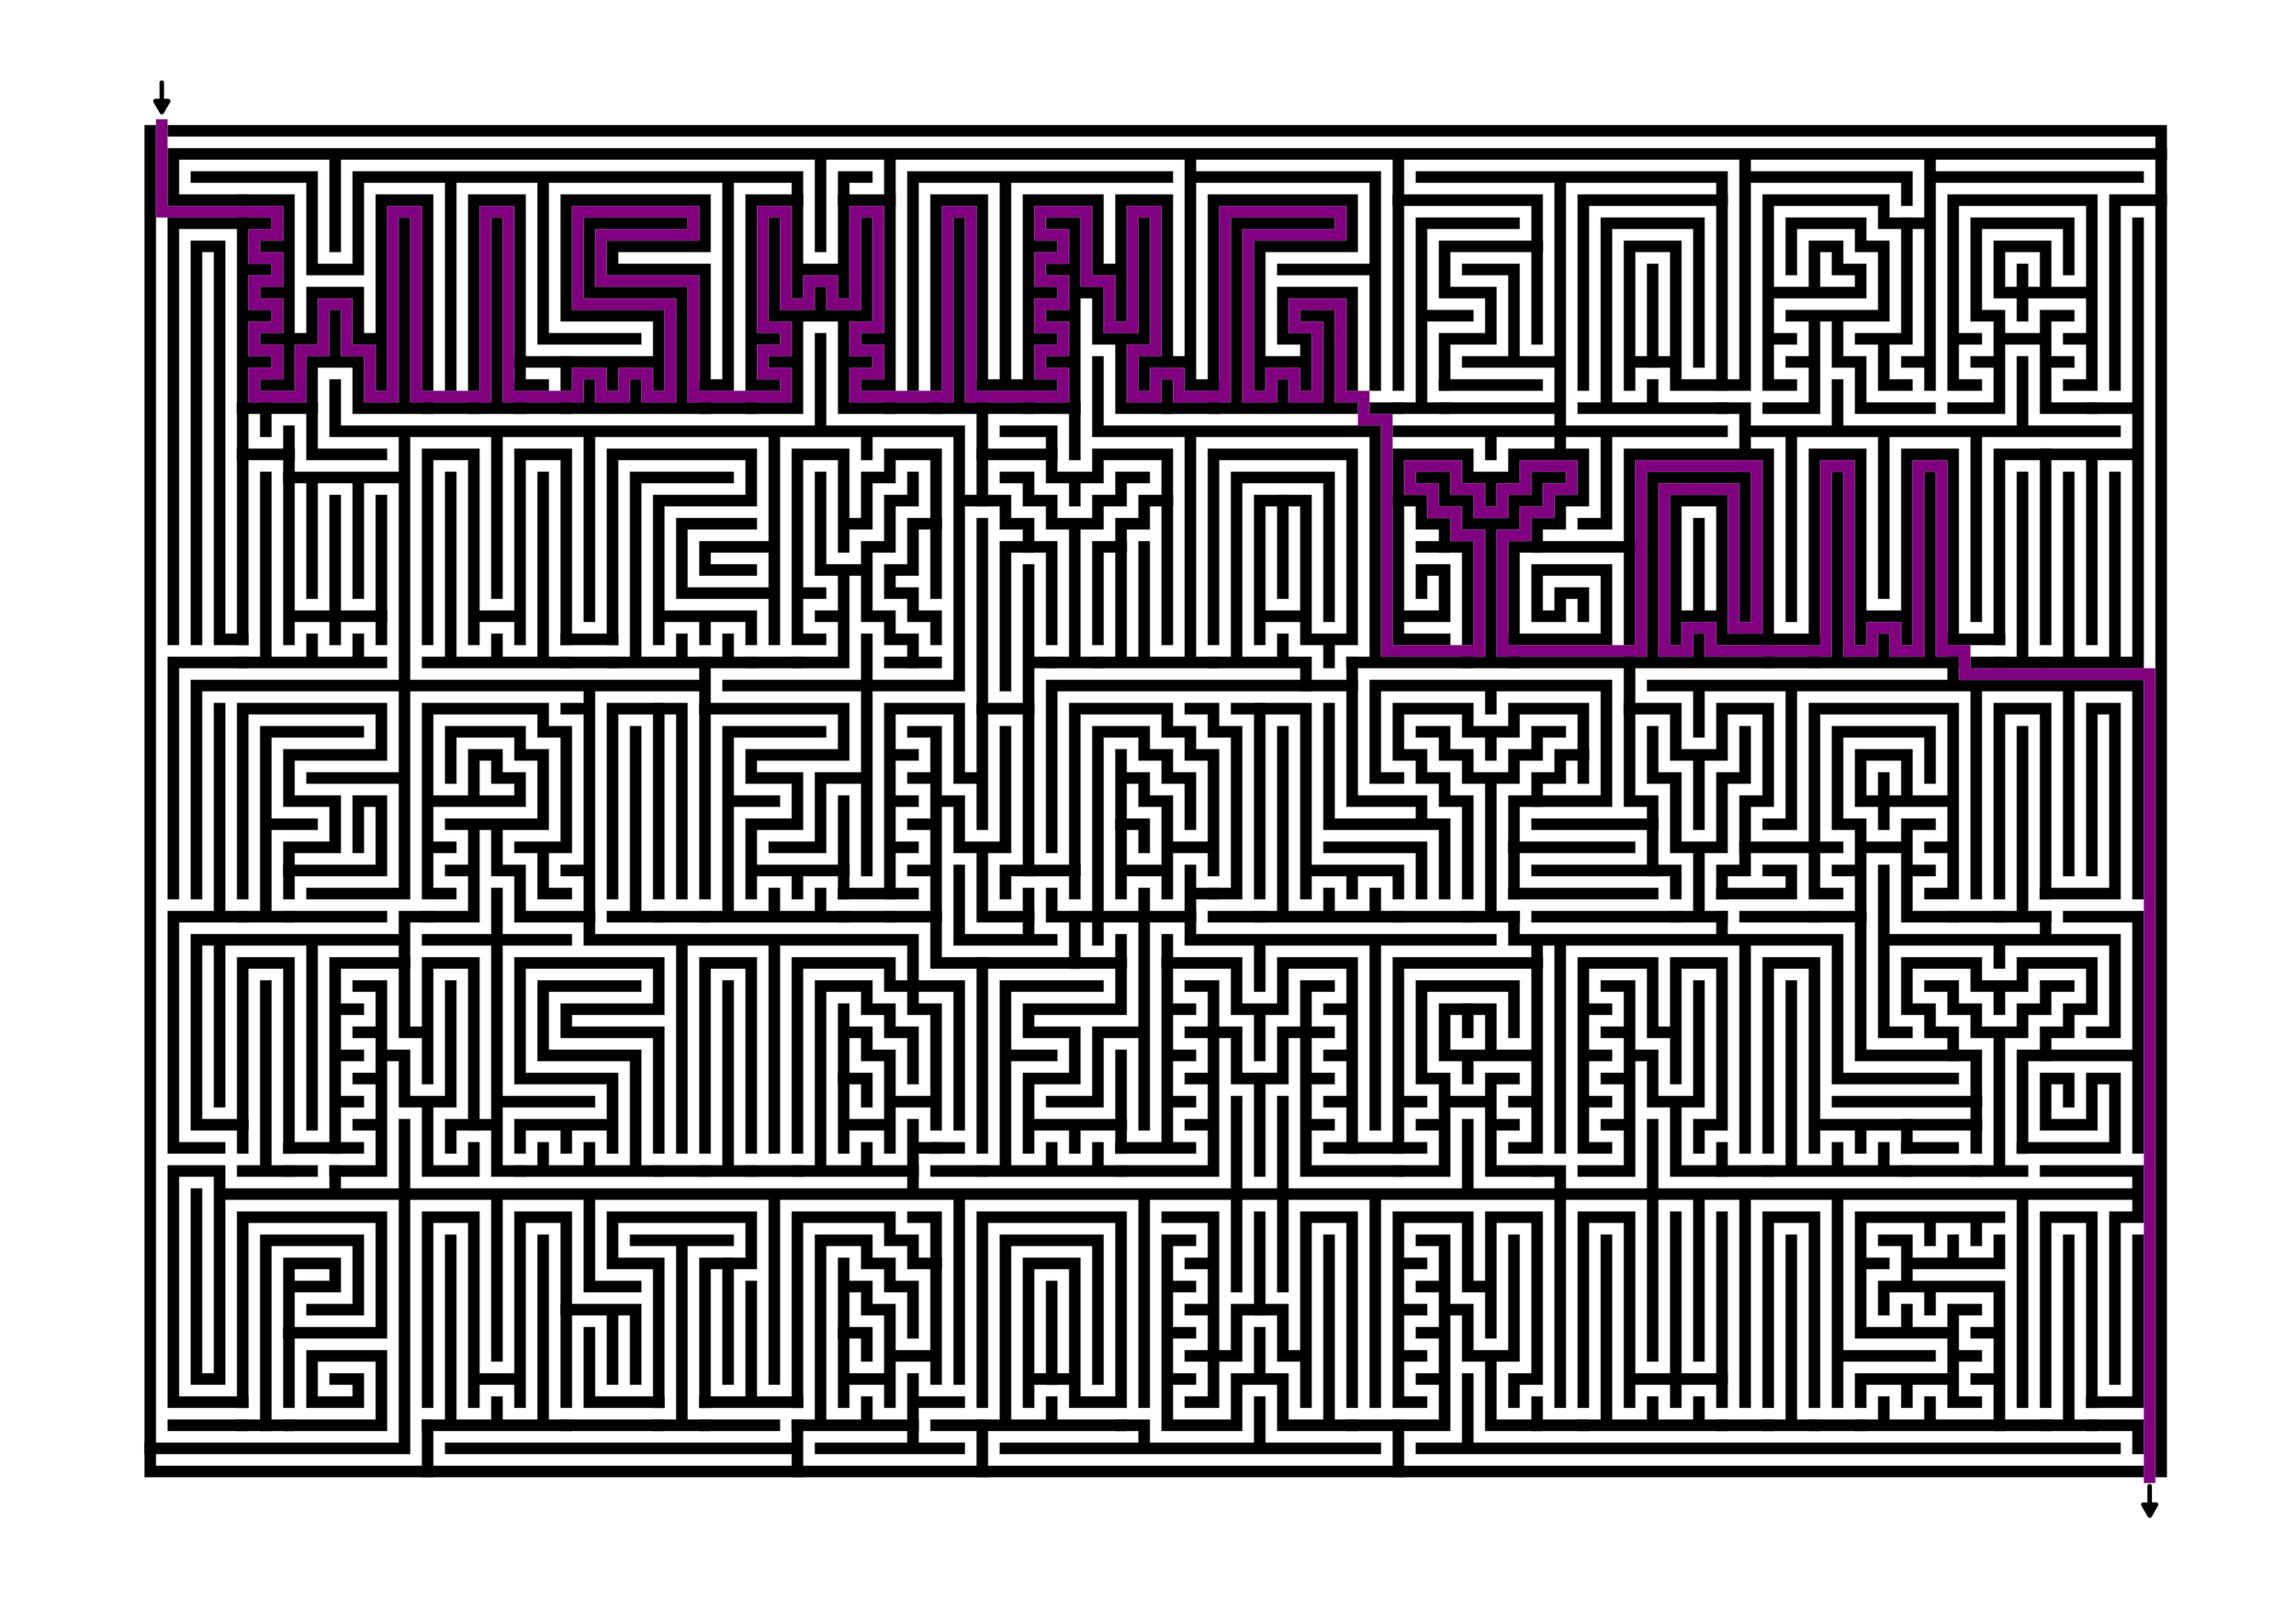
The first version I did in mostly black and white.
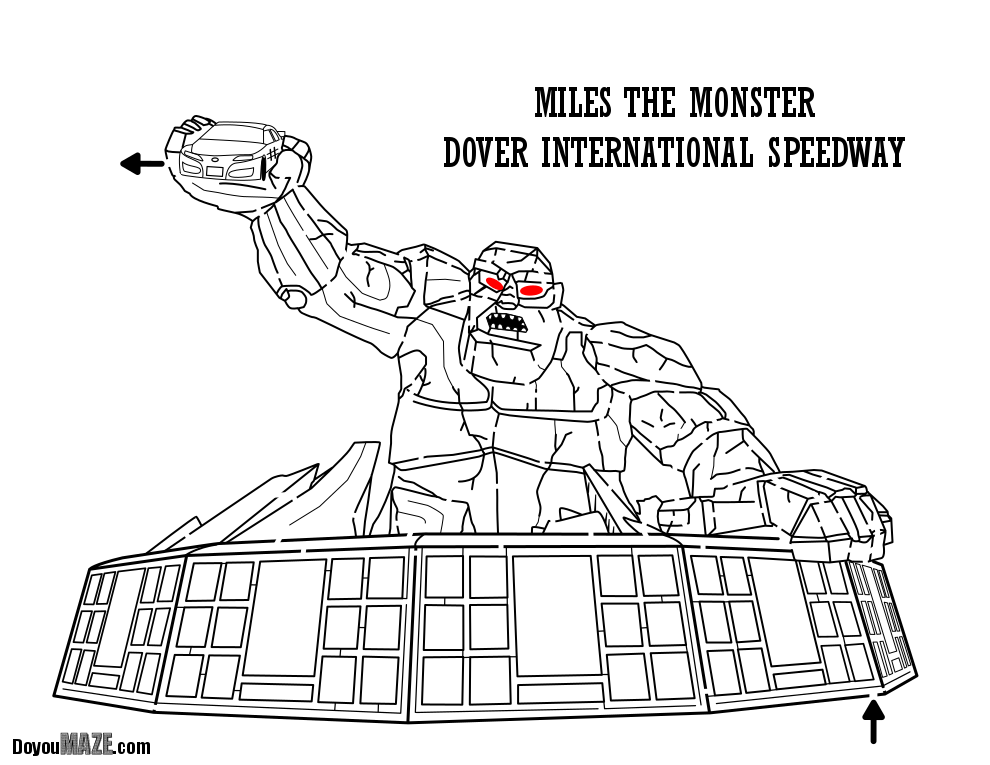
Miles the Monster Maze
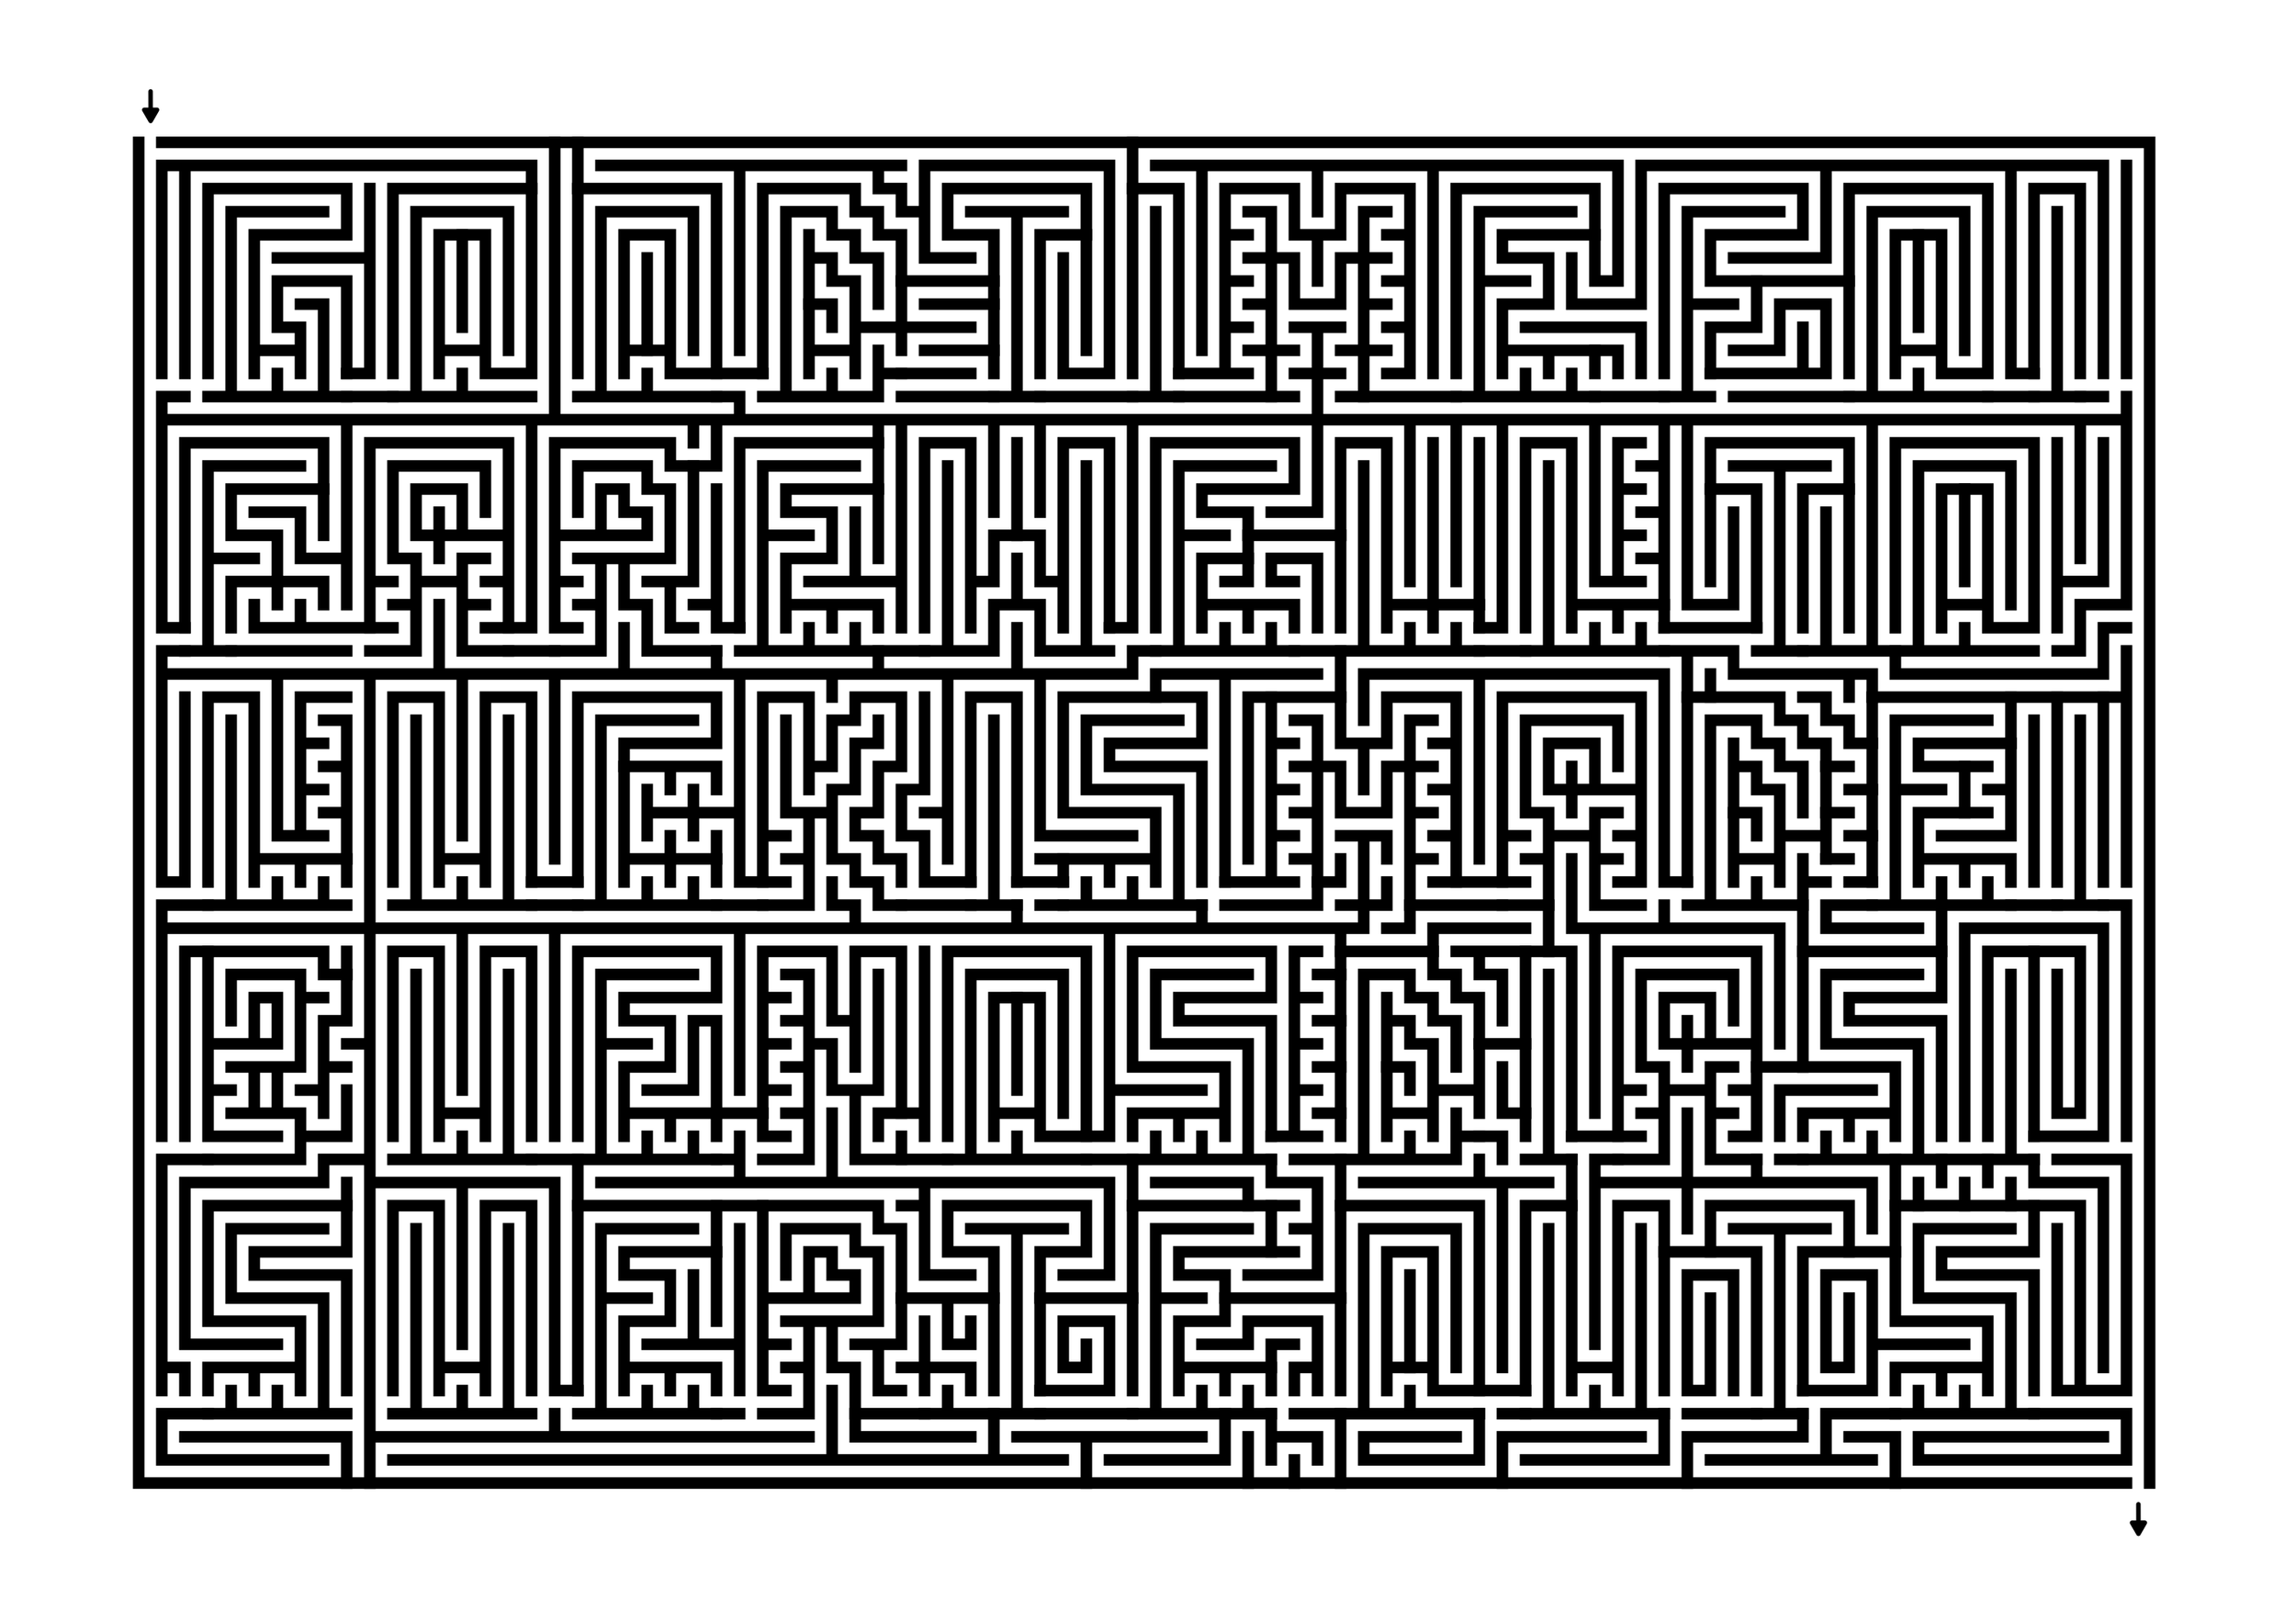
And the full color version which adds grey and black along with some coloring on the car.
I hope you enjoy the mazes. You can find downloads of the maze at the mazes permanent home.
Coming next week:
A large sign (but a small sign maze).