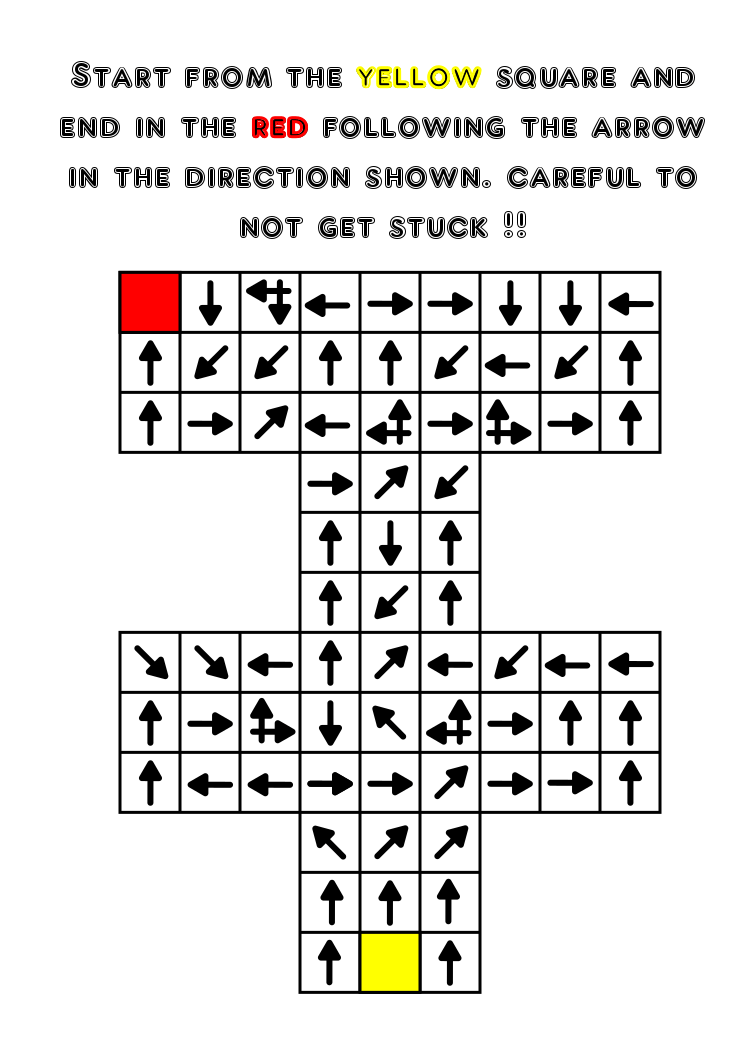
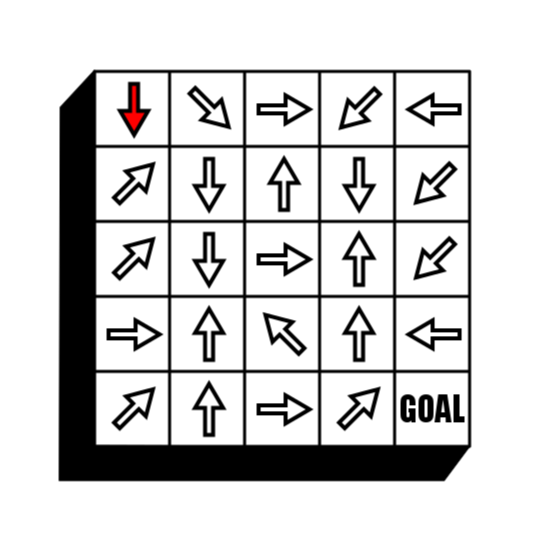
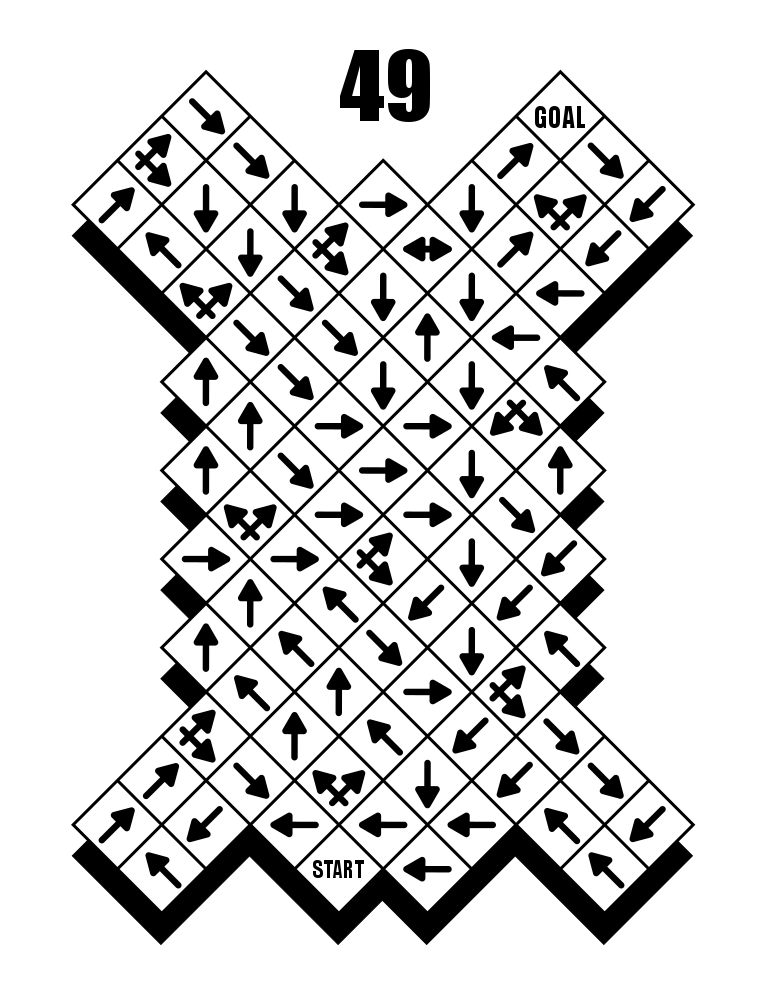
In a series of posts I will show you how to make a maze in a wide variety of design constructions. The 8th type of maze construction is the Connected Dots maze. Let’s define what I mean, then get into the example. Every example will use the sample basic outline (the state of Ohio) to better illustrate the differences between each maze type.
Connected Dots Maze - Can also be called Connected “any object” mazes. A maze created by connecting dots with walls to make pathways.
HOW TO MAKE A CONNECTED DOTS MAZE
Step 1 - Draw the Outline (optional)
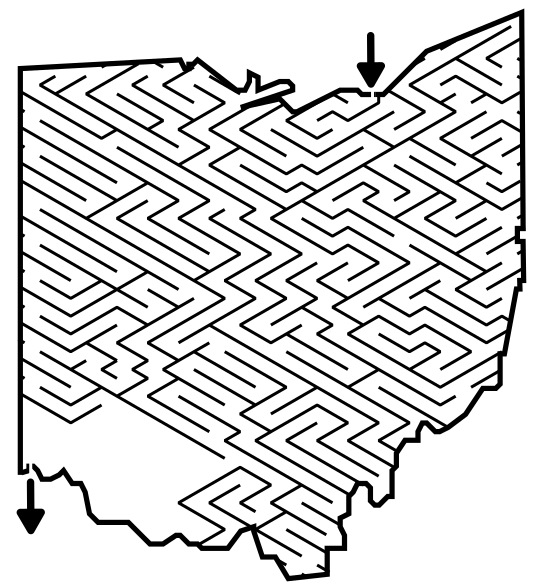
The outline of the maze makes the outer wall of the maze. It can be anything from a simple shape like a square, to a complex picture. The outline should be thicker than the internal lines to give the maze definition. In the example below I chose the state of Ohio. Note: In a connected dots maze you may also start on step 2 and draw the dots first, using the dots to create your outline. Technically you can skip this step completely !
Step 1.5 - Choose the Start and Goal
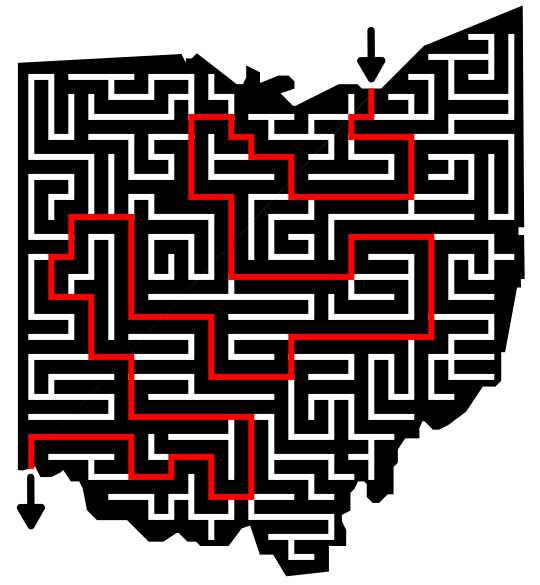
For the below example I chose the start of Cleveland and the goal of Cincinnati.

Step 2 - Draw the Dots (or the object you are using)
Take the outline and fill it with dots. I like mine at equal distances away from each other, but there is no rule for that. The more dots you make the more paths you will be able to make allowing for a more difficult maze.
ALTERNATIVE STEPS: 1 - Draw most of the dots first. 2. Create an outer edge by connecting the outside dots. Continue to Step 3 below.

Step 3 - Draw Walls to Connect the Dots
Draw lines between the dots to create the maze walls.

Step 4 - Keep Drawing Walls
Keep doing what you are doing. Remember to always leave a solution open to ensure solve-ability. Because this connected dots maze also has an outline you will need to connect some dots to the outline to create dead ends.

Step 5 - Complete the Maze Walls
Completing the maze means creating a path to the goal.

I went back and added dots to the outline of the maze to give it a more authentic connected dots look. Here is the final version with those added. I think it looks much better ( or maybe authentic ?).

Step 6 (Optional) - Make the Maze Solution
Highlight the correct path in the final version of the maze to create the final Maze solution.

4 Additional examples of Connected Dot Mazes
Below is another example of connected dots maze, this one in traditional red and white Polka Dot colors. The scale of this maze and the above example are both easy, but they do not need to be.

In this second example, the smaller and more compact dots have been used to create a much more difficult maze. This maze also is a good example of randomly placed dots rather than having them placed in some sort of pattern.

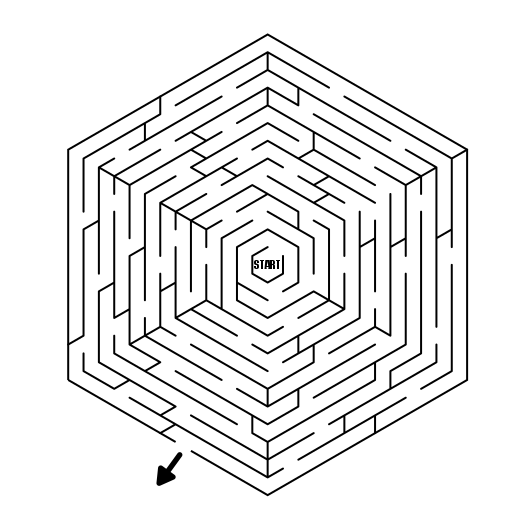
My third example shows a connected dot maze made with a dot border instead of an outline. This is also a good example of the use of dots in a grid pattern.

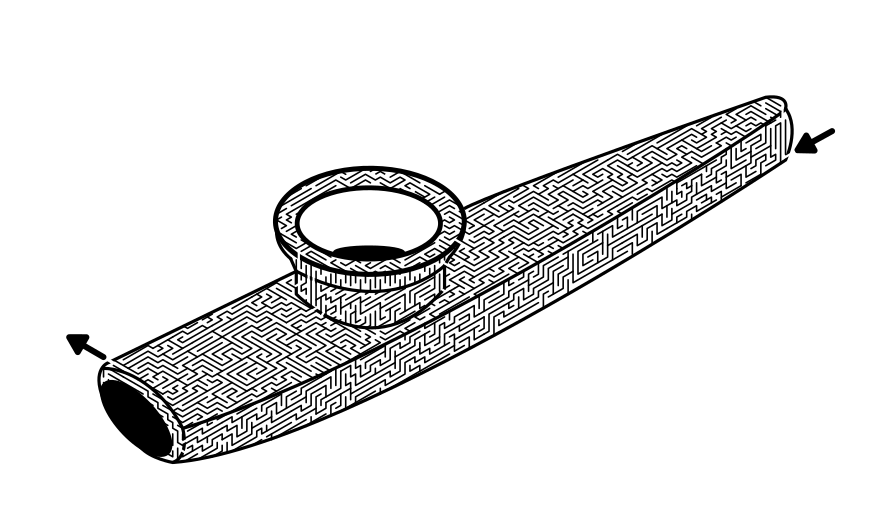
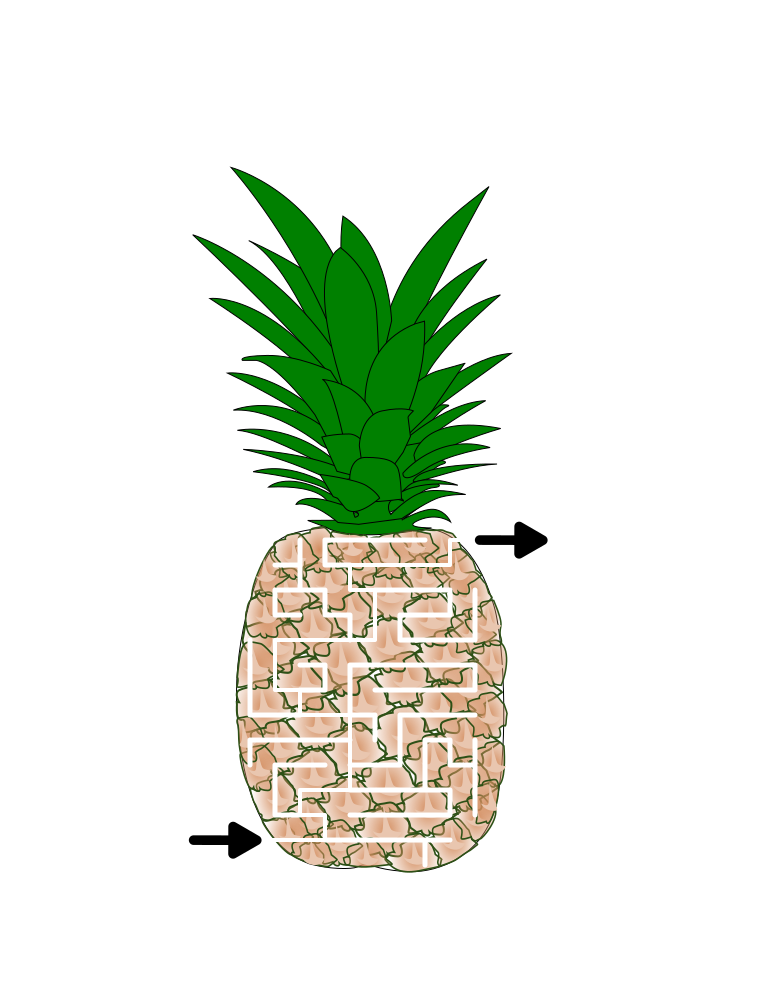
My fourth example is here to show you that Connected Squares also work (triangles, stars, hexagons, bird shapes, etc). And the outline can be flexible with this format of maze, with this particular one much more chaotic than those above.

Making of a Connected Dots Maze Video
Check out this quick video showing the making of a simple connected dots maze.
Interested in learning how to make or draw other types of digital mazes ? I have step by step instructions on how to make over 40 different maze types.
If you prefer making labyrinths, you can find step by step labyrinth making instructions.