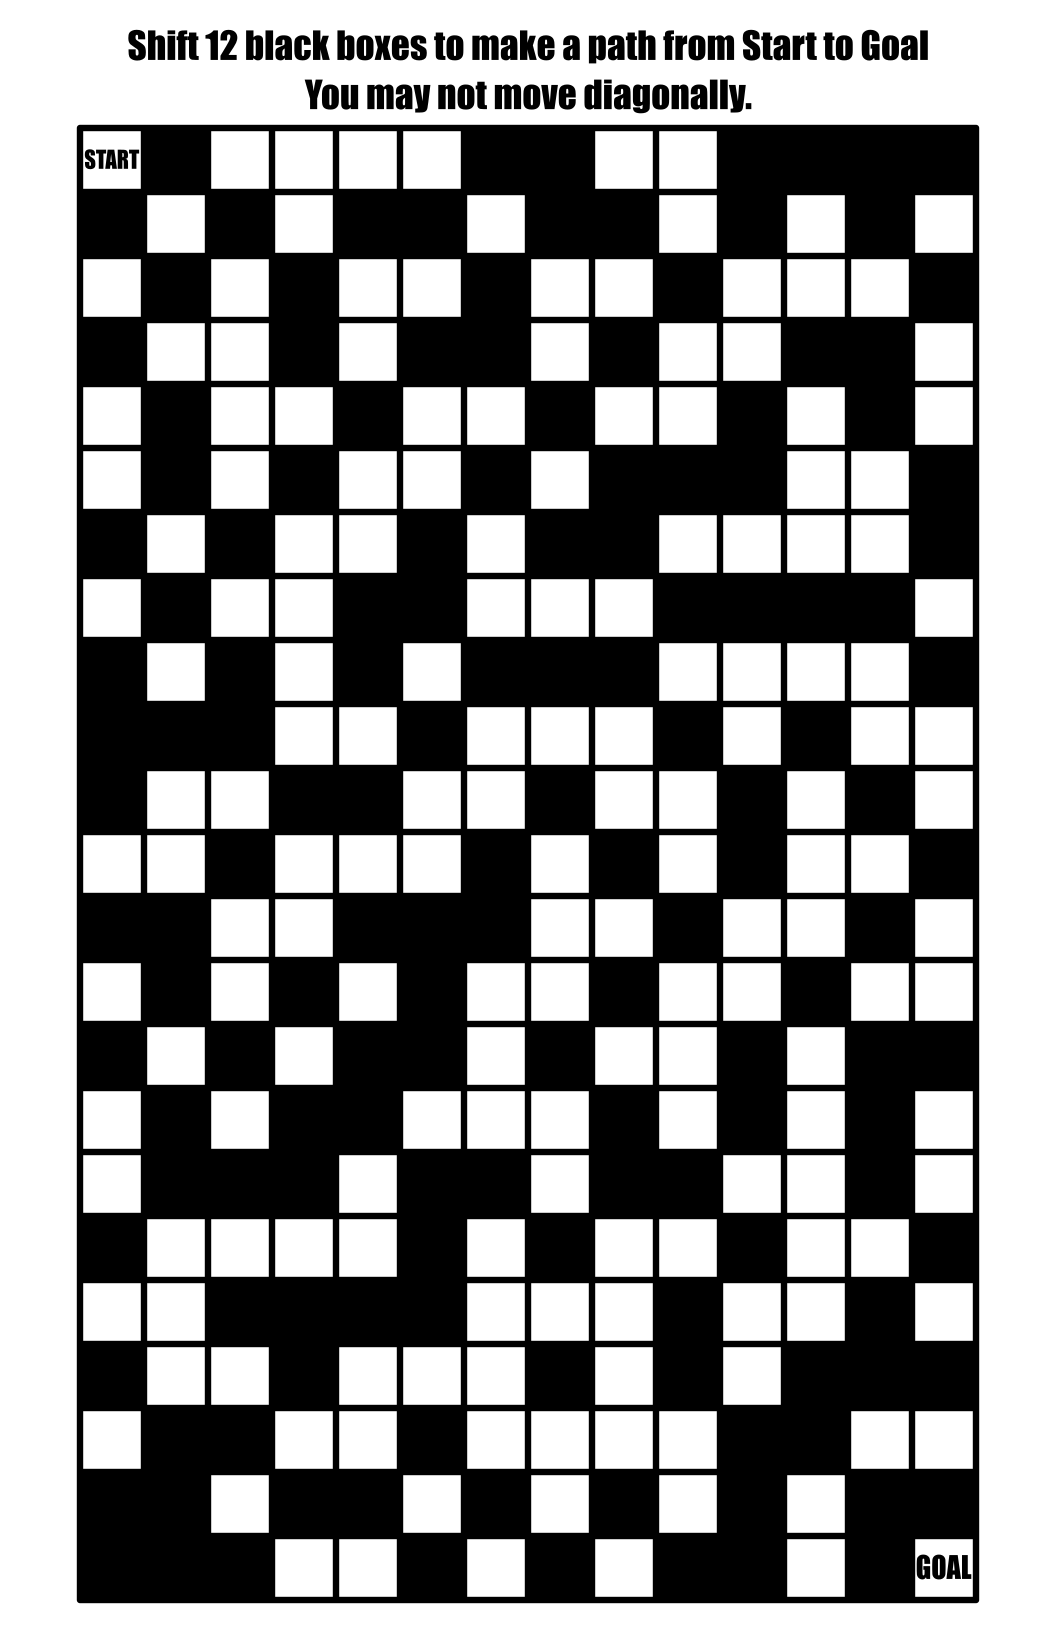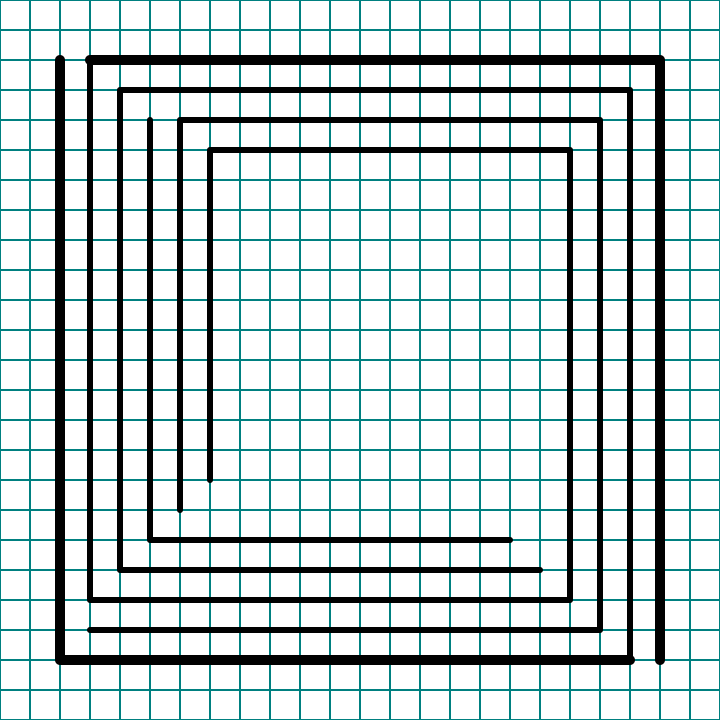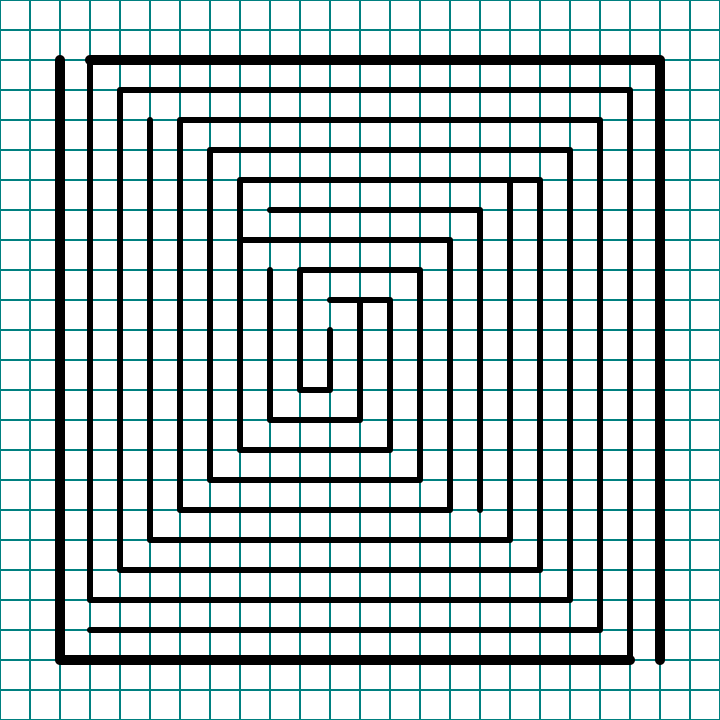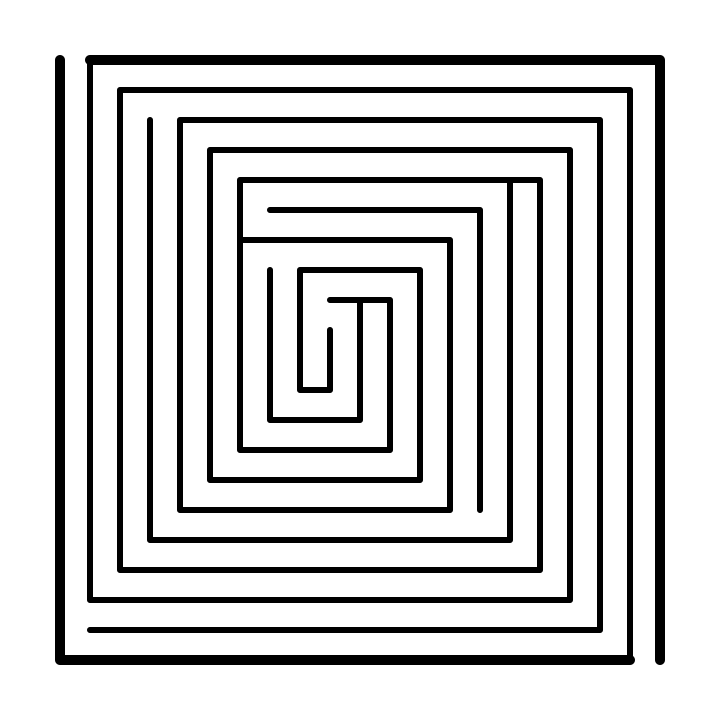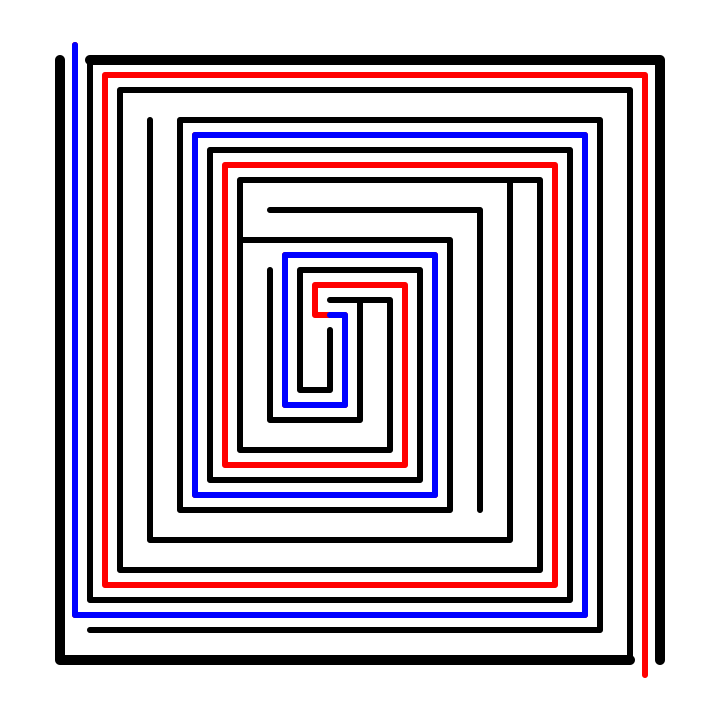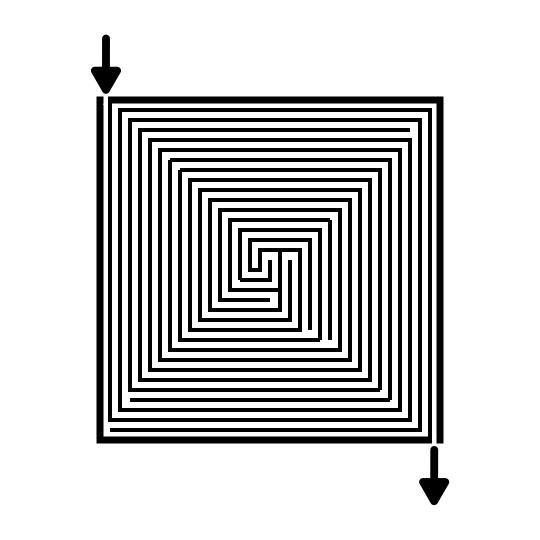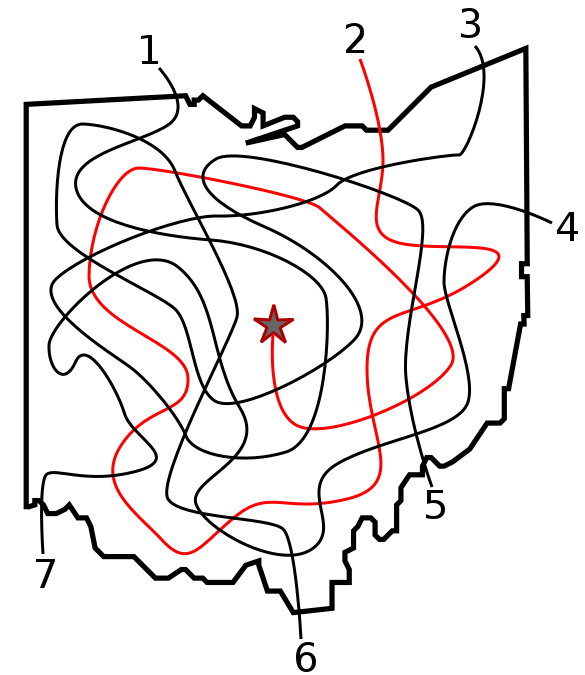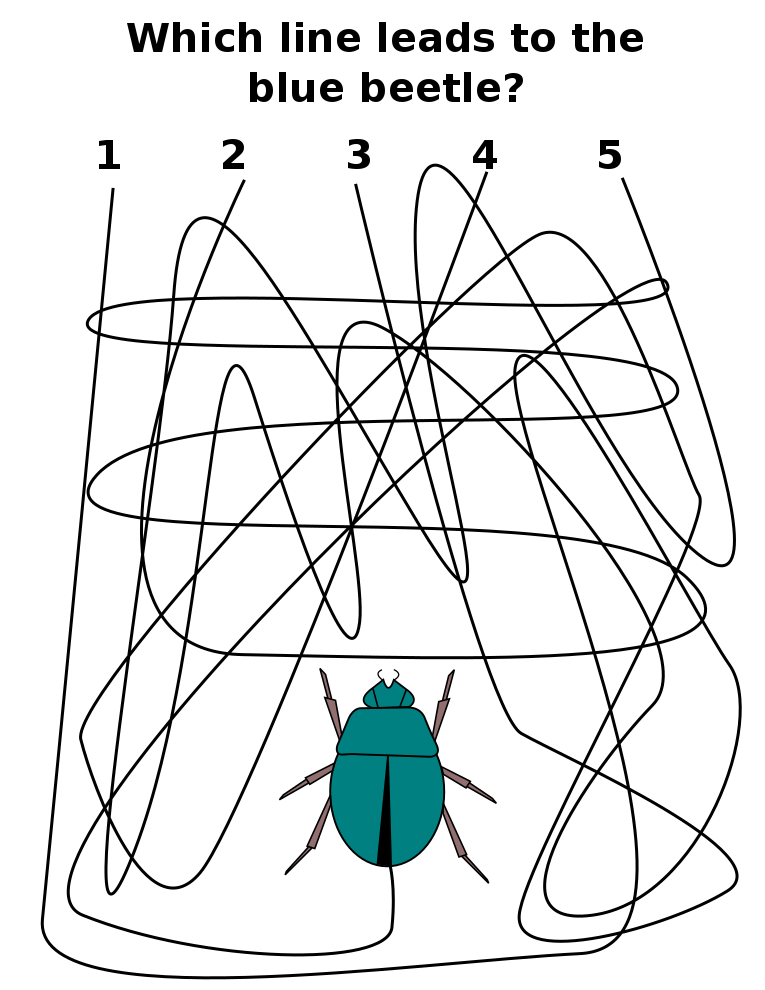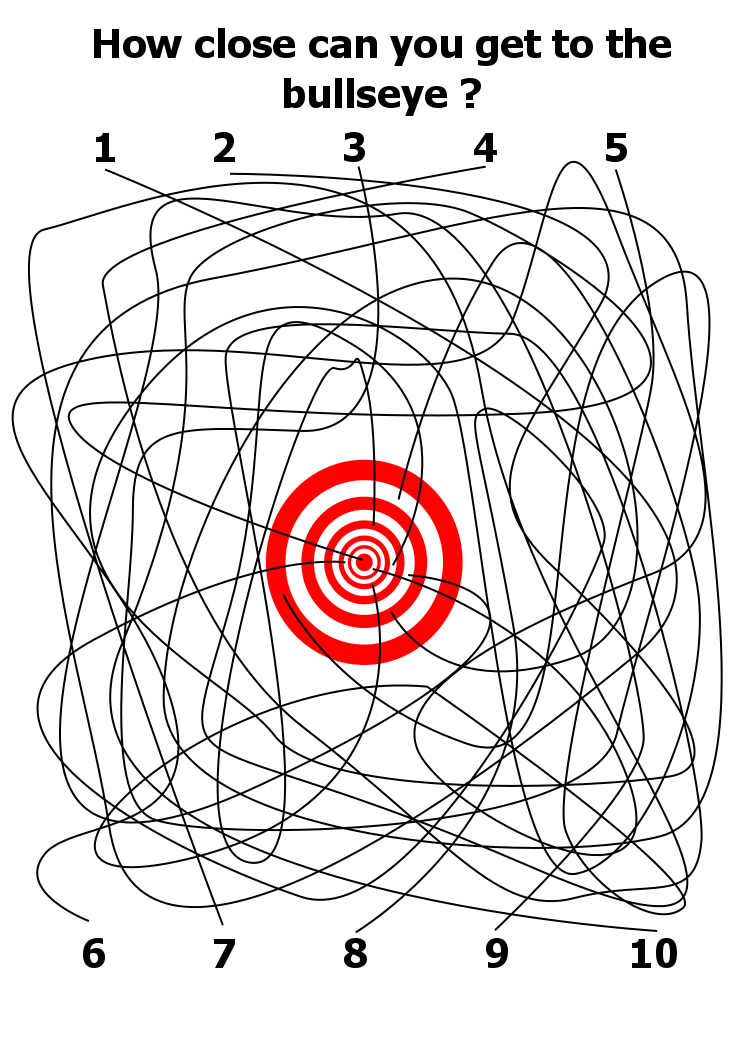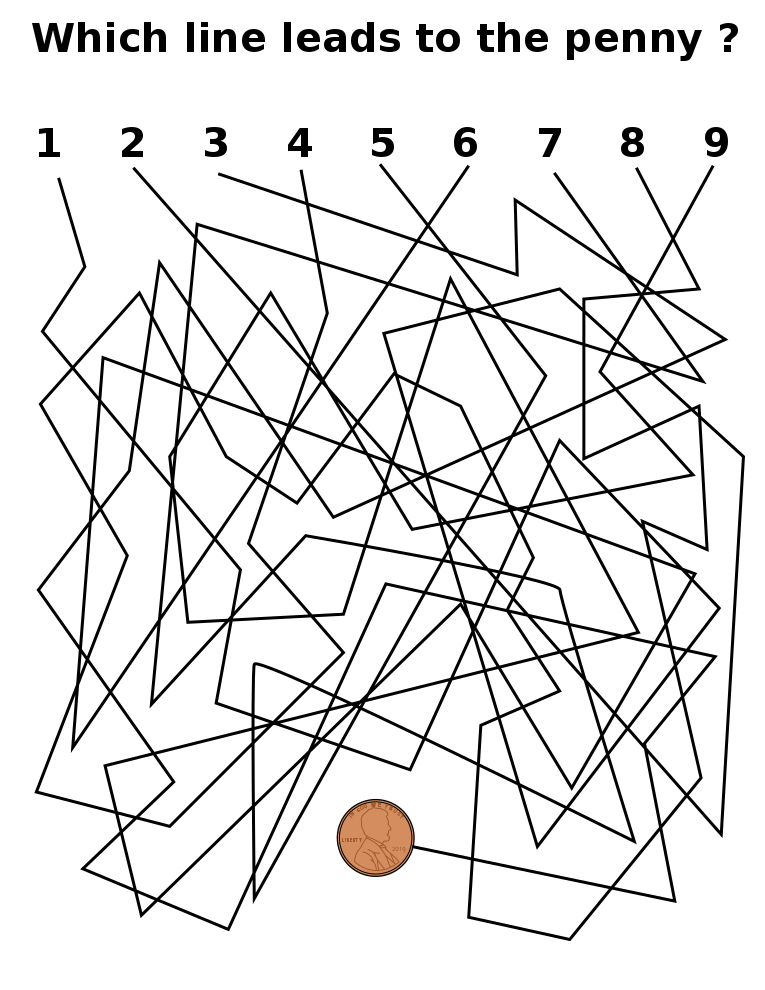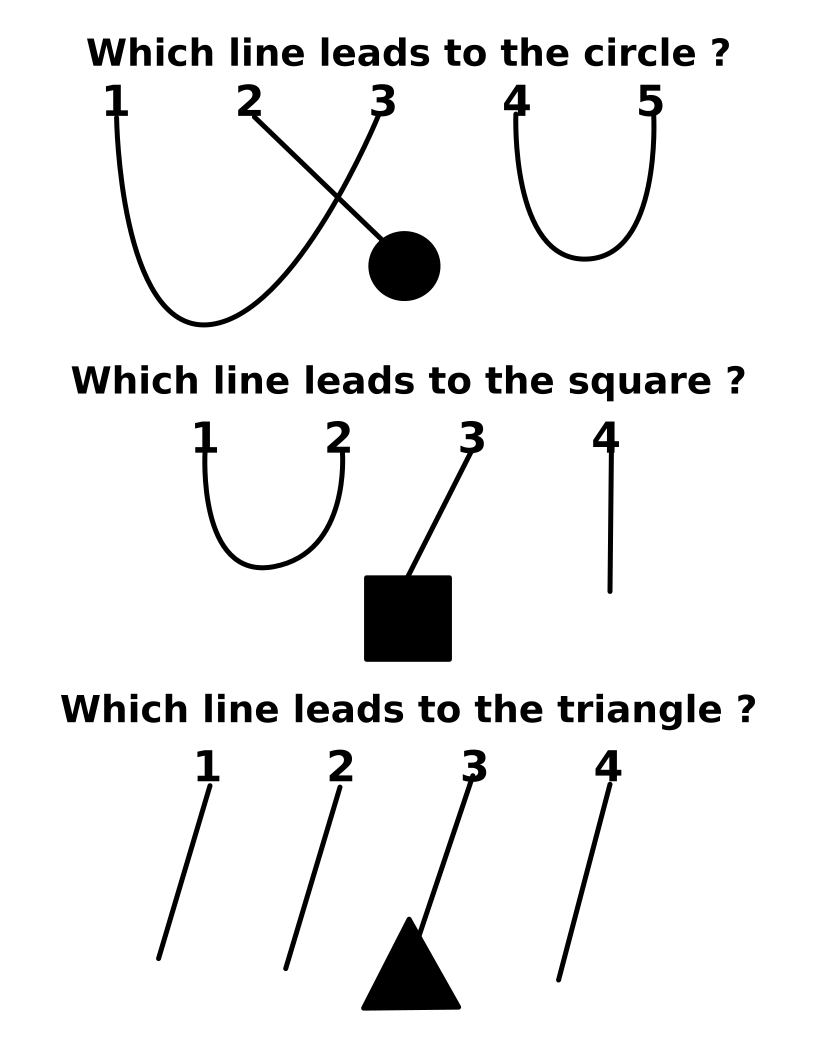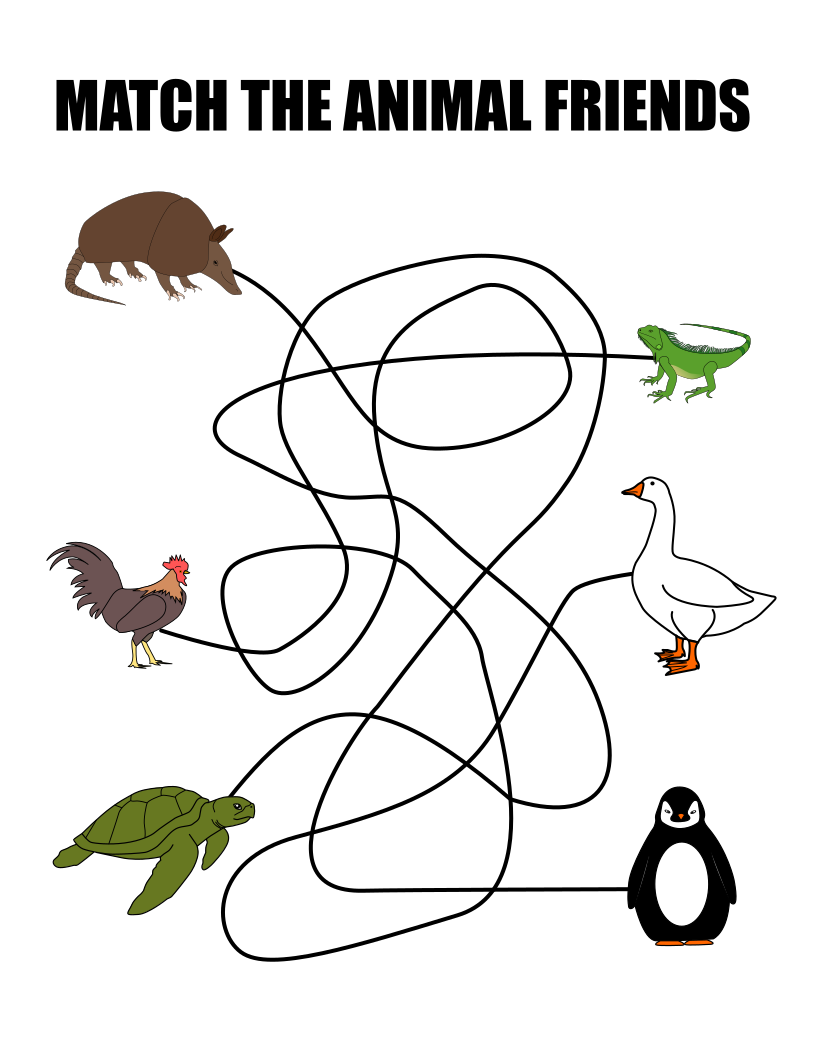
In a series of posts I will show you how to make a maze in a wide variety of design constructions. The 9th type of maze construction is the On-line / Cut-Thru maze. Let’s define what I mean, then get into the example. Every how-to will use a simple square so you can compare the differences between each maze construction type. I will also show a consolidated secondary how-to using an irregular shape (the state of Ohio).
Here is an outline for this blog post with jump links if you want to skip ahead to a section:
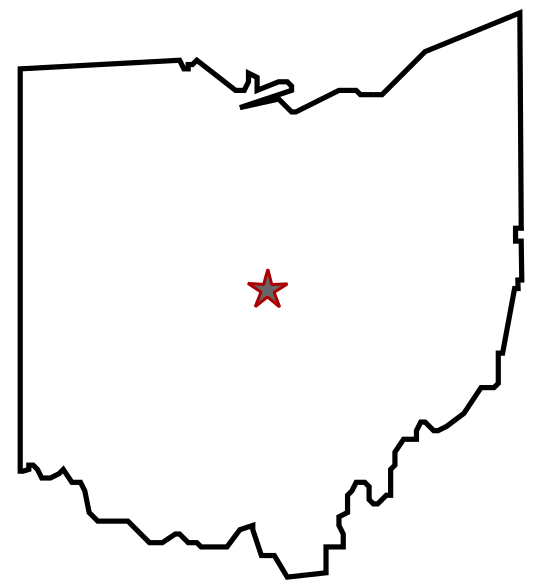
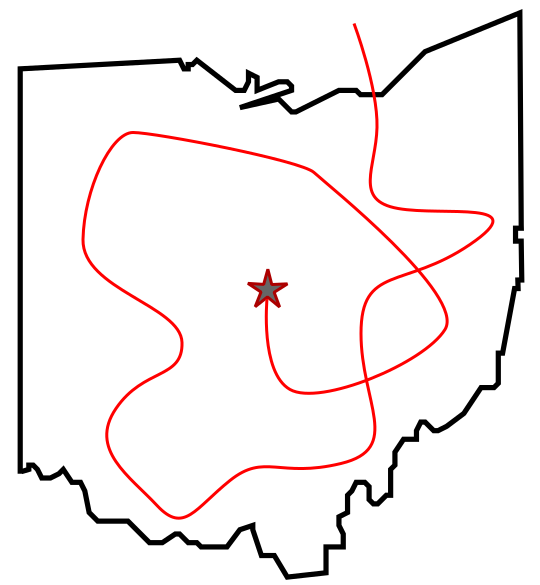
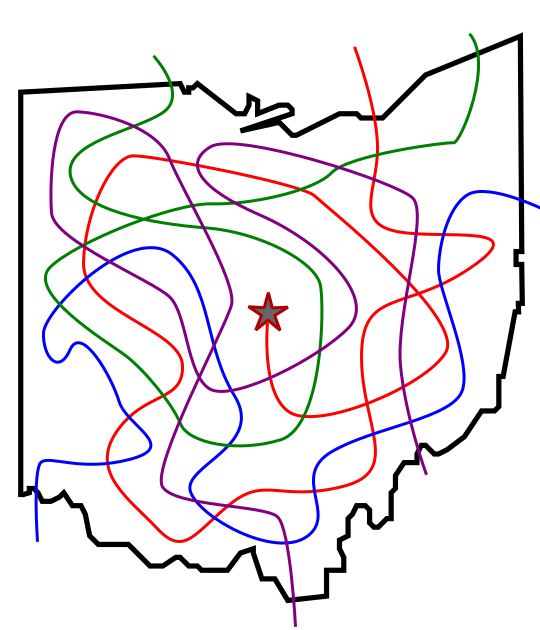
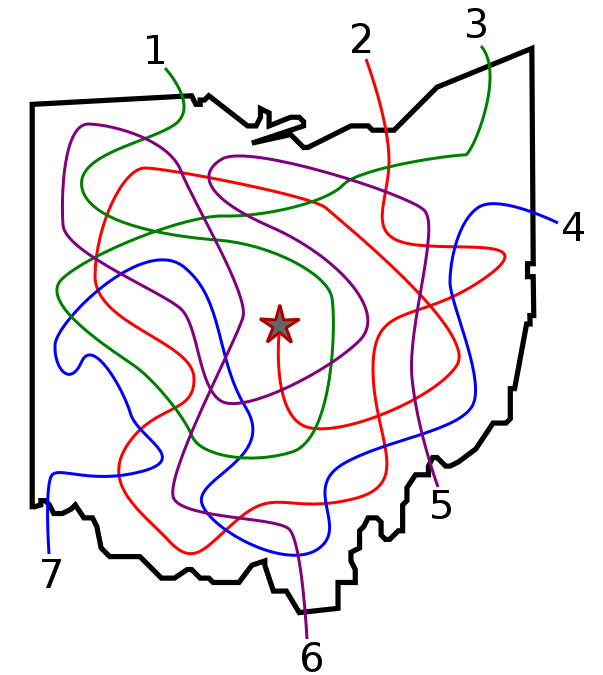
HOW TO MAKE A CUT-THRU MAZE PATHS - abbreviated writing & using a different shape
MAZE DEFINITIONS:
Cut-thru Maze - While most maze constructions are made by building walls, a Cut-thru Maze is created by drawing the pathways, in a sense cutting thru the object you are maze-ing. The finished product can look like a standard maze where you travel on the walls instead of the pathways between the walls.
ON-LINE Maze - A MAZE WHERE YOU TRAVEL ON THE LINE INSTEAD OF BETWEEN THE WALLS OF THE MAZE.
The difference between these 2 is essentially: is there a background for the maze. If yes, it is a cut-thru and if no, it is an on-line maze. The construction is the same.
THE 5 RULES OF MAZE DESIGN:
These 5 rules apply to any maze you make so we start with them !
1. Always keep an open pathway for the solution
While drawing a maze you will need to juggle multiple open pathways each of which could become the solution. One of them will become the solution. Keep track of it. This is especially important if you are designing pathways in both directions (from the start and from the goal).
2. Clearly mark the start and goal, or the objective of the maze
A maze should have a start and a goal that you can assess just by glancing at it. There are many ways to start and end a maze I review in this blog post: Options for Starting and Ending a Maze
3. Ensure the difficulty matches the intended audience
Most people want to solve a puzzle/maze that is just slightly below or slightly above their skill level. Many things help determine the difficulty of a maze. Size, number of branches, the length of dead ends, the number of choices, the complexity of the rules (if the maze has them).
4. Ensure your maze has a solution
When your maze is complete, solve it to determine the difficulty level and to ensure it is a real, solvable maze. Depending on the complexity of the maze you may want to do this right away or wait so you can properly assess the difficulty.
5. Explain anything that needs explaining
Some mazes have rules or conditions. Explain them with directions. If it isn't obvious, make it so.
How to Make aN ON-LINE Maze
Step 1 - Draw the Object
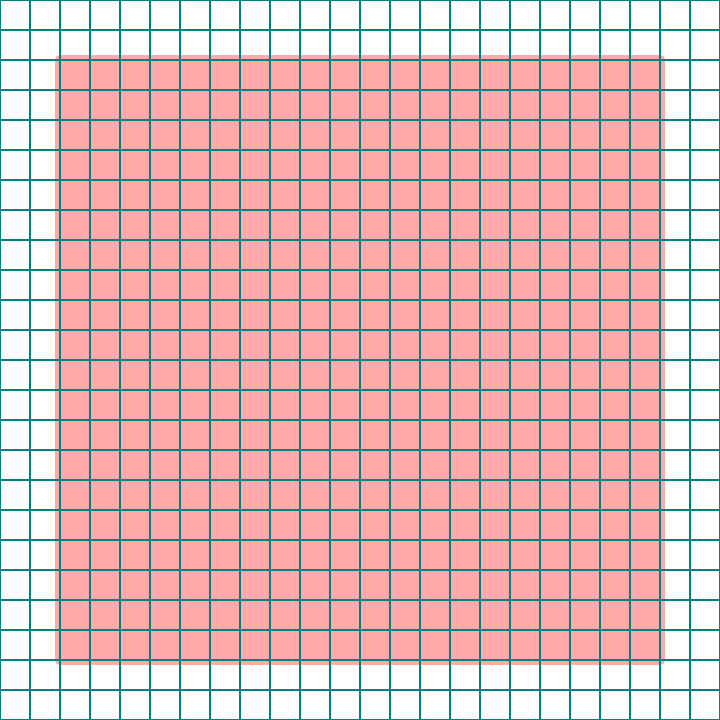
A new first step. While most mazes start with draw an outline, this maze starts with Draw the Object. That may include an outline initially, but to get the object completed the outline should be filled in with color to create a surface to “Cut-thru”. The color can be changed later based on your preference. For my example I started used pink to define the shape I want. I also added a grid solely as a guide.
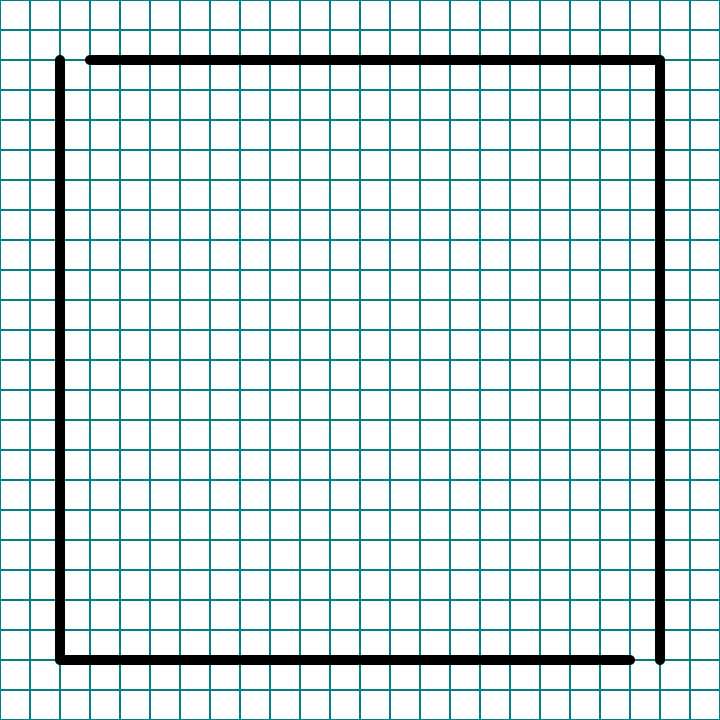
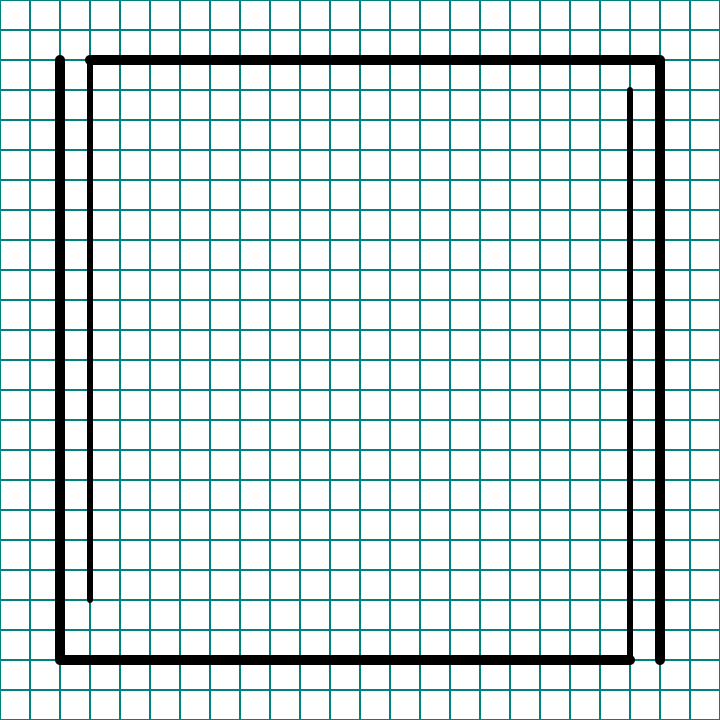
Step 2 - Draw the Solution
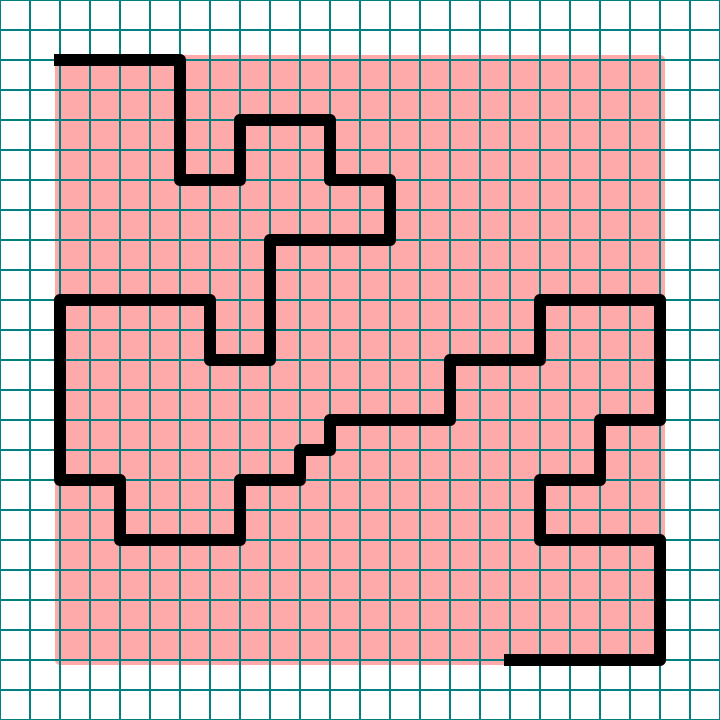
Use a contrasting color to draw the mazes solution, remembering that you are drawing a path and not a wall when creating this type of maze. I used a square grid to draw my path on but you could use other options as well.
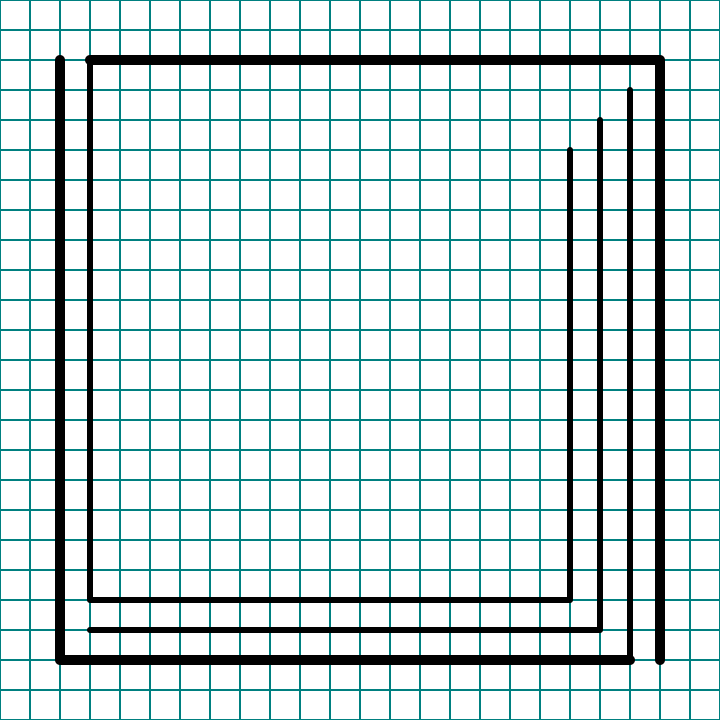
Step 3 - Draw the False Paths
Starting with the solution path, draw lines to misdirect the solver to dead ends. The longer the false branches and more decisions that need to be made, and the more difficult the maze will be. Using a different color for these paths will help later when you make the solution. I used red lines.
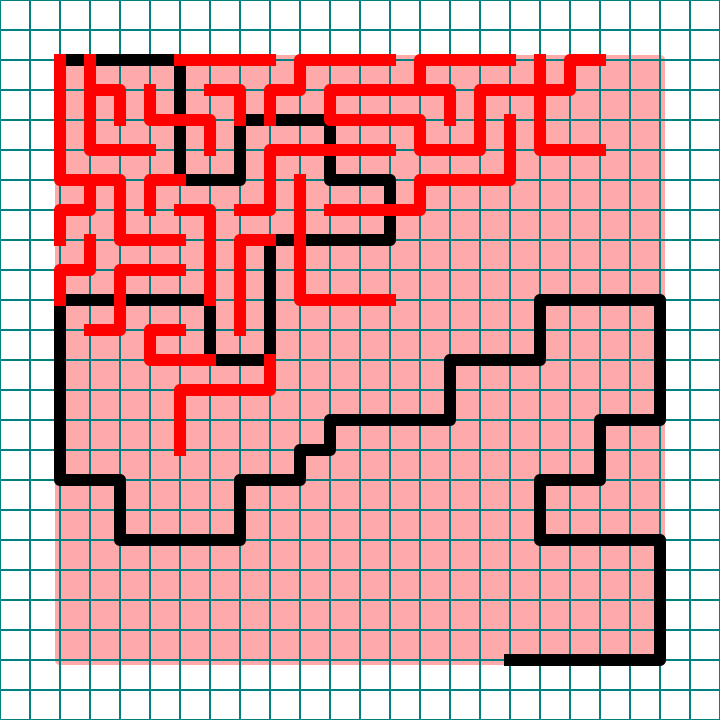
And continue until you are complete:
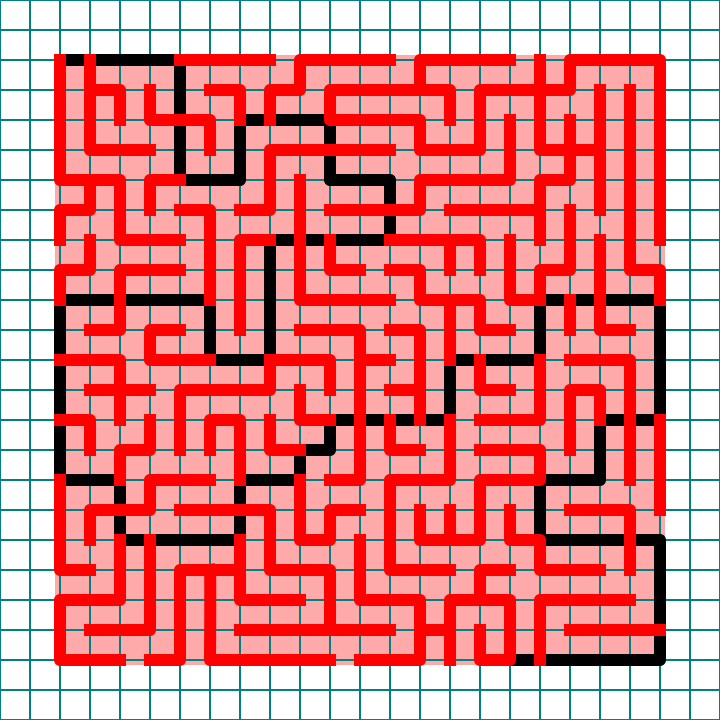
Step 4 - Convert All Paths to one color
Completing the maze means converting all paths you made to white (or any other single color you choose) to hide the correct solution.
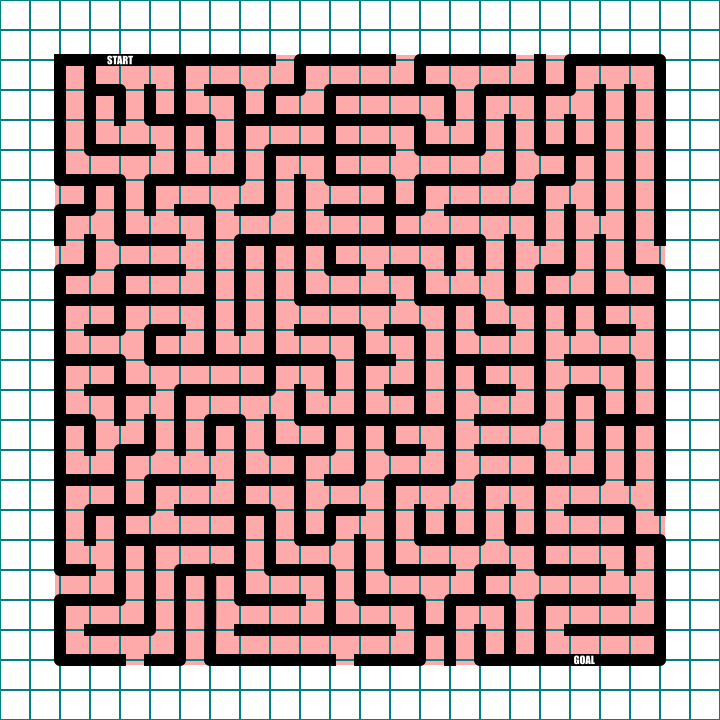
The I deleted the background grids to get the final version. I added the labels START and GOAL.
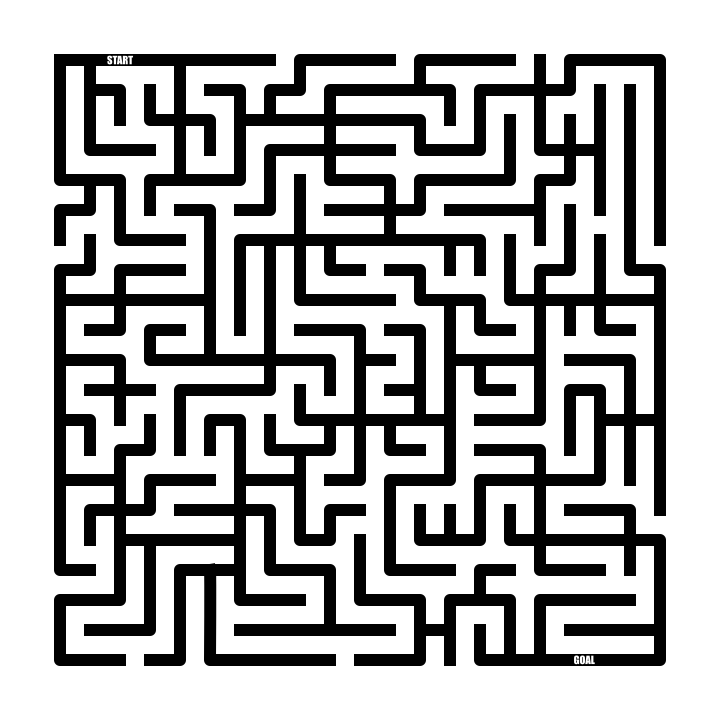
Step 5 (Optional) - Make the Maze Solution
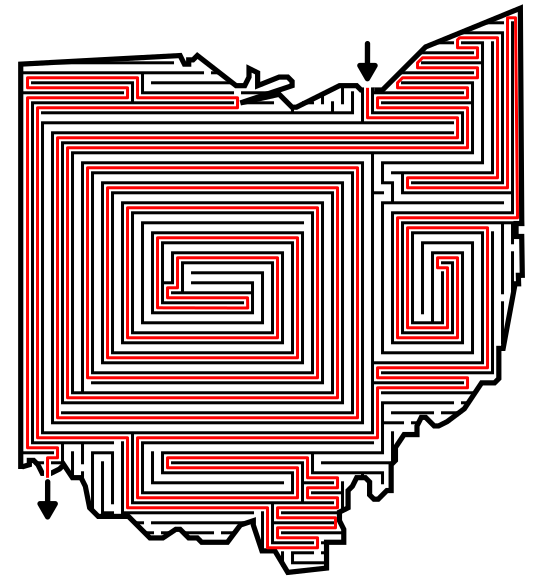
Highlight the correct path in the final version of the maze to create the final Maze solution. This will be very easy since that line was made earlier.
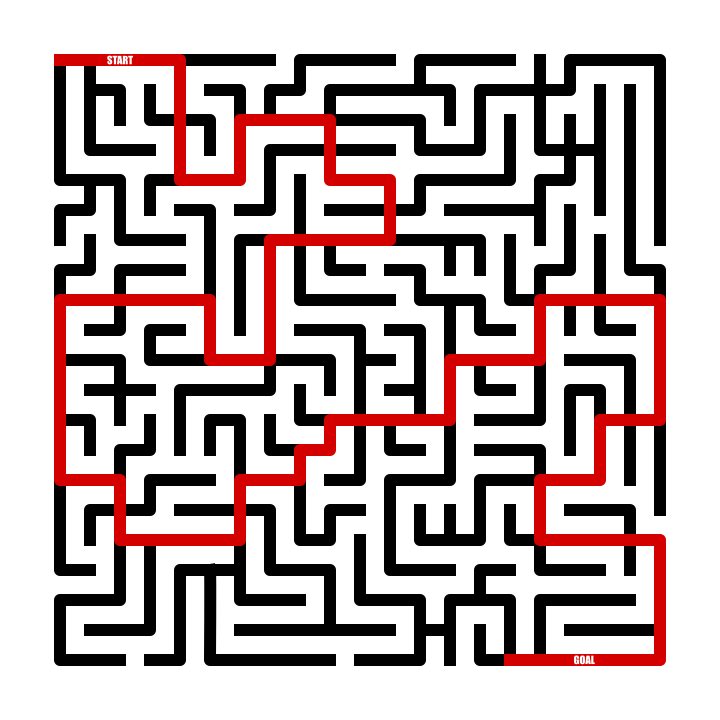
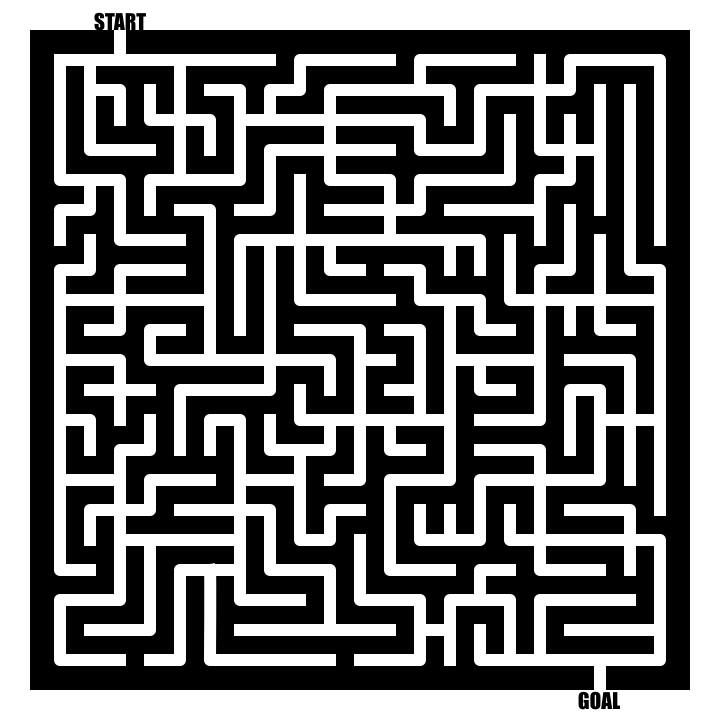
Let’s compare this same maze as a cut thru…I added small lines to allow for an external START and GOAL, but other wise these are the same maze !
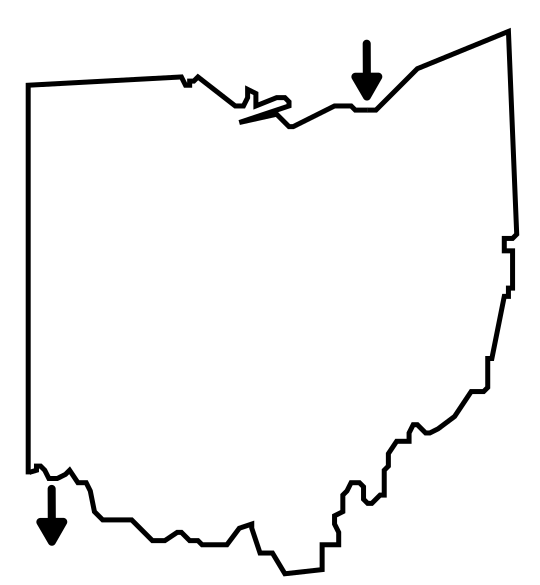
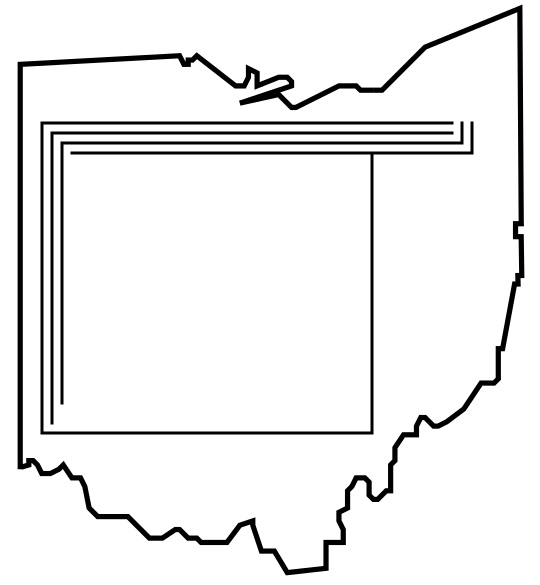
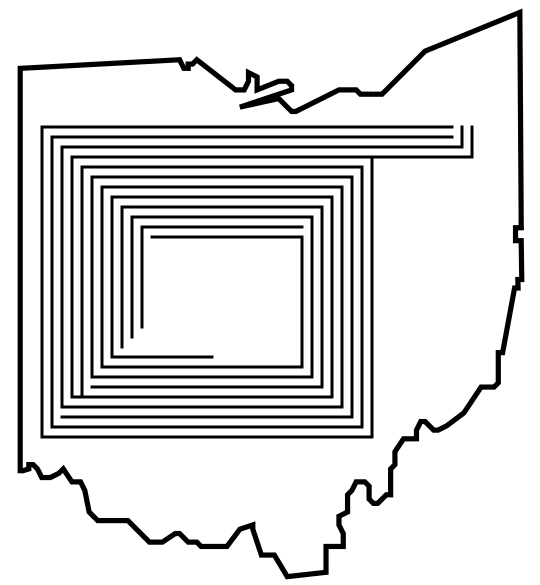
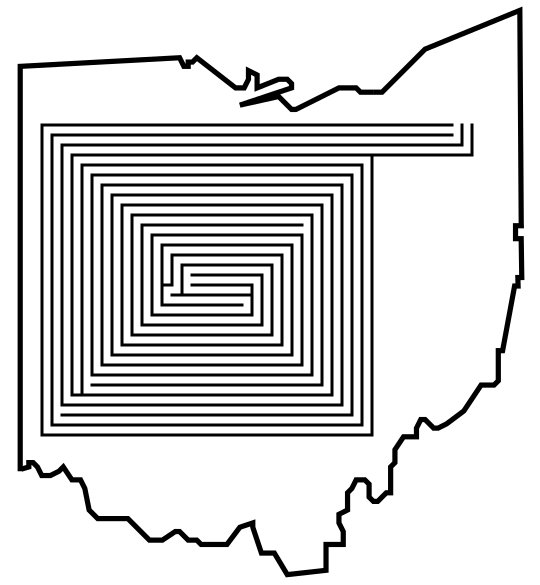
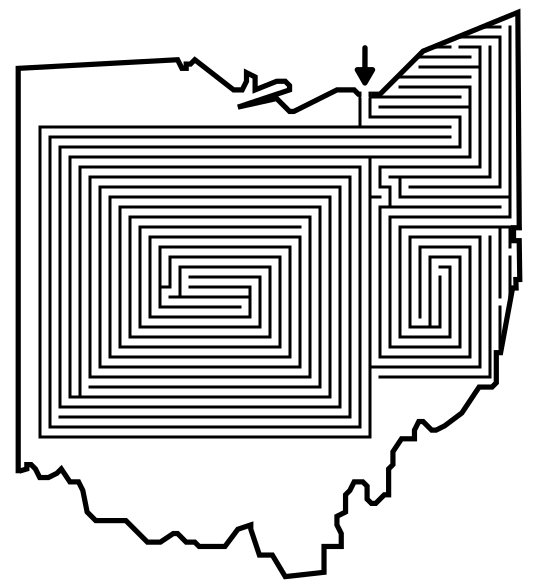
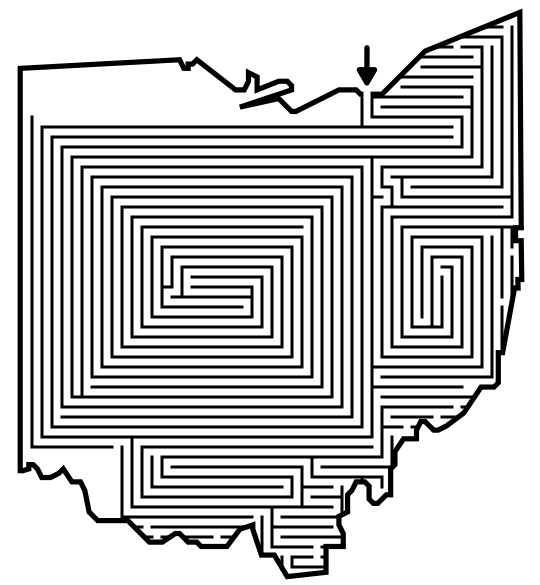
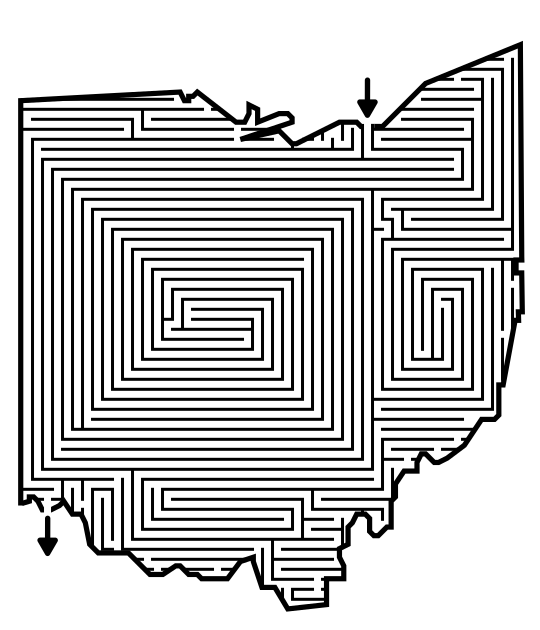
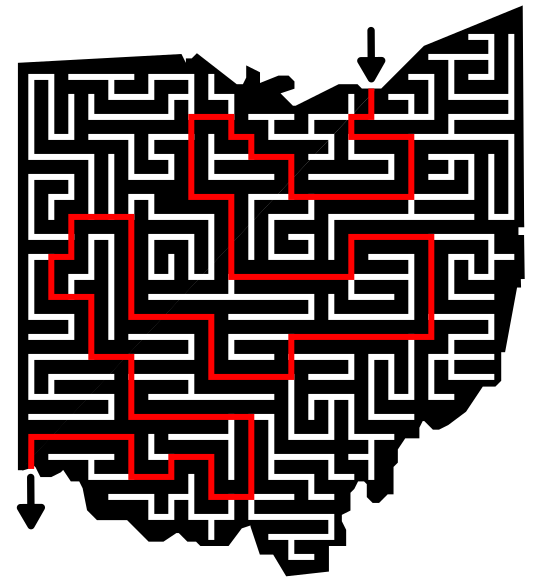
HOW TO MAKE A CUT-THRU MAZE PATHS - abbreviated writing & using a different shape
Step 1 - Draw the Object - In this case the object is filled-in to create a background
Step 1.5 - Choose the Start and Goal
Step 2 - Draw the Solution - Use a contrasting color to draw the mazes solution, remembering that you are drawing a path and not a wall when creating this type of maze. I used a square grid to draw my path on but you could use other options as well.
Step 3 - Draw the False Paths - Starting with the solution path, draw lines to misdirect the solver to dead ends.
Step 4 - Convert All Paths to White
Step 5 (Optional) - Make the Maze Solution

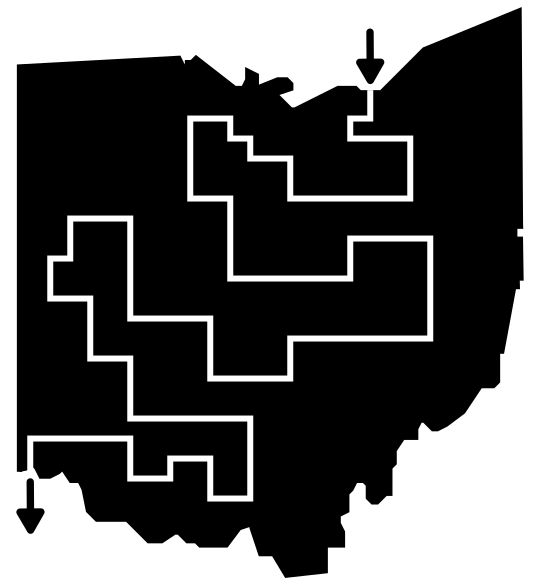
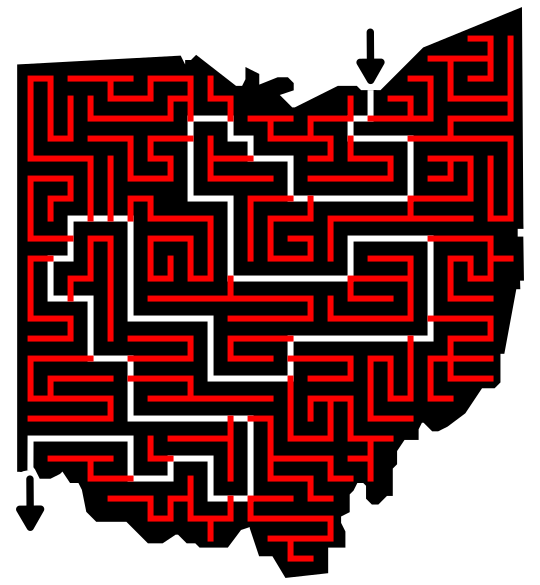

Here is the same maze as a cut-thru and an on-line version. They are exactly the same except for the background:
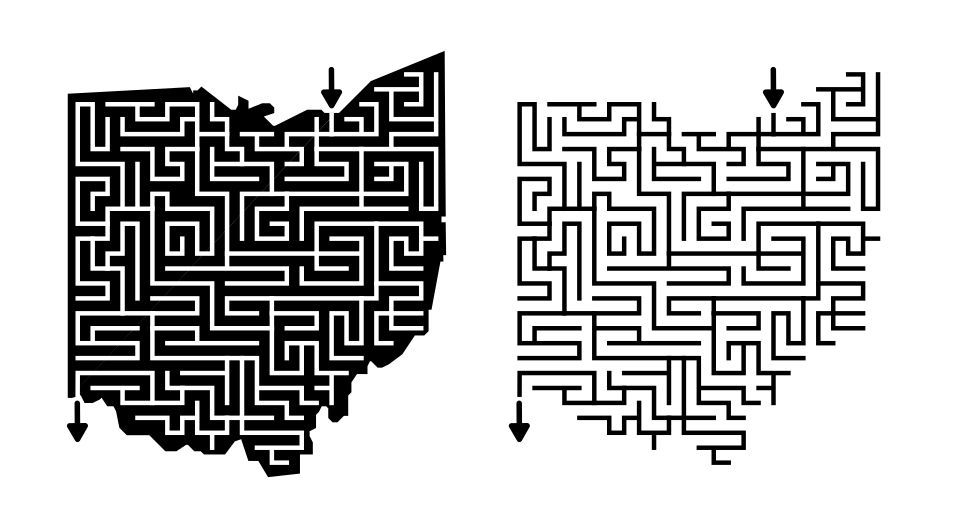
ADDITIONAL CUT-THRU AND ON-LINE MAZE EXAMPLES
The flexibility of this maze construction mean that you can make some interesting shapes like this On Line Maze of a Fly:
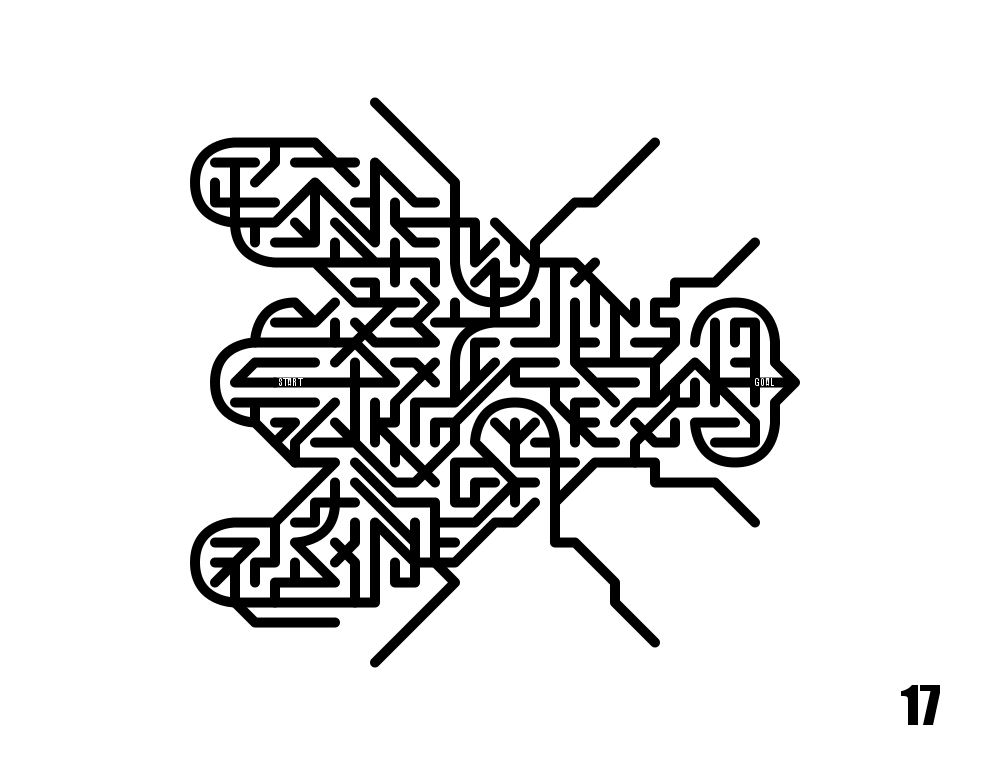
A second example of a cut-thru maze is the Record Maze. The solver must travel on paths cut-thru the black record to solve the maze.

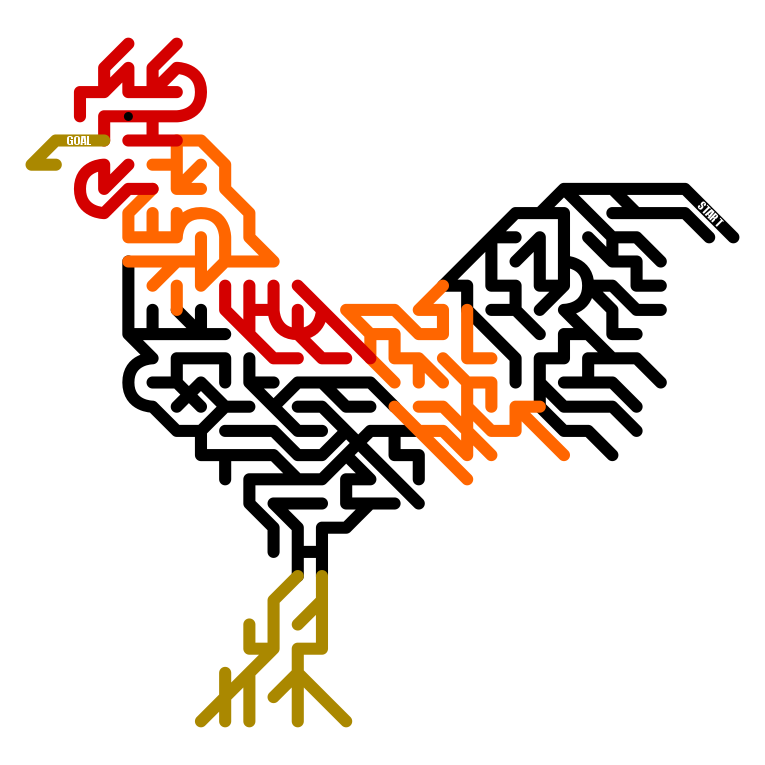
For my third example I have this Rooster Maze, to show that the pathways you use does not need to be one color, or either just black or white as they are above.
Have you ever wanted to see a cut-thru Cheese Maze ? I have you covered with this next example. I wanted to show this example to illustrate that you do not need to use a standard grid to make this type of maze (although I typically use them anyway). The cheese is mazed using an Axonometric grid.

FREE MAZES IN THIS STYLE
I have a section of free downloadable mazes of On Line Mazes and Kids On Line Mazes. The difference is the difficulty and the size of the mazes.
You can check out a whole months worth of examples of cut thru mazes I made in June of 2020, now an archived page. I will mention that this is archived for a reason.
MAKING A CUT THRU MAZE VIDEO
Here is a quick video of a very basic cut thru maze being made if you are more visual.
Interested in learning how to make or draw other types of digital mazes ? I have step by step instructions on how to make over 40 different maze types.
If you prefer making labyrinths, you can find step by step labyrinth making instructions.