Have you ever wanted to create a maze ? What about a maze that has enough detail and complexity that it could be considered art ? I love creating maze art and I want to share with you my process. Let’s start with a definition of what exactly I mean by maze art. OK maybe a few possible definitions.
Maze Art - A solvable maze of a subject that is good enough that someone would consider hanging it on the wall as an art piece.
Maze Art - A piece of art that just so happens to contain a solvable maze.
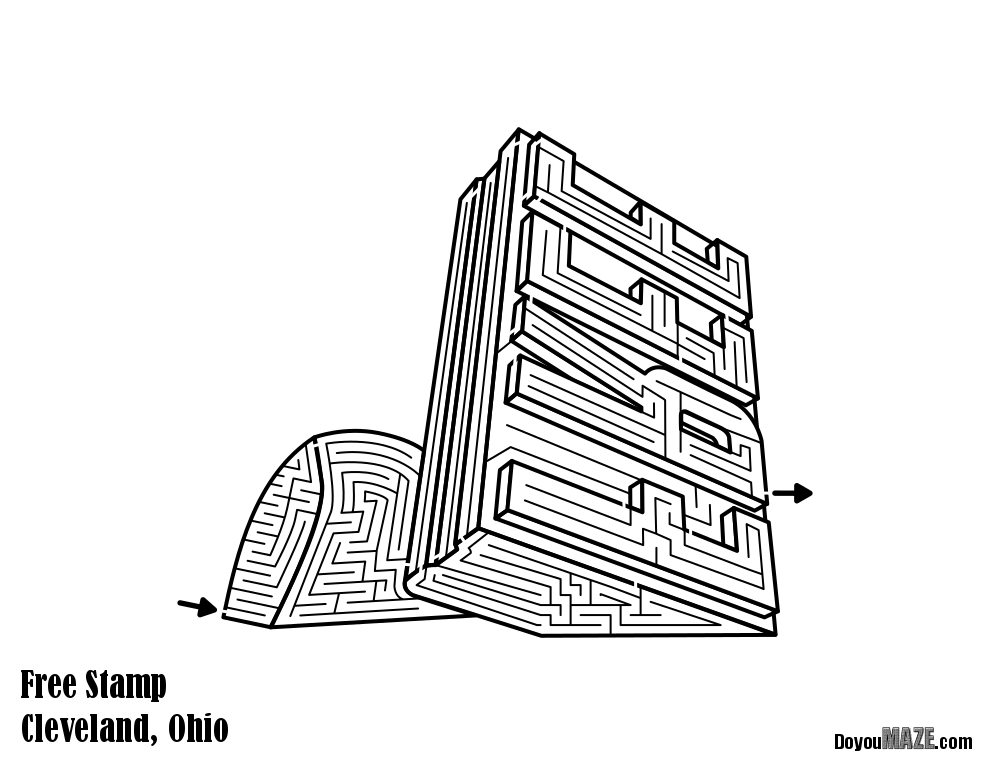
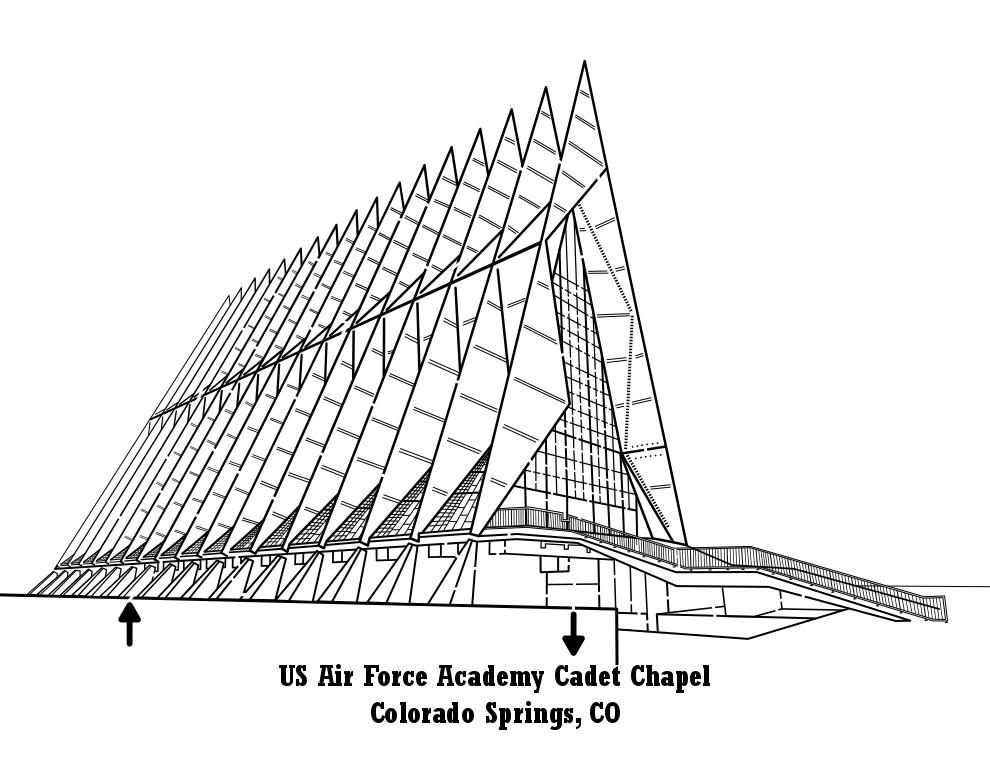
Maze Art - A solvable maze made to look like something that is not a maze, like an object/thing/person/place/landscape.
Maze Art - A solvable maze made to look aesthetically pleasing or interesting and not just to be solved.
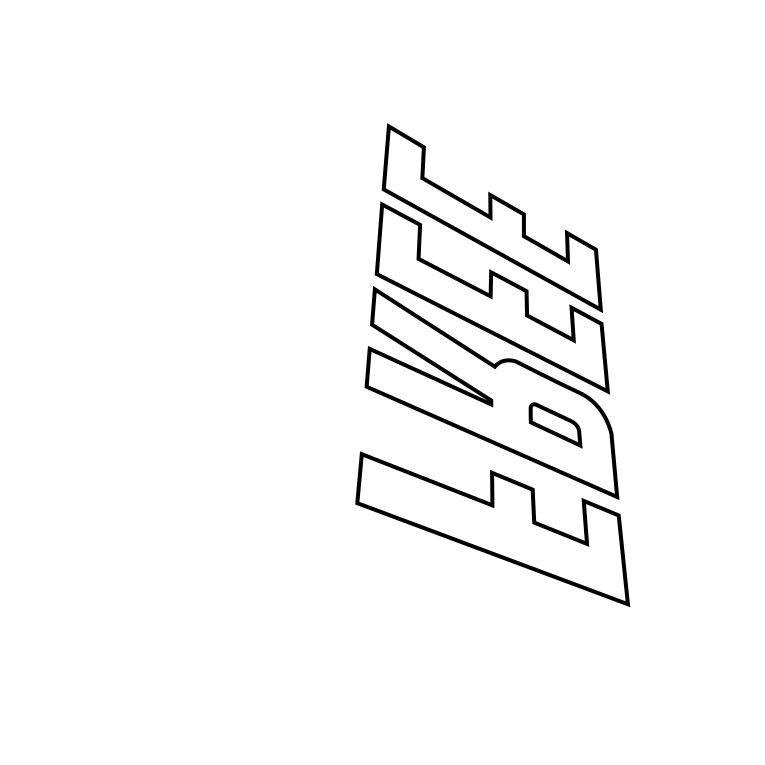
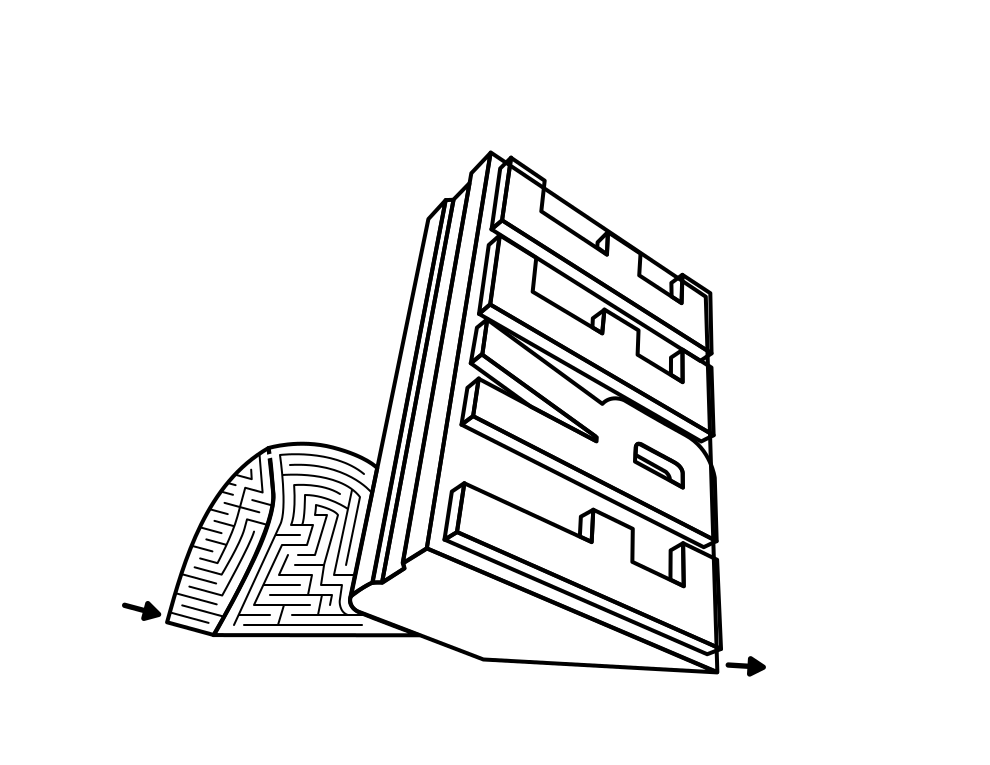
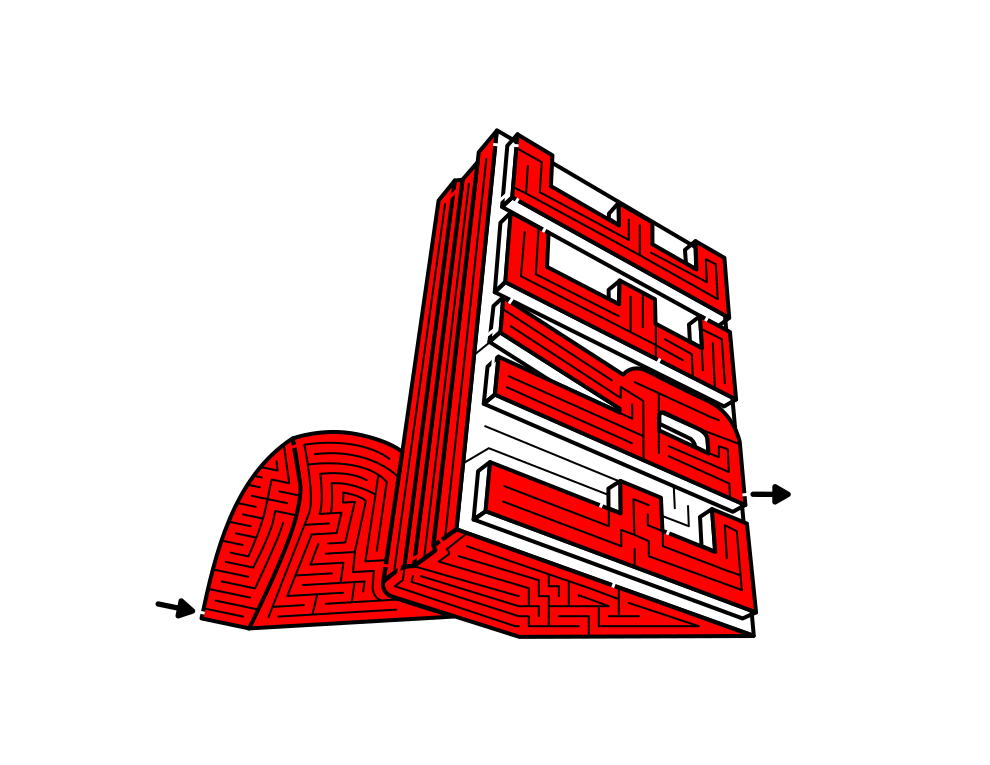
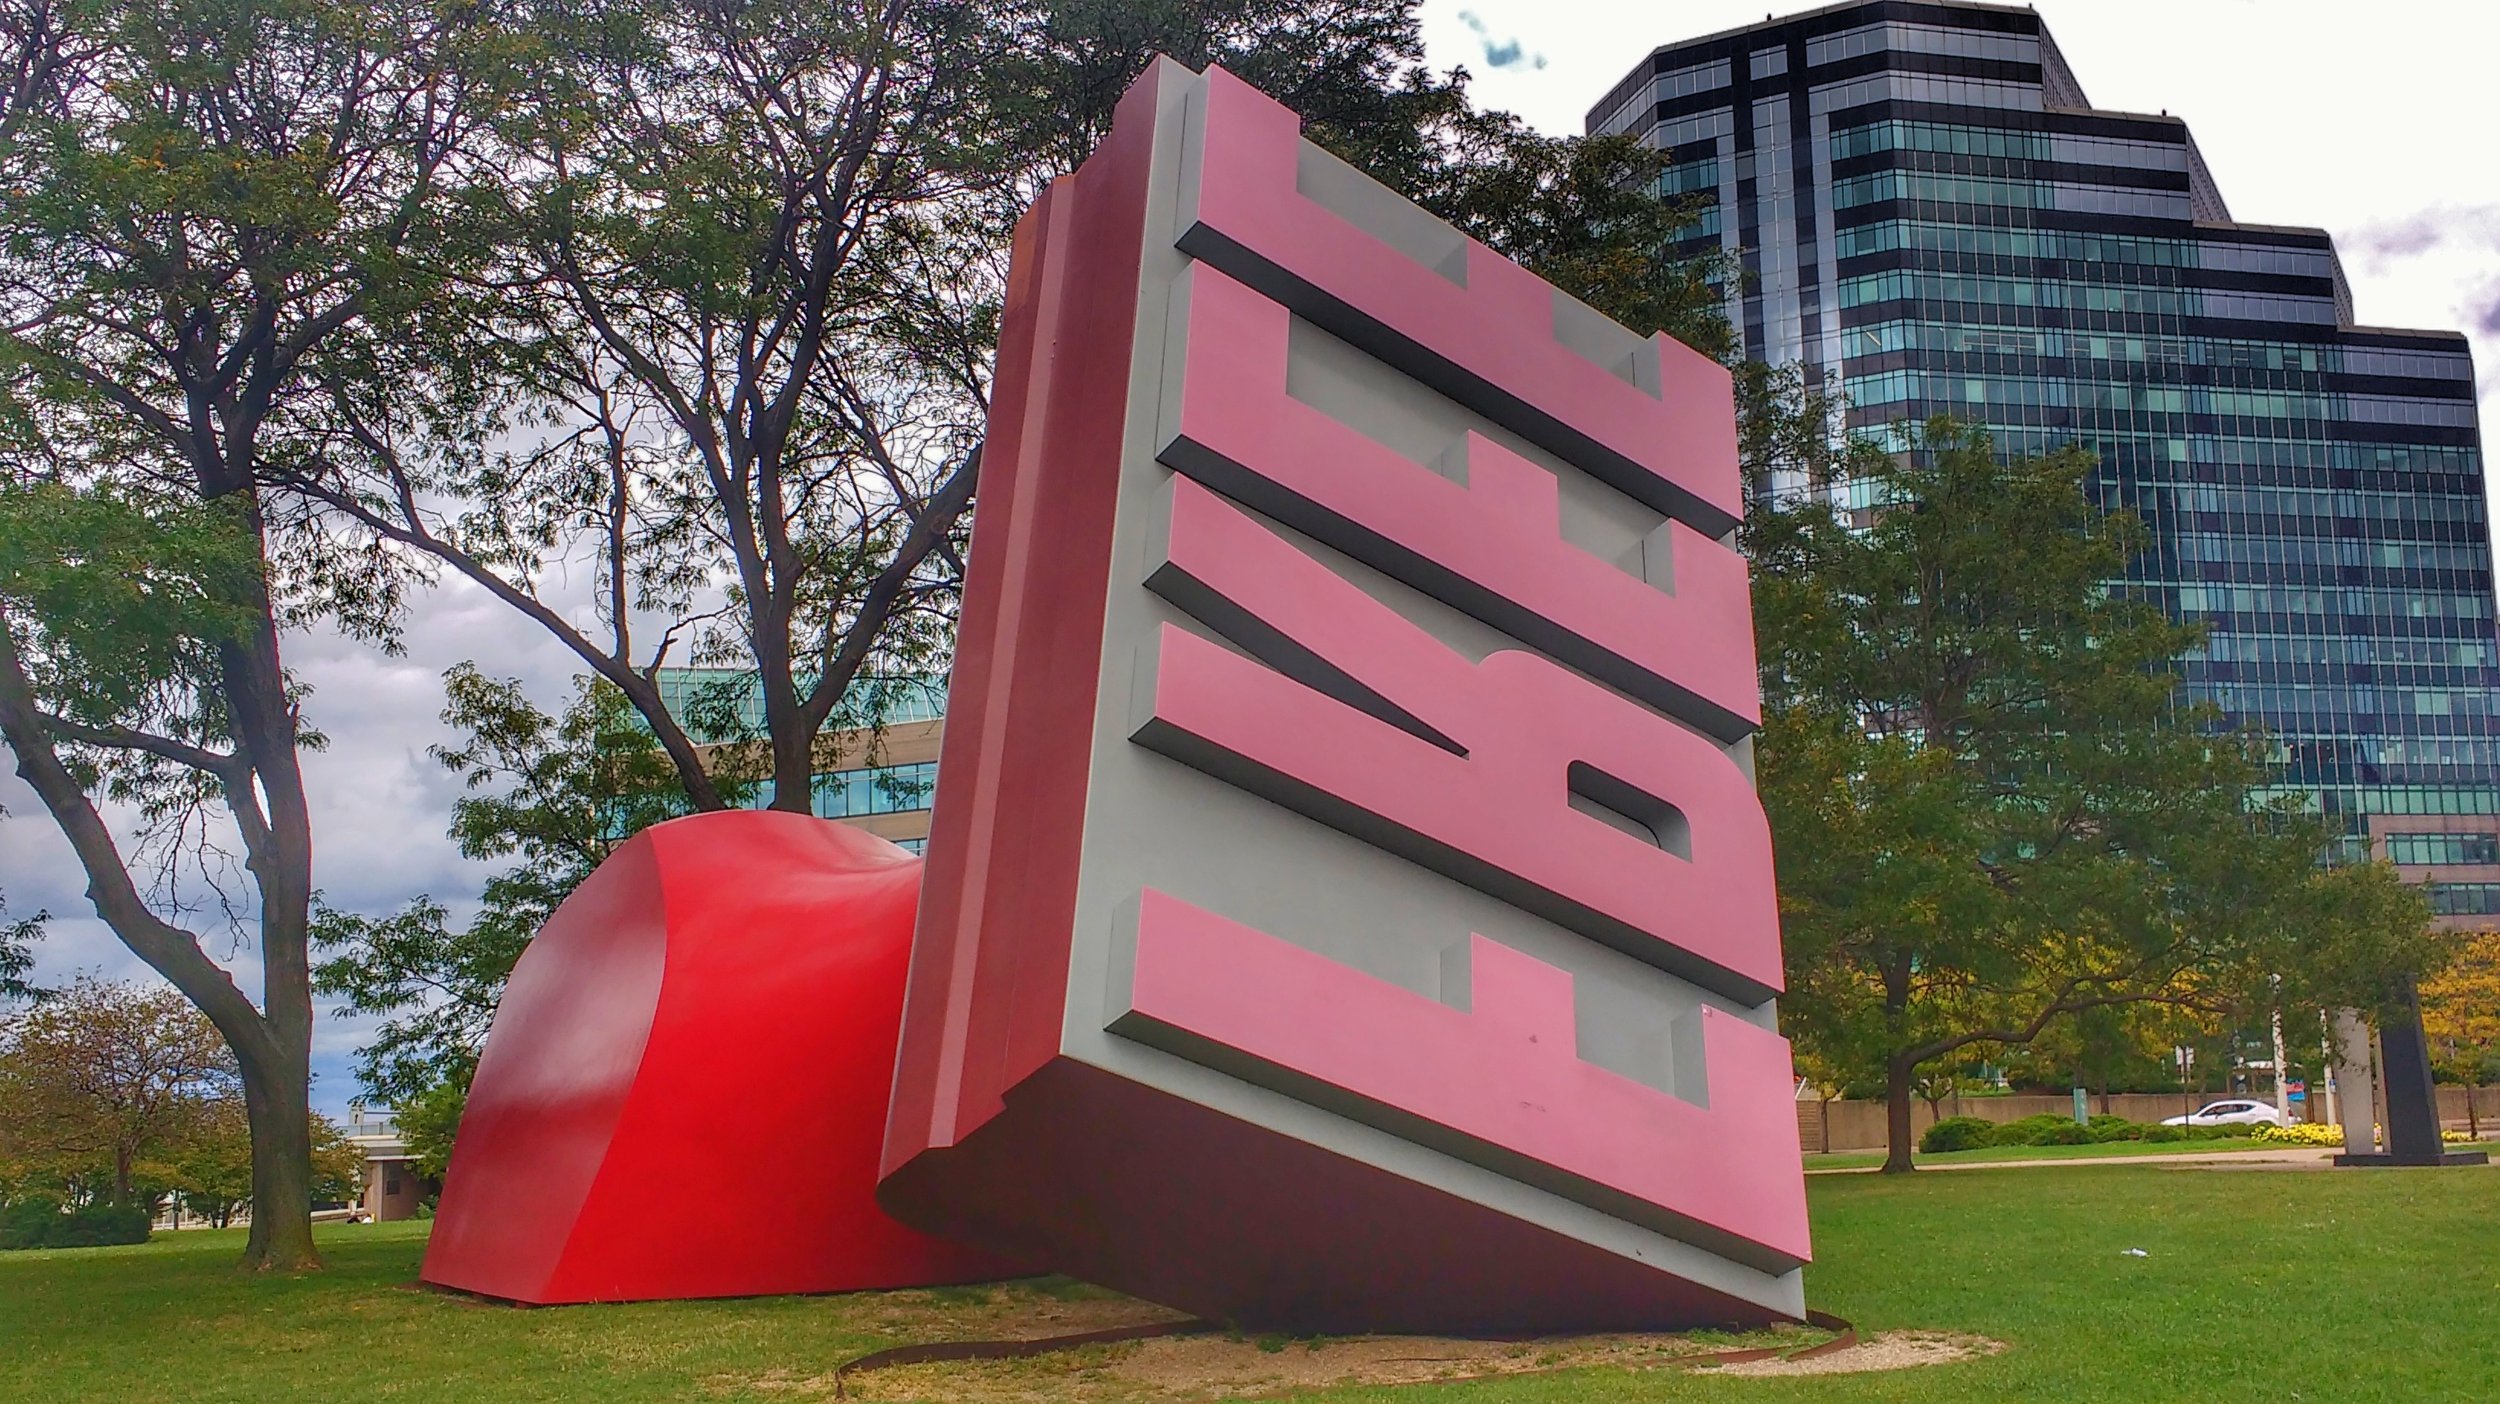
All of my definitions includes solvability. I do not include pictures that have design elements of mazes and labyrinths in them but are not solvable. Also, I think when you look at maze art you see the picture first and the maze is secondary (when looking at it, certainly this is not the case when designing it !!!).
One place you will not find help on defining this is in the Image Search section of your favorite browser. The majority of what you will get back a variety of renderings of boring maze clipart. Well unless you are looking for maze clip art - then you have a very efficient search !!! Every time I do the search I am disappointed with very few exceptions. For awhile I thought AI hasn’t been trained on what is considered art yet (Maybe that’s a good thing?), but we all have seen the new AI art tools by now, so that is not it.
Here is what I found from 3 different searches (update from the future - I did this search in 2026 and the results are much better - maybe this quest is working ! Try it yourself.):
Bing: About half of the results are of basic clip art. Nothing I would consider putting on my wall except result #2 and the skateboarder in row #2. You also get some cool 3D renderings of mazes but none of them are solvable since they include no start/goal and are not fully viewable.