Daily Maze #1000 !!

This site started in late 2018. And on December 21, 2018 I posted my first daily maze on the home page, initially unsure if this was something I actually wanted to do. Could I commit to making a new maze each and every day ? Could I commit to changing the website each and every day (and early on remembering to do it) ? What would I do for themes and ideas ? When I first started out I had more questions than answers. The first maze I ever made was made for National Crossword Puzzle Day. It looks like a crossword puzzle but is actually a grid maze. The technique I use has changed since then but I think the maze works.

Crossword puzzle maze

This maze has been followed by a series of themed mazes each and every day since, all on the home page of the website. Each are free to download. Many have later been made into free downloadable maze books. I have enjoyed making them, and based on the sites growth, you have enjoyed solving them. You may have also noticed that there is a second daily maze posted each day that started in April 2021 in the now retired Laberintos section of the site (Spanish for Mazes). It is the same maze translated into Spanish. But for my counting I am treating this separately. Counting ? Yes. Today is a special day because I have hit a milestone maze. Today I post daily maze #1000.

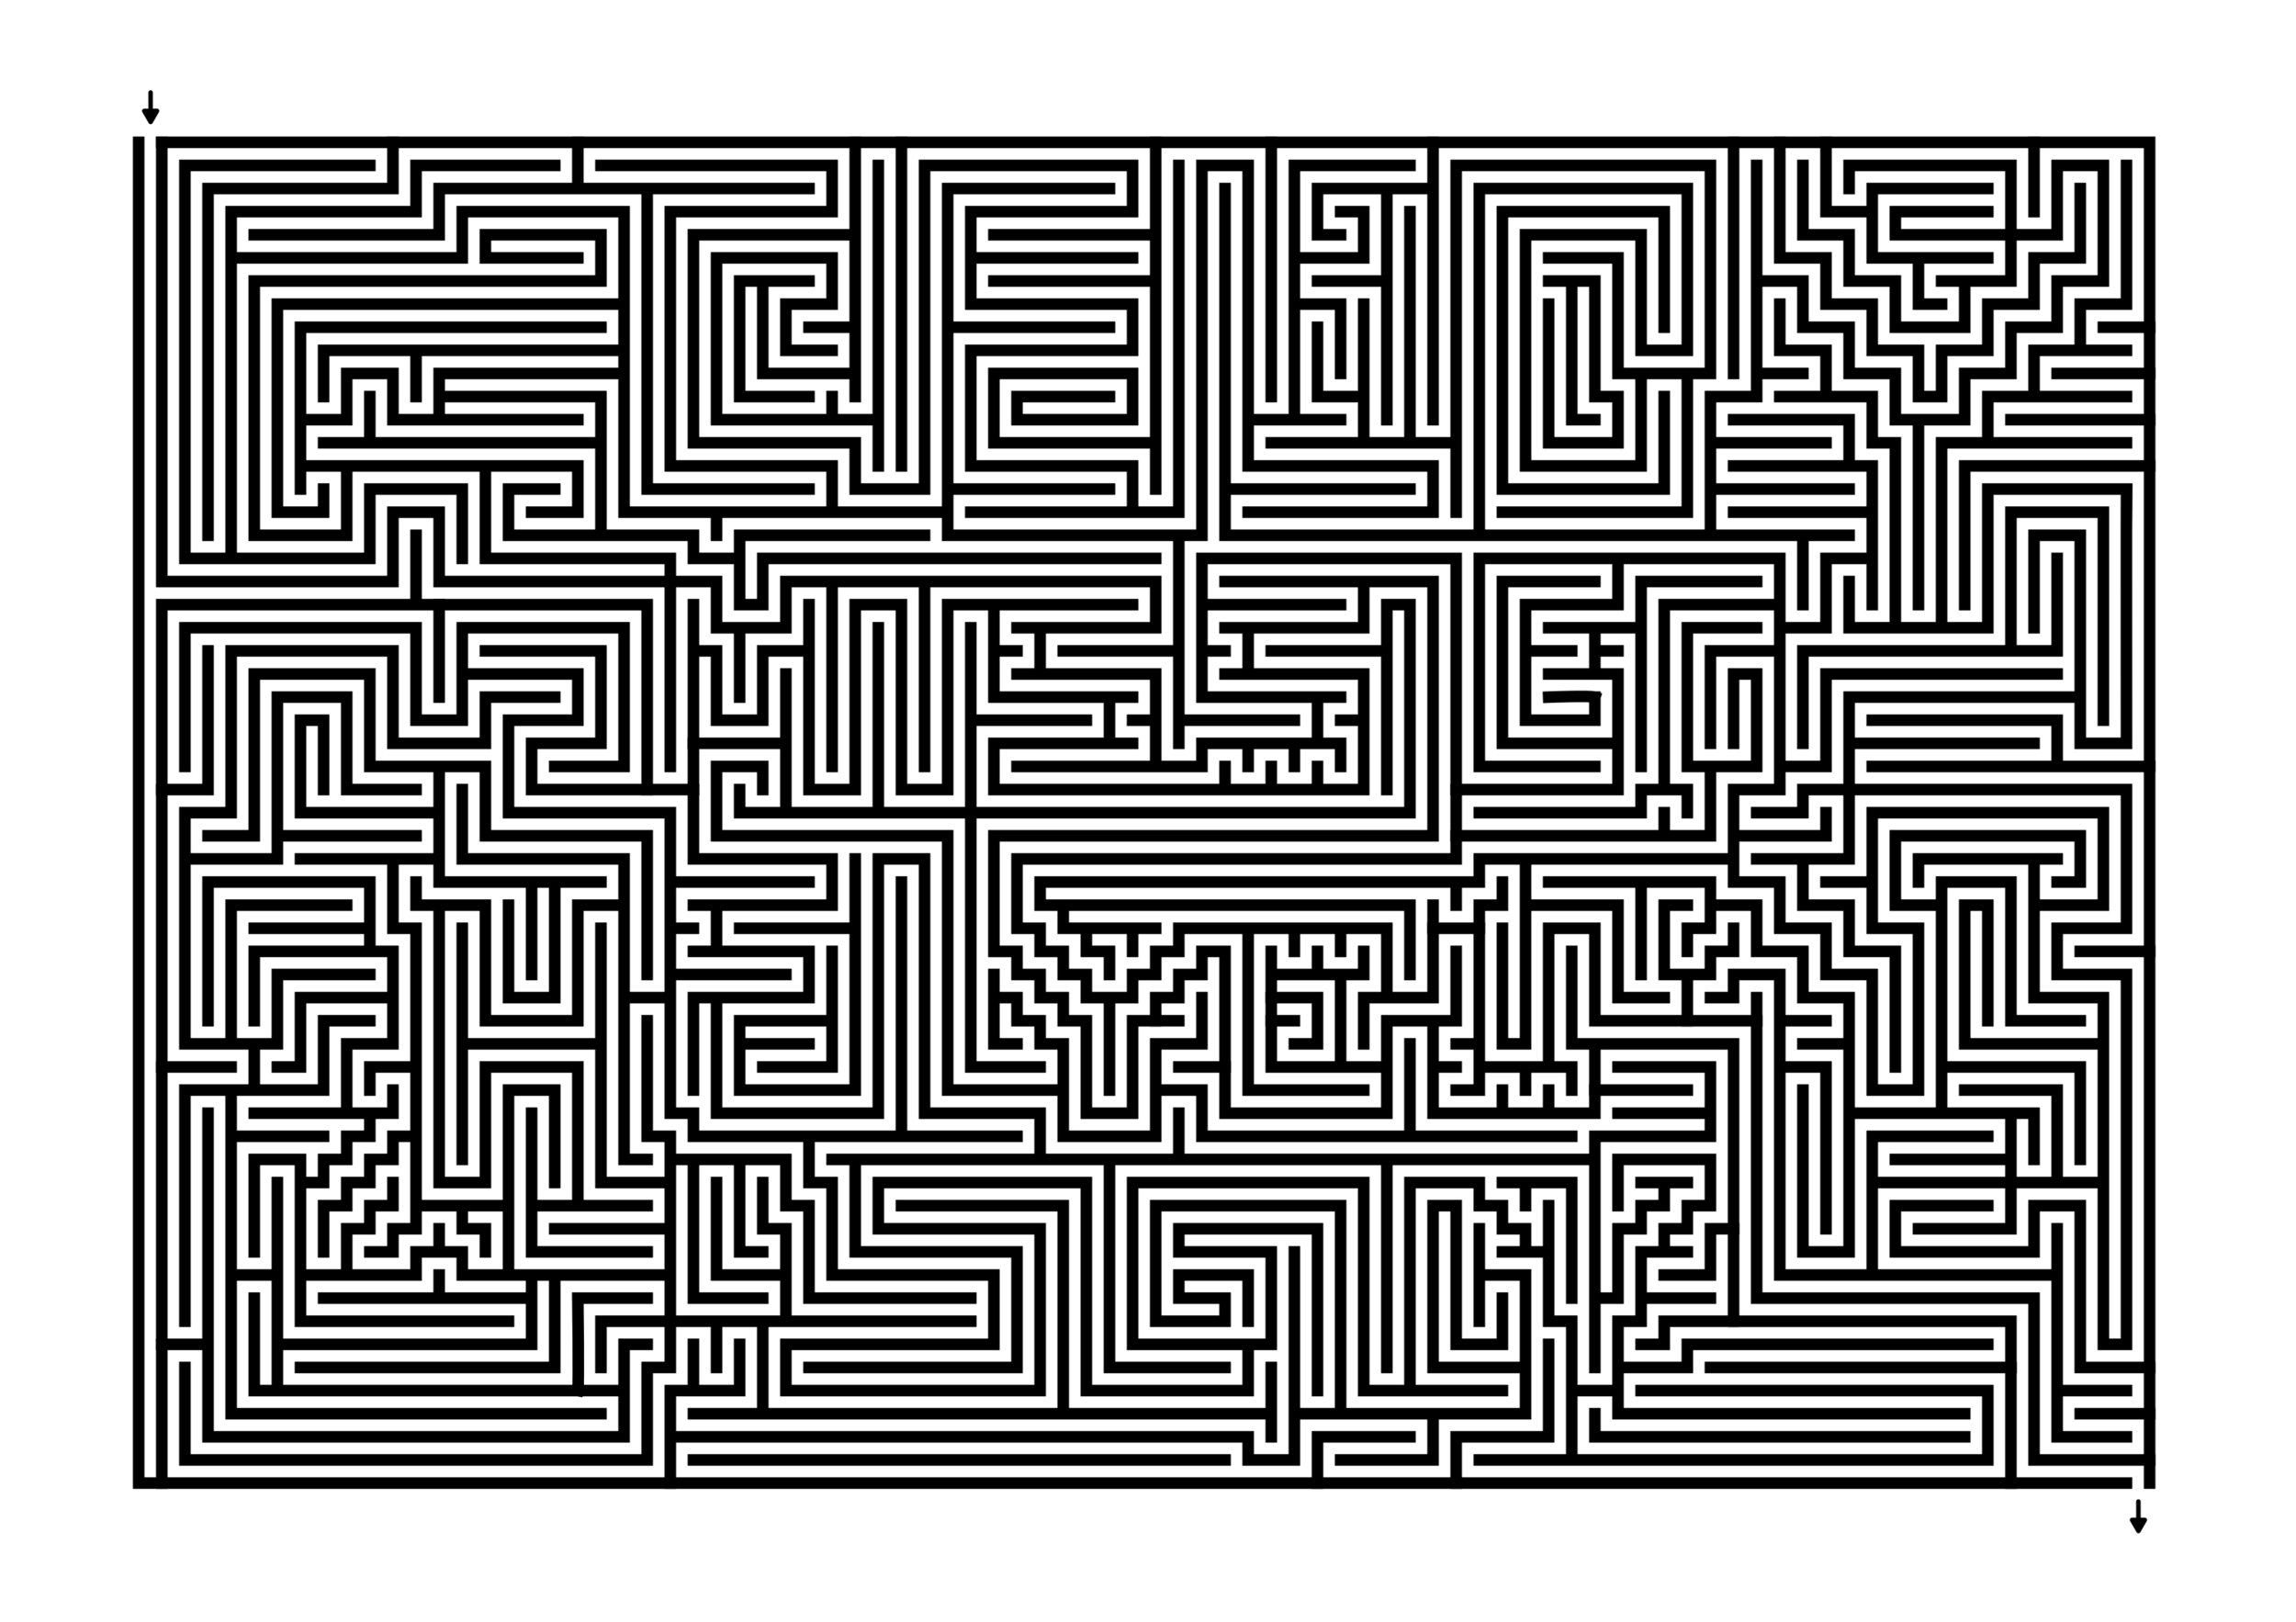
There have been some bad mazes and some really good mazes posted and everything in between. Lots of conventional mazes and more than a few experimental ones.

Flower shaped maze

Maze Solving Case study - Using the reverse fill solving method

I asked the audience which of the 4 maze solving options they used when they solved a maze. The overwhelming majority (in early results, but I do not expect them to change) use a writing utensil for standard physical mazes. If they are solving on a screen they use their eyes. Let’s review the 4 types I laid out:

4 Most Common maze solving options

  • With a writing utensil - probably the most common way to solve a drawn maze. You have a maze printed out or in a book in front of you and you grab a pen or pencil and solve using it. Makes the maze a one time use unless you have an eraser that does a good job and doesn’t harm the paper too much

  • With your finger - you use your finger as a guide to work your way through the maze and solve it. This method allows multiple people to solve the same maze

  • With your eyes - my personal most common maze solving method. Works for most maze types, although you need to add in a more comprehensive method for any spiral maze.

  • Reverse fill with a writing utensil - a method I used to use because I liked the way it looked. You use a pen / pencil and start at dead ends, filling each in until you reach a new branch. Eventually this leaves only the correct path NOT filled in, creating a reverse solve !

And now let’s look a a maze solved using the reverse fill method. The best type of maze to use this for is the hidden message maze, because what you are left with when it is solved is a fun message !

The big test for a maze maker is about to take place. I have made a hidden message maze. If I have made it well, you do not know what it says by looking at it…Take some time…Do you know what it says ?

hidden message maze example

So, I am hoping you do not know what that says yet. Here is where I put in a large block so it is more difficult to get any hints from your eyes naturally looking ahead and seeing the answer. The first answer I will show is using the most common method of using a writing utensil to solve the maze (in this case it is actually done by a digital pencil).

scroll down for answer block
hidden message maze solved -miss you

So did you get it correct? Solving in the normal way gives us a hidden maze message of “MISS YOU”.

Now, let’s start with a reverse fill solve and see what it looks like. For my example I wanted to show you the start of the reverse solve, shown with each incorrect branch being a different color so you can more easily see what is happening. Starting in the bottom left corner of the maze, I found a dead end and began filling it in completely until I reached an intersection, where I stop. Then I find another dead end and do the same. If I come to an intersection and have filled in the other path that branches off from it, I have essentially created another dead end to fill in ! Here is what the first 15 dead ends look like filled in (each in a different color).

hidden miss you reverse pathways started.png

Using that dead end fill-in method will eventually leave you with the only paths left being those that are the solution ! This is a long process, but one that gives you a much different look when you finish solving the maze ! Here is what the hidden maze looks like reverse solved:

hidden maze - miss you reverse solved

So, if you are bored, or have a new full ink pen and want to solve a maze in a new way….try the reverse fill method.

A Hidden Message Maze Book - Can you find the hidden messages ?

I have pulled together 34 different hidden message mazes into a book format. Each maze has the same basic structure except for the mazes inner content. The book is formatted to print on standard size paper in a landscape format. My original design of each of these mazes was on a half sheet of paper that could be folded and made into a greeting card, so this should help guide you on what the majority of the hidden words and phrases are. This book includes an answer sheet of what each of the 34 mazes is meant to say, but the solving is up to you. I suggest using a thick marker after solving (unless you have enough confidence while solving) to really show off the message when solved.

Enjoy ! You can download the book below or you can find it with all of the other maze books.

Hidden Message Maze Book Cover
download hidden maze book

Creating a Hidden Maze - Case Study #1

Some of my most popular content involves my making of hidden mazes. I can teach you how to make a hidden maze in 6 steps. And I have created over 30 hidden maze challenges to test my maze making ability and your ability to solve them (or for the solver to know what they say without solving them which would mean I didn’t make a very good maze). But I have never done a case study to expand on some options I made when making some of the new mazes. This also is a variation of how I teach you to make a hidden maze, with more details between the steps.

Let’s use my instructions as a basis for the case study

Step 1 - Draw the Outline

Now my hidden message mazes are boring in this regard as I make them to be used as the front of greeting cards. This means a simple rectangle.

Step 1.5 - Choose the Start and Goal

And this step is usually combined (thus step 1.5), and I present it that way here. Because English is written left to right the start will be on the left side of the page (I chose the top corner) and end on the right side (I chose the bottom right corner). I could have easily used the sides of the rectangle as start/goal.

empty blank rectangle with arrows for a maze

Step 2 - Write the Guide Message

Step 3 - Maze the Hidden Message

For my recent hidden message mazes I have used pre made mazed letters to speed things along. Here are my initial message possibilities. So, I do not use a guide message to make each letter from scratch each time.

Rectangle full of mazed words

To confuse the solver I have added in a variety of false words that will not be used. While my initial hidden message mazes used one message and everything else was a false pathway, these are less about the false pathways and more about the false message. Here is a quick list of the possible words hidden in each row. I overlap some word possibilities, like the Y ending in funny also being the starting Y in you. This could also be expanded and made more difficult.

words mazed in a box showing possible combinations of words

Here is where I actually fulfill Step 3 as this maze will say “Have a Great”. I make sure to close out any pathways so there are not any possible solves that don’t have a message.

Hidden word maze being made

Step 4 - Draw the False Pathways

I draw a message row one at a time to ensure that I do not mistakenly make an extra solve. I make my false pathways short on the left side of the maze so the solver knows they have chosen the wrong row quickly. So when I mazed the bottom row, you will not get past the M before reaching a dead end.

Hidden word maze being made 2

Or the F in the second to last row.

Hidden word maze being made 3

Again I did a dead end after the W

Hidden word maze being made 4

Step 5 - Complete the Maze

The first row uses DO before it dead ends. This completes the maze. Hopefully the use of all those letters and the false pathways filling in between make this a difficult maze to solve with your eyes. What do you think ?

Hidden Message Maze example

Step 6 - Make the Maze Solution

HIdden Message Maze solution - Have a Great