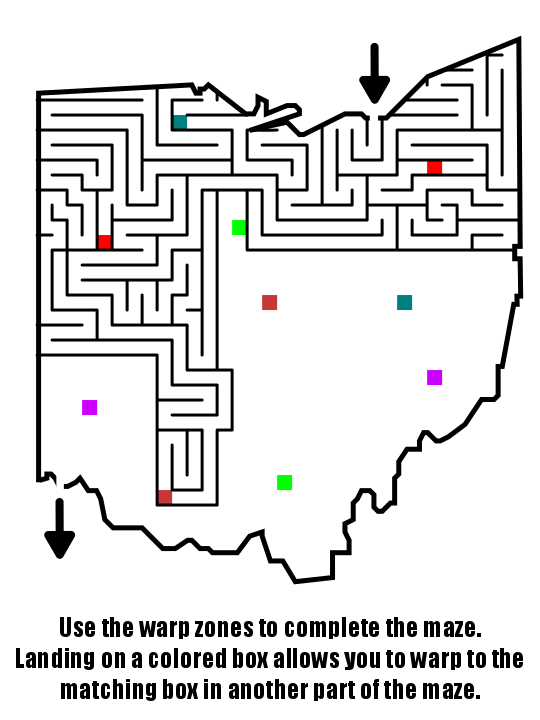
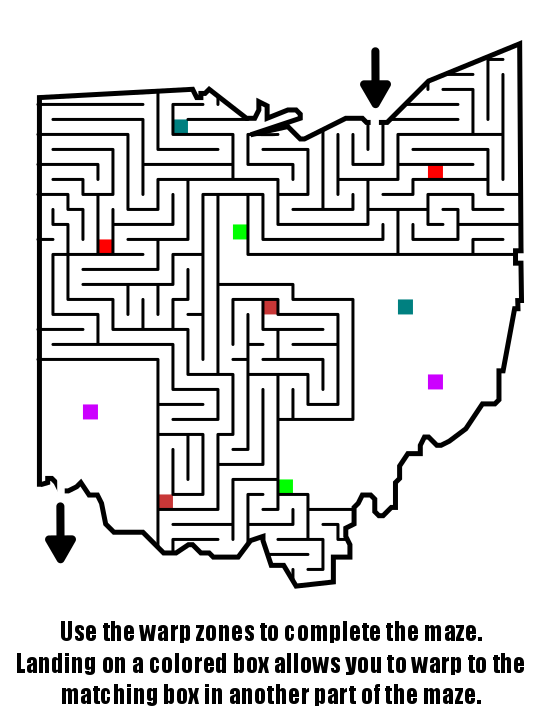
In a series of posts I will show you how to make a maze in a wide variety of design constructions. The 24th type of maze construction is the Directional maze. Let’s define what I mean, then get into the example. Every example will use the sample basic outline (the state of Ohio) to better illustrate the differences between each maze type.
Directional Maze (may also called a Left Turn Maze or No Right Turn Maze, etc) - A maze where the solver must follow a specific directional rule at an intersection, like you can only turn left (or you can’t turn right) ! Can be applied to any number of conditions. This maze design ends up looking like a cut thru maze in that you travel ON the line.
How to Make a Directional Maze
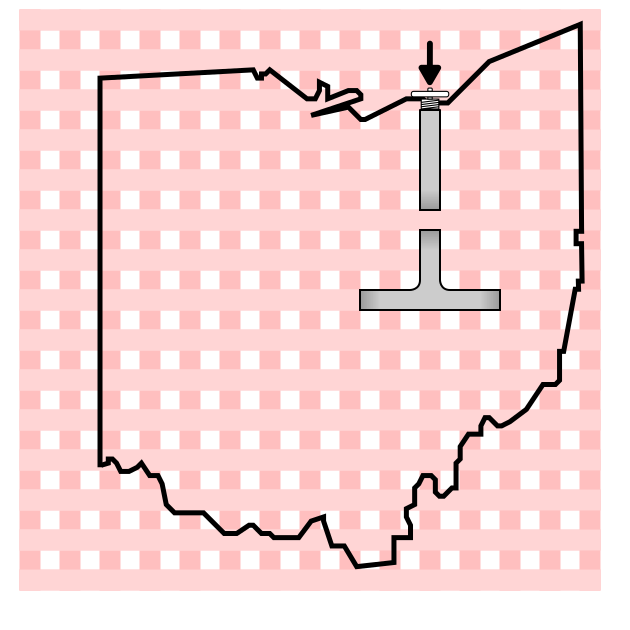
Step 1 - Draw the Outline (Optional)
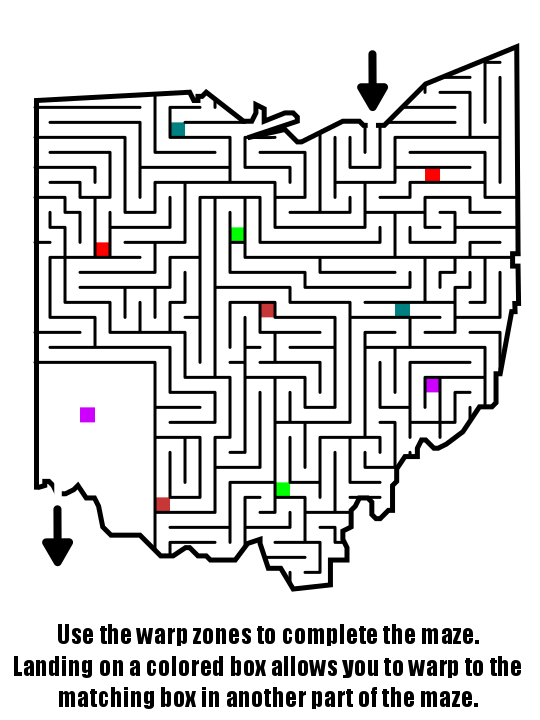
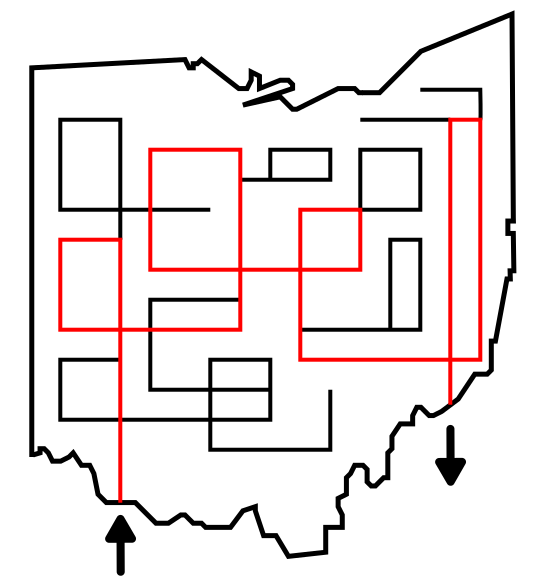
The outline of the maze makes the outer wall of the maze. It can be anything from a simple shape like a square, to a complex picture. The outline should be thicker than the internal lines to give the maze definition. In the example below I chose the state of Ohio. Unlike other mazes, I did not choose a Start and Goal before beginning the design of the maze. Also, most directional mazes WILL NOT have outlines.

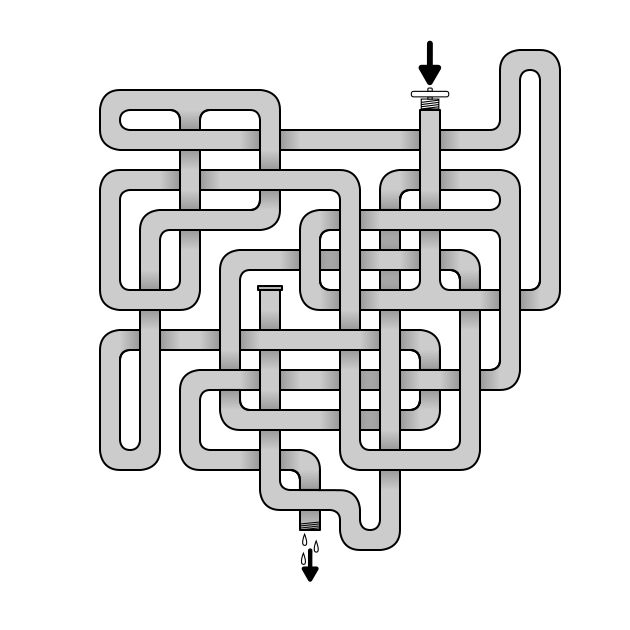
Step 2 - Draw the Solution
Starting from the outline of the maze draw a line to another point in the outline that will become your solution. Obviously the solution will need to follow whatever directional rule you have decided on. In the example below I used a left turn only rule. This makes the solution a series of loops.

Step 3 - Add False Paths
Add new possible pathways that will not lead to a solution. Where you can turn onto them, but they will lead to a dead end, or they will lead to an intersection that requires breaking the solution rules. In the example below the false paths are in red. Check to make sure you haven’t created any additional solutions.

Step 4 - Complete the Maze
Convert the lines to a common color to complete the maze. Add directions if needed.

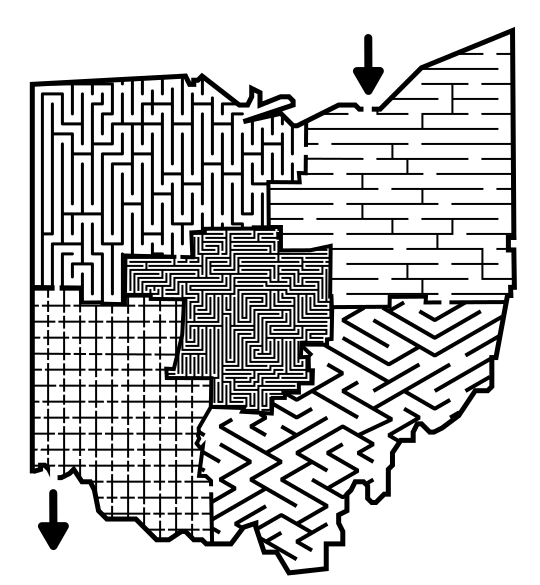
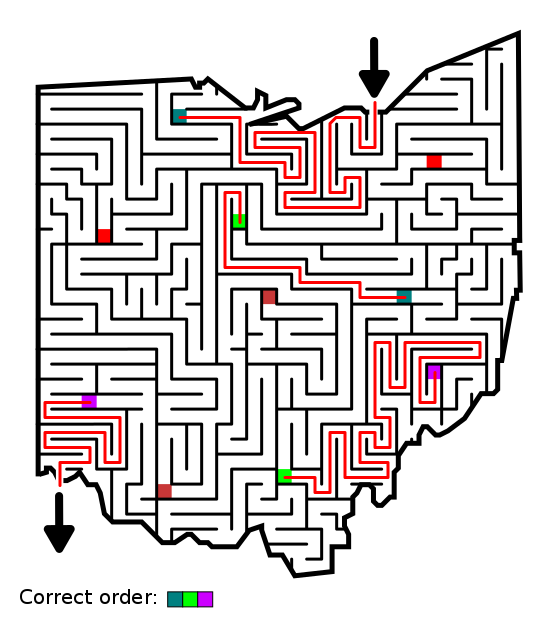
Step 5 - Make the Maze Solution
Highlight the correct path in the final version of the maze to create the final maze solution (shown here in red).
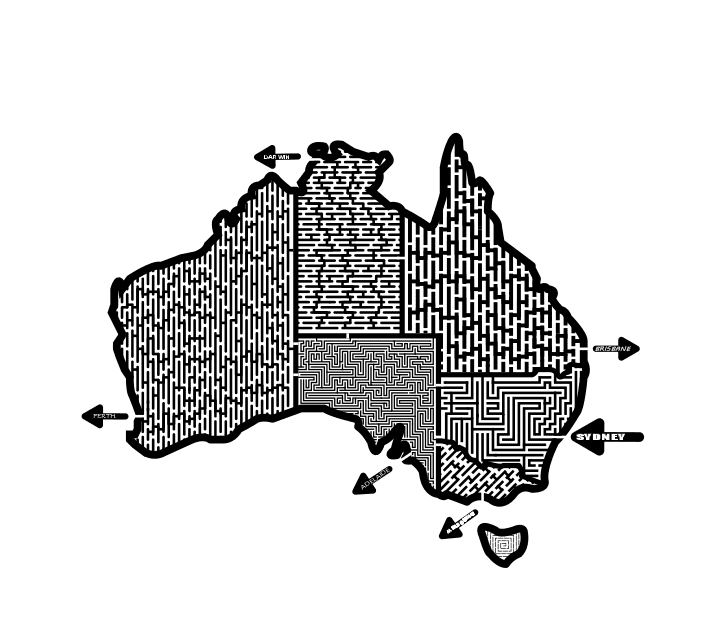
Additional Directional Maze examples
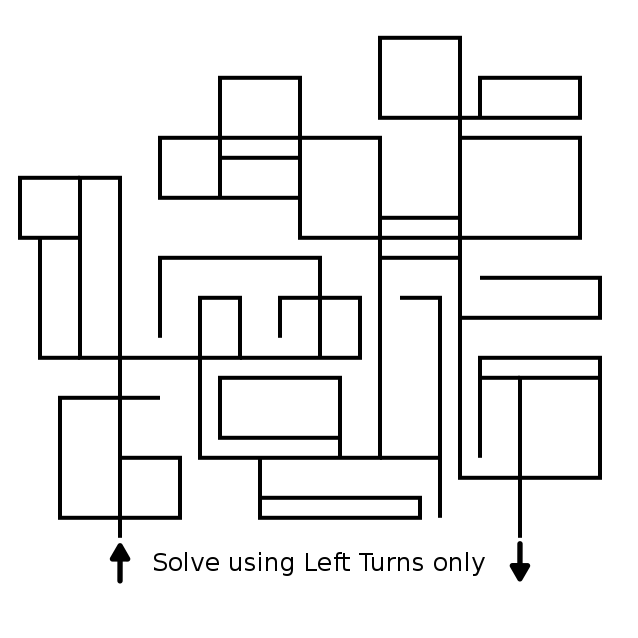
Here is another example of a Directional maze, this is a Left Turn only maze with no outline/border.
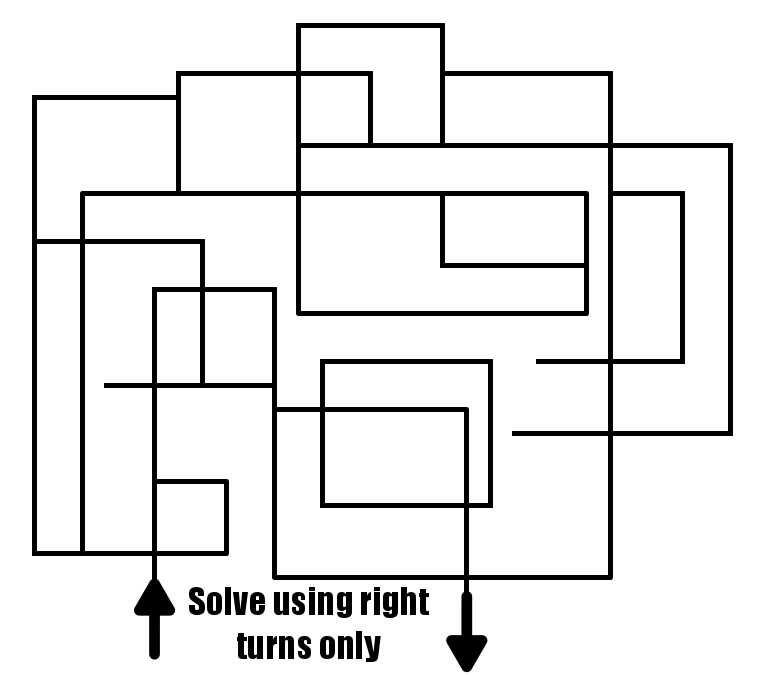
Here is a similar looking directional maze that must be solved using right turns only.
Interested in learning how to make or draw other types of digital mazes ? I have step by step instructions on how to make over 40 different maze types.
If you prefer making labyrinths, you can find step by step labyrinth making instructions.