In a series of posts I will show you how to make a maze in a wide variety of design constructions. The 16th type of maze construction is the Draw and Cut maze. Let’s define what I mean, then get into the example. Every example will use the sample basic outline (the state of Ohio) to better illustrate the differences between each maze type.
Draw and Cut Maze - A maze created by drawing an object, then using the object’s drawing as walls, making “cuts” thru them to create pathways. Often, from a distance these can appear to be drawings and not mazes because the construction is based on a completed drawing (pre-cuts).
How to Make a Draw and Cut Maze
Step 1 - Draw the Outline
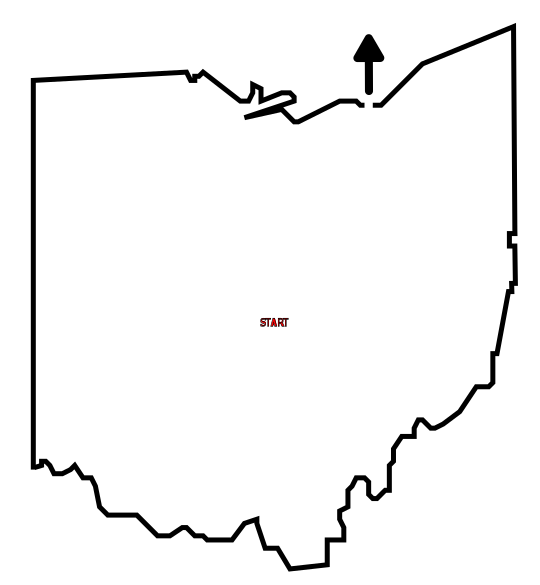
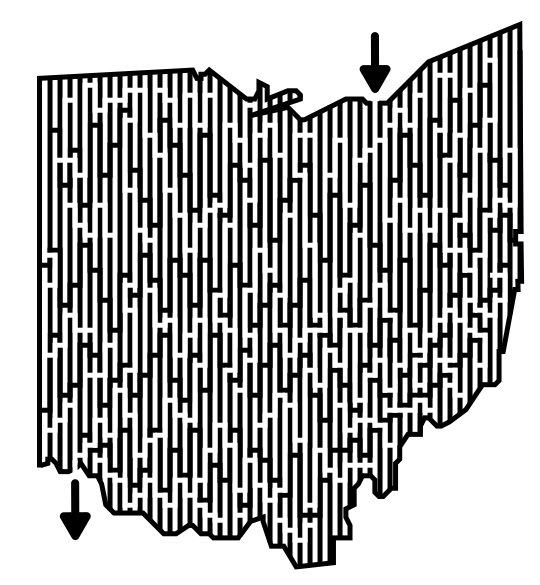
The outline of the maze makes the outer wall of the maze. It can be anything from a simple shape like a square, to a complex picture. The outline should be thicker than the internal lines to give the maze definition. In the example below I chose the state of Ohio.
Step 1.5 - Choose the Start and Goal
For the below example I chose the start of Cleveland and the Goal of Cincinnati.

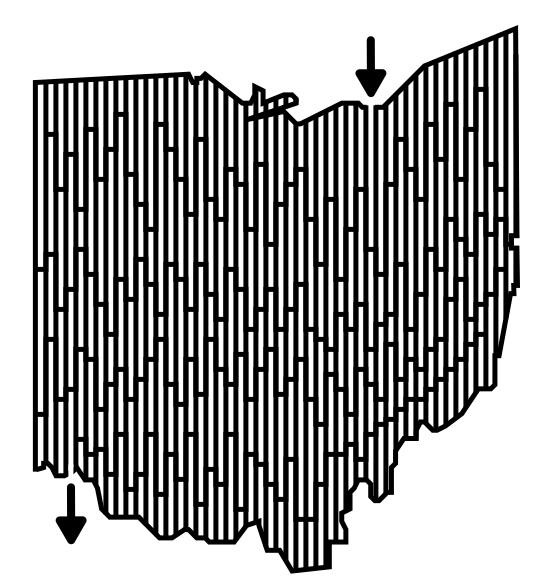
Step 2 - Draw the Picture
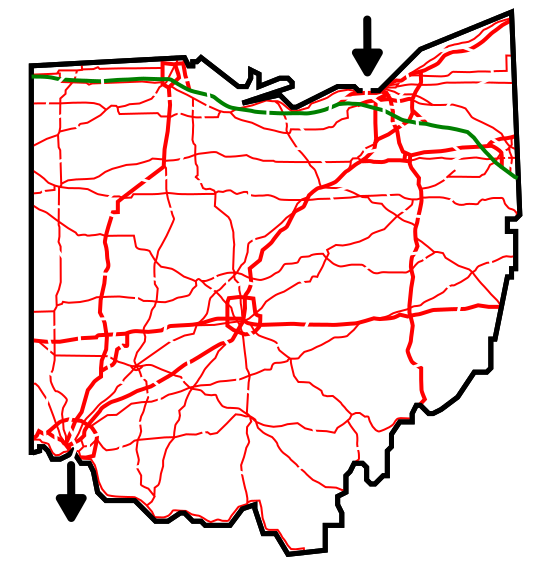
This type of maze starts with a complete picture, so draw that picture. Because my example uses Ohio (not ideal for this type of maze) I went with the highway system, making Ohio into a map. The ideal use of a Draw and Cut maze is for complex drawings that many would consider maze art.
PRO TIP: When creating a cut thru maze digitally it is best to use one consistent background color. In the example below, white. Cutting between a variety of background colors means making many ‘half cuts’ in those same colors to create the maze. That is obviously not ideal and takes significantly more time. If you think the colors are important, I suggest you consider a different maze type.

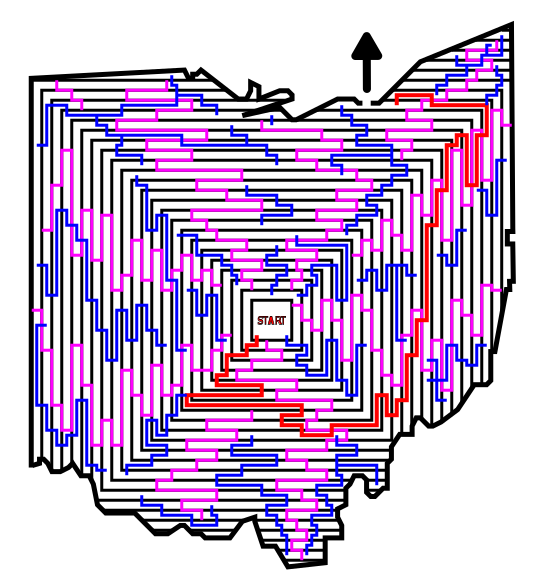
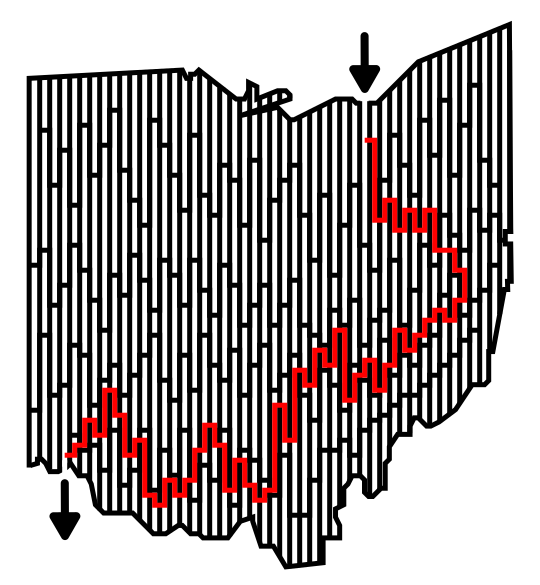
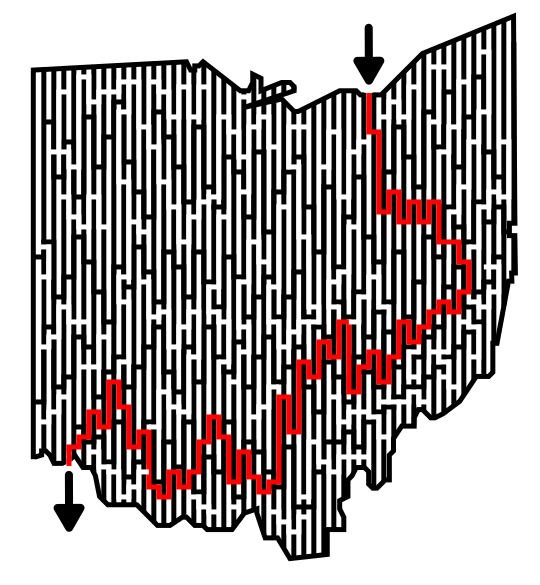
Step 3 - Draw the Maze Solution
Draw the solution to the maze by cutting through the drawing you made. In example below it is shown as the burgundy line.

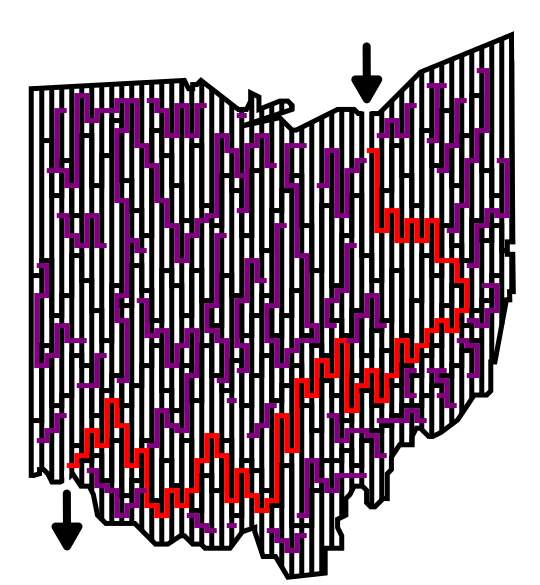
Step 4 - Draw the Dead Ends
Make branches off the solution path to create dead end paths. The longer the paths, the more difficult the maze. In the example below the false paths are blue. I would like to mention that if I were to remake this maze anew I would make the “cuts” wider (see step 5).

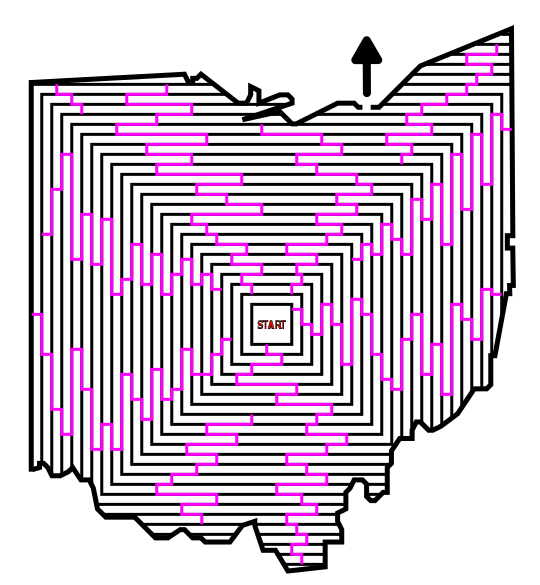
Step 5 - Convert all Pathways to White
Completing the maze means converting all paths you made to white. As I mentioned above, ideally I think these cuts should have been made wider. It certainly makes the maze more difficult to solve with the thinner cuts, so take that into consideration.
Step 6 (Optional) - Make the Maze Solution
Highlight the correct path in the final version of the maze to create the final Maze solution (shown here in purple).

Additional examples of Draw and Cut Mazes
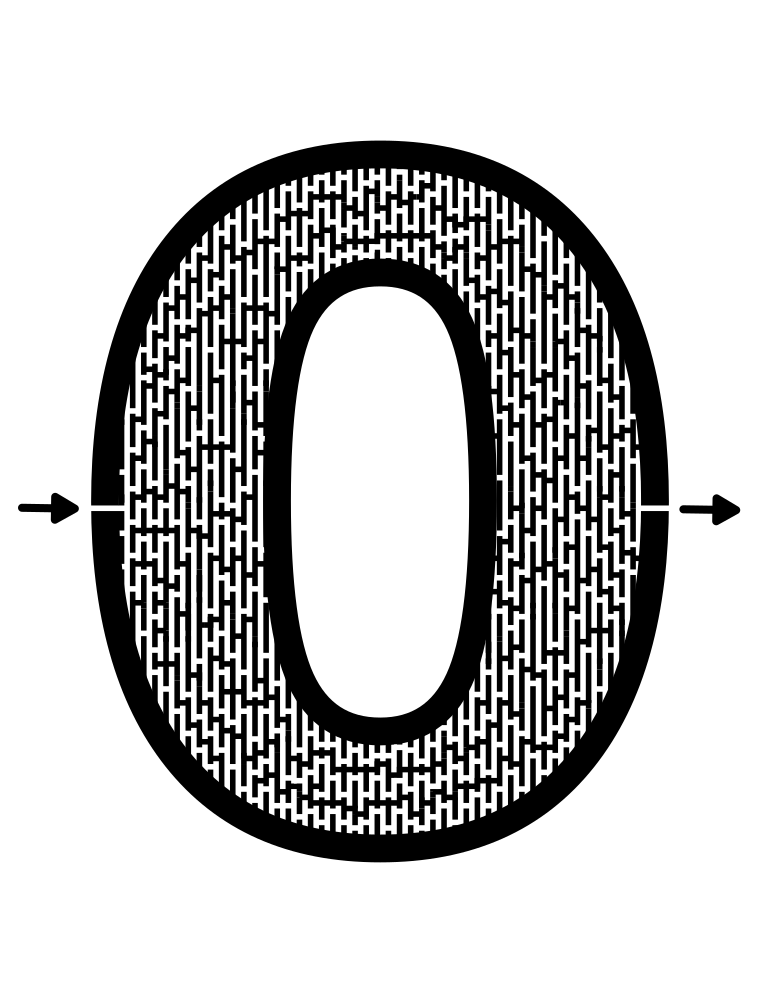
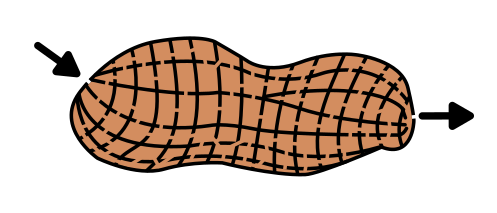
A great example of a Draw and Cut maze is this Peanut maze. The structure of the peanut makes for natural walls (it looks like a grid maze in some respects) that can be cut thru. There are no additional lines needed for this maze, only the drawing of a peanut and then the cuts to make paths.
And a second example of a Draw and Cut maze is this Pie maze. The structure of the pie crust and the crust topping made for natural paths after the initial picture of a pie was drawn. Notice that within the main crust of the pie the walls were free drawn to fit the naturally varied structure of a homemade crust.

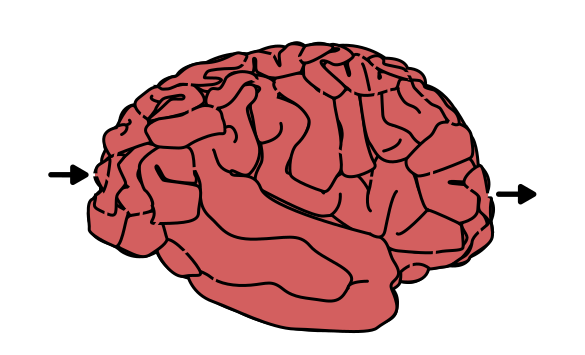
One of my favorite mazes that uses Draw and Cut is this Brain Maze. At first glance this is a drawing of a brain…wait..it’s a maze. That is what makes a great draw and cut maze IMO.
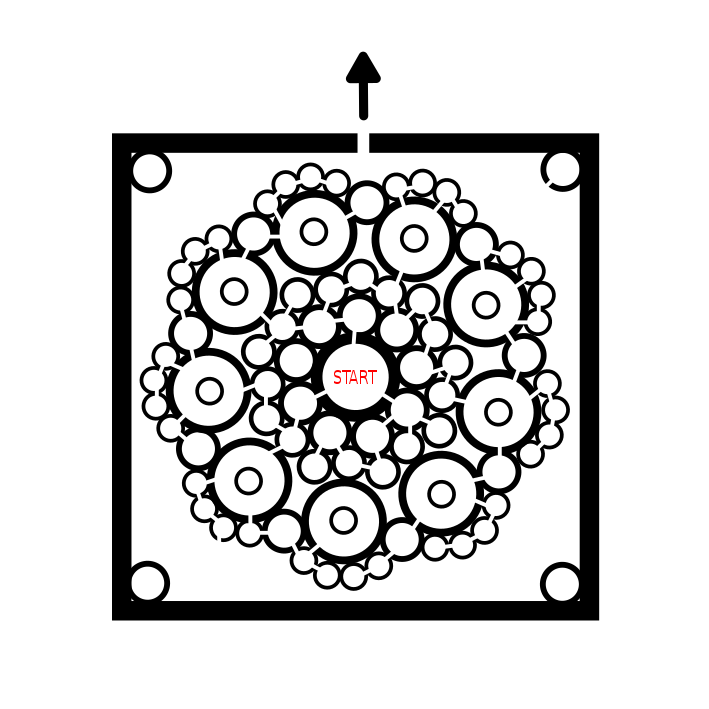
And here is my Oreo Cookie Maze. I needed to add a few lines to close up some pathways, but the overall maze construction is a draw and cut. The design on the cookie makes for a great template to make a maze.

Interested in learning how to make or draw other types of digital mazes ? I have step by step instructions on how to make over 40 different maze types.
If you prefer making labyrinths, you can find step by step labyrinth making instructions.