Sandland: Wisconsin's Secret Underground Labyrinth

Sandland is a hidden underground labyrinth in western Wisconsin. Where exactly ? Well, since it is not open to the public, that is a bit of a secret. Doesn’t that make it more interesting ? I stumbled across this one day and went down a rabbit hole (or maybe more appropriately a sandstone path) online for a few hours.


What is Sandland ?

Sandland is a maze of tunnels that are being dug into Jordan sandstone bedrock, a type of rock that is native to Wisconsin. The tunnels are being created by a man named Eric Sutterlin with a group of volunteers. The goal is to create a unique attraction for visitors to explore and discover. Here is a portion of the brochure where you can see the tunnels being built, and the map of the dig:

Sandland Tunnels brochure

Brochure: courtesy of Eric Sutterlin and J. T. Sobie; Brochure includes photos from Jon Sobie, Summer Anderson, Micah McMullin, Eric Sutterlin, Chris Daniel and Ana Smrekar


Tell me about the Tunnels

The tunnels are about three feet tall, so visitors have to crawl through them. The only light you have inside the tunnels comes from headlamps. The tunnels have horizontal layers of white, orange, and grey stone. The goal in the maze is place called Gabe’s Bar, made by a volunteer named Gabe.


Is it complete ?

No, there are still plans to dig and expand the complex that you can read about on the Sandland website. The digging started in 2011 and is still ongoing. There are extensive future dig plans (some of which you can see on the map above.

I like my information in video form. Show me your favorite videos on Sandland:

Sure, here is a quick 2 minute overview that explains Sandland and shows the location:

And here is a interesting video with an interview with Eric Sutterlin, the creator of Sandland, exploring why he is making the tunnels.

And here are some of the most common questions answered about the digging, including about tunnel collapse.

I want to do some digging and volunteer !

  • You can reach out for volunteering information at digsandland@gmail.com

  • Or send a message on the Facebook page which also includes tunnel updates.

If I missed something, check out the about page to fill in the gaps !

Similar content:

5 Interesting Mazes from Around the World that are Made from Plants:

Maze Comic Book Cover #68 - Sloth Life

Issue #68 in my comic book cover series is called Sloth Life and features the maze of a Sloth. I hope you like the smile on the sloth’s face. Imagine that it is on the way to a full smile and it will take a bit of time to get there (that is what I imagine).

My comic book cover mazes can be found in 2 places:

Comic Book Cover Mazes - Year 1 (Issues #1-53)

Comic Book Cover Mazes - Year 2

Sloth Maze Comic Book

To receive a book of my first year of comic book book mazes (Volume 1 with mazes #1-53) you can sign up for my book alerts - any time I launch a free maze book, or paid book (on Amazon), I will send you a note about the new book launch.

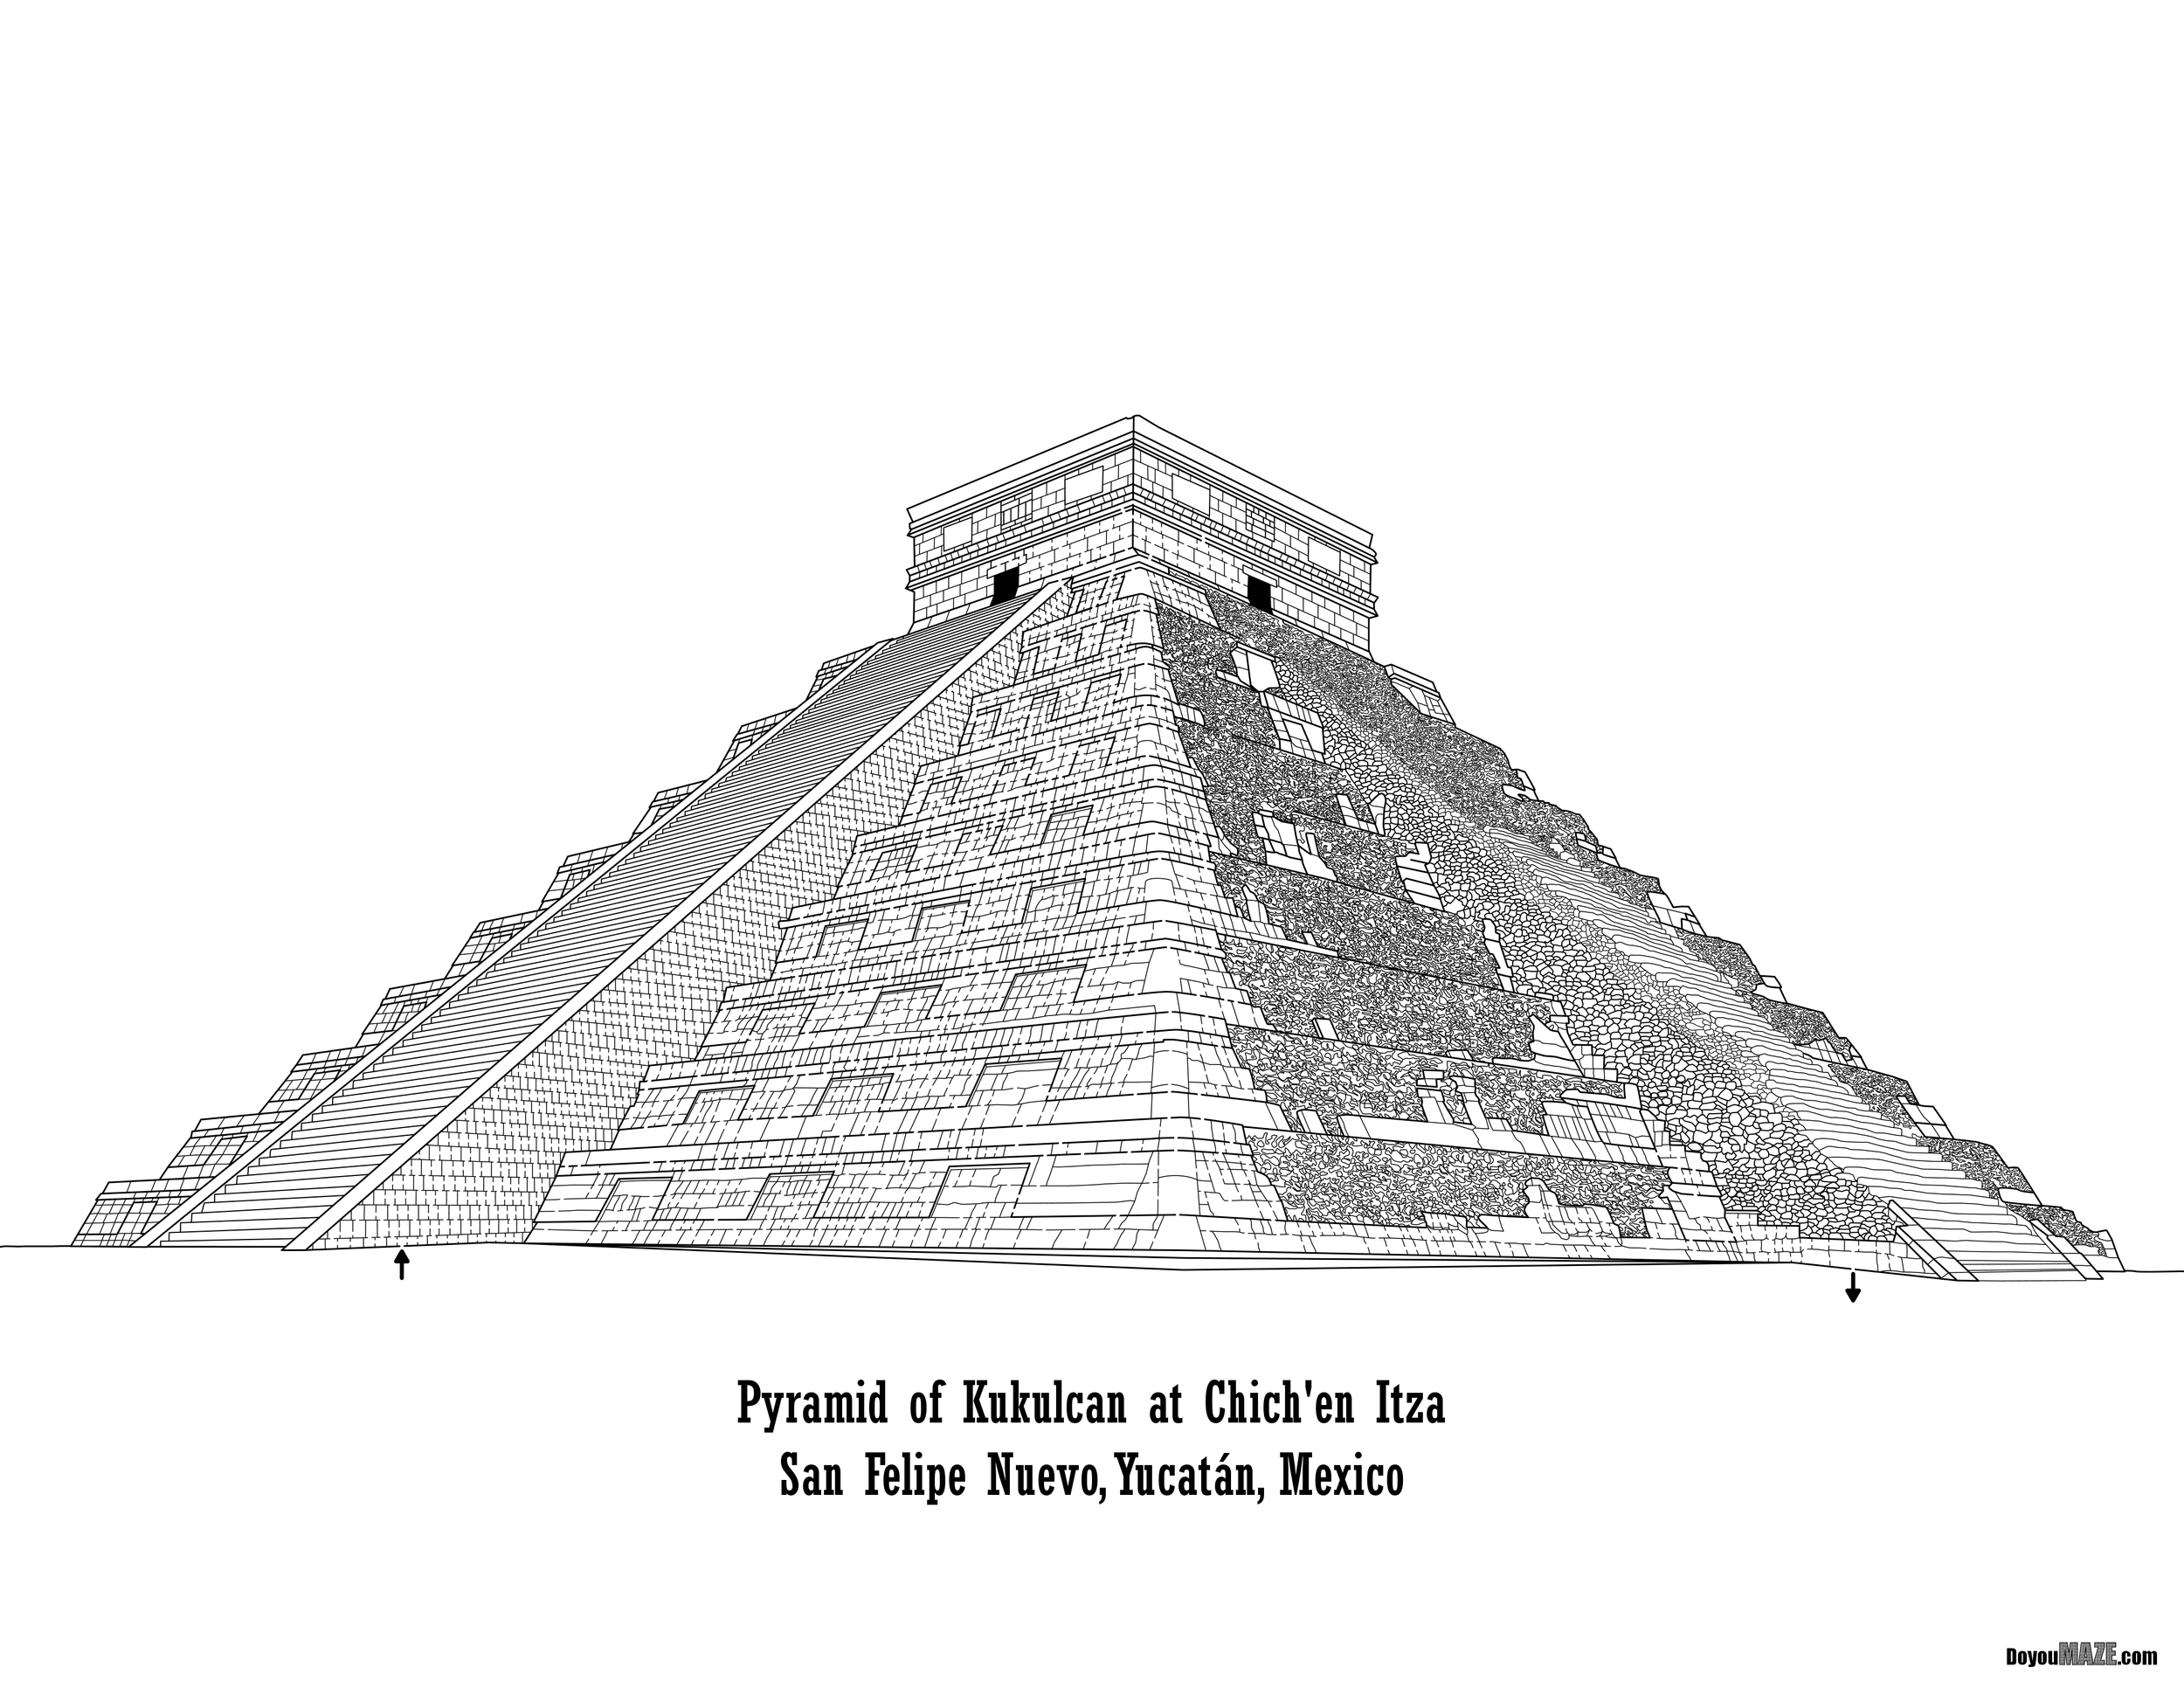
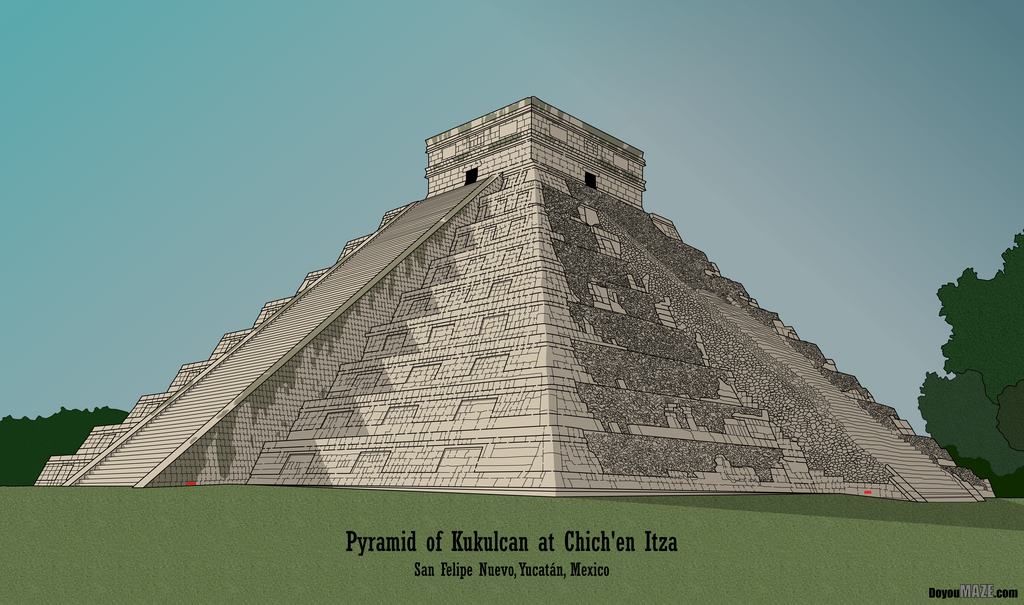
Maze of the Week 49 Redux - Chich'en itza (MOTW #172)

The first version of this maze is one of my favorites, but since then I have learned how to use new techniques I wanted to make a few changes and see if it improved the maze. Also, while the original version was a traditional black and white maze look, which I liked - it was floating on the page a bit and I wanted to change that. Here is my original blog post:

Maze of the Week #49 - Temple of Kukulcán Maze

Here are the enhancements I made to improve the maze:

1. Changed the Maze size. I reduced the height of the maze from 34 inches to 25 inches to better reflect the contents of the maze and reduce empty space.

2. Recenter the Maze. Because of this I moved the pyramid down on the page.

3. Reduce the font. Reduce font of the location vs. the title because it looks better like that and focuses on the what vs the where.

4. Change branding size. I increased the size of branding by 25% to look more in-line with everything.

5. Background changes. Added trees and bushes on the horizon.

6. Added structure details. I Added moss to the top of the pyramid and down the steps to better reflect what you actually see.

7. Added shadows. Added to the pyramid, the steps and on the ground to give the maze more interest.

8. Start/Goal changes. Switched to an internal Start/Goal and changed the font to red color to be more visible (vs. black)

9. Added a sky

Boom goes the dynamite. Much better. This is why I go back to some mazes.

Some data: The new file is 761MB from 557MB.

I will be replacing the homepage with the new maze going forward. You can find the maze download there !

If you like this type of content check out all of my case studies:

A Collection of Maze Design Case Studies to Improve your Mazes

What I've Learned Making Mazes

Happy maze-ing !

Danzante Conchero Chichimeca Maze Update

My first and second attempts at making a maze of a statue in Queretaro are documented here:

Maze of the Week #87 - Danzante Conchero Chichimeca Maze

Case Study#2 - How to Improve a Bad Maze - Danzante Conchero Chichimeca

The tl;dr is that I drew the dancer, realized that making it into a maze would be difficult, then salvaged the work by adding the fountain to hold the maze. As I went back and featured one of my other mazes from Queretaro with improvements this week, a walking street maze, I thought I would try something with this maze also. Basically I walked to the statue and took a photo so I could give a mixed media option for the maze. I went with a faded photo to help keep the focus on the maze. Which do you prefer, the mixed media or the blank background version ?

Of course, I struggle making only 1 change. I went back and switched the Start and Goal to Spanish which makes more sense. I also updated the pathway widths in the fountain by doubling their size making it easier to complete.